
Introduction
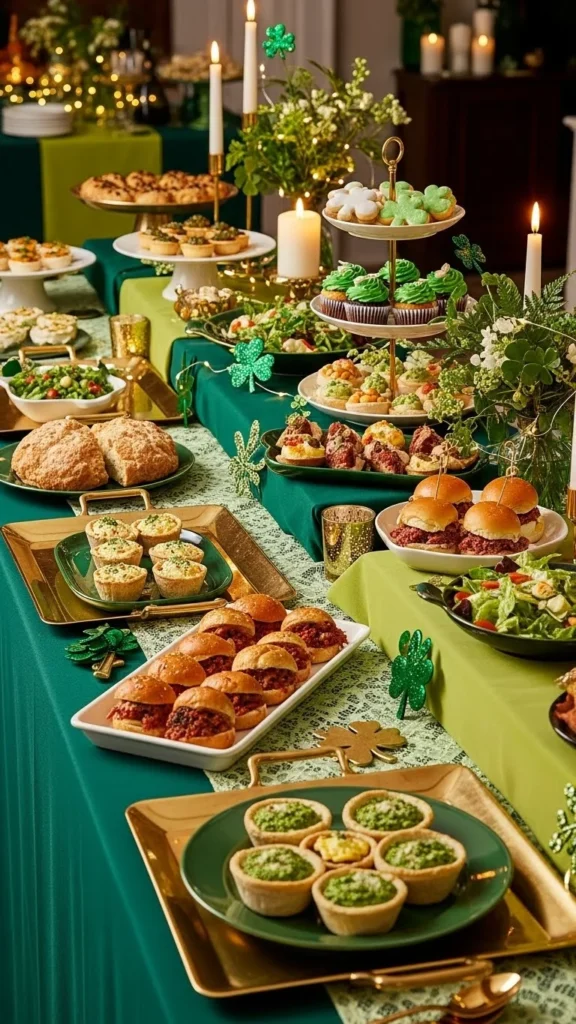
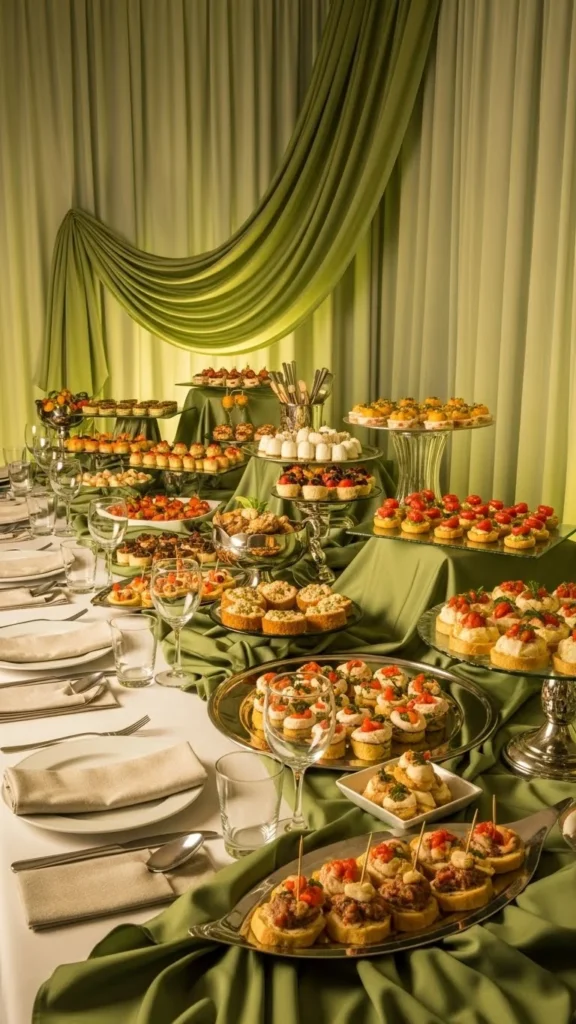
Planning a St Patrick’s Day party is all about creating a buffet that feels festive, inviting, and photo-worthy. The right decor can turn simple snacks into a celebration centerpiece. From lush greens to soft gold accents, these St Patrick’s Day buffet decor ideas are easy to recreate and perfect for gatherings big or small. Let’s style a buffet your guests will remember.
1. Layered Green Table Runners
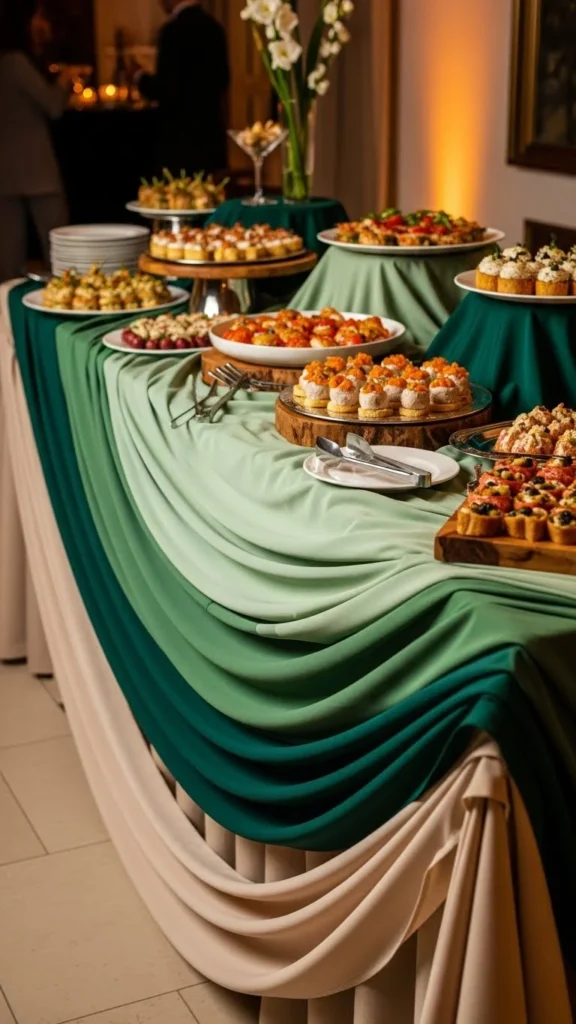
Layering table runners instantly adds depth and visual interest to your buffet. Mixing emerald, sage, and soft moss tones creates a rich foundation without feeling overwhelming. This setup works beautifully for both casual home parties and more polished gatherings. The fabric movement keeps the table from looking flat. It’s an easy upgrade that sets the tone for the entire spread.
Materials
- 1 neutral linen tablecloth (60 x 120 in)
- 2 green fabric runners (14 x 72 in each)
How to Set It Up
- Lay the neutral tablecloth flat.
- Drape runners slightly offset for dimension.
- Let ends hang naturally.
Prep Tips
- Iron lightly for soft creases.
- Choose matte fabrics to avoid glare.
How to Style It
Add gold trays on top for contrast. Tuck greenery between layers. Keep center items low for easy serving.
2. Gold Accent Serving Trays
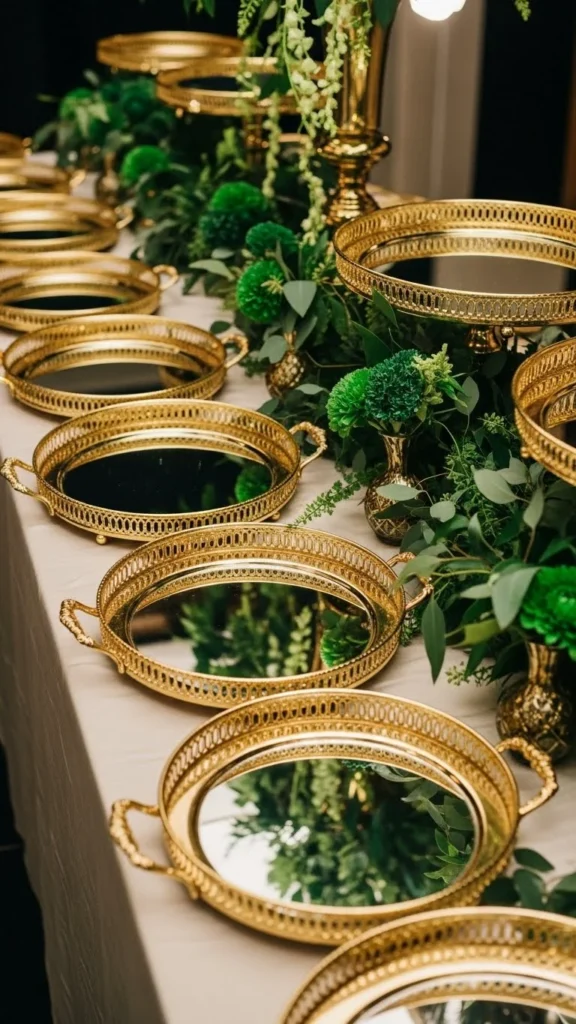
Gold accents instantly elevate any buffet. They reflect light beautifully and pair perfectly with green decor. Even simple food looks special when served on warm metallic trays. Mixing sizes keeps the display dynamic. This is a small detail that makes a big impact.
Materials
- 3–5 gold serving trays (varied sizes)
How to Set It Up
- Place largest trays at the back.
- Layer smaller trays in front.
- Keep spacing balanced.
Prep Tips
- Polish trays beforehand.
- Avoid overcrowding.
How to Style It
Pair with white napkins for contrast. Add greenery around bases. Keep taller items toward the back.
3. Fresh Greenery Garland Base
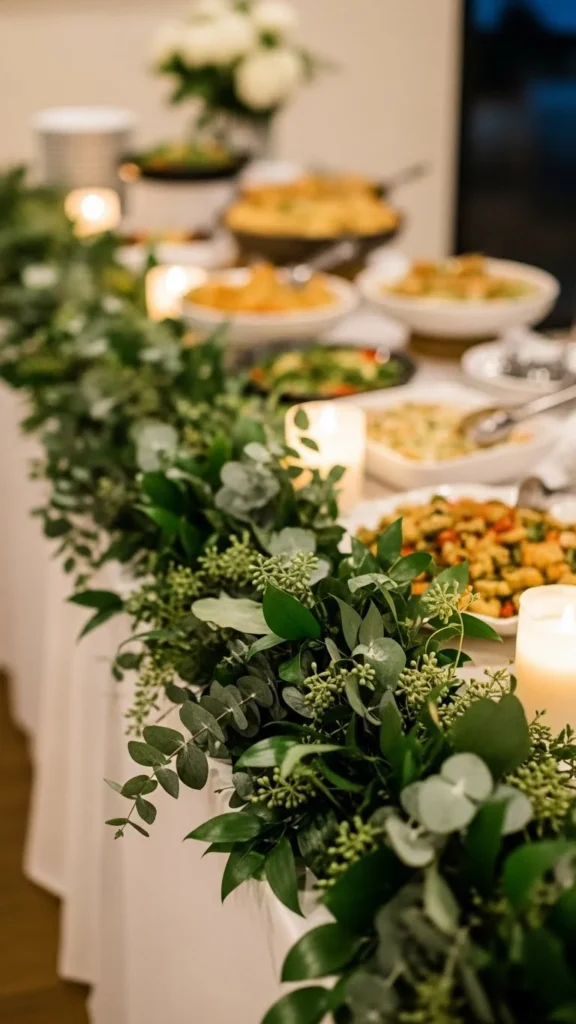
A greenery garland softens the buffet and adds natural movement. It creates a cohesive base that ties all decor together. Real or faux greenery works equally well. The organic look keeps the setup feeling fresh and welcoming.
Materials
- 6–8 ft greenery garland
- Floral wire (optional)
How to Set It Up
- Lay garland along table edge.
- Adjust fullness evenly.
- Secure lightly if needed.
Prep Tips
- Mist real greenery lightly.
- Fluff faux stems beforehand.
How to Style It
Add small gold accents tucked inside. Keep food items slightly elevated. Let greenery frame the buffet naturally.
4. White Ceramic Serving Bowls
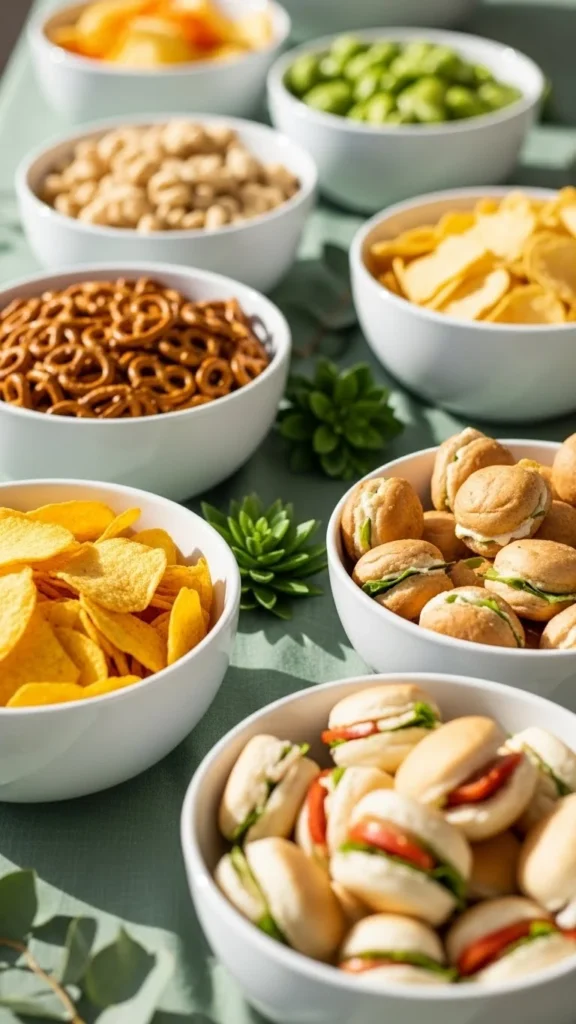
White ceramics balance bold green tones beautifully. They keep the buffet clean and visually calm. Using matching bowls creates a cohesive look. This approach works especially well for busy tables.
Materials
- 4–6 white ceramic bowls
How to Set It Up
- Space bowls evenly.
- Group similar sizes together.
- Keep edges aligned.
Prep Tips
- Choose matte finishes.
- Avoid patterned bowls.
How to Style It
Add gold serving spoons. Place greenery between bowls. Keep labels minimal or skip them.
5. Elevated Cake Stands for Height
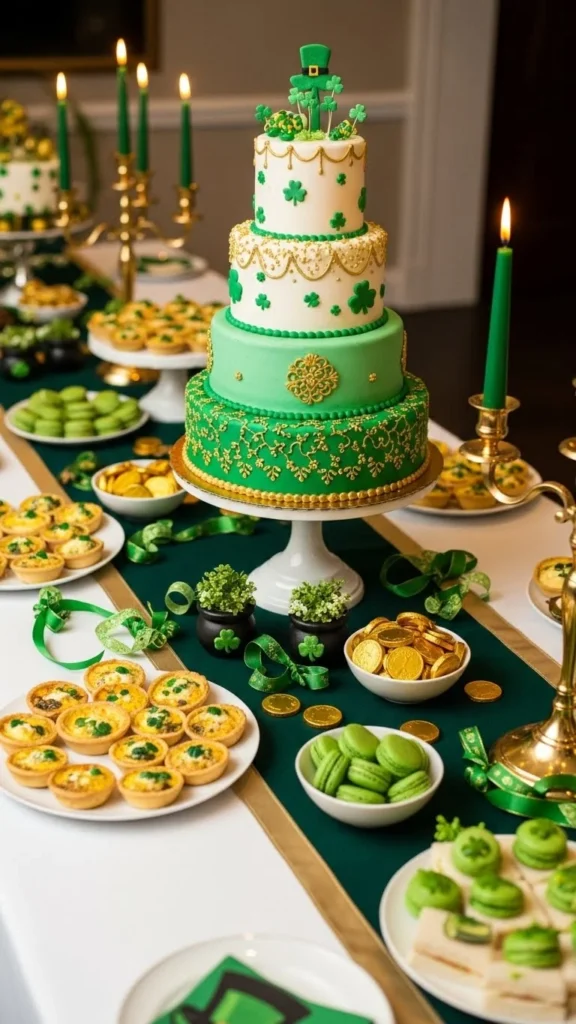
Height variation keeps a buffet visually interesting. Cake stands lift items without taking extra space. Mixing heights draws the eye across the table. It also makes serving easier.
Materials
- 2–3 cake stands (different heights)
How to Set It Up
- Place tallest stand in center.
- Balance with medium heights.
- Keep edges clear.
Prep Tips
- Test stability first.
- Wipe surfaces clean.
How to Style It
Use for centerpiece items. Surround with low decor. Keep color palette consistent.
6. Soft Green Cloth Napkins
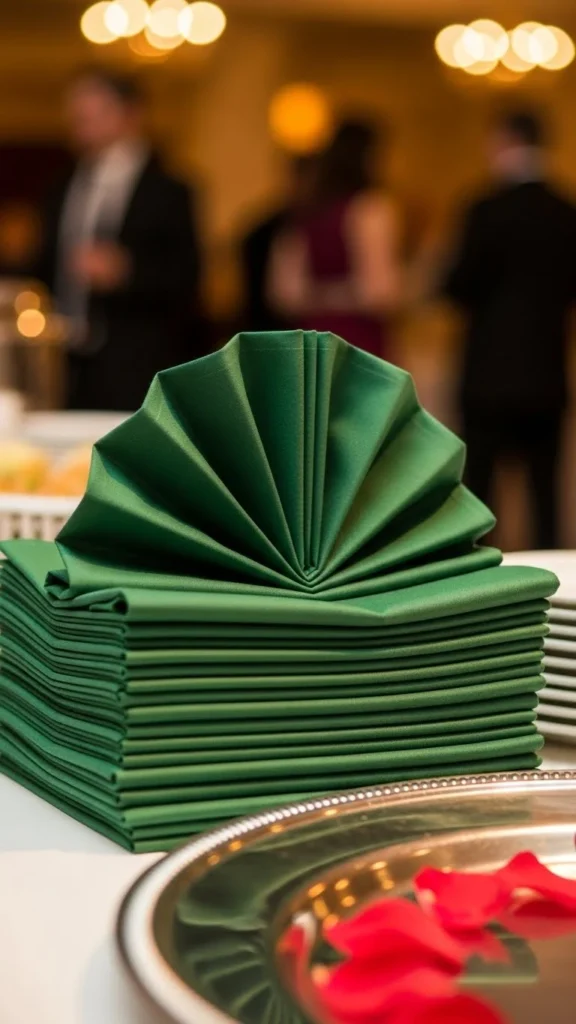
Cloth napkins instantly make the buffet feel thoughtful. Soft green shades tie into the theme without being overpowering. Neat folds keep things polished. This detail adds warmth and intention.
Materials
- 20–30 green cloth napkins
How to Set It Up
- Fold uniformly.
- Stack or fan neatly.
- Place near plates.
Prep Tips
- Steam for crisp folds.
- Stick to solid colors.
How to Style It
Add gold napkin rings if desired. Pair with white plates. Keep stack accessible.
7. Clear Glass Jars for Snacks
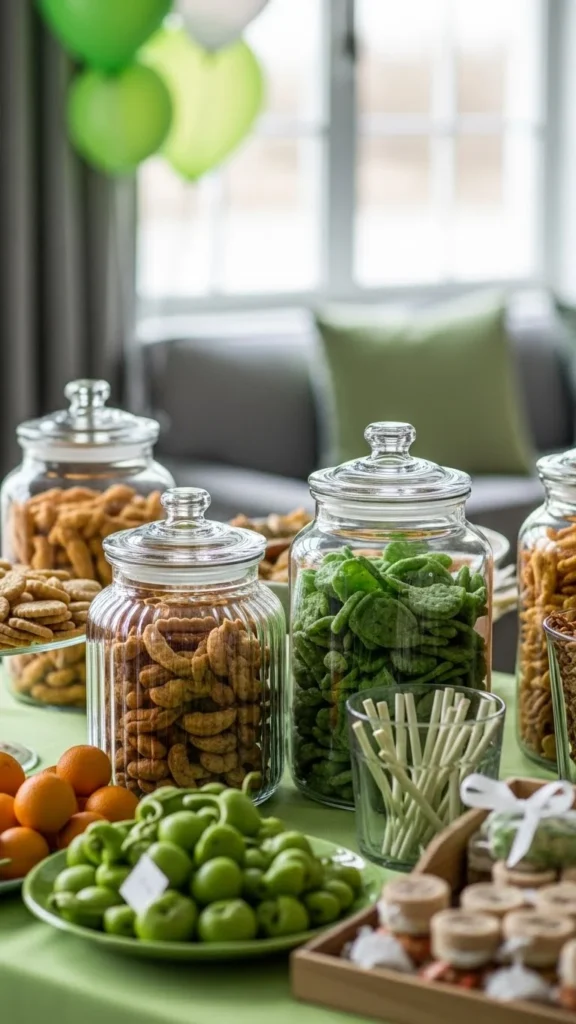
Clear jars keep snacks visible and organized. They add texture without adding color clutter. Different jar heights add interest. This setup feels casual yet styled.
Materials
- 3–5 glass jars with lids
How to Set It Up
- Fill jars evenly.
- Arrange tallest at back.
- Leave space for scoops.
Prep Tips
- Clean glass thoroughly.
- Avoid overfilling.
How to Style It
Use wooden or gold scoops. Cluster jars in odd numbers. Keep lids nearby.
8. Mini Chalkboard Frames (Blank)
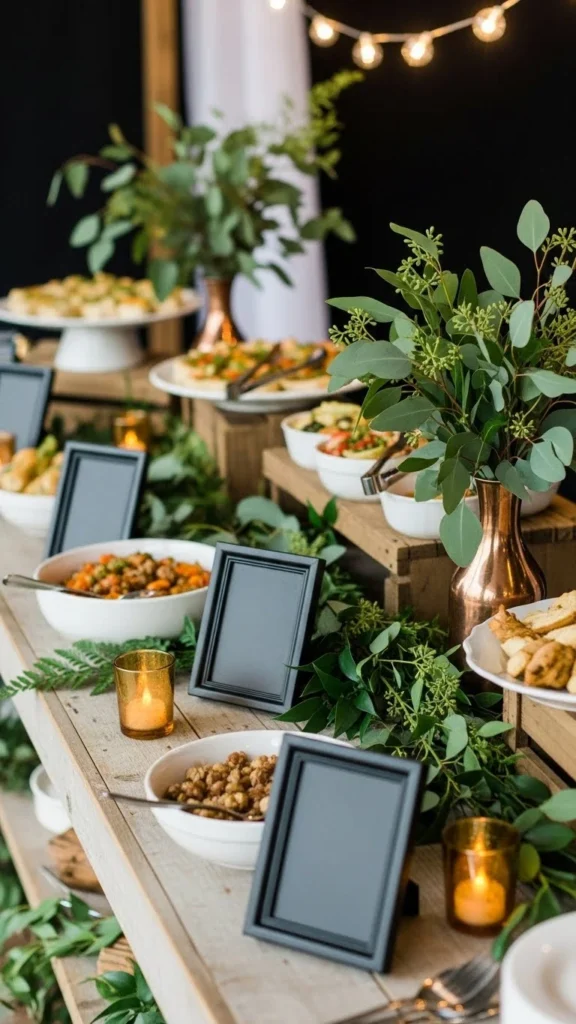
Blank chalkboard frames add charm without needing writing. They bring a subtle rustic touch. The dark tone grounds lighter decor. Perfect for filling visual gaps.
Materials
- 3–4 mini chalkboard frames
How to Set It Up
- Place near serving areas.
- Angle slightly for depth.
- Keep spacing loose.
Prep Tips
- Clean boards fully.
- Skip chalk if not needed.
How to Style It
Pair with greenery. Use as visual accents only. Keep them understated.
9. Green Glass Drink Dispensers
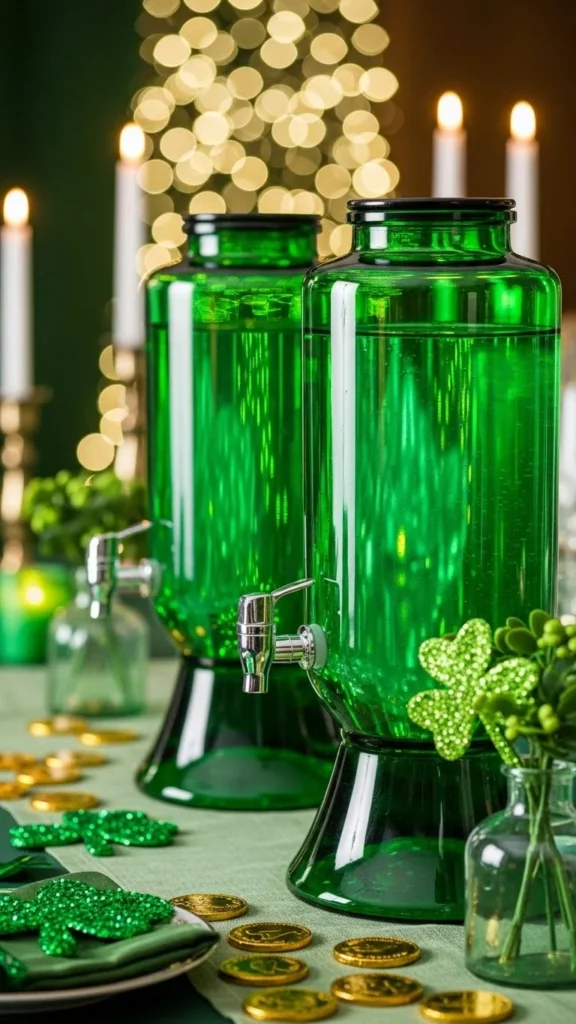
Green glass instantly reinforces the theme. It looks festive without being loud. The translucent color catches light beautifully. It also keeps the buffet cohesive.
Materials
- 1–2 green glass dispensers
How to Set It Up
- Place on sturdy stand.
- Position near cups.
- Allow space for pouring.
Prep Tips
- Test spouts beforehand.
- Fill shortly before guests arrive.
How to Style It
Add citrus slices inside. Use clear cups. Keep napkins nearby.
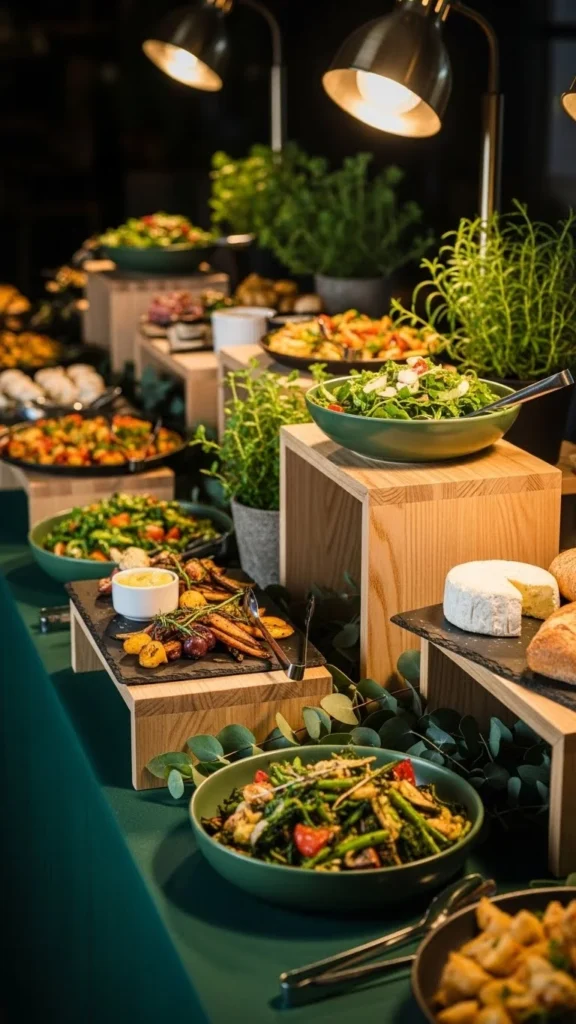
10. Wooden Crates for Rustic Layers
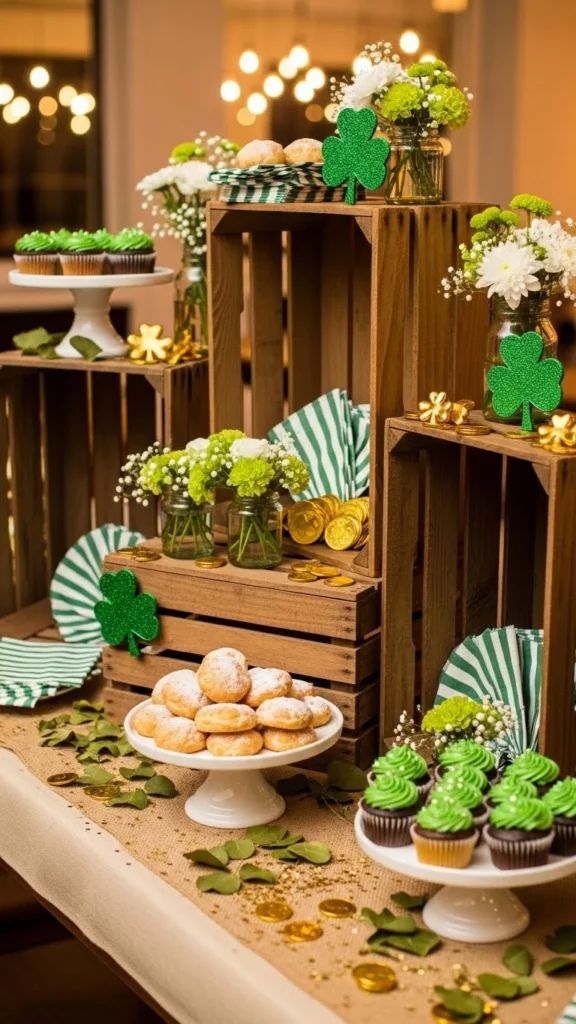
Wood crates add warmth and structure. They’re perfect for creating tiers. The rustic texture balances metallic accents. Easy to reuse and style.
Materials
- 2–3 small wooden crates
How to Set It Up
- Stack securely.
- Line with cloth if needed.
- Place items inside.
Prep Tips
- Sand rough edges.
- Wipe clean.
How to Style It
Add greenery around edges. Use for packaged items. Keep layout balanced.
11. Gold Cutlery Caddies
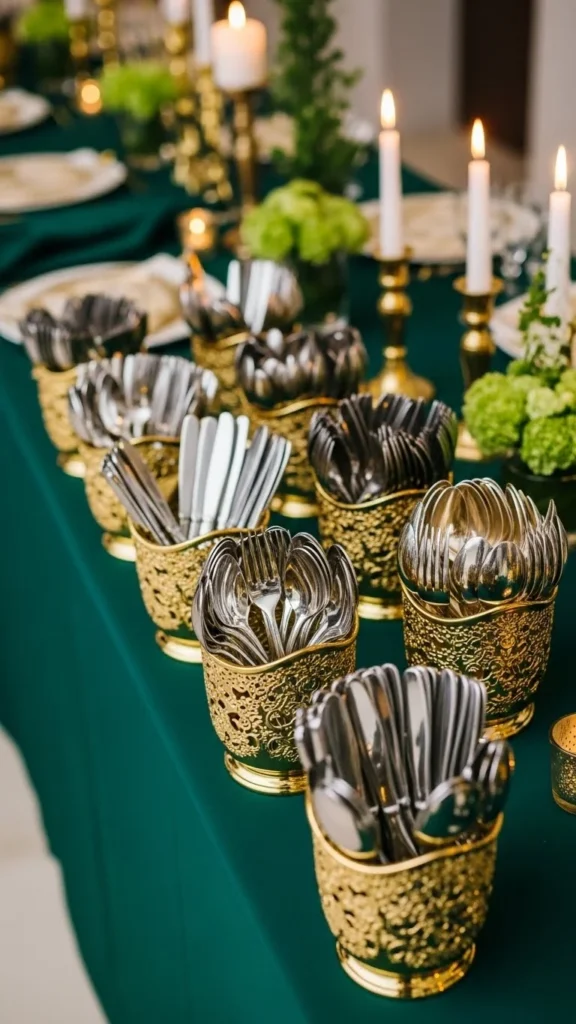
Cutlery can be decor too. Gold holders keep things organized and stylish. They add subtle shine without clutter. Functional and beautiful.
Materials
- 2 gold cutlery caddies
- Serving utensils
How to Set It Up
- Sort utensils by type.
- Place near plates.
- Keep handles upright.
Prep Tips
- Polish metal surfaces.
- Don’t overcrowd.
How to Style It
Pair with white napkins. Add greenery nearby. Keep access easy.
12. Green Ombre Plate Stack
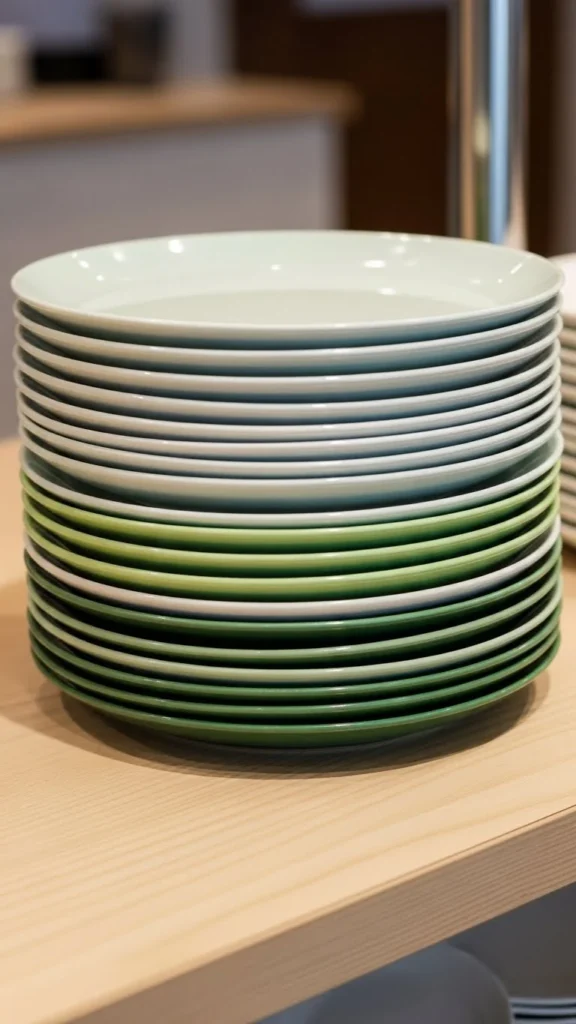
Stacking plates in gradient greens looks intentional and stylish. It’s a subtle way to reinforce the theme. This detail works even in small spaces. Simple but effective.
Materials
- Plates in 2–3 green shades
How to Set It Up
- Stack darkest at bottom.
- Lighter shades on top.
- Keep stack stable.
Prep Tips
- Limit to one stack.
- Use same plate size.
How to Style It
Place near napkins. Add a small greenery accent. Keep area uncluttered.
13. Metallic Votive Candle Holders
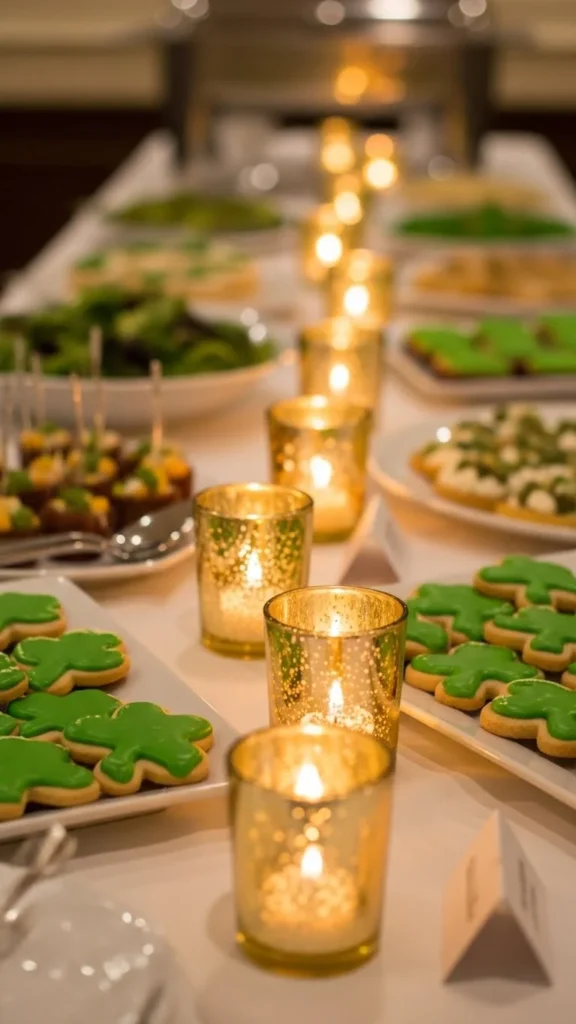
Soft candlelight adds warmth instantly. Metallic holders reflect glow beautifully. They make evening parties feel cozy. Keep flames small and safe.
Materials
- 6–8 votive holders
- LED or tea lights
How to Set It Up
- Space evenly.
- Keep away from food edges.
- Use LED if preferred.
Prep Tips
- Test lighting beforehand.
- Avoid scented options.
How to Style It
Nestle among greenery. Keep heights low. Use warm-toned light.
14. Simple Green Floral Arrangements
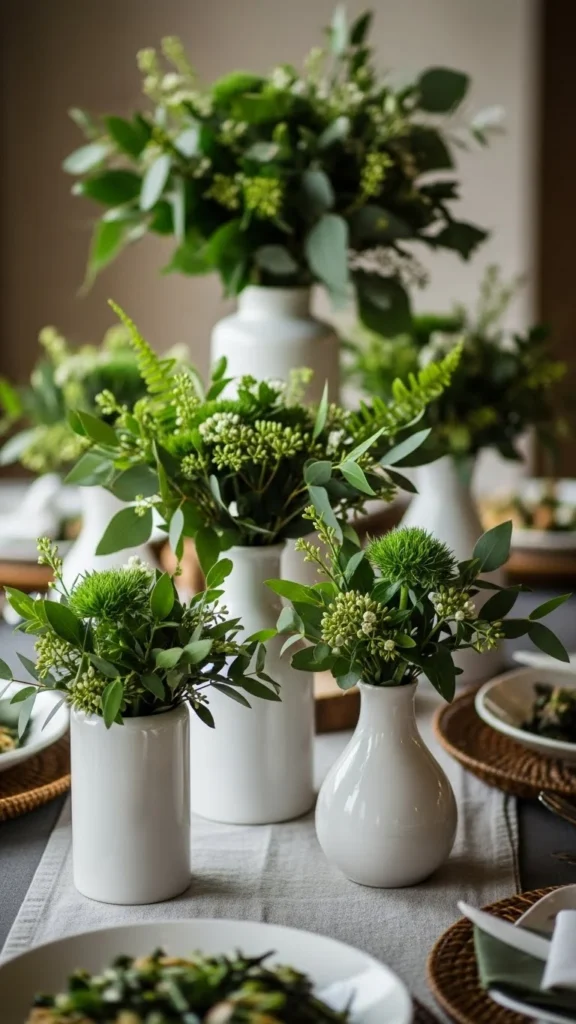
Minimal florals keep the buffet fresh without overpowering it. Green blooms feel on-theme and elegant. Small arrangements are best for serving tables. They add life without blocking views.
Materials
- Green florals
- 2–3 small white vases
How to Set It Up
- Keep stems short.
- Space evenly.
- Avoid tall designs.
Prep Tips
- Arrange day-of if possible.
- Use water beads for stability.
How to Style It
Place between trays. Pair with candles. Keep palette simple.
15. Textured Green Placemats
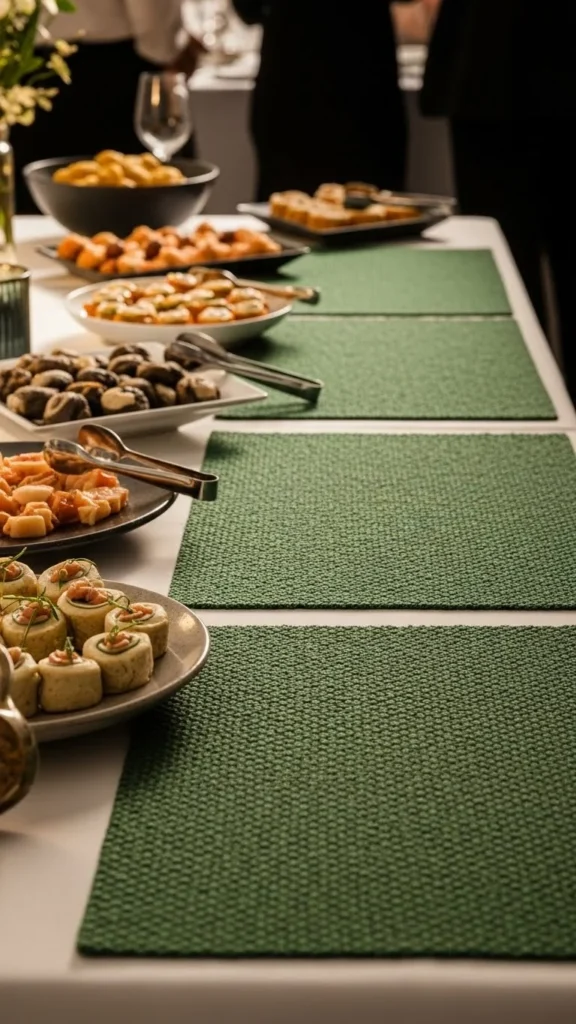
Placemats help define zones on a buffet. Texture adds interest without clutter. They’re easy to swap and reuse. A great way to add color subtly.
Materials
- 4–6 green placemats
How to Set It Up
- Place under key dishes.
- Keep spacing even.
- Align edges.
Prep Tips
- Choose wipeable materials.
- Avoid busy patterns.
How to Style It
Layer with gold trays. Use neutral dishes on top. Keep symmetry loose.
16. Linen Skirted Buffet Table
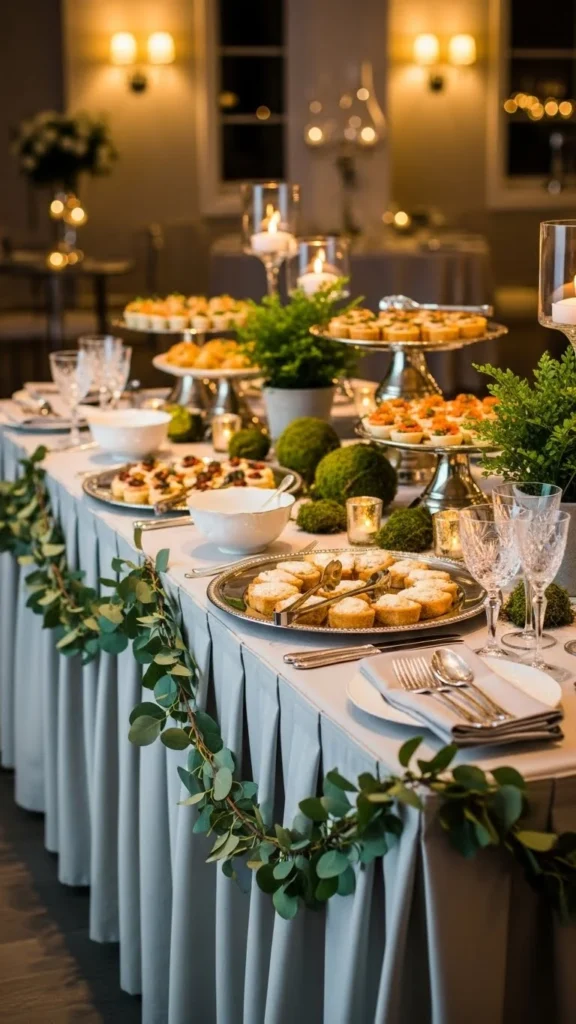
A skirted buffet table instantly feels polished and intentional. Linen fabric softens the entire setup and hides table legs or storage underneath. Neutral tones let green decor shine without competing. This is especially helpful for home parties where the table itself isn’t decorative.
Materials
- Linen table skirt (neutral tone)
- Table clips or pins
How to Set It Up
- Attach skirt evenly around the table edge.
- Smooth folds for a relaxed look.
- Adjust length to skim the floor.
Prep Tips
- Steam wrinkles lightly.
- Avoid stiff fabrics.
How to Style It
Layer greenery along the top edge. Pair with gold accents. Keep decor light above for balance.
17. Green Marble Serving Boards
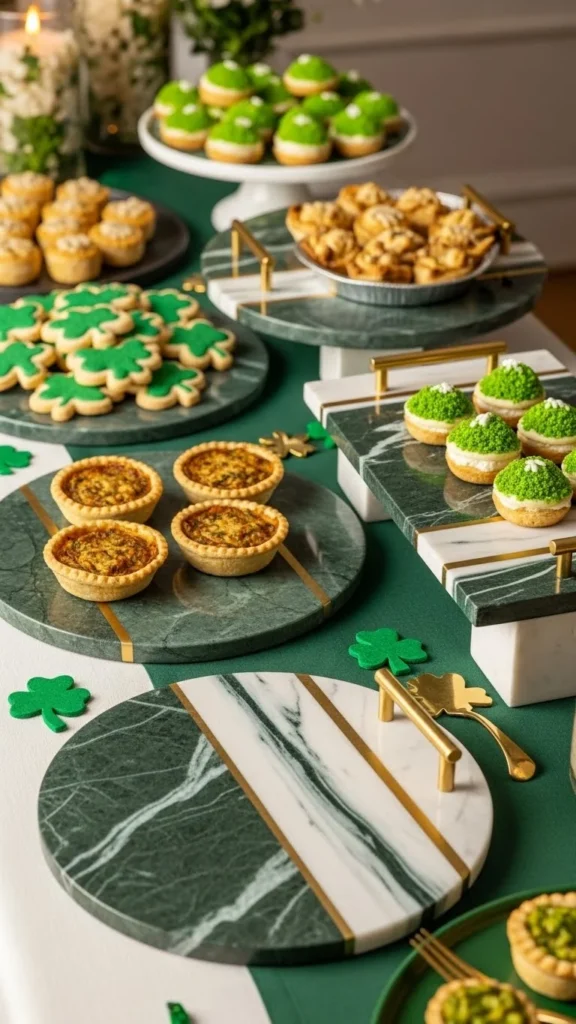
Green marble adds instant elegance. The stone texture feels luxurious and timeless. It works beautifully with neutral foods and metallic accents. Even one board makes the buffet feel upgraded.
Materials
- 1–3 green marble boards
How to Set It Up
- Place boards slightly angled.
- Use as focal serving pieces.
- Space away from edges.
Prep Tips
- Clean gently before use.
- Add felt pads underneath.
How to Style It
Pair with gold utensils. Surround with greenery. Keep nearby items minimal.
18. Coordinated Green Food Labels (Minimal)
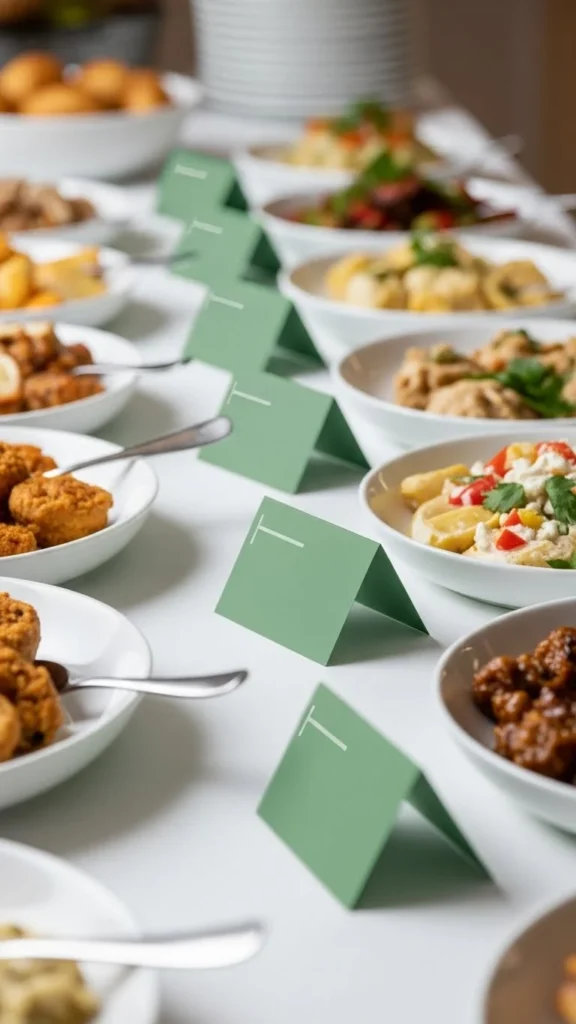
Simple label cards keep the buffet organized without clutter. Matching green tones help them blend seamlessly into the decor. Clean shapes feel intentional and modern. Less is more here.
Materials
- Blank green label cards
- Small holders
How to Set It Up
- Place one label per section.
- Angle slightly forward.
- Keep spacing consistent.
Prep Tips
- Use cardstock for structure.
- Avoid bold designs.
How to Style It
Keep labels small. Pair with white or gold holders. Let food stay the star.
19. Mixed Metal Serving Utensils
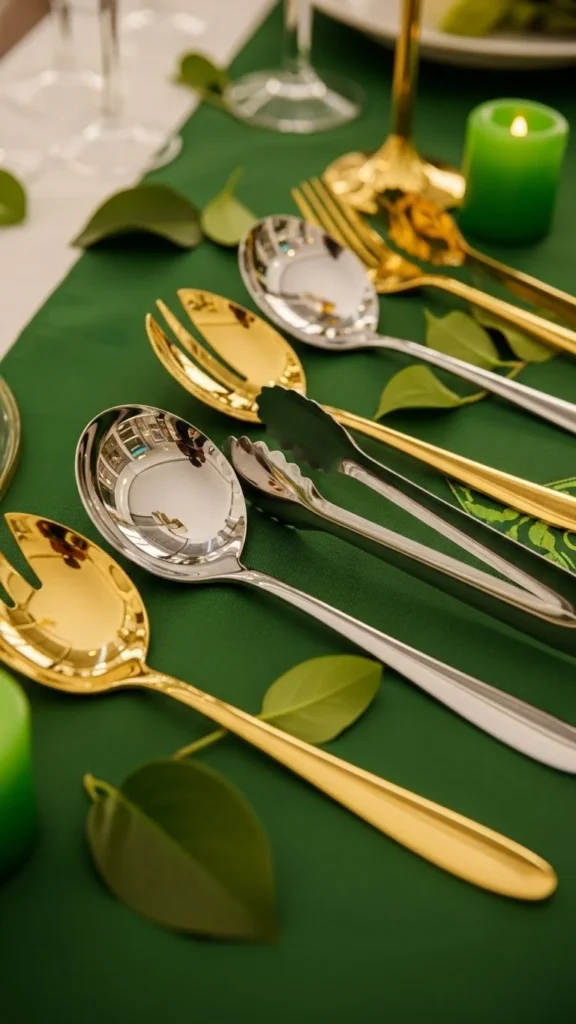
Mixing metals adds depth without overwhelming the table. Gold and silver together feel collected and effortless. It prevents the setup from looking too matched. Functional details become part of the decor.
Materials
- Assorted serving spoons and tongs
How to Set It Up
- Match utensil size to dish.
- Rest neatly beside platters.
- Avoid overcrowding.
Prep Tips
- Polish lightly.
- Keep extras nearby.
How to Style It
Let metals repeat across the table. Pair with neutral dishes. Keep arrangement loose.
20. Soft Fabric Backdrop Accent
A subtle backdrop frames the buffet beautifully. It adds height and makes the table feel like a focal point. Fabric keeps it soft and non-distracting. Ideal for photos and party ambiance.
Materials
- Lightweight green fabric
- Hooks or removable adhesive
How to Set It Up
- Hang fabric loosely behind table.
- Let natural folds form.
- Keep width slightly wider than table.
Prep Tips
- Test hanging method first.
- Avoid shiny materials.
How to Style It
Add small greenery pins. Keep backdrop simple. Let lighting do the work.
21. Green Glassware Collection
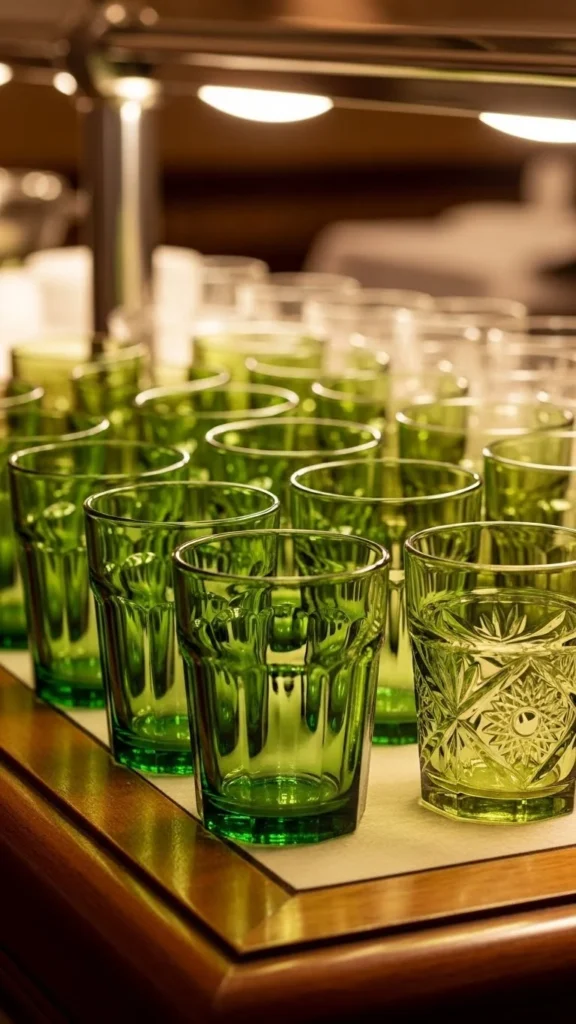
Green glassware subtly reinforces the theme. The color looks beautiful when light passes through it. Mixing shapes adds interest while staying cohesive. Practical and decorative.
Materials
- 12–20 green glass cups
How to Set It Up
- Group cups by size.
- Stack carefully if space is limited.
- Place near drink station.
Prep Tips
- Check for chips.
- Polish for clarity.
How to Style It
Pair with clear dispensers. Add linen napkins nearby. Keep area tidy.
22. Low Greenery Clusters Between Dishes
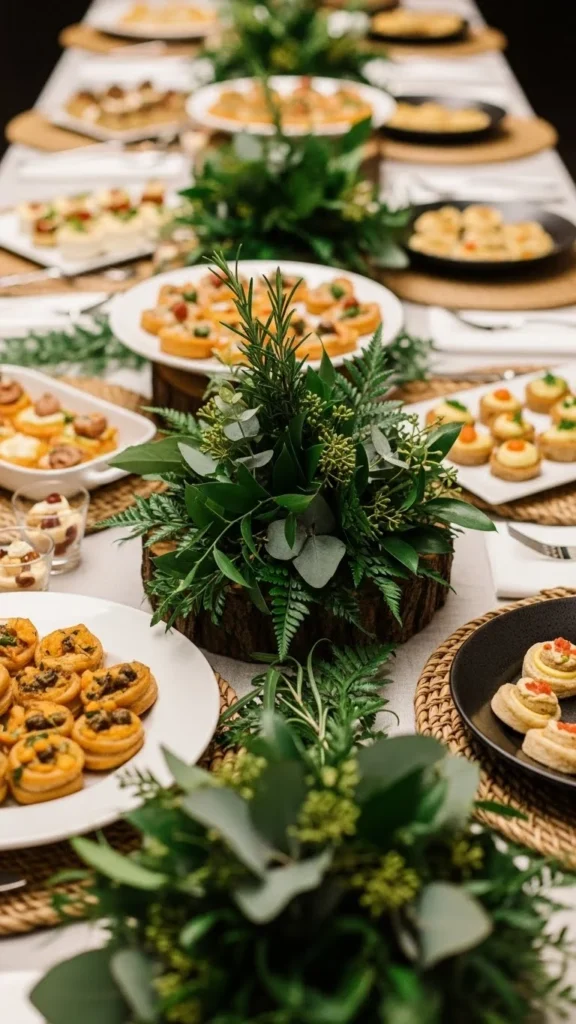
Small greenery clusters fill empty gaps beautifully. They keep the buffet from looking sparse. Low arrangements won’t interfere with serving. This creates a flowing, natural look.
Materials
- Loose greenery stems
How to Set It Up
- Tuck greenery between platters.
- Keep height low.
- Spread evenly.
Prep Tips
- Trim excess stems.
- Use faux if heat-sensitive.
How to Style It
Let greenery trail slightly. Avoid symmetry. Keep movement natural.
23. Neutral Plates with Green Rim
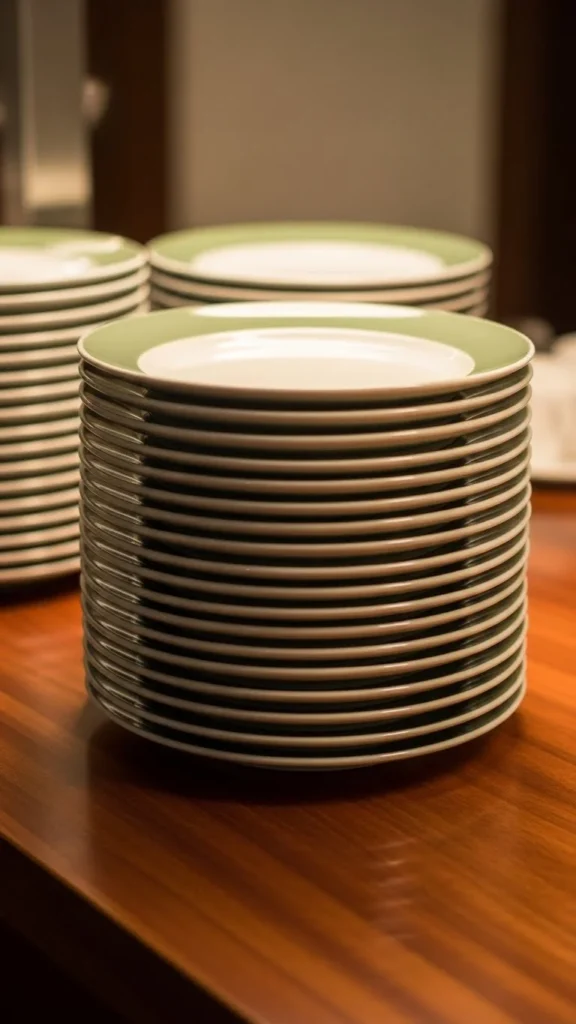
Plates with a hint of green feel intentional without overpowering the table. They tie into the theme subtly. This works well if you want a refined look. It’s an easy upgrade from plain white.
Materials
- Plates with green rim detail
How to Set It Up
- Stack evenly.
- Place near napkins.
- Keep height manageable.
Prep Tips
- Limit to one plate style.
- Clean edges thoroughly.
How to Style It
Pair with gold flatware. Add linen napkins. Keep stack centered.
24. Wooden Risers for Dimension
Wooden risers create instant dimension. They help separate dishes visually. Natural wood balances metallic accents. Very useful for long tables.
Materials
- 2–4 wooden risers
How to Set It Up
- Place risers toward the back.
- Balance heights evenly.
- Check stability.
Prep Tips
- Test weight capacity.
- Wipe clean.
How to Style It
Top with neutral dishes. Add greenery around base. Avoid clutter.
25. Green Taper Candles

Taper candles add height and elegance. Green candles tie into the theme naturally. Gold holders elevate the look. Best for evening gatherings.
Materials
- Green taper candles
- Gold candle holders
How to Set It Up
- Space evenly across table.
- Keep away from food edges.
- Light just before guests arrive.
Prep Tips
- Trim wicks.
- Use dripless candles.
How to Style It
Mix with greenery. Keep heights varied. Use warm lighting.
26. Minimal Centerpiece Trio
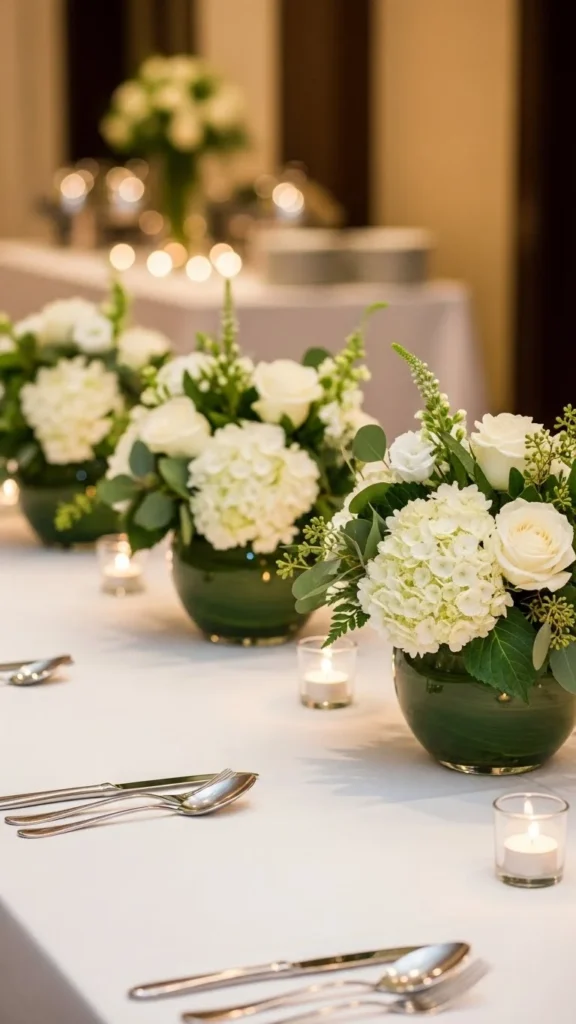
A trio of small centerpieces feels balanced and intentional. It avoids a single bulky focal point. This keeps the buffet open and functional. Clean and modern.
Materials
- 3 small vases or decor pieces
How to Set It Up
- Space evenly across table.
- Keep height consistent.
- Use same color palette.
Prep Tips
- Avoid strong scents.
- Keep arrangements compact.
How to Style It
Pair with candles. Use greenery or florals. Let repetition do the work.
27. Textured Green Fabric Underlays
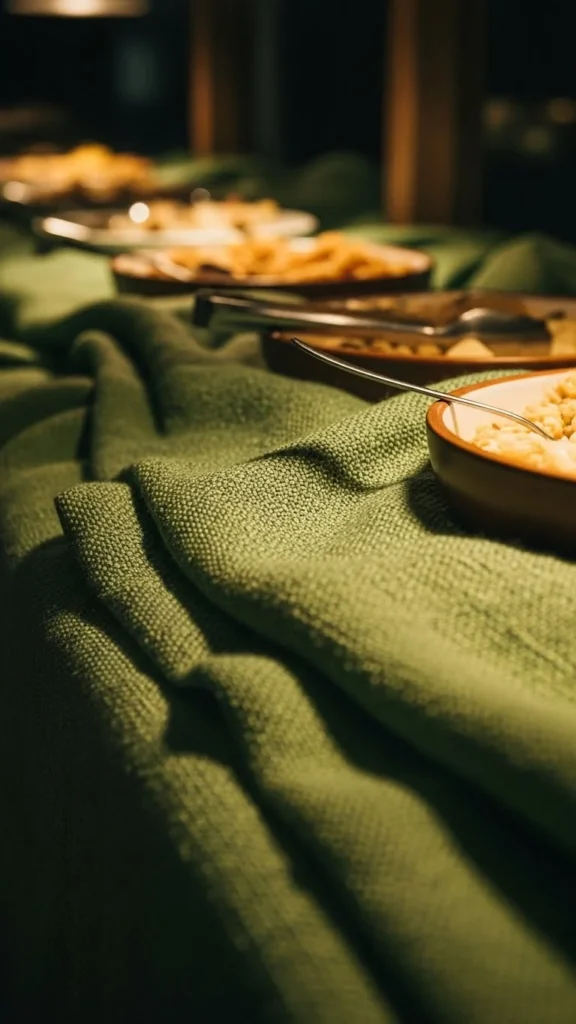
Fabric underlays define serving zones beautifully. Texture adds depth without extra items. It’s an easy way to elevate plain tables. Works especially well with neutral dishes.
Materials
- Small green fabric squares
How to Set It Up
- Place under key dishes.
- Keep edges visible.
- Smooth lightly.
Prep Tips
- Choose washable fabric.
- Avoid bold patterns.
How to Style It
Layer with trays. Keep colors muted. Repeat across table.
28. Balanced Symmetry Layout

A balanced layout makes the buffet feel calm and intentional. Symmetry helps guests navigate easily. It also photographs beautifully. This is the final touch that ties everything together.
Materials
- All buffet decor elements
How to Set It Up
- Anchor center first.
- Mirror items on each side.
- Adjust spacing visually.
Prep Tips
- Step back and assess.
- Remove excess items.
How to Style It
Keep focal points centered. Use repetition. Let the table breathe.
Conclusion
With thoughtful layers, cohesive colors, and simple styling tricks, your St Patrick’s Day buffet can feel festive without feeling overdone. Pick a few ideas that fit your space, mix in pieces you already own, and focus on balance and flow. Save your favorites, share the inspiration, and enjoy hosting a buffet that looks just as good as it feels. 🍀
