
A real, lived-in living room showing the final result of well-styled wall shelves. Natural daylight, soft shadows, layered textures. Wide angle that shows balance between shelves, seating, and a corner plant. The space looks intentional but lived-in. No text overlay.
I used to look at a blank wall and freeze. Shelves felt like they should fix everything, but they often made the room look cluttered or lopsided. I wanted warmth and balance, not more stuff.
This is the method I use every time a room feels unfinished. It’s simple and repeatable. You’ll end with shelves that feel intentional, warm, and lived-in—whether your style is organic modern or a soft japandi look.
How to Decorate a Room With Wall Shelves Beautifully
This is the method I use every time a room feels unfinished. You’ll learn how to place shelves for flow, layer objects so they read as a group, and keep the whole wall balanced with the rest of the room. It’s achievable with a few curated pieces and small edits.
What You'll Need
- Floating wood shelves, walnut, 24–36" (~$30–80)
- Matte white ceramic vase, medium (~$20–45)
- Small potted faux plant, 6–8" (~$10–30)
- Decorative coffee table books, set of 5 (~$25–60)
- Brass minimalist bookends (~$15–40)
- Seagrass woven basket, medium (~$20–50)
- Abstract ceramic sculpture, small (~$20–50)
- 8×10 wood picture frames, set of 2 (~$15–35)
Step 1: Decide placement that reads with the room
I start by standing back and reading the room. I look for sightlines—the sofa height, the width of the console, the paint color on the wall. Shelves should echo those proportions, not interrupt them. Placing one long shelf above a low sofa or a staggered trio beside a chair keeps the wall feeling intentional.
People often miss the relationship between shelf height and furniture. Avoid mounting shelves too high or too low; that’s the small mistake that makes them feel like afterthoughts.
Step 2: Anchor each shelf with one solid, functional object
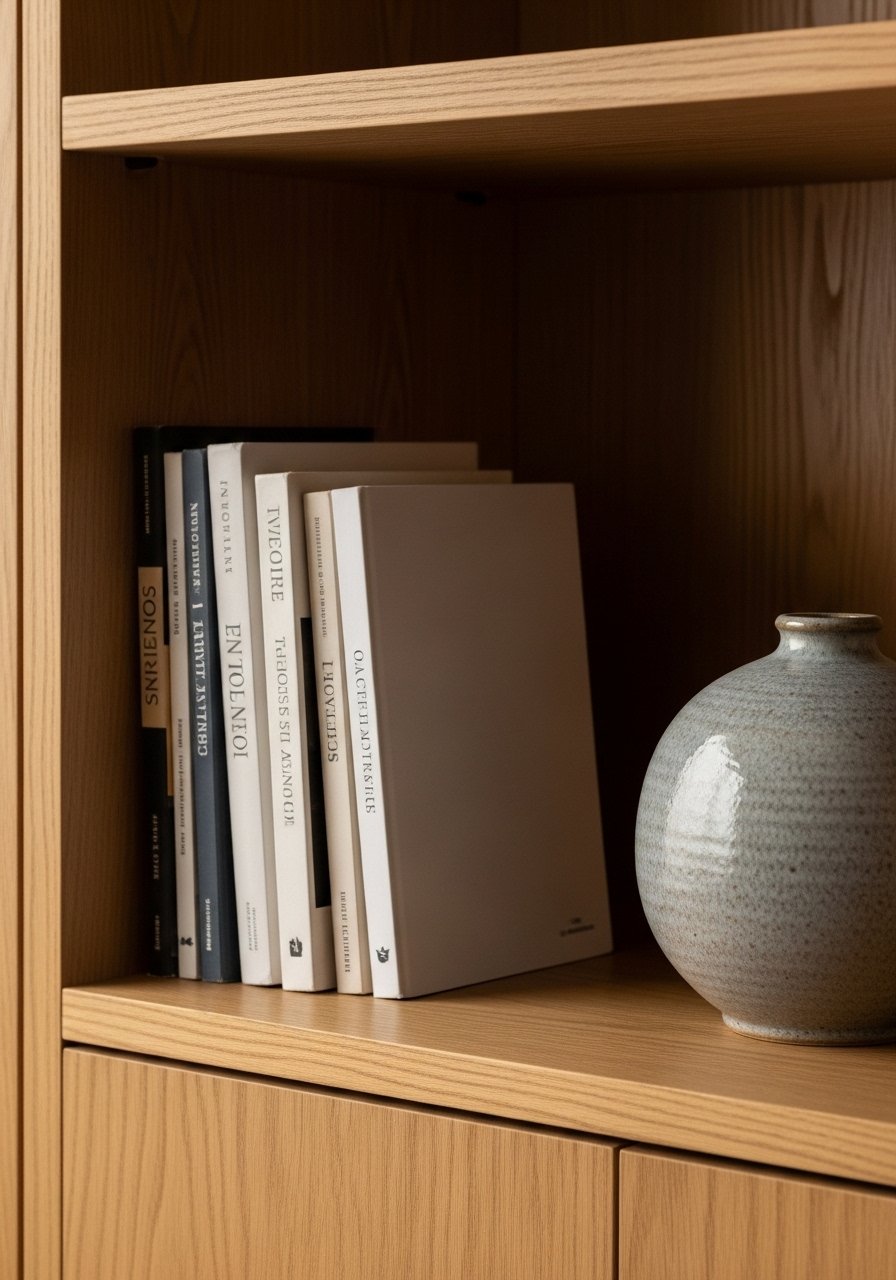
I always pick one grounding object per shelf—a stack of coffee table books, a woven basket, or a medium vase. That single anchor gives the eye something to start on. From there I add smaller items; the shelf stops looking like a collection of random things and starts looking curated.
A common insight I tell people: less is more when you have an anchor. The mistake to avoid is overfilling every inch; negative space matters for a calm, organic modern look.
Step 3: Layer height and texture for rhythm
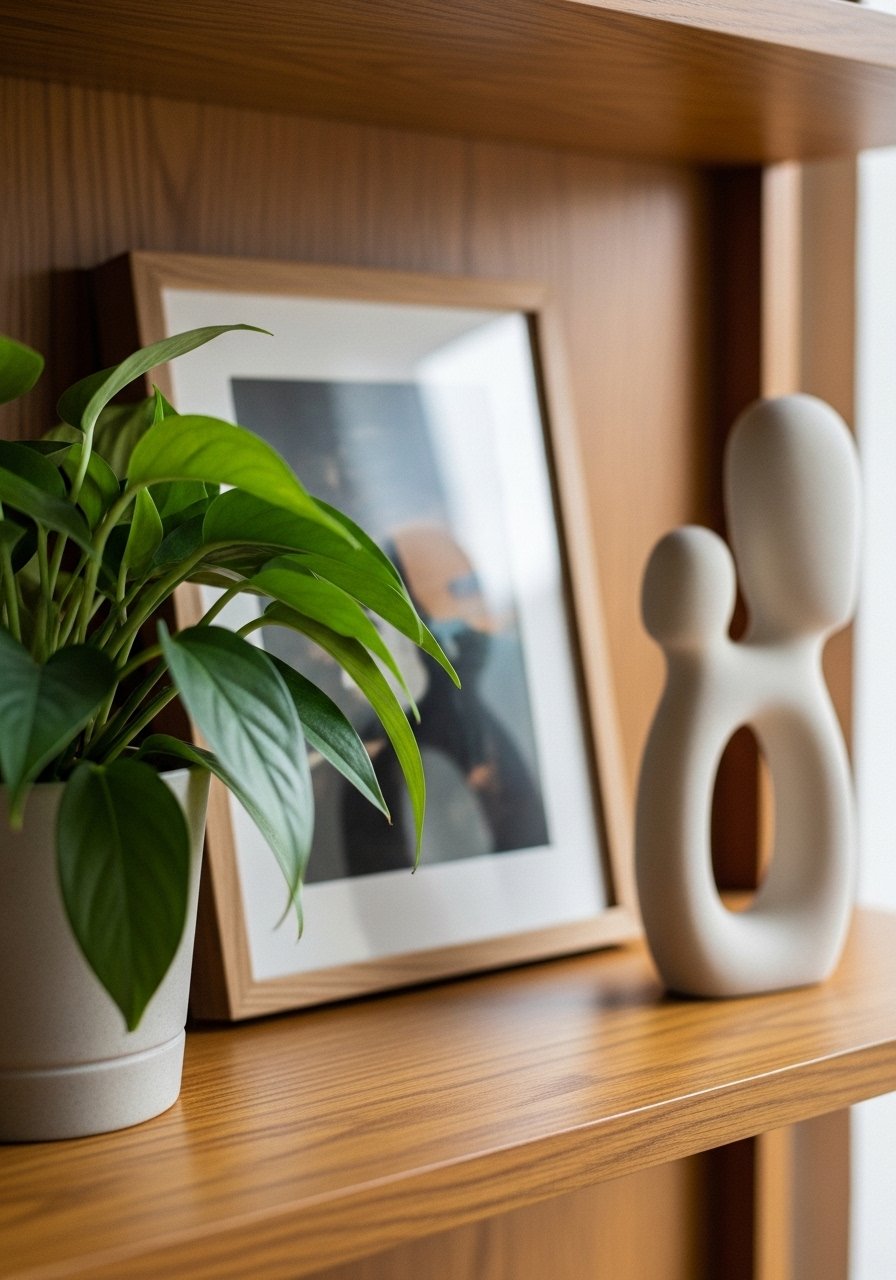
I layer items by height—tall vase, medium frame, low sculpture—so the shelf reads like a little landscape. I mix finishes: a matte vase, glossy ceramic, woven basket. That tension creates rhythm and feels lived-in. For a japandi or organic modern vibe, I lean into neutral colors and natural materials.
People miss that repeating one material or color across shelves ties them together. Avoid placing similar items in the exact same spot on each shelf; balance, not symmetry, usually looks better.
Step 4: Use greenery and negative space to keep shelves breathing
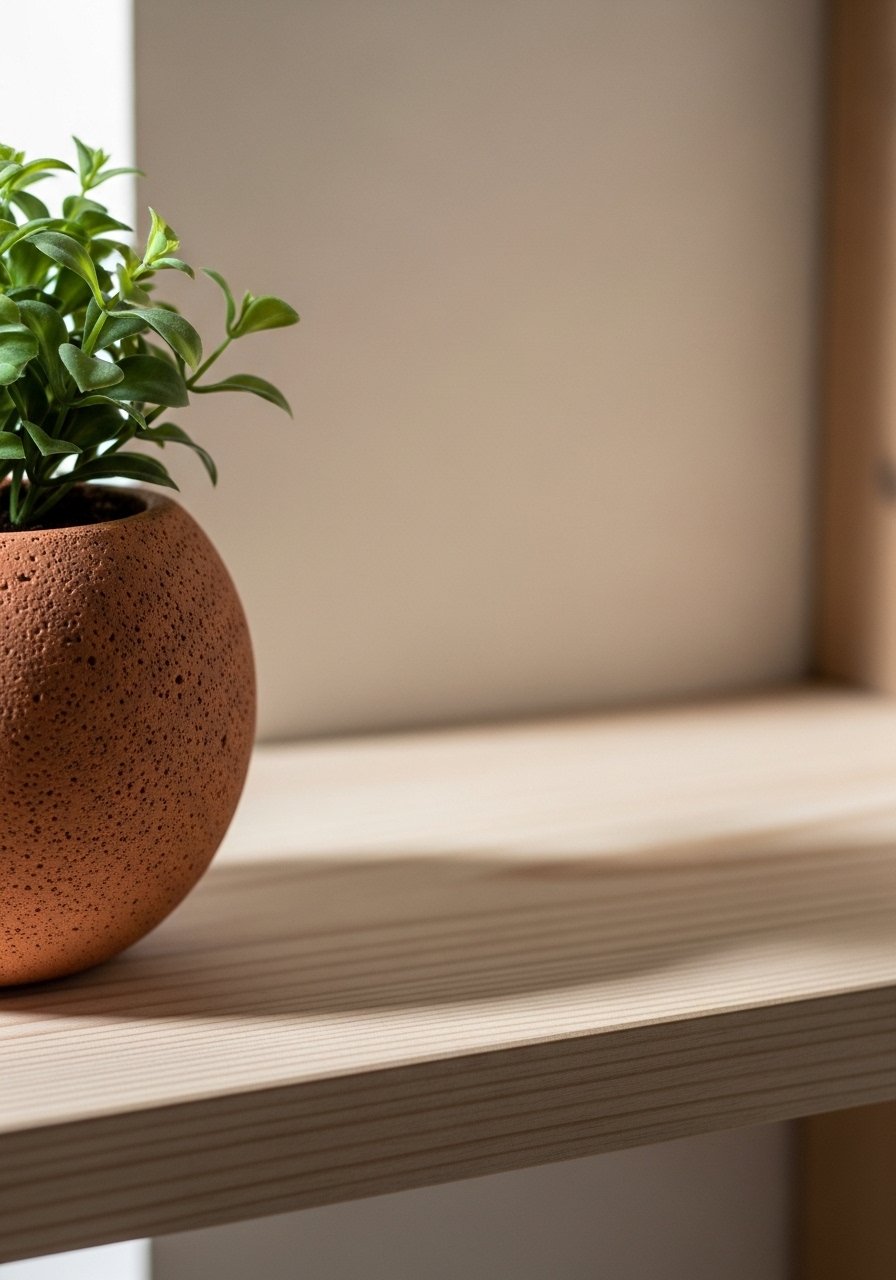
I add a small plant or two to introduce life and scale. Plants break the hard lines of objects and make shelves feel softer. Equally important is leaving empty space—one empty corner or one shelf intentionally sparse keeps the display calm.
A small mistake is filling every shelf because you bought new pieces. I resist that urge. I rotate a plant or a small sculpture seasonally, which keeps the wall feeling fresh without overwhelming it.
Step 5: Check the wall from across the room and tweak for flow
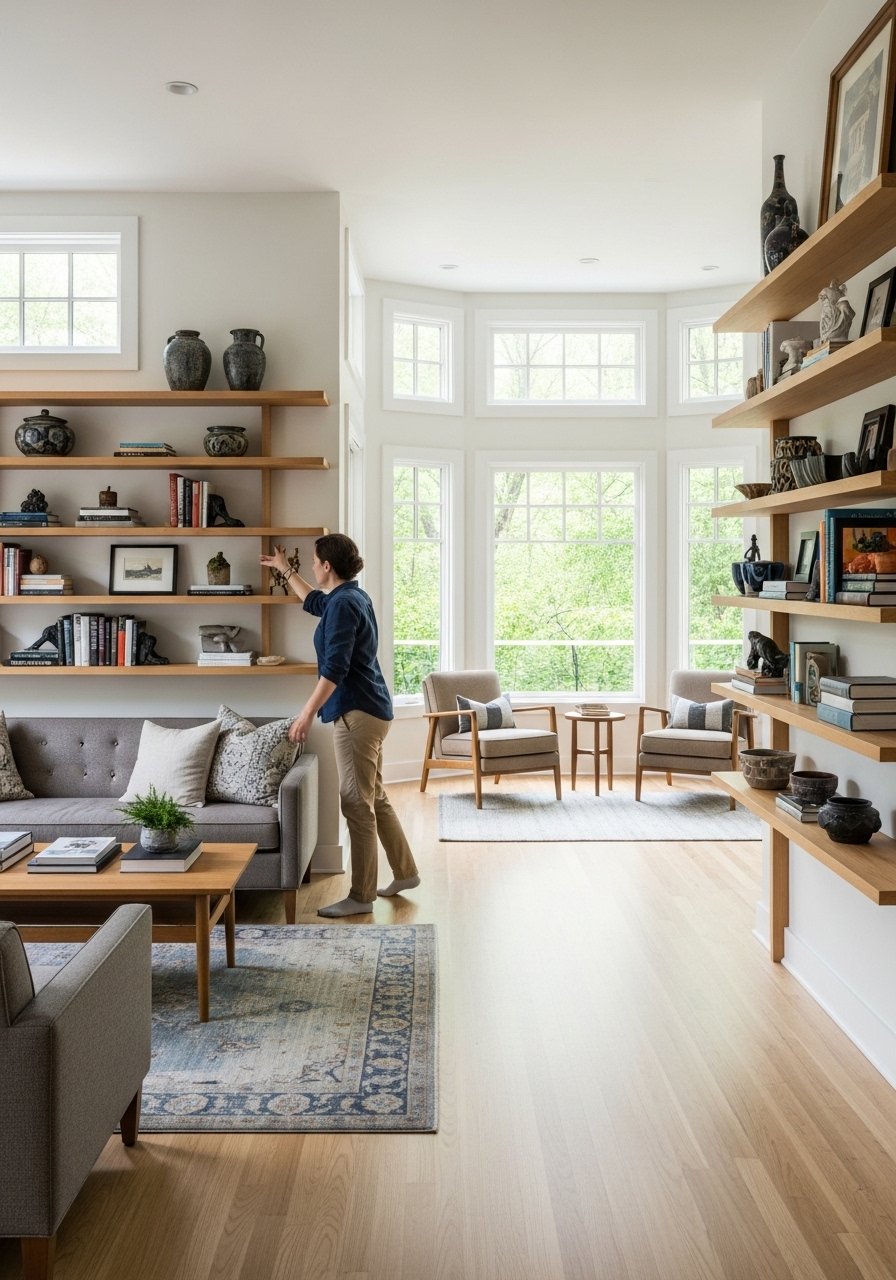
I finish by viewing the shelves from across the room and from the main doorway. I look for balance with the rest of the room: does one side feel heavier? Is the top line of the shelf competing with a picture rail or window? I tweak heights and move one object at a time until the wall reads as part of the room.
One insight: small moves make a big difference. The common mistake is to stop at close range; always take a step back and then another step back.
Common mistakes and how to fix them
I see the same errors often. People cram too much, hang shelves without considering furniture scale, or neglect negative space. The fix is simple: edit down and repeat a material or color to unify the look.
Quick fixes:
- Remove half the objects and reassess.
- Repeat one texture (wood or brass) across shelves.
- Raise or lower the entire group 2–3 inches for better alignment with furniture.
How to adapt this for small rooms or a tight budget
In a small room, one well-placed narrow shelf beats a wall of smaller shelves. I choose slim floating shelves and keep styling light. For budgets, I mix affordable decor books and faux plants with one nicer piece like a ceramic vase to create a composed look without spending much.
Budget tips:
- Use thrifted frames and a single new vase.
- Swap real plants for high-quality faux plants where light is limited.
- Group inexpensive items in odd numbers for visual interest.
Mixing wall shelves with what you already own
I rarely throw out existing pieces. Instead I fold them into the shelf story. A family photo in a simple wood frame sits next to a stack of neutral books. A woven basket below the shelves ties to a jute rug. The goal is cohesion, not matching.
How I approach it:
- Pull three colors from the room and repeat them on the shelves.
- Let one personal item sit prominently; it keeps the styling personal.
- Use a repeated material (wood grain, brass, or linen) to connect pieces.
Final Thoughts
Start with one shelf and a small edit. I promise the difference is immediate: the room feels more considered and warmer. Keep an eye on balance and negative space, and rotate just a couple items seasonally.
If you want a low-commitment start, a matte white ceramic vase is an easy piece to test how a shelf will feel before you add anything else.
