
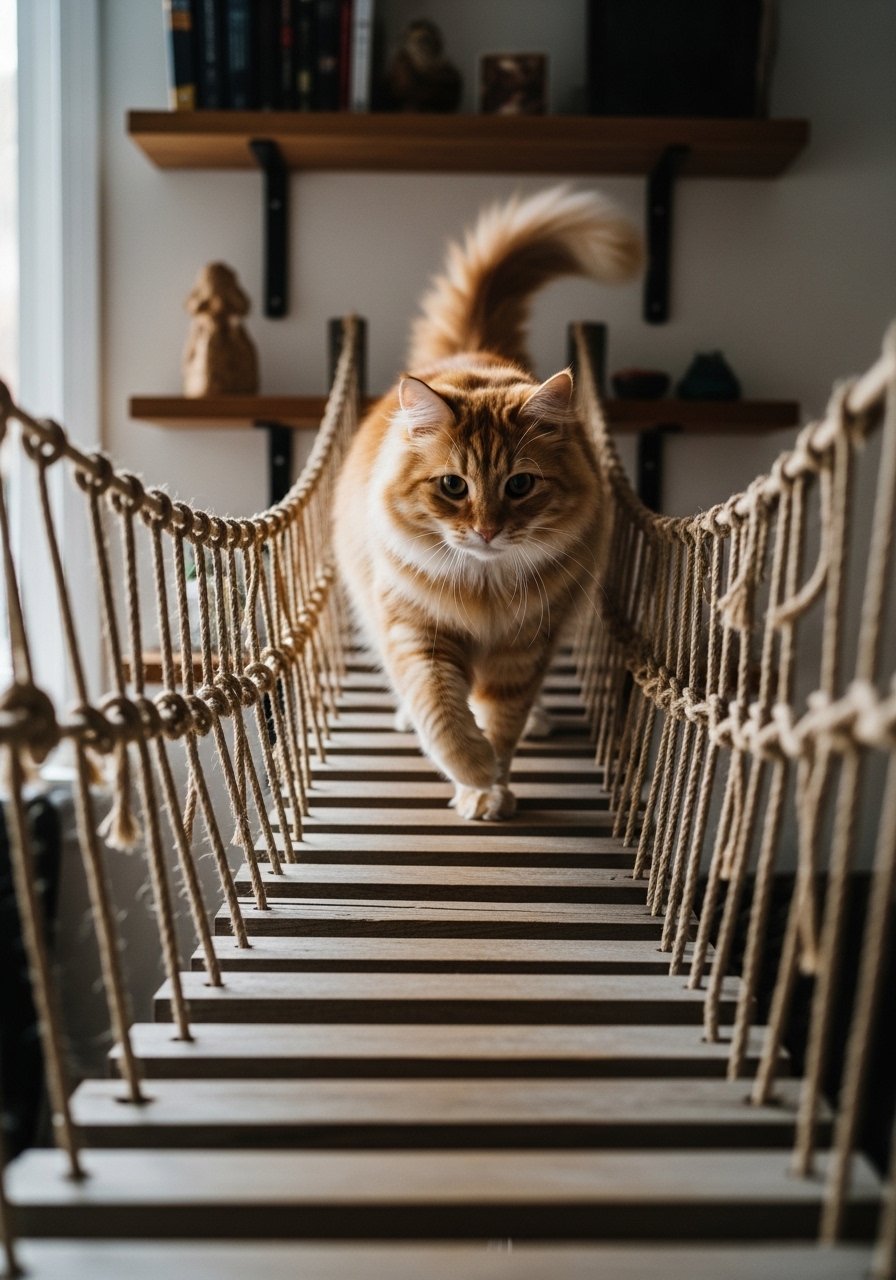
My living room had nice furniture but it still felt like a waiting room. Took me embarrassingly long to realize everything was the same height. Adding vertical cat shelves changed the whole energy, and the cats did most of the decorating. Most cat people say their furball chills out more with a wall to climb. These builds lean practical and lived-in, most can be done for under $100, and they work in living rooms, bedrooms, or compact apartments.
Staggered Step-Up Shelves For Living Rooms
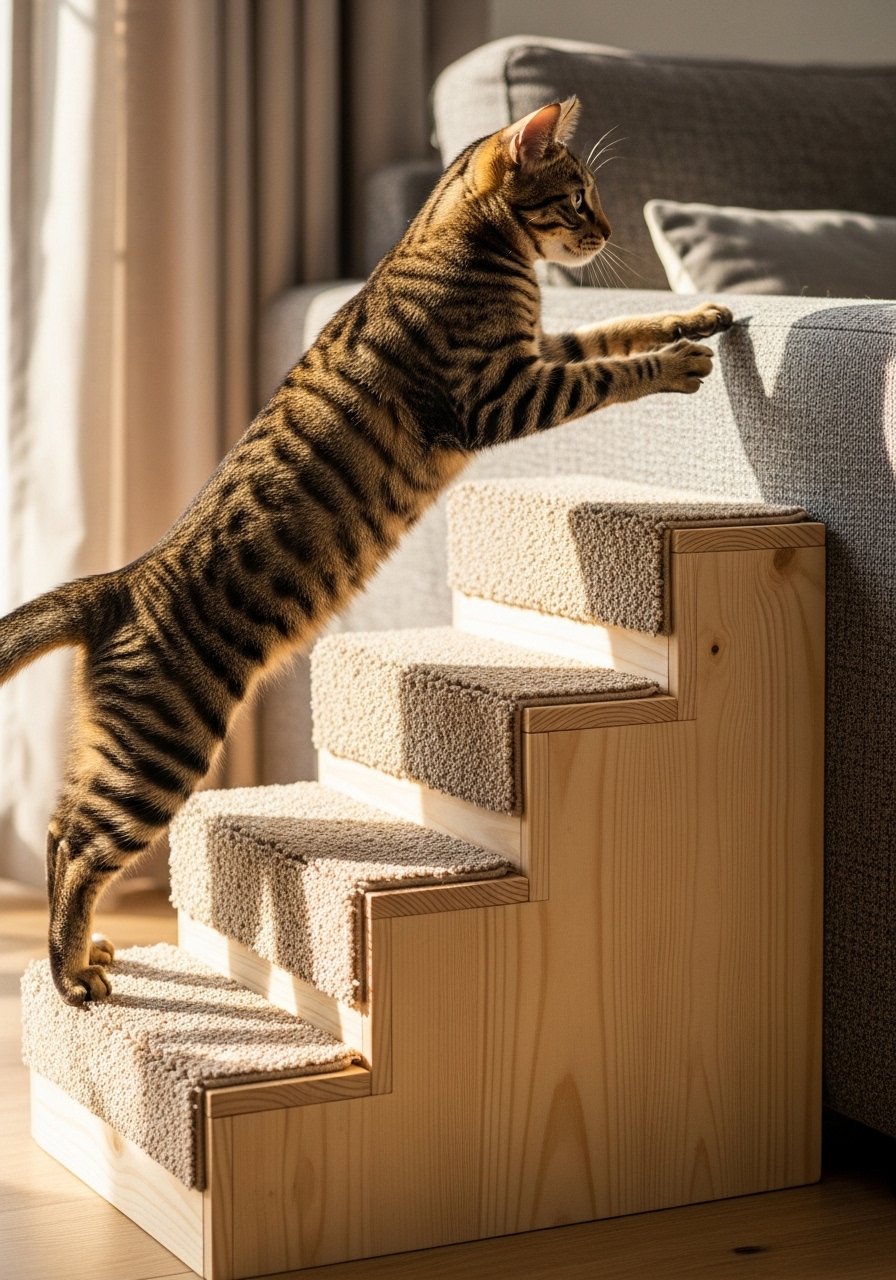
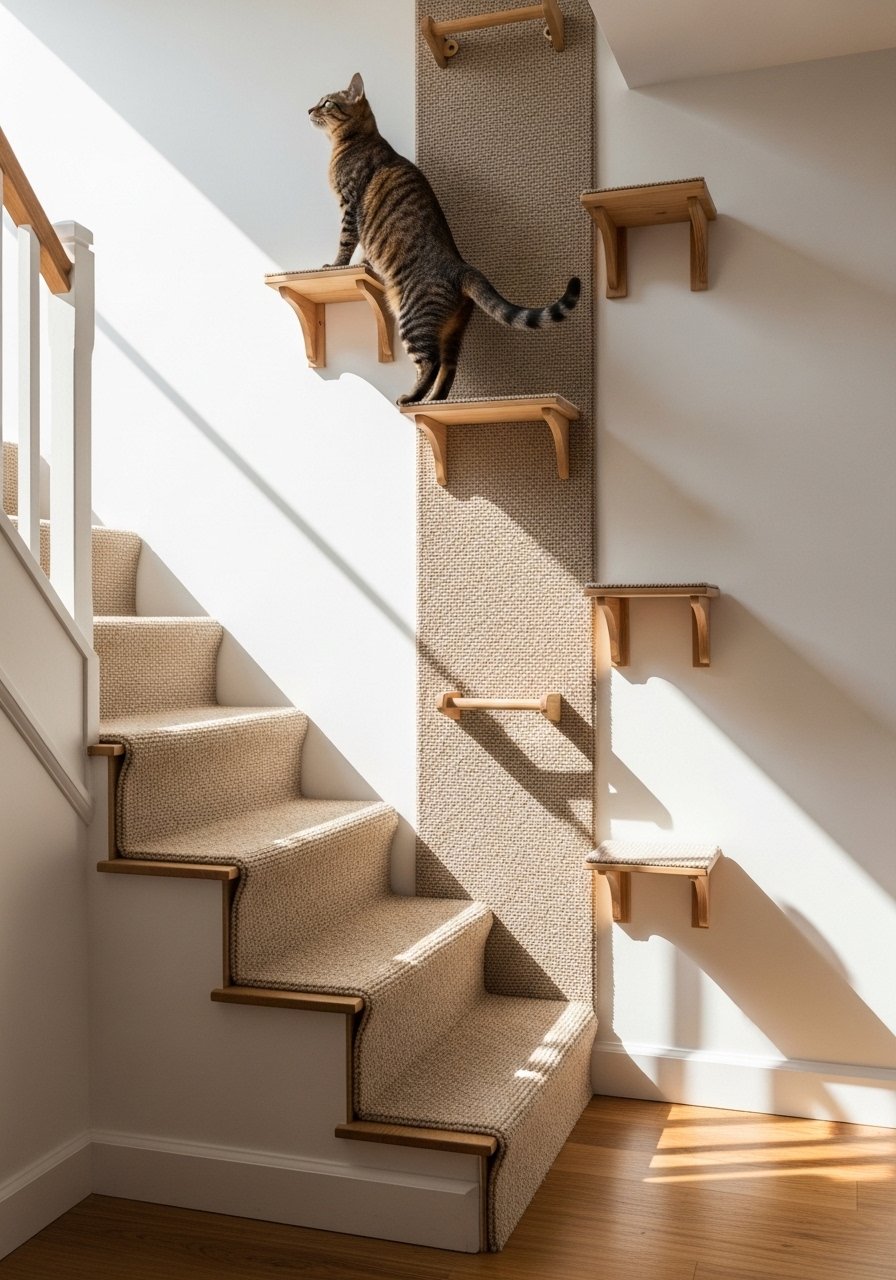
The step-up stagger feels like a staircase for cats, which helps kittens and older cats alike. Start the lowest shelf 12 to 14 inches off the floor and keep horizontal spacing 12 to 15 inches, so jumps never feel scary. I used 1×8 pine boards painted to match the wall and glued carpet remnants on top, which cost under $60. Anchor each shelf into studs with at least one screw, or use heavy-duty toggle bolts in rentals. A common mistake is making shelves too narrow. Aim for roughly 9-inch wide boards so paws have room. Pair this with the carpet-strip ladder idea below for an easy route from floor to top.
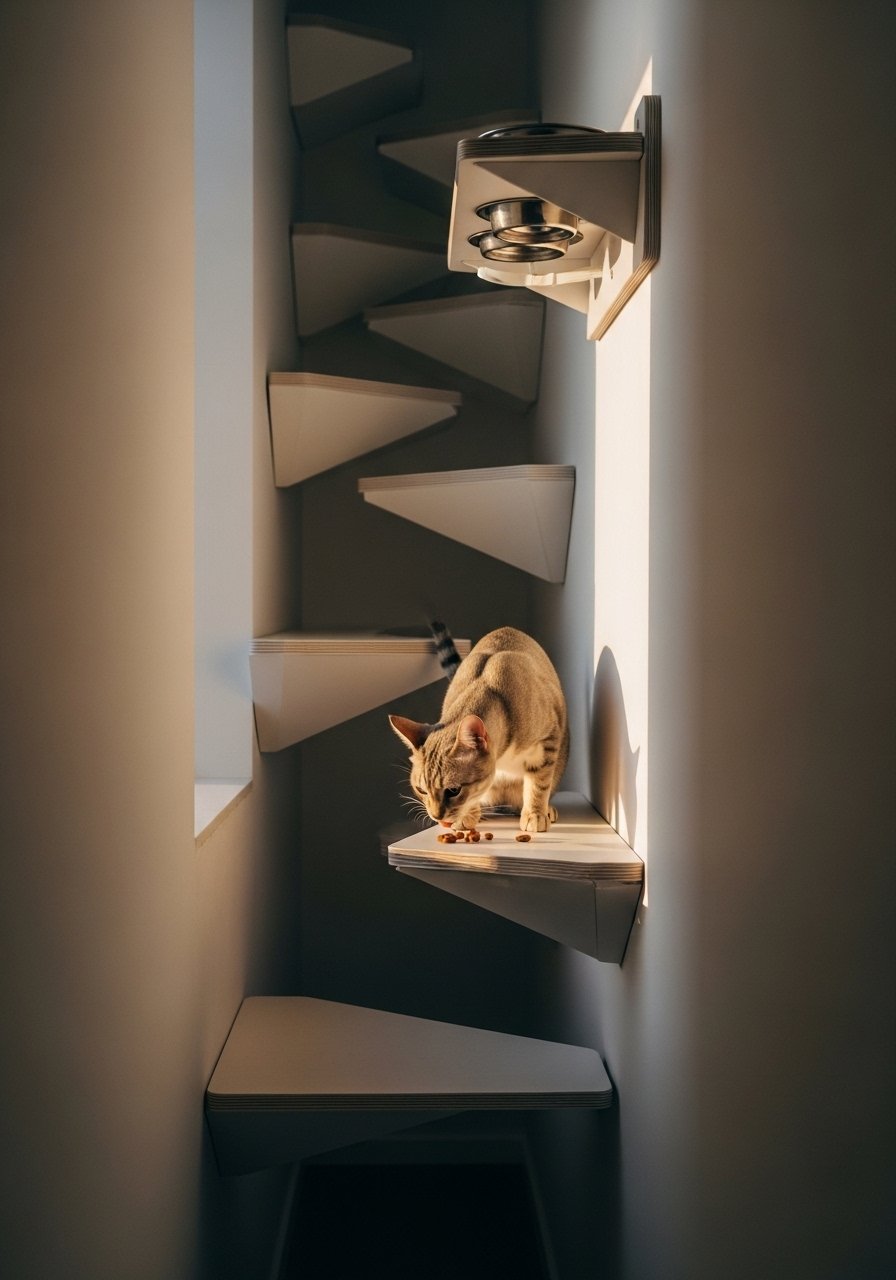
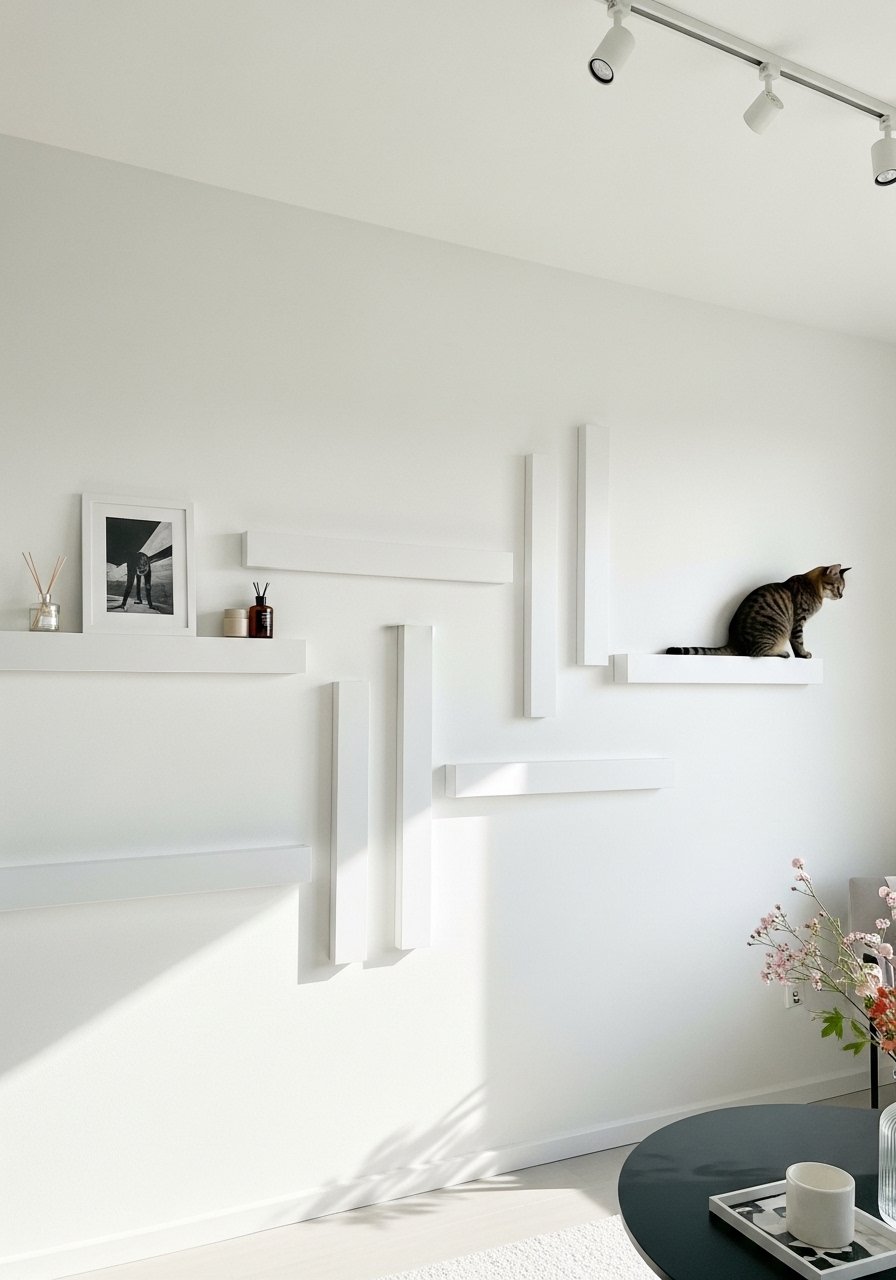
Floating Zig-Zag Path To Window Perch
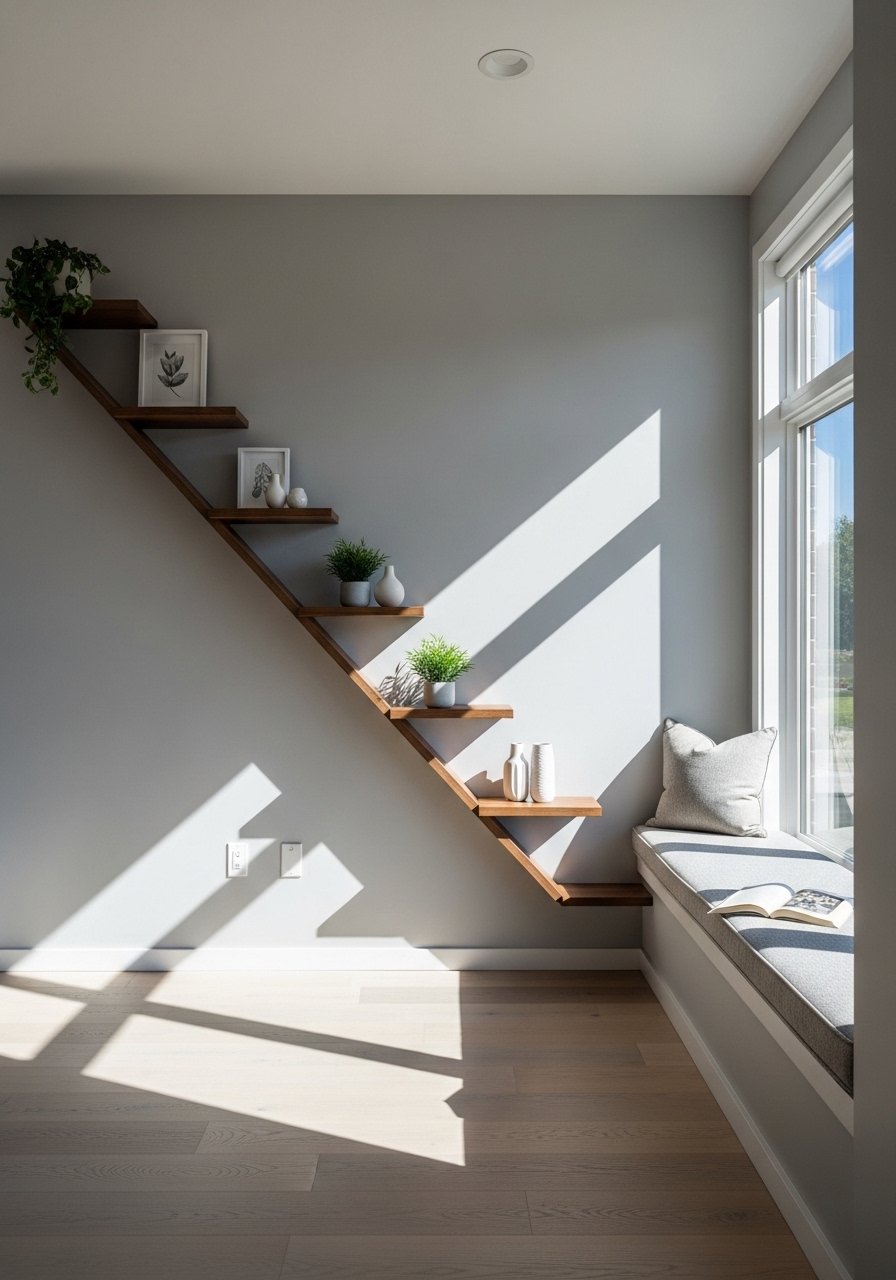
I built a zig-zag path to the window so my cat could patrol the room and hop to the birds. Float shelves look sleek when paint matches the wall. Space them vertically 12 to 18 inches to let a cat turn mid-jump. Bracket-free floating shelves are prettier but they need strong stud anchoring, so budget $80 to $150 for quality supports. A mistake I made once was leaving the top perch without an overhang; extend the final shelf a cat-length above the perch so descent feels safe. If you rent, use fewer floating elements and combine with cleats anchored into studs.
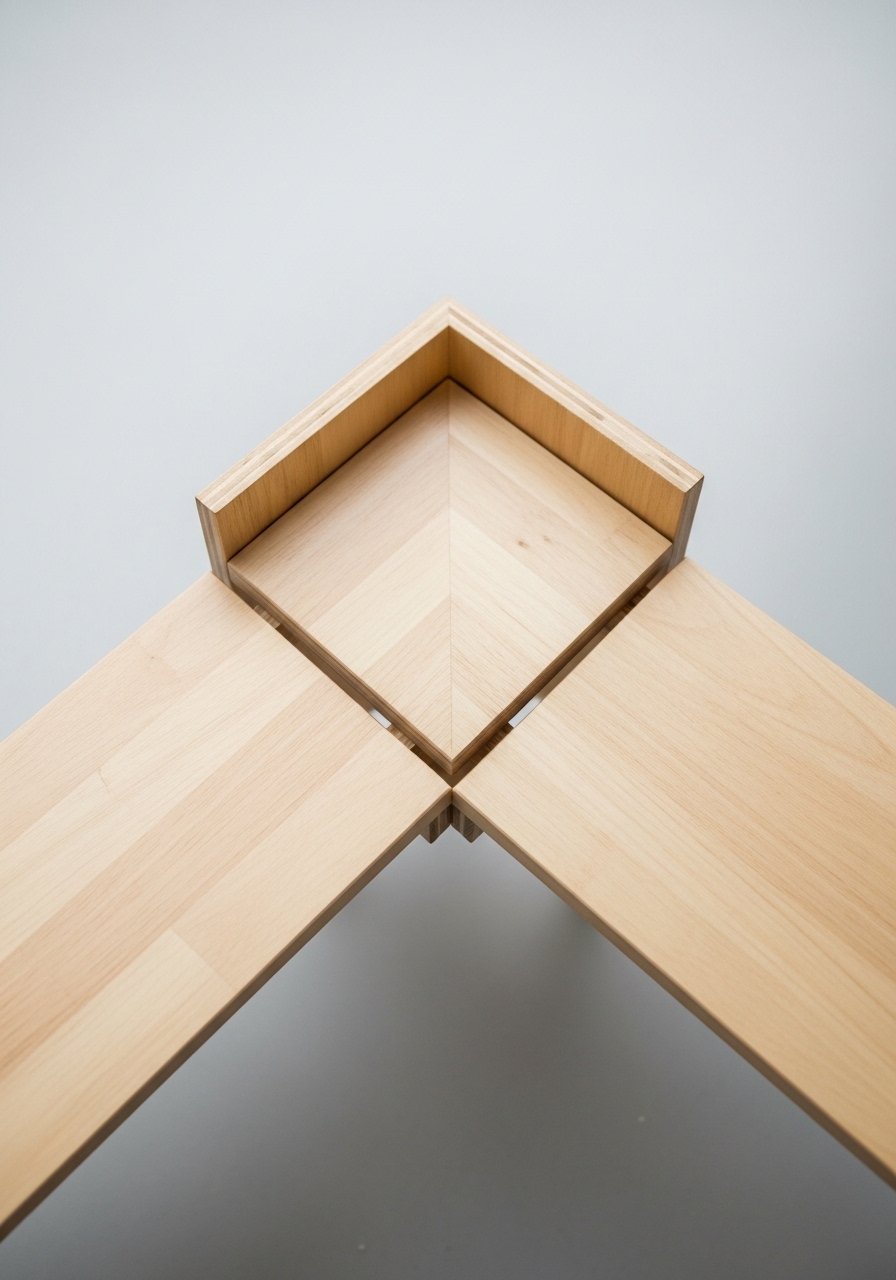
Corner Wrap Shelves For Small Rooms
Corners are wasted real estate, especially in small apartments. A corner wrap uses a cleat along both walls for support and makes a continuous lookout route. I used 1/2-inch plywood upholstered in short sisal and spent about $60. Start the first platform 12 inches off the floor for an easy entry. People often forget to check stud placement around corners, so mark studs first and use long screws that bite into studs on both walls. This is great in bedrooms or next to bookcases. Tiny apartments make wall climbers a go-to now, and this trick saves floor space.
Tall Climber To Ceiling Perch In Open Rooms
My cat loves the highest spot in the room, so I built a vertical climber that finishes with a cozy ceiling perch. Use a continuous 9-inch wide board, cover it in sisal for scratch and grip, and anchor cleats into studs every 24 inches. Budget runs $60 to $120 depending on finish. Important detail many builders skip is extending the perch above surrounding furniture by a cat-length so the cat can climb down safely. If your landlord worries about holes, use wall studs only and show photos of finished work to reassure them. Folks usually pull this off for under a hundred bucks.
Slotted Corner Walkway With Bridge Extension
This one juts a half-shelf past the corner to accept a bridge, making a longer circuit without floor clutter. I cut slots into the main supports so the bridge plugs in flush, then carpeted both surfaces. Keep vertical gaps 12 to 18 inches so cats can navigate without big leaps. Expect $100 to $200 if you add a decorative bridge panel. A common error is making the bridge too thin. Use at least 9 inches width and reinforce with a cleat underneath. This pairs nicely with the overhang bookcase tie-in idea later for a seamless route.
Renter-Friendly Window Perch With L-Brackets
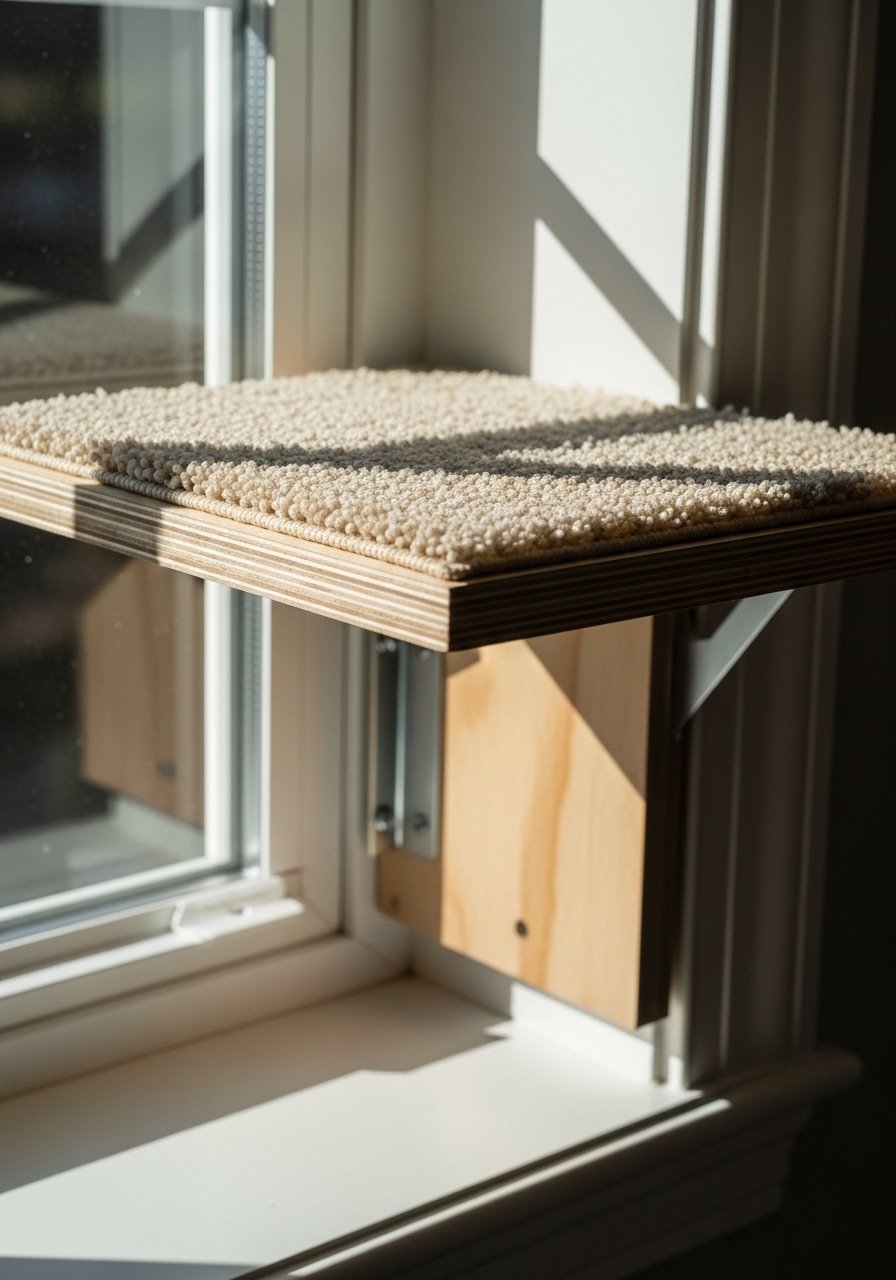
If you cannot drill many holes, a single L-bracket can support a sturdy window perch. I used a 12×18 inch plywood piece covered in faux fur and a pair of stout L-brackets, total cost about $40. Keep the perch 12 to 14 inches off the floor if you want the cat to get up easily. Use heavy-duty wall anchors recommended for your wall type if you cannot hit studs. Many people make the perch smooth and slick. Add carpet or faux fur for traction. Train your cat with treats to try the perch a few times and patience will pay off.
Low-Start Ramp Leading To Hammock Bridge

My older cat prefers ramps to jumps, so I converted a series of low ramps into a hammock bridge. Start the first ramp 12 inches above the floor and keep ramp slope gentle. I used plywood with faux fur glued on and anchored the hammock with ceiling hooks into studs, costing about $70 to $130. The trick most people miss is anchoring the ramp securely at the top so it does not shift. If you rent, use removable heavy-duty Command hooks for the hammock anchors but still stud-mount the ramp base. This helps older or jointy cats stay independent.
Carpet Runner Base With Shelf Ladder
I glued a long carpet runner up the wall to make a grippy landing strip and then mounted staggered shelves along it. The runner gives extra traction for cats who hesitate with smooth surfaces. Use a 2-3 inch overlap at shelf backs so the carpet sits flush. Total cost usually falls between $40 and $90. A mistake I made first was positioning shelves too far apart vertically. Stick to 12 to 15 inches horizontally and 12 to 18 vertically for comfort. This pairs well with stud-mounted platforms and the ramp idea for full circuits.
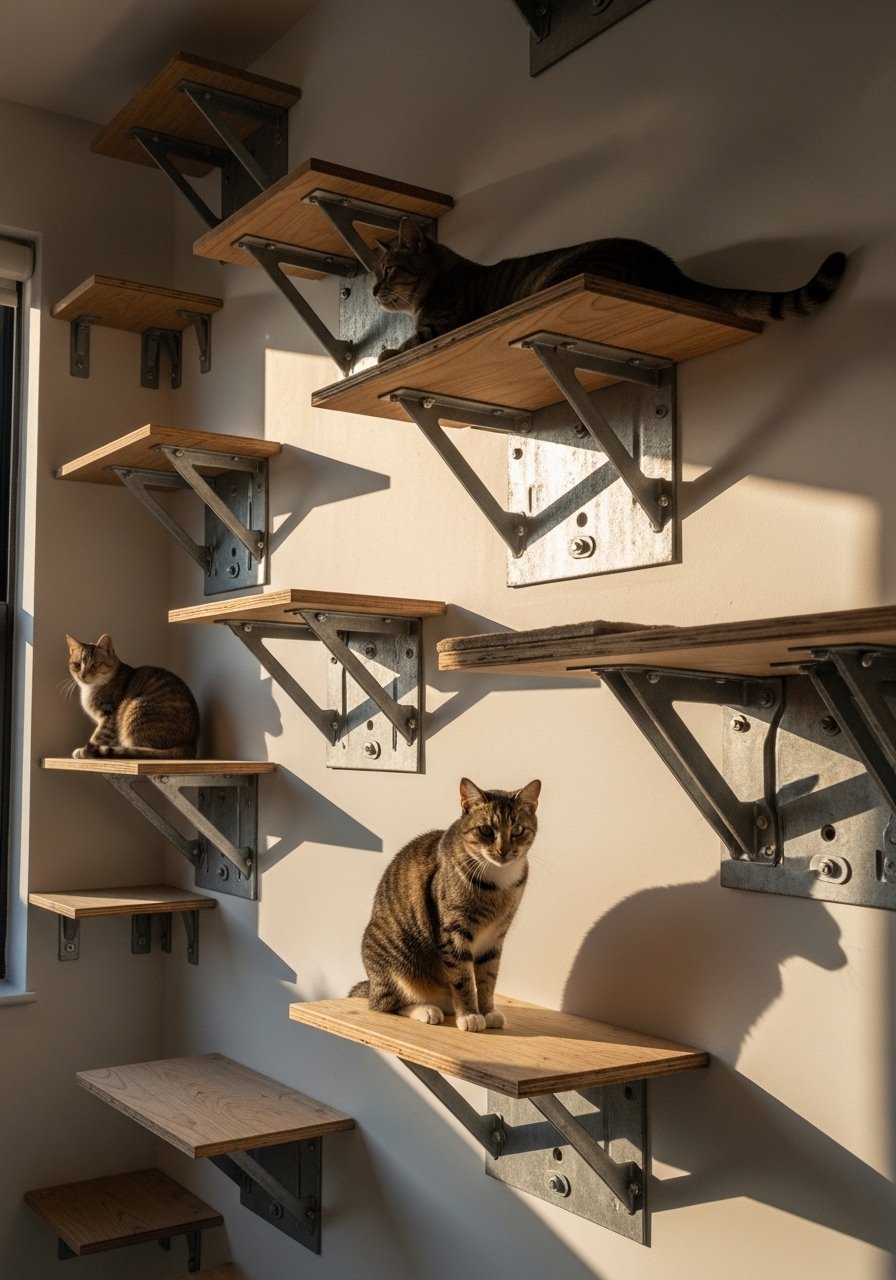
Stud-Mounted Multi-Level Platforms Near Furniture
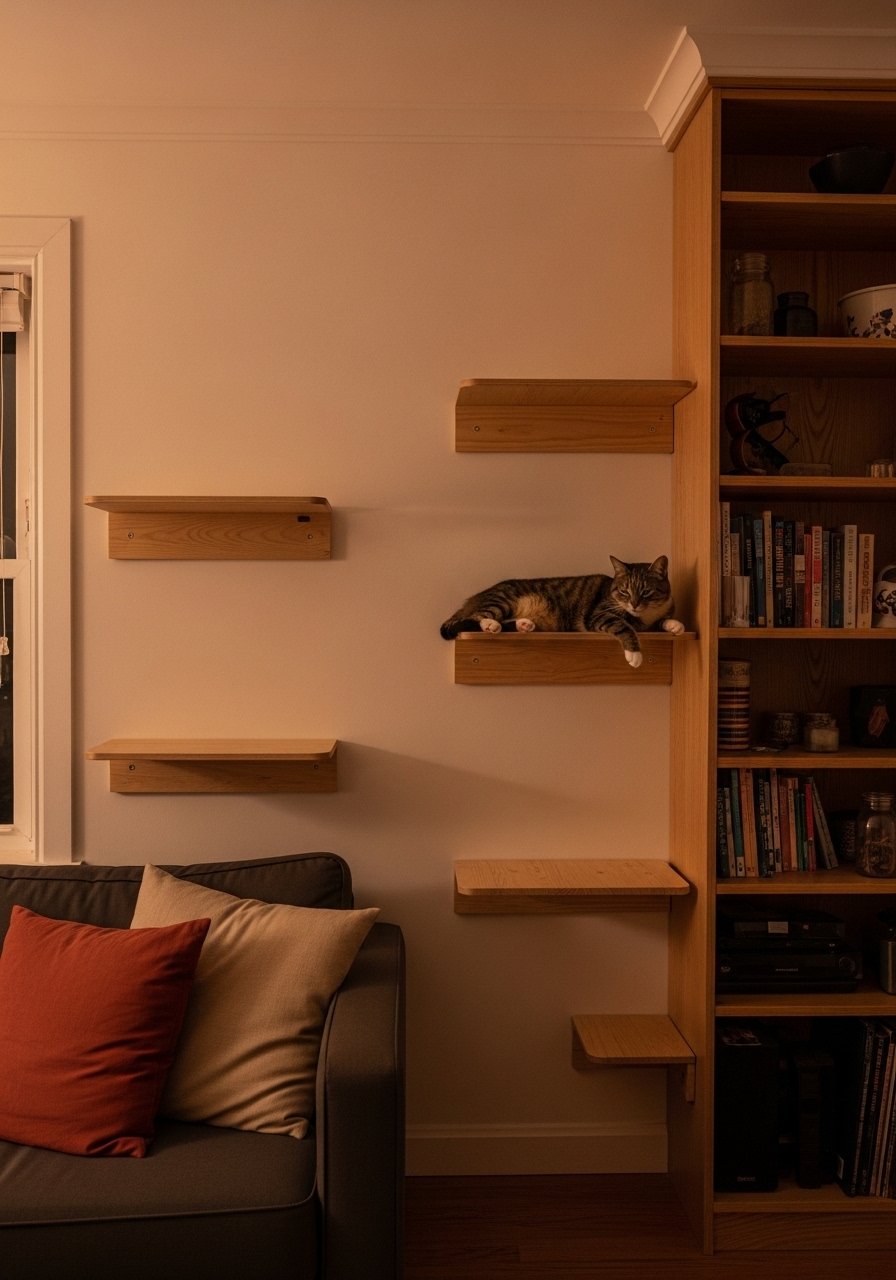
This approach ties shelves into the furniture you already have, so you do not add clutter. I installed 3/4-inch plywood platforms into studs beside the couch to create a route from floor to bookshelf. Secure each platform with screws through studs and test weight before letting cats up. Budget is usually $90 to $160 depending on finish. People often underestimate dynamic loads, so always use at least one stud-mounted screw per platform. This idea connects especially well to the overhang bookcase build later, and it keeps the room compact.
Treat-Path To Elevated Food And Water
I trained my shy cat to use the wall by making a treat path that led to his food on an elevated shelf. Use small 8 to 12 inch deep shelves spaced 12 to 15 inches apart so the route feels natural. Mount the final bowl on a wide perch roughly 18 inches off the floor. This solves the "cat ignores shelves" problem most people complain about. A common error is putting bowls too close to the wall edge. Secure the feeding station and use non-slip mats beneath bowls. Training tip, reward each successful jump to reinforce the path.
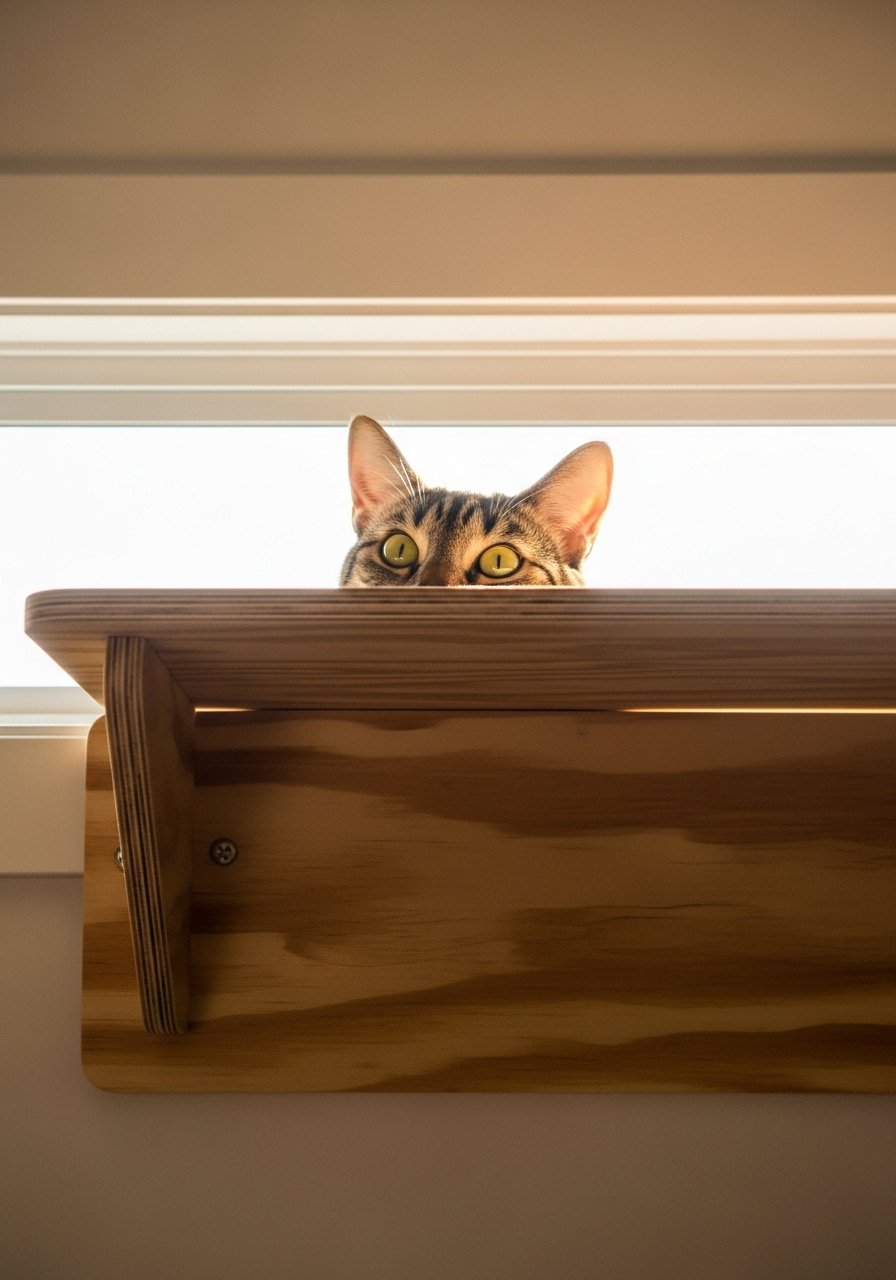
Overhang Climber Tied Into Bookcase

Using a bookshelf as an anchor saved floor space and made a convincing route. I attached a 9-inch sisal-covered board that overhangs the bookcase, giving cats a place to stretch without a wobbly tree. Secure the top with screws into studs and tie the bottom to the bookcase with metal brackets. Budget sits around $60 to $120. People sometimes forget to leave a cat-length clearance above the bookcase. Give a foot of overhang for safe descent. This is a good option when you want a tidy look and a strong hold.
Faux Fur Padded Starter Platforms For Shy Cats
One shy cat would not step onto hard surfaces, so I started with plush fake-fur pads a foot off the ground to build confidence. Small 12-inch platforms covered in faux fur cost about $35 to $70 and feel inviting. Start low and add a next-level shelf 12 to 15 inches higher once the cat is comfortable. The common mistake is rushing to tall perches. Give your cat several sessions to explore and reward any step up. These soft starts pair beautifully with the hammock bridge and ramp ideas.
Window Valance Extension Perch For Narrow Spaces
I hacked a window valance into a hidden perch that matches the trim. Cut a plywood valance, carpet the top, and mount with brackets into studs. It blends into the room and gives a birdwatching spot without taking space. Expect $40 to $80 depending on finish. A lot of renters skip padding, which makes the perch slippery. Add short-pile carpet and test the bracket load. This works especially well in bedrooms and small living spaces where floor space is at a premium.
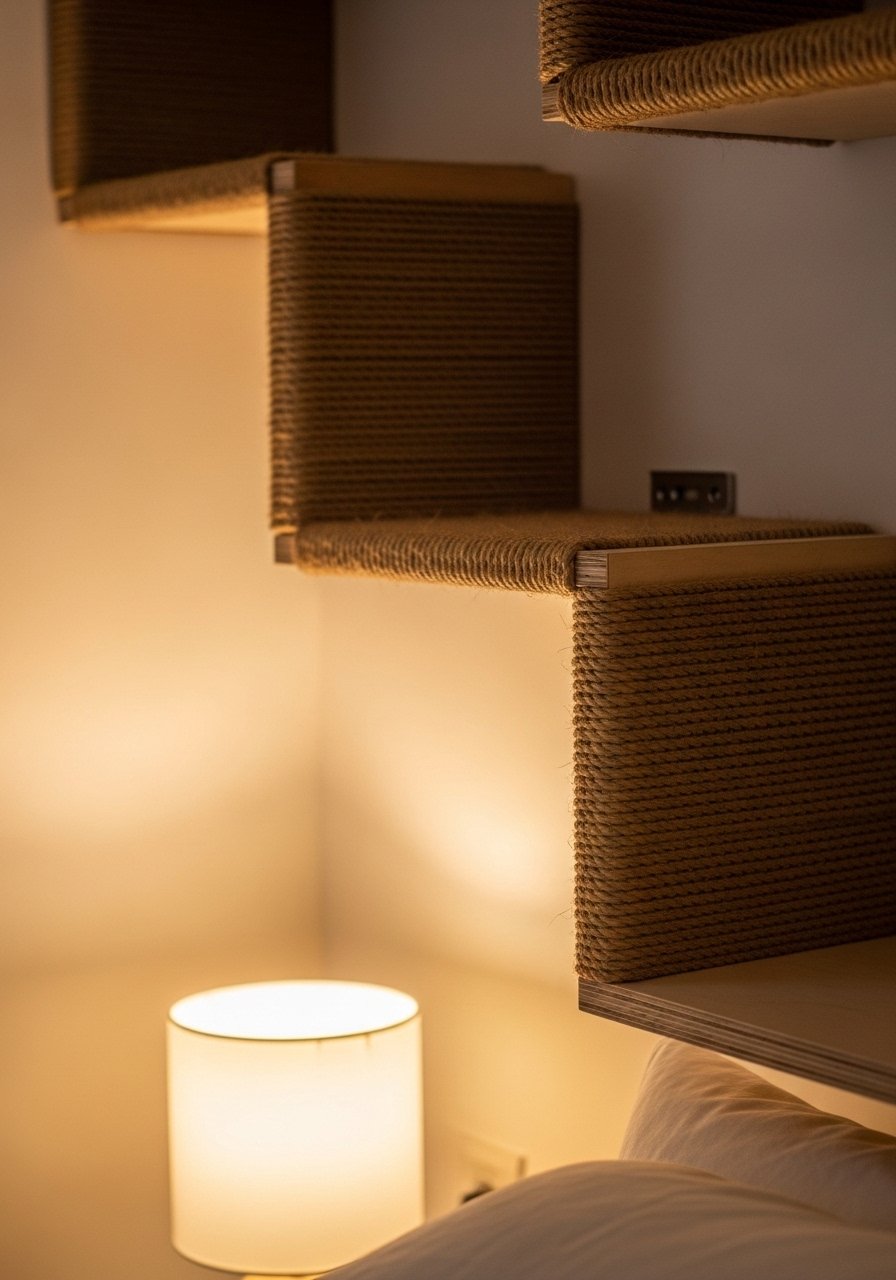
Sisal Vertical Scratch Climber For High Use
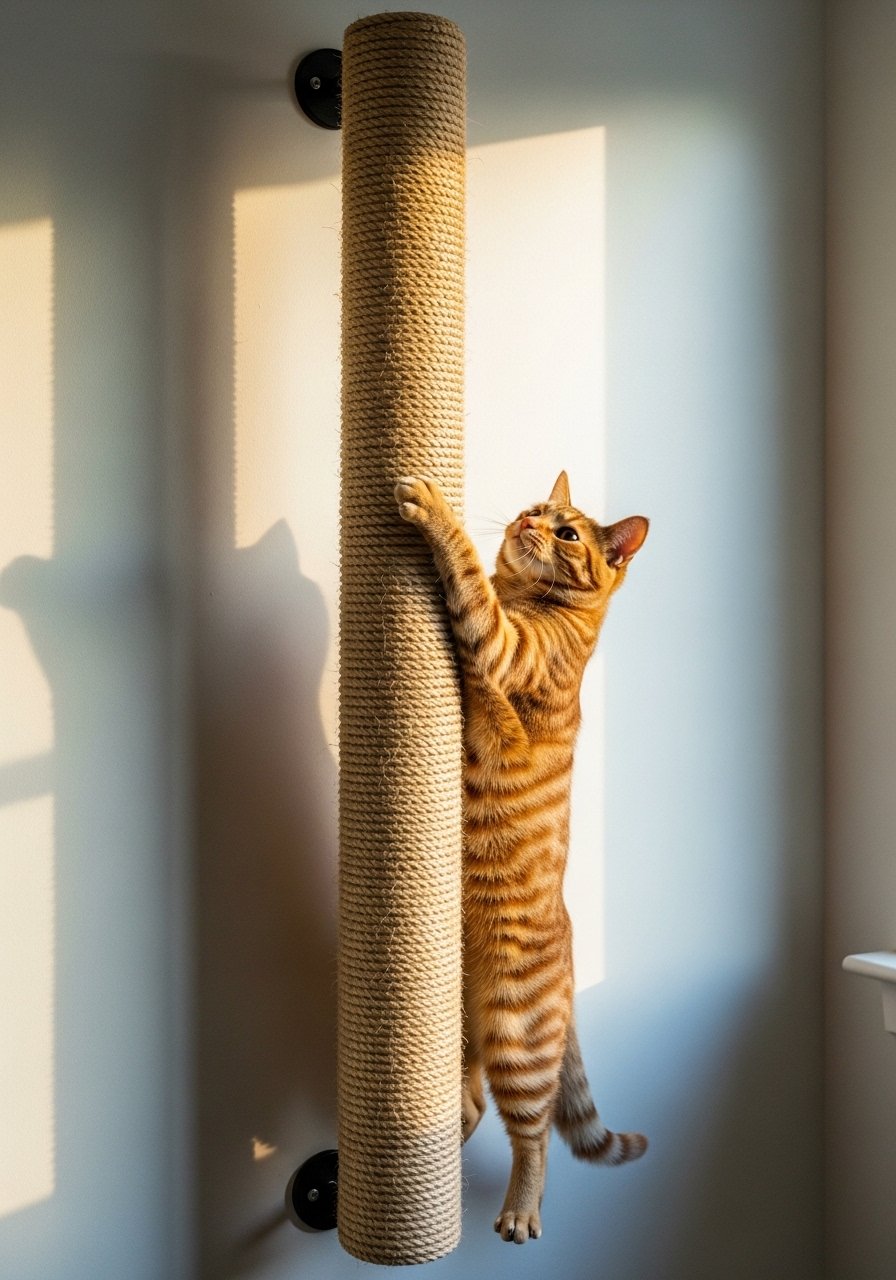
My cats scratch vertical surfaces more than horizontal ones, so I mounted a sisal-covered plank as a central spine for the wall system. Use a 9-inch wide board and wrap sisal rope tightly with construction adhesive and staples. Anchor the board into studs from top to bottom so it can take repeated use. Budget is $40 to $90. People often attach sisal with too few staples and it loosens. Staple every 3 inches and glue as you go. This element breathes life into a wall circuit and pairs with platforms on either side.
Suspended Bridge Between Two Shelves
A bridge adds play value and slows overly bold jumps. I screwed eye bolts into the two platform ends, hung a plank with rope sides, and let it sway a little. Use a sturdy plank at least 9 inches wide and anchor both ends into studs. Most people underestimate the dynamic load when multiple cats use it. Reinforce with cleats under each end and budget $50 to $100. Keep vertical gaps 12 to 18 inches to allow a landing area. Pair this with zig-zag shelves for a full obstacle course.
Hidden Cubby Shelf For Nap Time
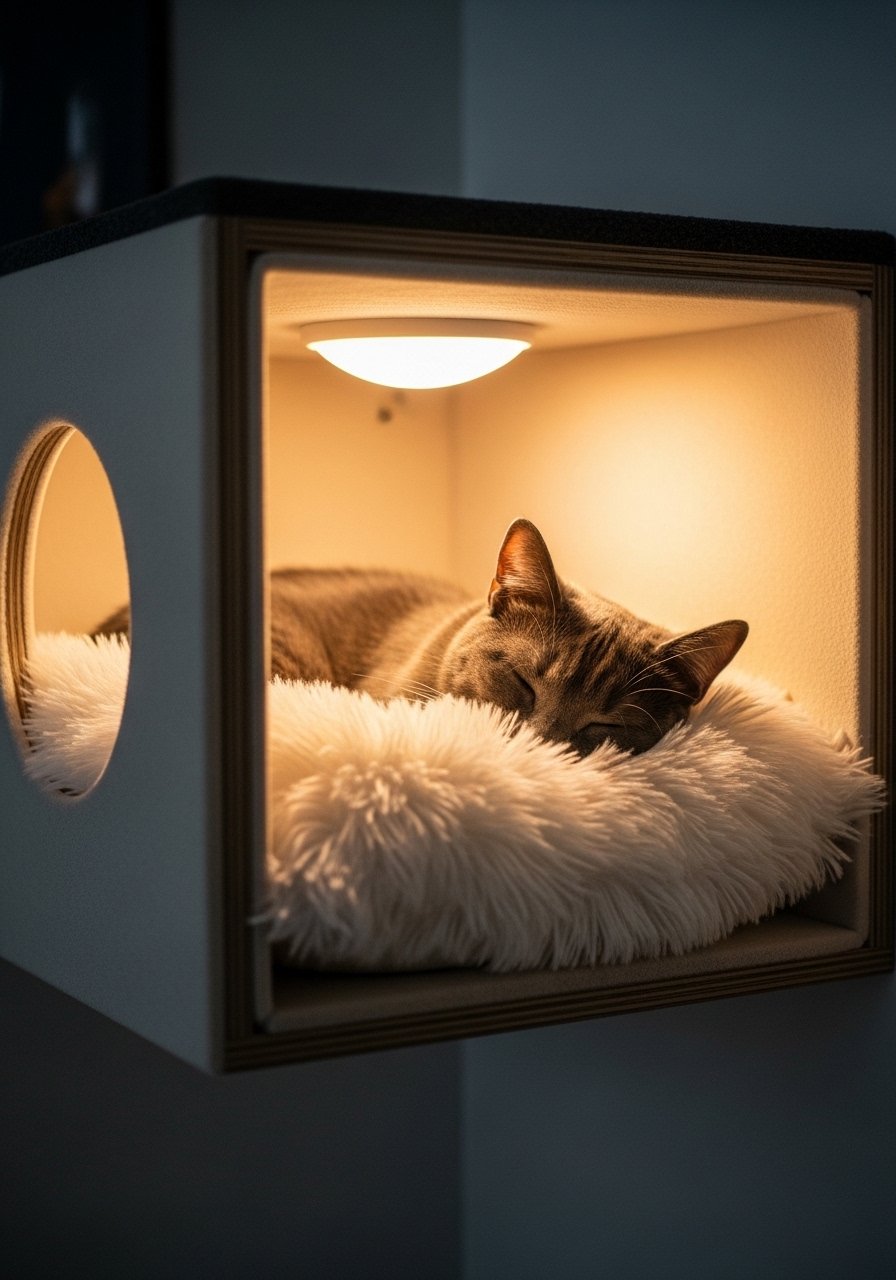
Cats love enclosed spaces, so I made a wall cubby as a cozy nap spot. Build a 12x12x10 inch box, add a soft pillow, and mount it into studs or onto a stud-mounted platform. Paint the exterior to match the wall so it reads as architecture. Budget is $40 to $80. A common oversight is making the entrance too small. Make sure the opening fits your cat easily and leave the interior surface grippy, not slick. This idea works well above consoles or next to bookshelves for a tidy look.
Ladder Of Narrow Shelves For Vertical Play

Imagine a ladder scaled for cats. I installed narrow 9-inch boards vertically spaced 12 to 15 inches so my cat can climb like a tiny mountaineer. It fits in a narrow hallway and gave the space personality. Anchor every shelf into a stud and test with weight before letting cats use it. Budget runs $50 to $90. Many people use boards that are too thin and flexible. Use 3/4-inch plywood or 1×8 pine for stiffness. This pairs nicely with the faux fur starters at the base.
Mirror-Backed Mini Perches For Small Apartments
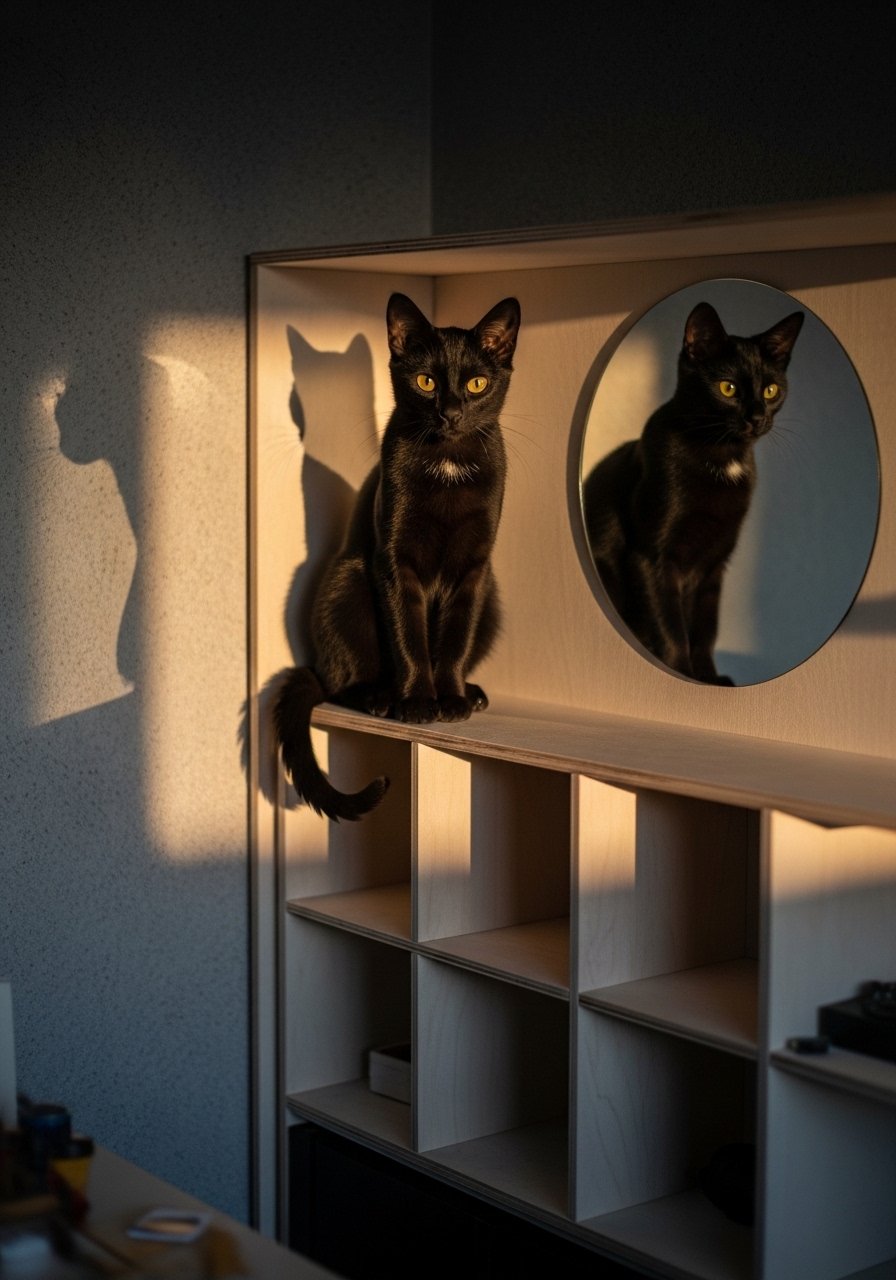
In a studio, reflective surfaces multiply visual depth. I used small mirrored panels behind 12-inch perches so the wall feels larger and more active. Mirrors also help timid cats feel like the space is populated without adding clutter. Keep perches 12 to 14 inches off the floor for easy starts. Budget is $40 to $80 depending on mirror style. A frequent mistake is using full-length mirror glass that is too heavy. Choose lightweight acrylic mirrors and anchor perches into studs. Tiny apartments make wall climbers a go-to now, and this trick helps everything feel bigger.
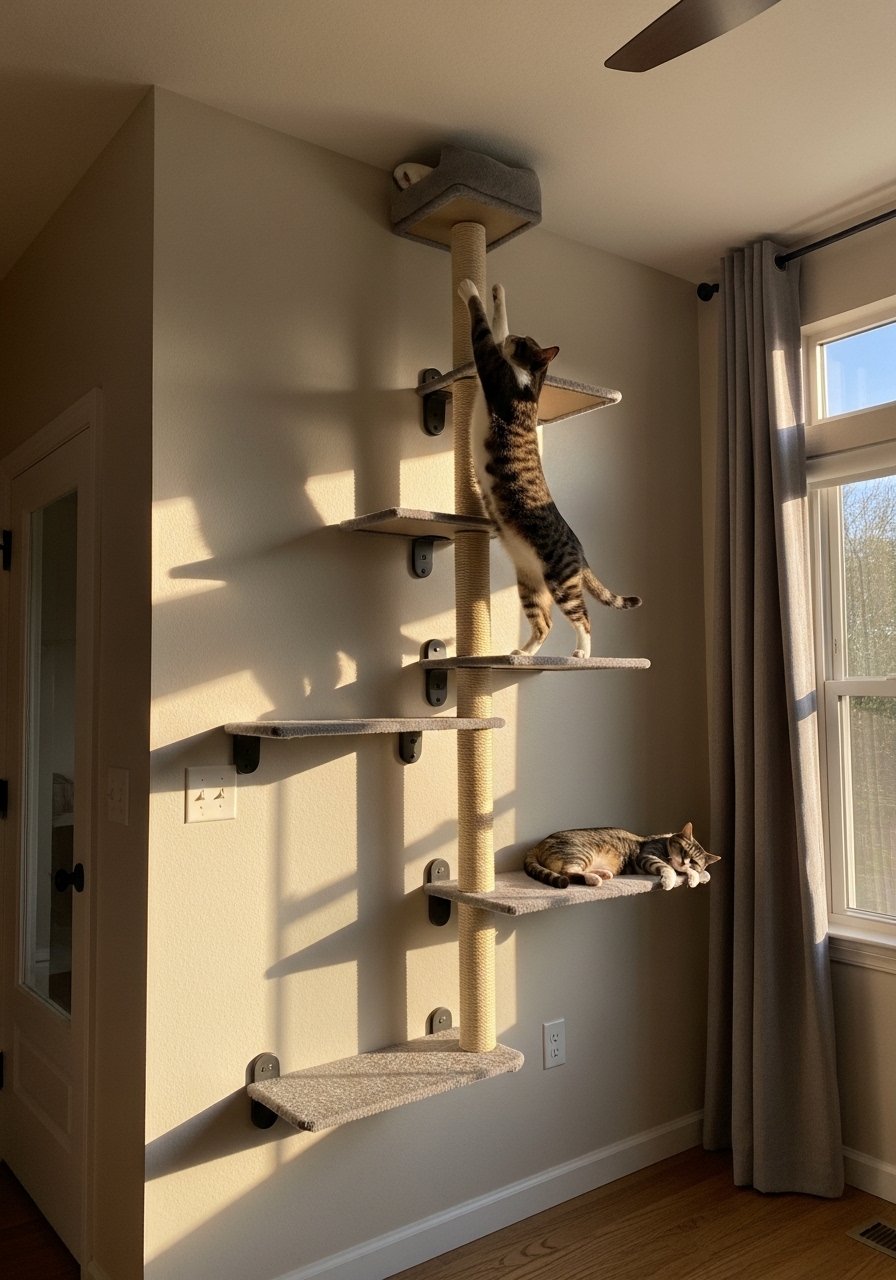
Vertical Scratch Pole With Integrated Platforms
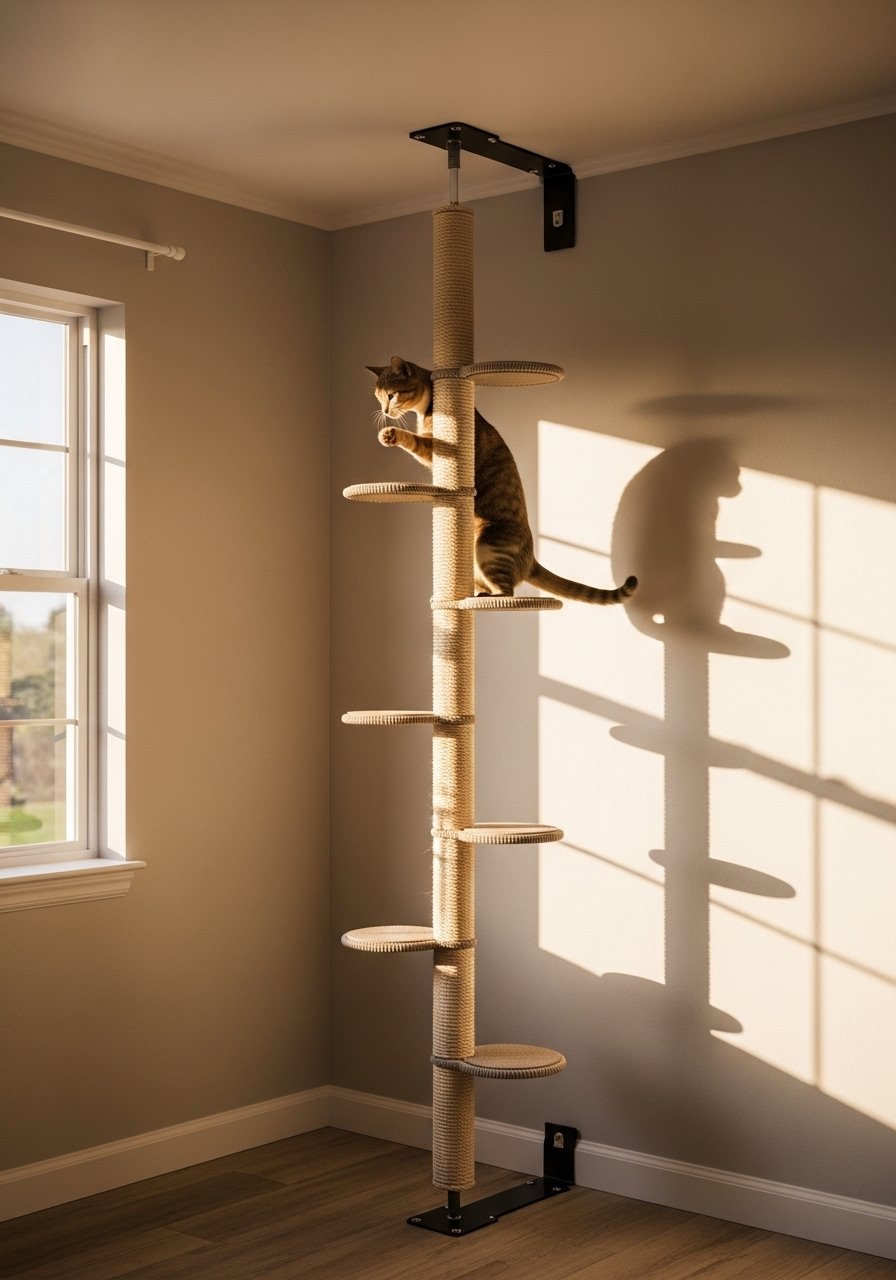
I anchored a floor-to-ceiling pole wrapped in sisal and bolted small platforms to it for perching. This is great when wall stud patterns are inconvenient. Use tension rods and secure top and bottom plates into joists when possible. Budget ranges $80 to $150. The detail most people miss is testing the tension after a few days; re-tighten as necessary because movement loosens hardware. Leave platform spacing 12 to 18 inches for comfortable transitions. This idea works well beside couches or in room dividers.
Minimalist Floating Panels For Modern Rooms
If you prefer a quiet look, thin floating panels painted the wall color let the cat do the visual work. Use 9-inch wide birch plywood panels, spaced 12 to 15 inches horizontally and 12 to 18 vertically. Anchoring into studs is critical for these minimal panels because there are no visible supports. Budget $80 to $140 with decent hardware. A mistake is leaving them unpadded. Add a thin carpet strip or removable faux fur to avoid slips. Pair with a window valance perch for a clean, functional route.
Boho Hammock Nook With Textured Shelves
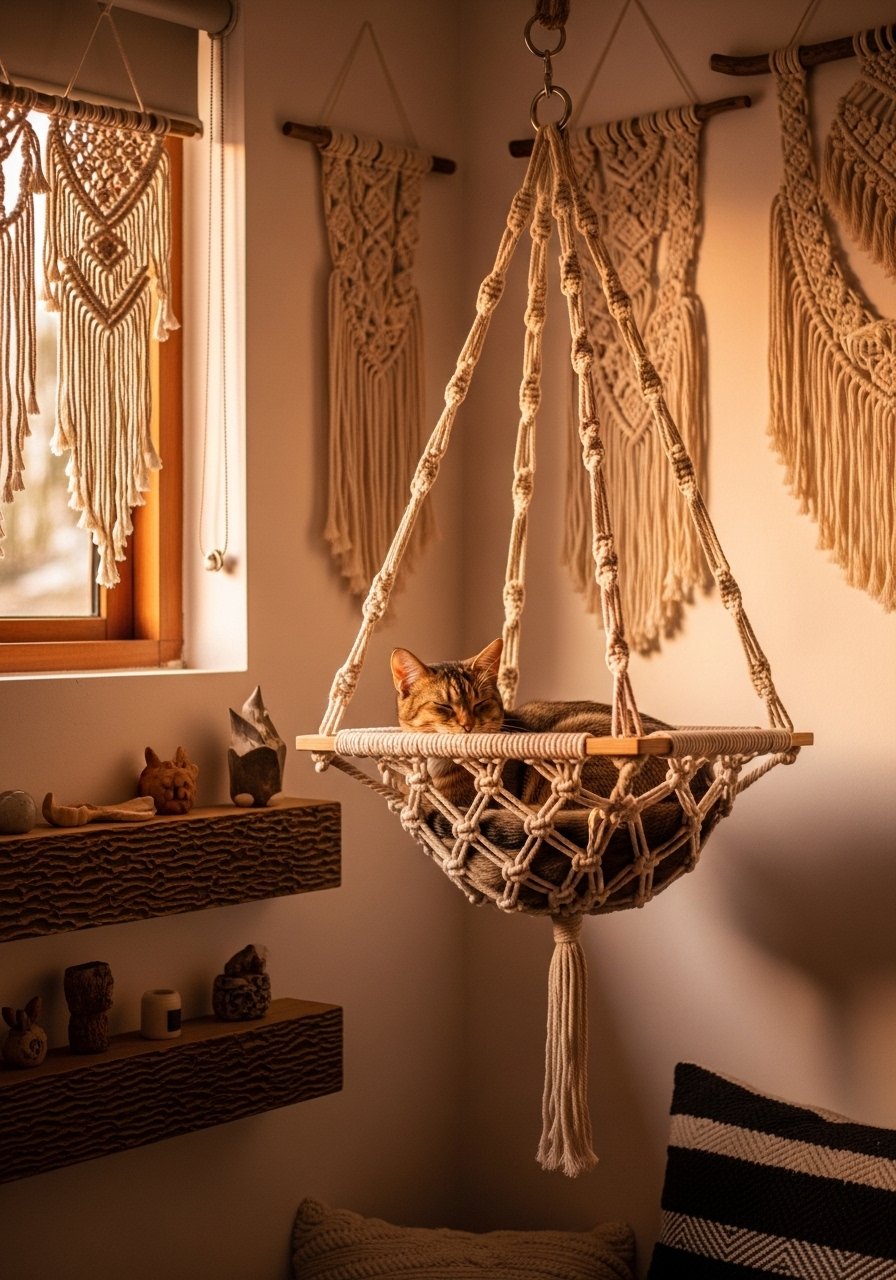
A hammock corner feels relaxed and looks intentional in boho spaces. I suspended a fabric hammock between two mid-level platforms and added textured wooden ledges around it. Start the hammock low, around 18 inches off the floor, so cats feel safe. I spent $70 to $130 on fabric and hardware. People sometimes choose fabric that stretches too much. Use a stable canvas and secure hardware into studs. Add short-pile carpet to adjacent ledges so hops into and out of the hammock are secure.
Reinforced Multi-Cat Circuit For Busy Homes
If you have more than one cat, reinforce everything. I doubled cleats under platforms, used heavy-duty lag screws into studs, and made platforms at varying widths to handle different weights. Keep horizontal spacing 12 to 15 inches and vertical spacing 12 to 18 inches so more than one cat can move without crowding. Budget climbs to $150 to $250 for heavy-duty hardware. Many builds fail because they only test static weight. Simulate dynamic loads and recheck fasteners after a week. This design pairs well with stud-mounted platforms near furniture for multi-cat flow.
Your Decor Shopping List
Textiles
- Honestly the best $40 I have spent. Faux fur seat pads 12×12 inches, set of 4 in neutral cream and gray
- Chunky knit throw in cream (~$35-55). Drape across the sofa near shelf routes
Wall Anchors and Hardware
- For studs and heavy-duty holds Lag screws and washers, 3-inch pack of 8 (steel)
- For rentals, Heavy-duty toggle bolts, 50 pack
Surfaces and Grip
- Short pile carpet squares 12×12 inches, 20 pack for perches
- Sisal rope 1-inch x 100 feet for wrap jobs
Tools and Kits
- Floating shelf bracket set heavy duty (~$25-50) for clean looks
- Compact cordless drill kit (~$60-120). Saved me time and holes were cleaner
Budget Finds
- L-bracket shelf supports 4-pack (~$12-18) for quick window perches
Similar at Target or HomeGoods for textiles and faux plants if you prefer to see color in person
Shopping Tips
White oak beats dark wood in 2026. Design feeds have shifted completely. These white oak floating shelves look current, not dated.
Grab these faux fur seat pads for $15 each. Swap them seasonally for an instant refresh.
If you rent, use heavy-duty toggle bolts where studs are unavailable. They are not stud-strong, but they keep things safe when you cannot screw into studs.
For basic grip, short pile carpet squares are cheap and replaceable. Glue them temporarily with double-sided carpet tape if you plan to move later.
Everyone buys five small succulents. One single 6-foot artificial fiddle leaf fig has ten times the visual impact.
Frequently Asked Questions
Q: How far apart should shelves be for safe cat jumps?
A: Keep horizontal spacing 12 to 15 inches and vertical gaps 12 to 18 inches. Start the first shelf 12 to 14 inches off the floor so every cat can enter without fear.
Q: Do I have to anchor every shelf into studs?
A: Anchor into studs whenever possible, at least one stud screw per shelf. For renters use heavy-duty toggle bolts or limit weight by using smaller perches that tie back to furniture.
Q: My cat slips on the wood. What will help?
A: Cover perches with short-pile carpet or faux fur, or wrap edges in sisal. Carpet squares 12×12 inches are affordable and easy to replace when worn.
Q: Can I train a cat to use a high shelf circuit?
A: Yes. Use food or treats on each new step, start low, and reward every successful hop. The treat-path idea in this article addresses the common "cat ignores shelves" issue.
Q: What should I check for durability after a few weeks?
A: Re-tighten screws, check carpet edges for wear, and test bracket movement under dynamic load. Many DIY builds loosen after active play, so check fasteners and restud if anything shifts.
Q: What is the best option for a multi-cat household?
A: Reinforce anchors, use wider platforms, and create parallel routes so cats can pass each other. The reinforced multi-cat circuit above explains specific spacing and hardware tips.
