
My living room had nice furniture and decent lighting but it still felt like a waiting room. Took me embarrassingly long to figure out it was missing texture. Every surface was smooth, every color was flat, and nothing invited you to actually sit down. When I moved a similar eye for balance into the garage, it made tool storage feel intentional instead of chaotic.
These ideas lean practical-rustic with a modern twist. Most builds cost $10 to $75, with a few splurges around $150 for power tool zones. They work for garages, basements, workshops, and even a laundry room corner that needs a proper home for tools.
Pegboard Wall With Custom Shelf Inserts For a Workshop Vibe
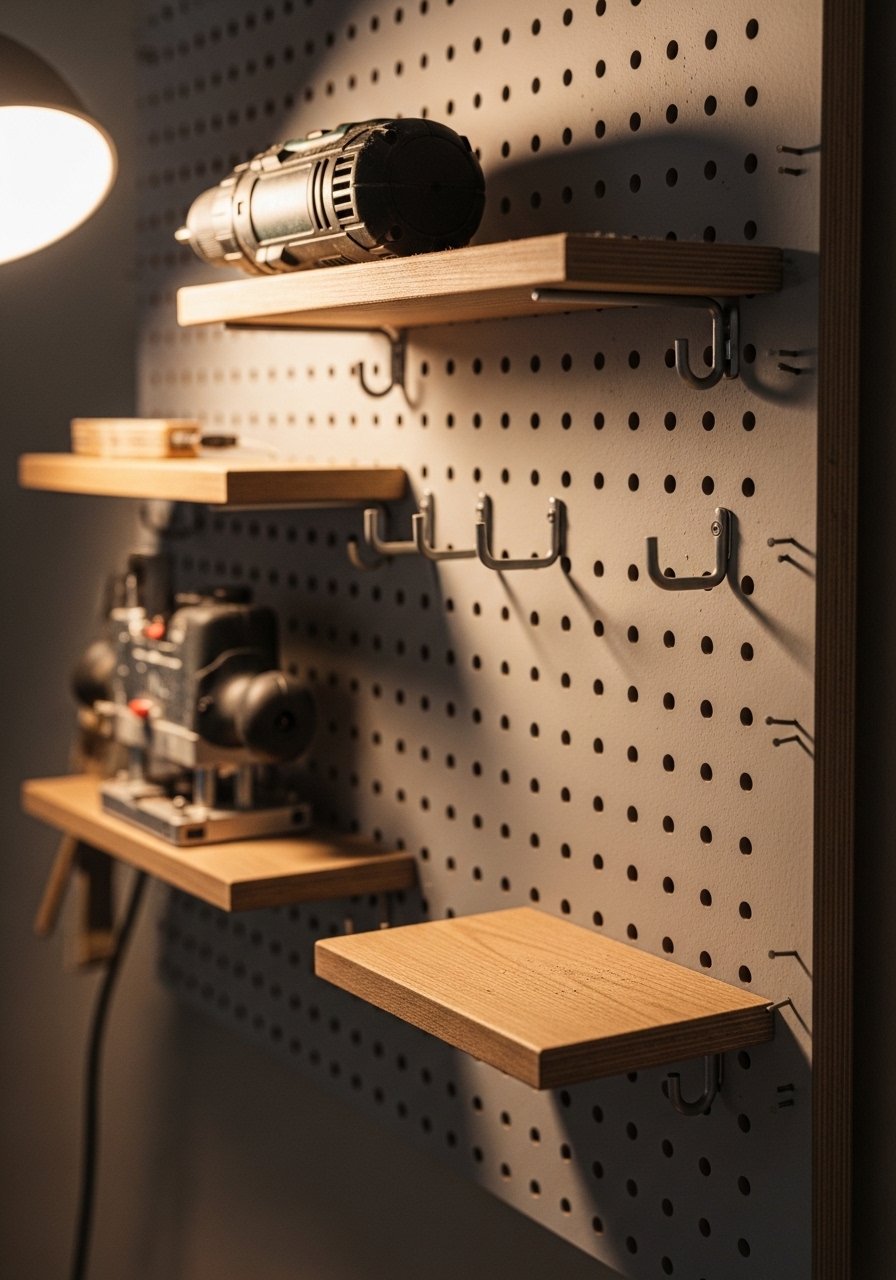
The pegboard is the classic for a reason. I space hooks roughly 3 inches apart in high-use areas so I can see everything at a glance. It reads tidy and intentional when you group tools in threes, a simple rule that makes clutter read as styling. For shelves try these pegboard shelf brackets to keep small power tools accessible. A common mistake is cramming every hook zone. Leave a 6-inch breathing space around heavy items so the board does not sag. Works great above a workbench or in a narrow utility closet.
Magnetic Tool Strip Above The Workbench For Fast Access
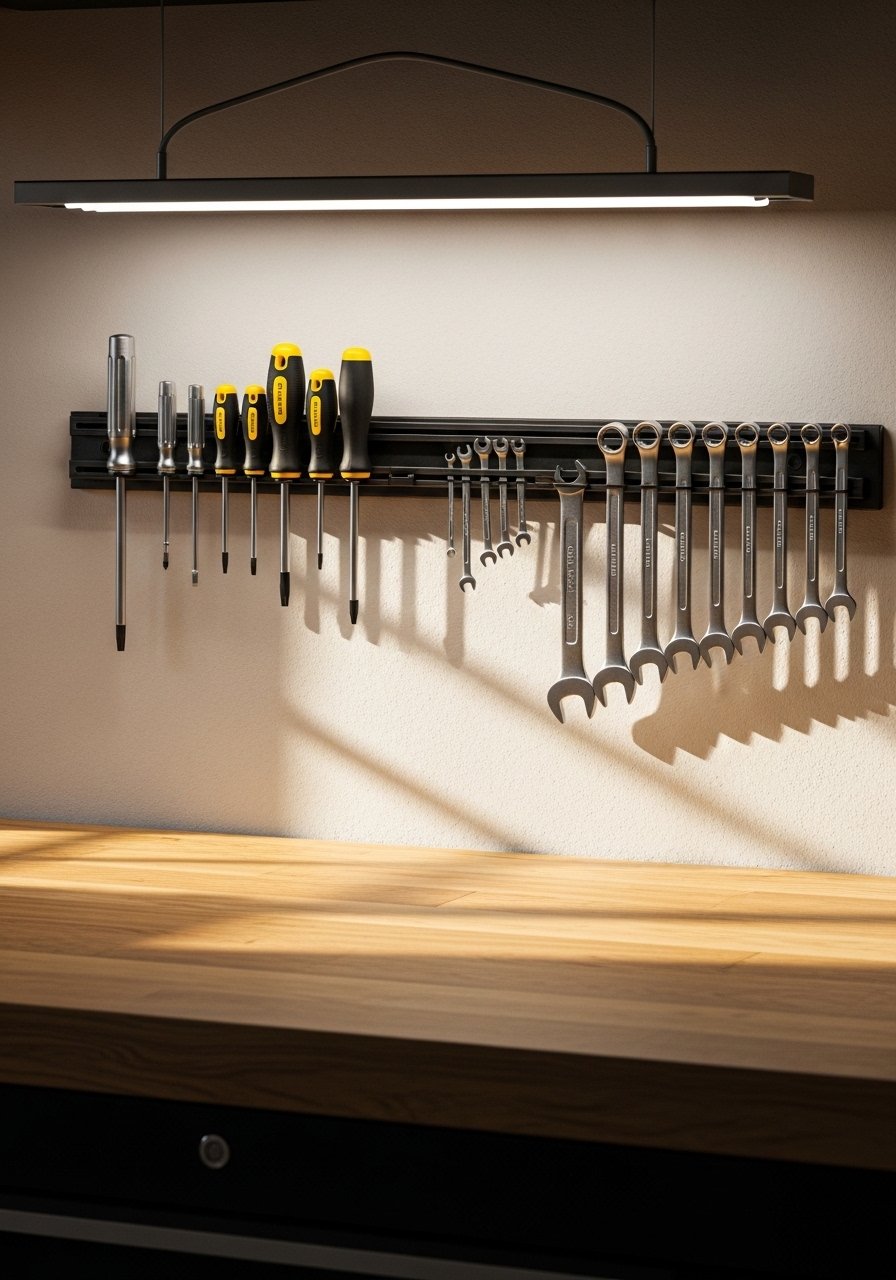
I put a magnetic strip at eye level and tools stopped disappearing into drawers. A 24-inch bar keeps the most used dozen pieces ready, and eye-level placement cuts reach time in half. Try a strong magnetic tool holder that can handle spade bits and pliers. Don’t hang everything on a single strip. Rotate seasonal tools or pair this with a pegboard zone to avoid overload. This setup works for a garage bench, a laundry room, or a compact apartment utility nook.
Mobile Rolling Tool Cart From A Refurbished File Cabinet For Flexibility
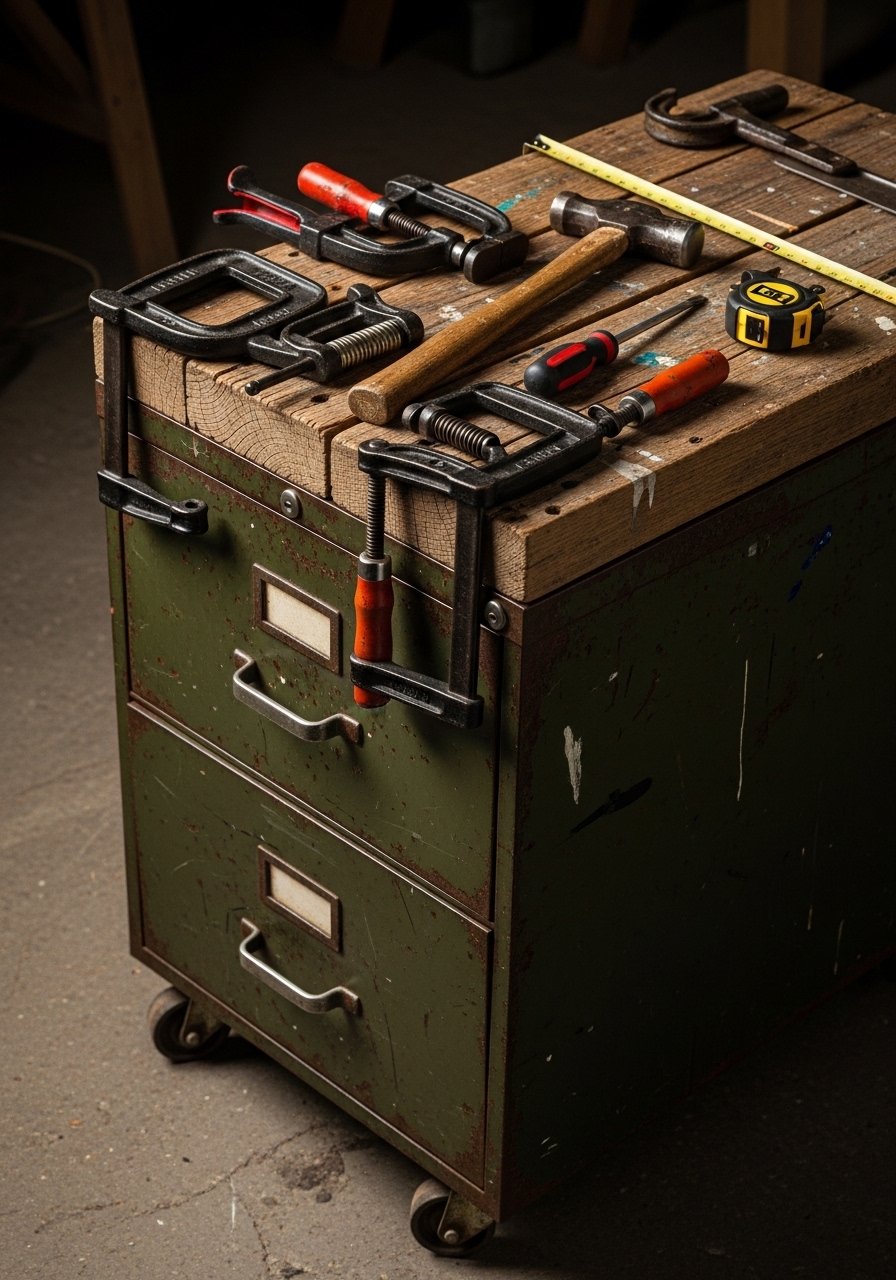
I converted an old file cabinet into a rolling cart with a plywood top. Drawer dividers keep sockets from becoming a single metal soup. Add 2-inch casters and it becomes a movable island for big projects. For hardware try these locking caster wheels. People often forget to reinforce the top rim. Screw a 1×2 apron under the plywood for a 1-inch overhang and it never warps. Perfect between garage zones or next to a backyard work area.
PVC Pipe Holders For Drill Bits And Paintbrushes In A Minimal Space
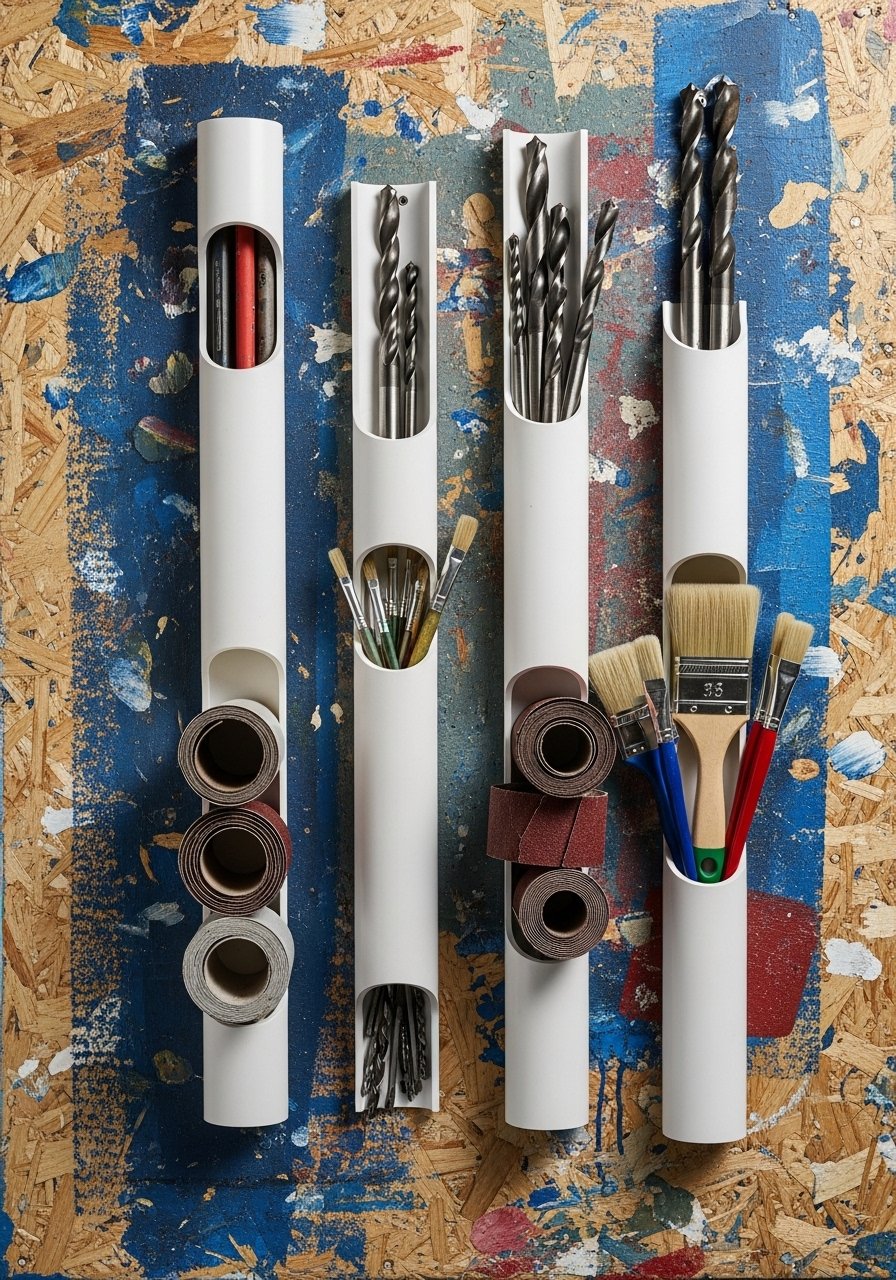
Cut PVC into 3-inch lengths and mount them for a cheap, tidy holder for drill bits and brushes. I staggered the rows in a 2-to-1 ratio, two small pipes above one larger pipe, which keeps small parts from slipping sideways. Glue them into a scrap board and screw that into the wall. I used a small pack of PVC pipe brackets to anchor the system. A rookie mistake is cutting all pieces the same height. Vary the lengths so you can see labels and grab what you need without reaching deep.
Repurposed Picture Ledges For Small Hand Tools And Chargers
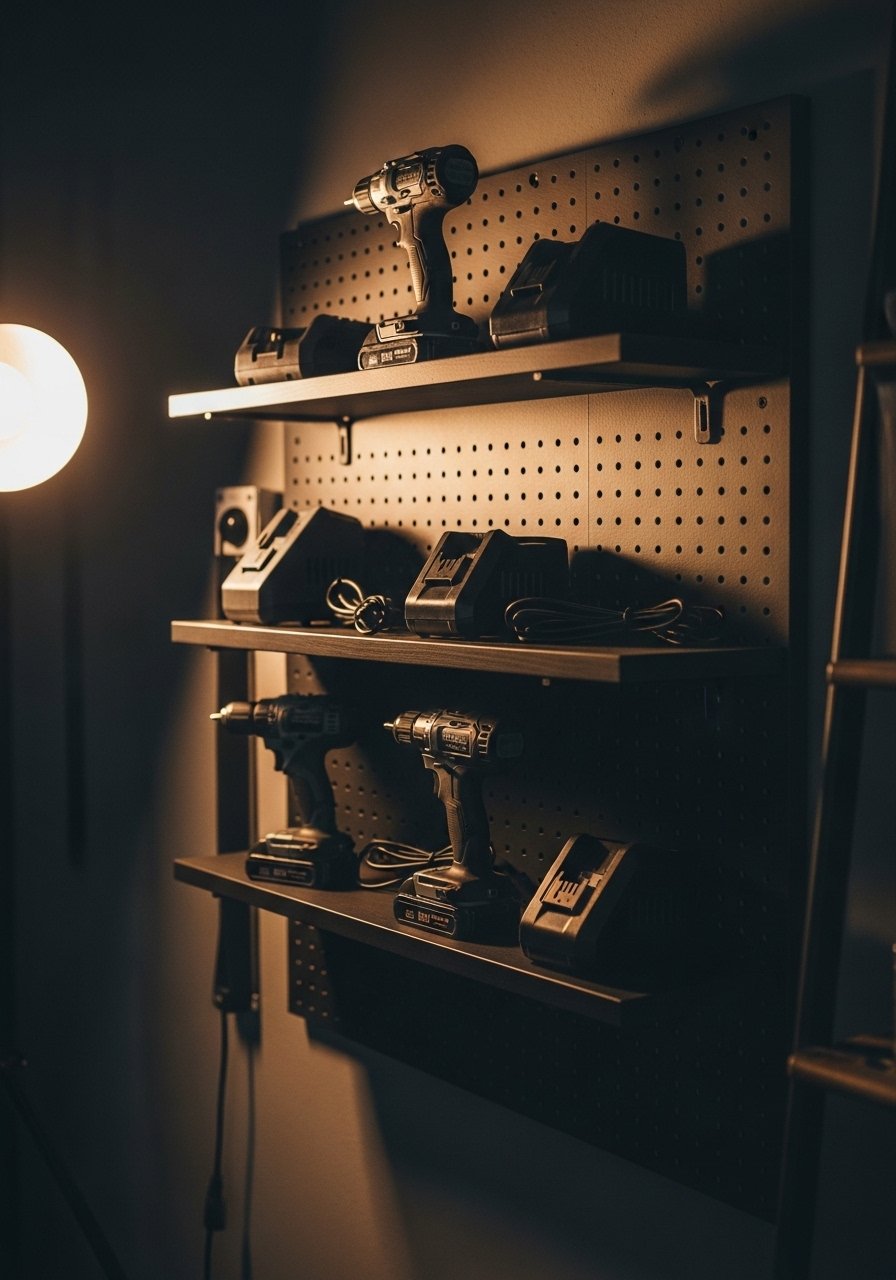
The first time I used picture ledges for chargers and small drills I thought it was too pretty for the garage. Turns out it’s practical. Ledges with a 1.25-inch lip keep batteries from sliding off and make swaps easy. I picked up small picture ledges and mounted them at two heights. The mistake is mounting them flush against a bare stud wall. Add a 1/4-inch plywood backer under the ledge for a level, solid mount. This trick is especially good for a transitional workspace next to a mudroom.
Foam Shadow Board For Power Tools To Prevent Misplacing Heavy Items
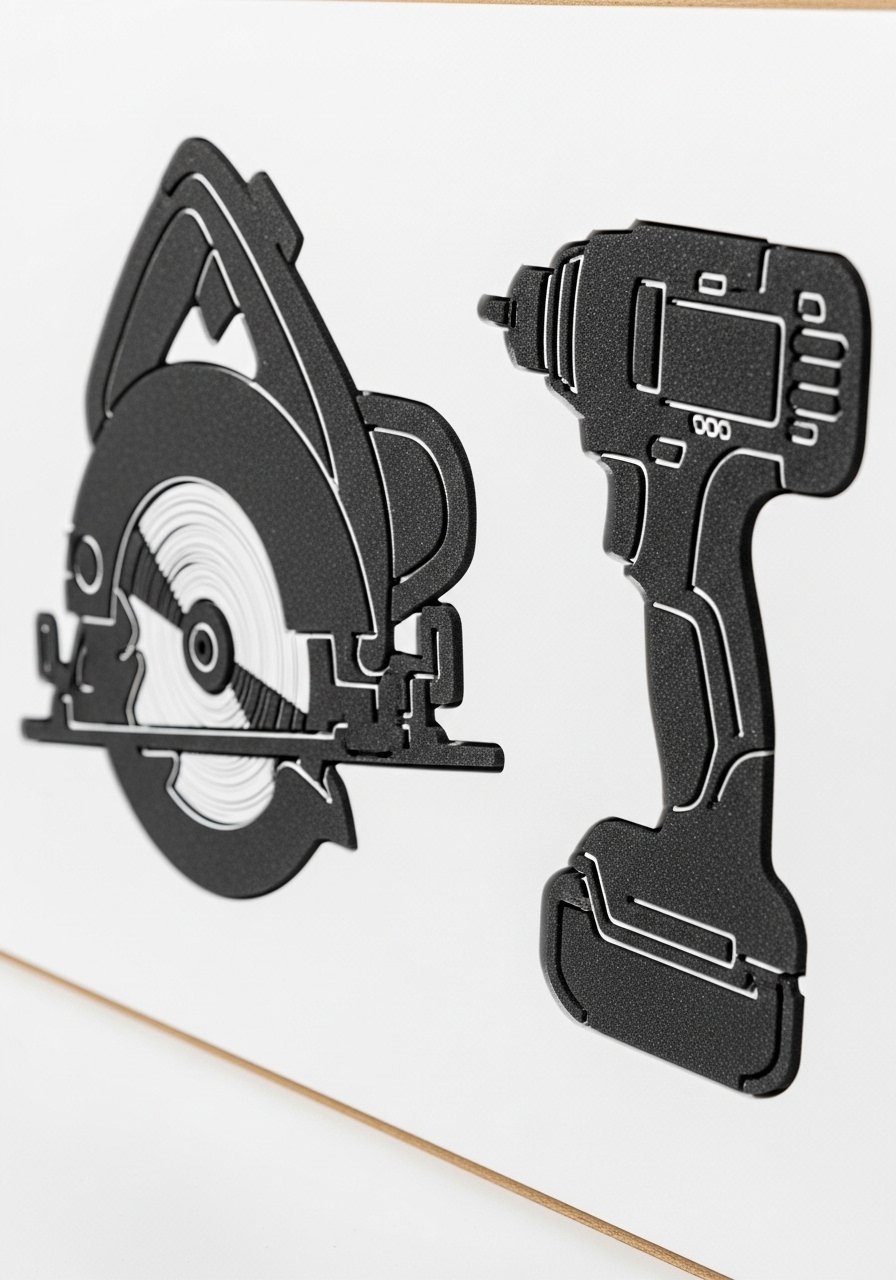
Cut foam to fit each tool like a passport slot. A shadow board makes it obvious when something is missing. I use 1/2-inch EVA foam and trace outlines with a 1/4-inch gap so tools slide in easily. Use an EVA foam sheet kit to get started. People overcomplicate the shapes. Simple silhouettes are faster to cut and look cleaner. This method belongs on cabinet doors above a bench or in a kids-safe zone to teach tool responsibility.
Over-The-Door Organizer For Garden Tools When You Have No Floor Space
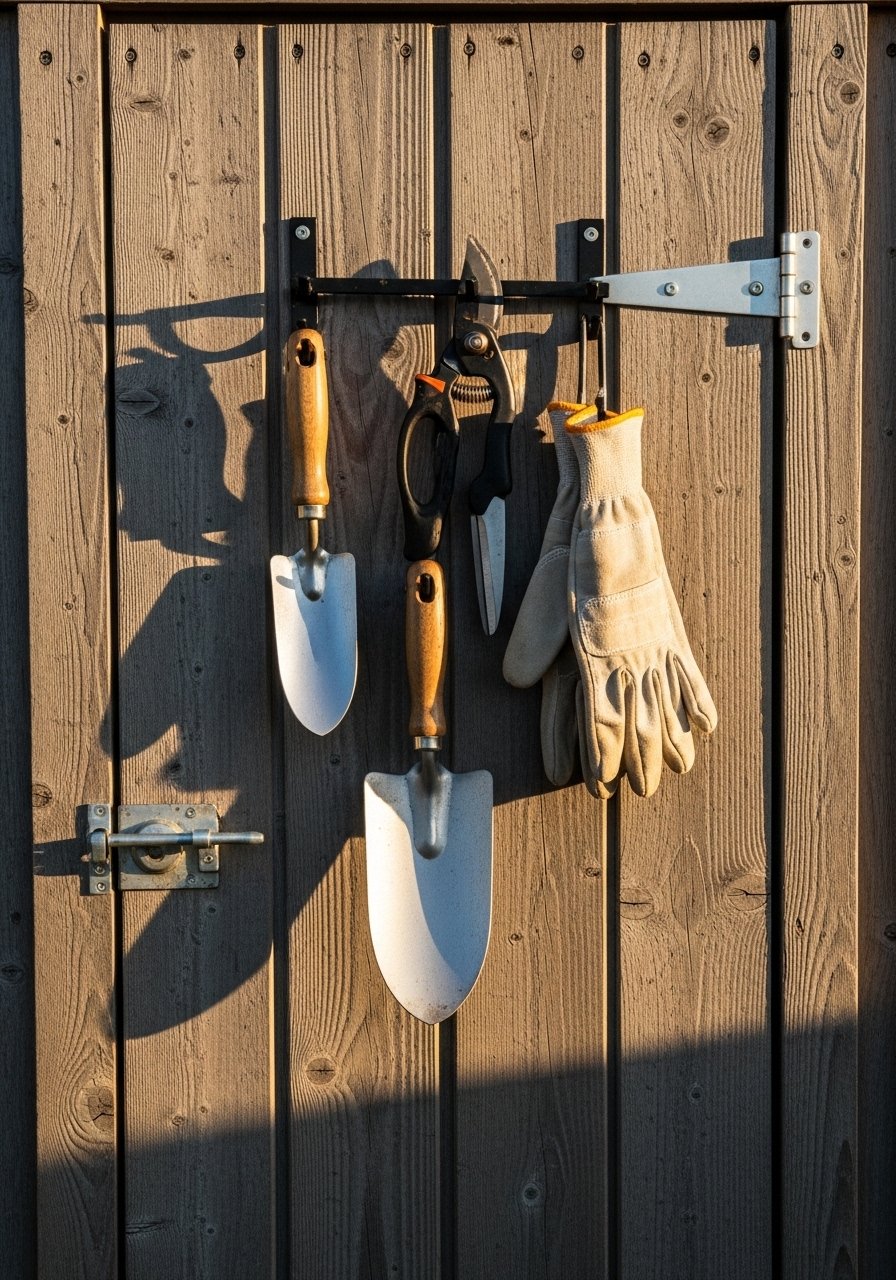
If floor space is zero, use the back of a door. A slim over-the-door organizer holds rakes, shovels, and a hose nozzle without a single hole in drywall. I used one with adjustable hooks and found it fits most handle diameters. Grab an over-the-door garden organizer. The common mistake is ignoring the door swing. Measure 2 inches of clearance so the door closes easily. Works great on garage doors, shed doors, and pantry utility closets.
Ceiling-Mounted Racks For Long Handles And Seasonal Items
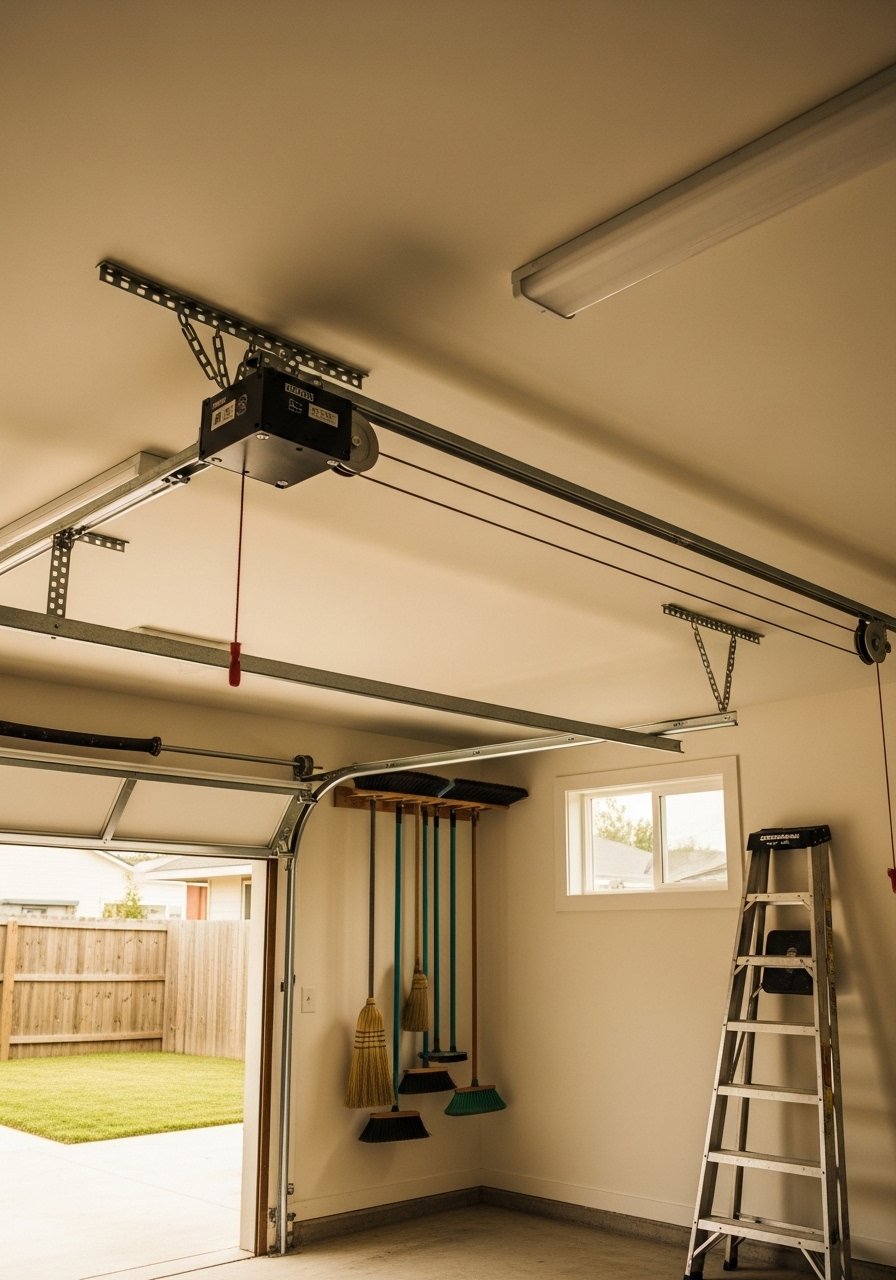
Long-handled tools love ceiling space. Install a simple ceiling rack or pulley to hoist seasonal items. I used a 4-foot rack with a 6-inch clearance from the rafters so handles don’t scrape. Try ceiling storage pulleys for heavier loads. The mistake is mounting too low. Keep the bottom of the rack at least 7 feet high in a garage so people and cars don’t collide with tools. This clears floor real estate for a proper work zone.
Drawer Dividers From Scrap Wood For Small Parts That Tend To Migrate
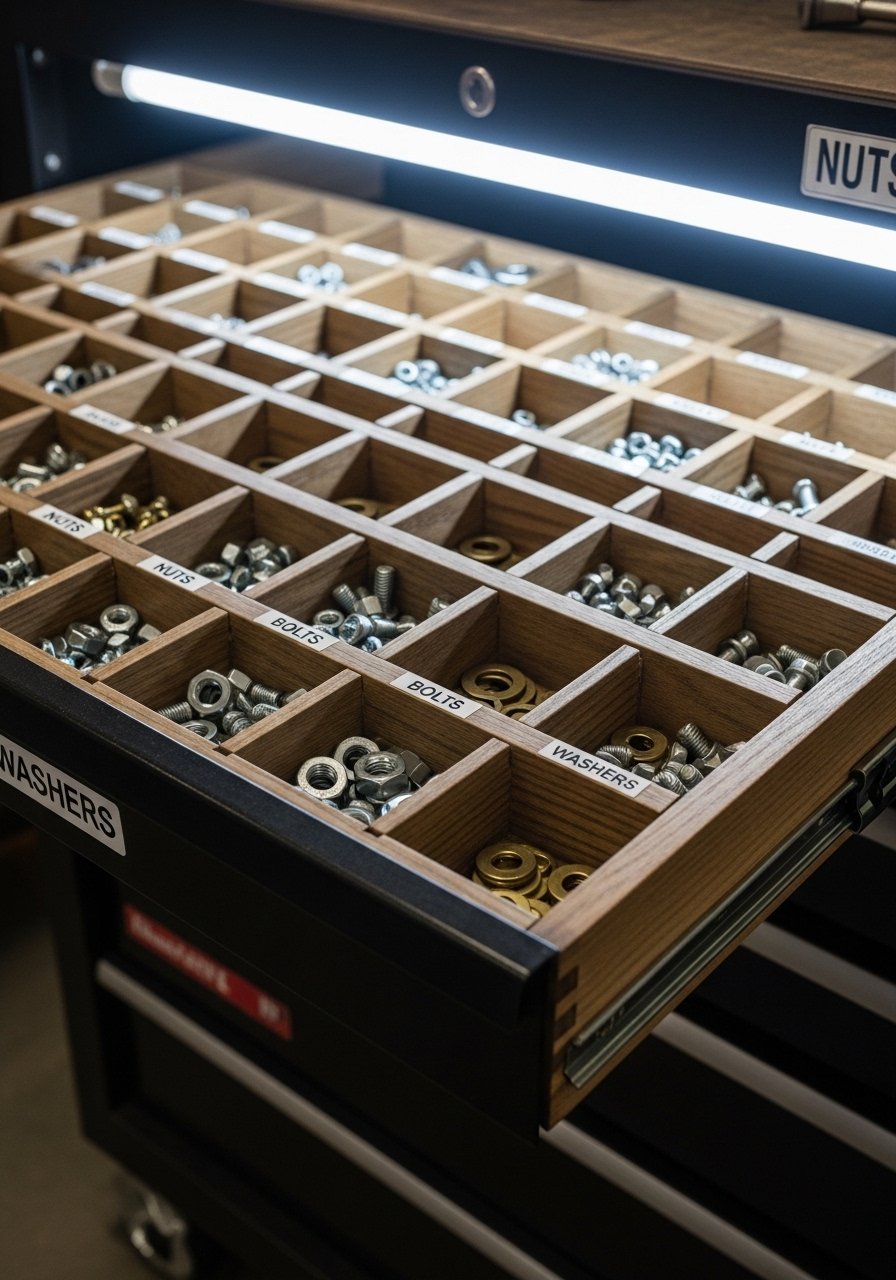
I cut dividers from 1/4-inch plywood to make a grid of compartments. A sensible measurement is 1.5-inch wide slots for most hardware. Use a dab of wood glue and one brad per joint and the dividers stay firm. These drawer divider kits work if you want an out-of-the-box solution. Avoid making compartments too tiny. You do not want to fish for a bolt the size of a rice grain when your hands are dirty. This is perfect inside a tool chest or an upcycled dresser.
Floating Shelves With A Lip For Paint Cans And Power Accessories
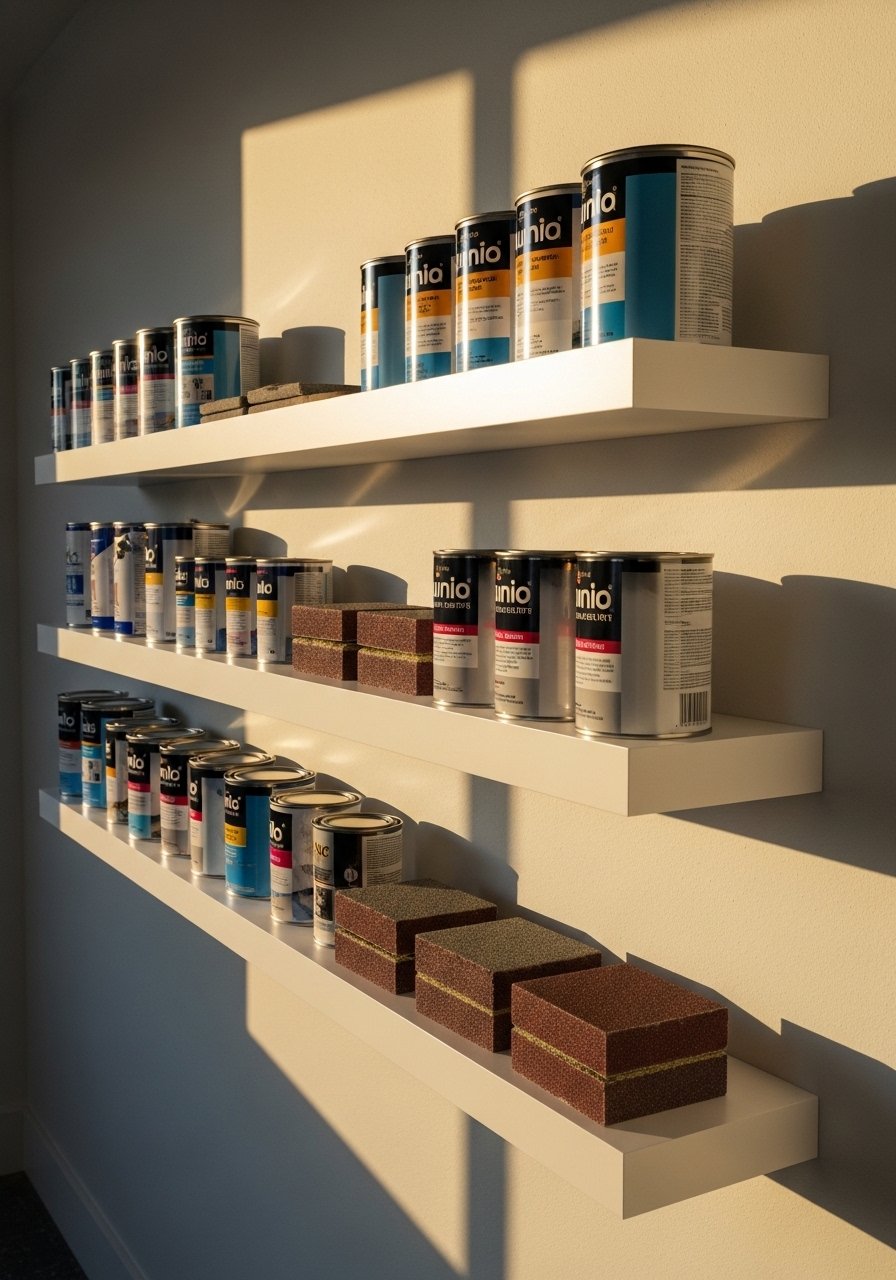
Shelves need a front lip to stop cans from rolling. I use a 1-inch lip ratio for standard 1-quart and 1-gallon cans. Hidden bracket shelves keep the look tidy while staying sturdy. These floating shelf brackets are strong enough for paint and tool boxes. One mistake I made was underestimating depth. Go at least 12 inches deep for paint and power accessories so nothing hangs over. Works in garages, basements, and craft rooms.
Hanging Mason Jar Storage For Screws, Nails, And Small Bits

Screws and nails look tidy in clear jars. Screw lids into a wooden strip and hang jars beneath a shelf or on pegboard. I keep 1/2-cup jars for common sizes and 1-cup jars for specialty bits. Pick up a pack of mason jars with lids. A common slip is skipping labels. Use a label on the lid edge so you can read sizes when jars are stacked. This is a low-cost upgrade for any workspace.
Pegboard Inside Cabinet Doors For Out-Of-Sight Organization
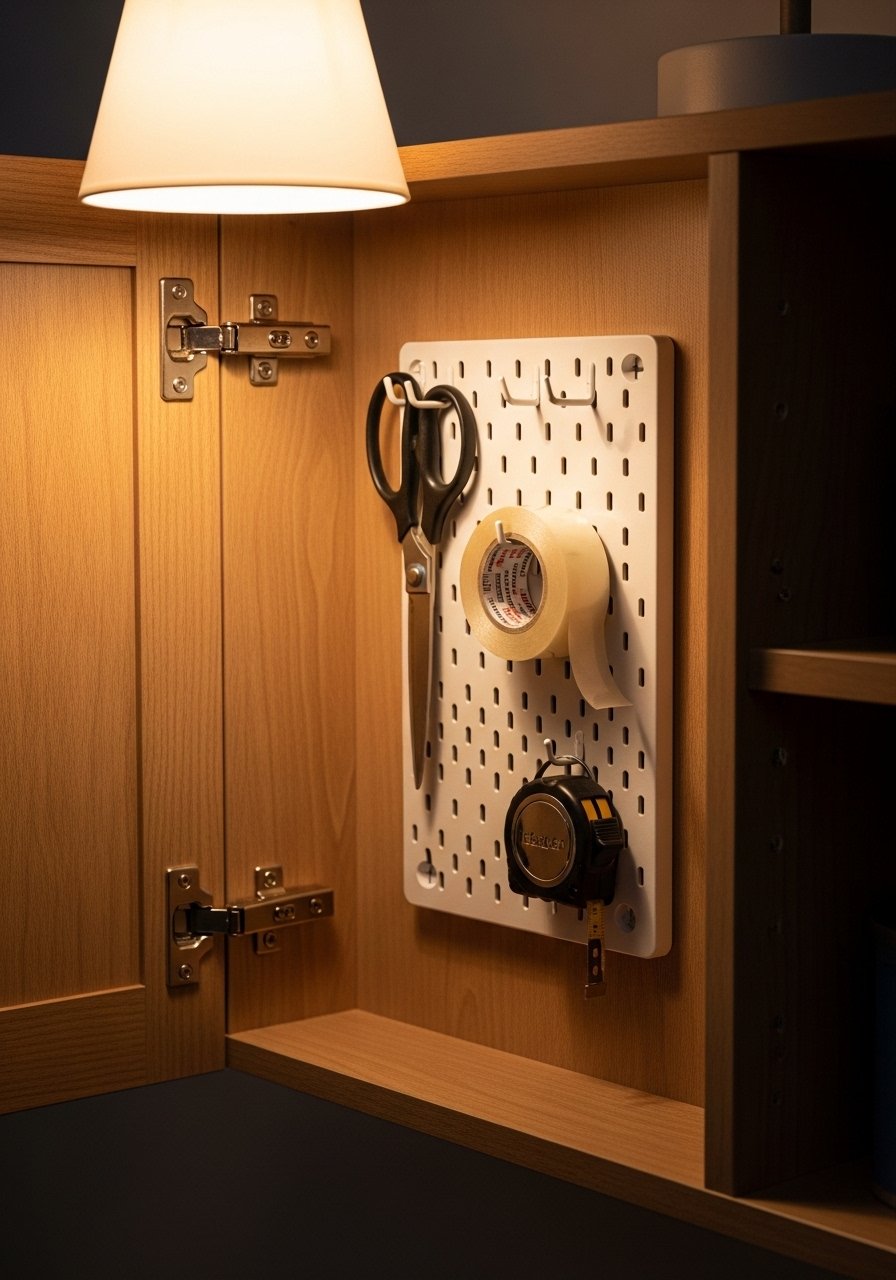
I mounted 12×12 pegboard cut to fit inside cabinet doors for cordless drills, sandpaper, and measuring tools. It keeps tools out of sight but instantly accessible. Use small pegboard sheets and paint them to match cabinet interiors. Many people forget ventilation. Leave 1/4-inch gap between the pegboard and cabinet back panel so hooks seat properly. This trick is ideal for laundry rooms and kitchen utility cabinets where clutter piles up.
Built-In Clamp Rack On The Side Of Your Workbench For Safe Storage
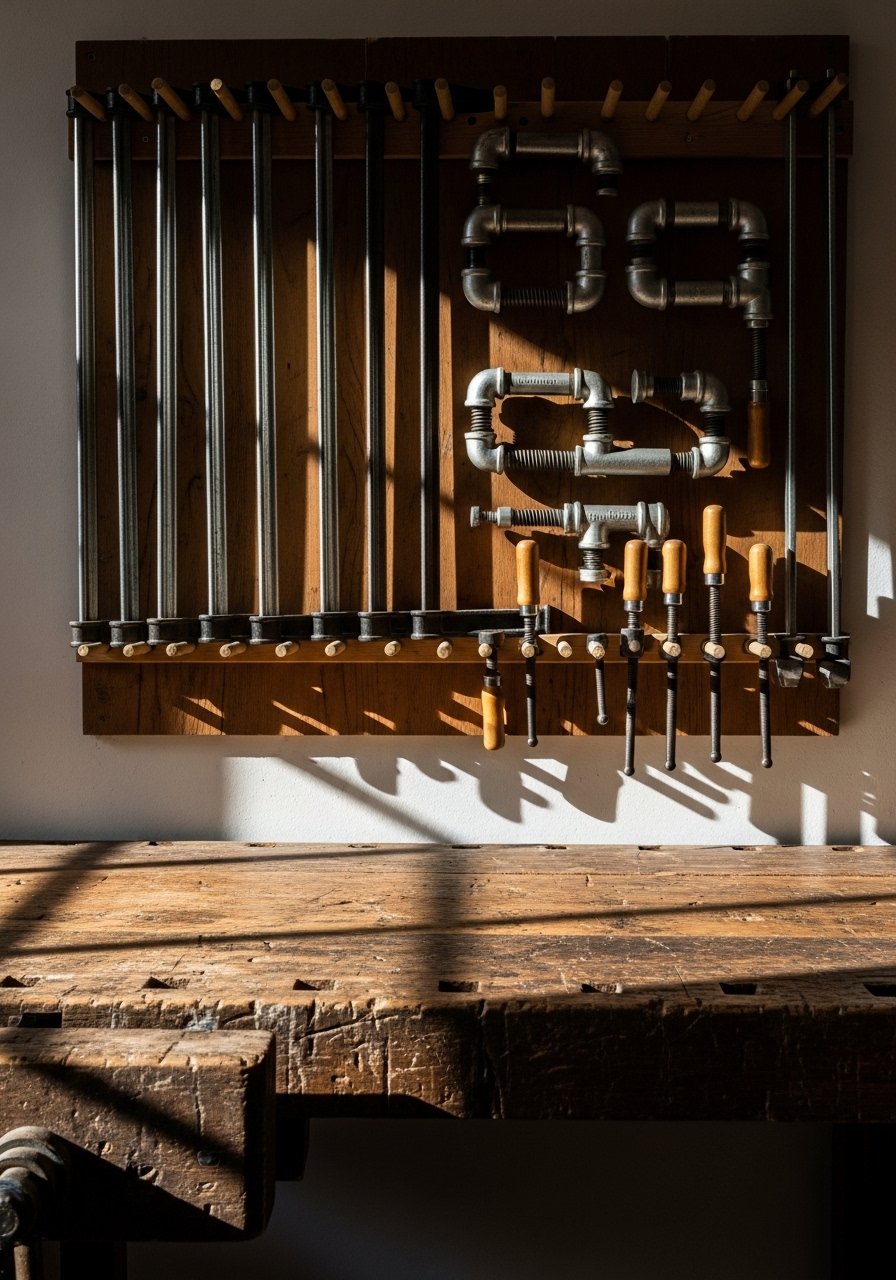
Clamps get heavy and awkward. I routed a 1×4 board with evenly spaced 2-inch notches and mounted it to the bench end. Place notches every 4 inches for full-length clamp storage. Use a bench-mounted clamp rack kit if you prefer a ready solution. A mistake is using too narrow spacing which makes it hard to grab the clamp handle. This is a bench-adjacent idea that pairs nicely with the pegboard wall for a full system.
Magnetic Screwdriver Strip Integrated Into A Charging Station For Drill Bits
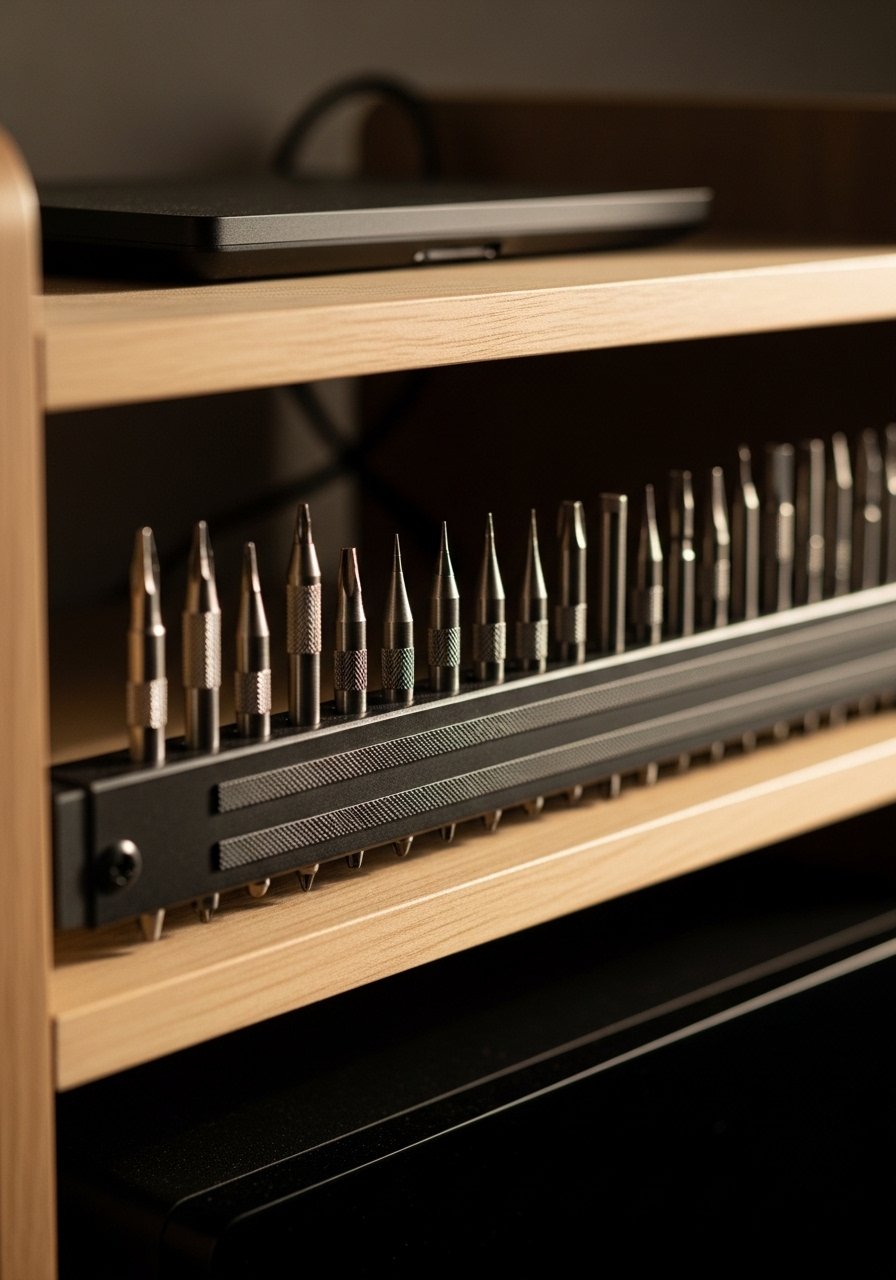
I integrated a magnetic screwdriver strip into my battery charging shelf so drivers are always with the chargers. A 12-inch strip fits six to eight drivers and it keeps the bench clear. Try this compact magnetic strip. People sometimes mix metals and lose magnetic strength. Keep only compatible tools on the strip. This detail pairs well with the ledges idea where chargers sit above the ledge.
DIY Lockable Tool Chest From An Old Dresser For Secure, Stylish Storage
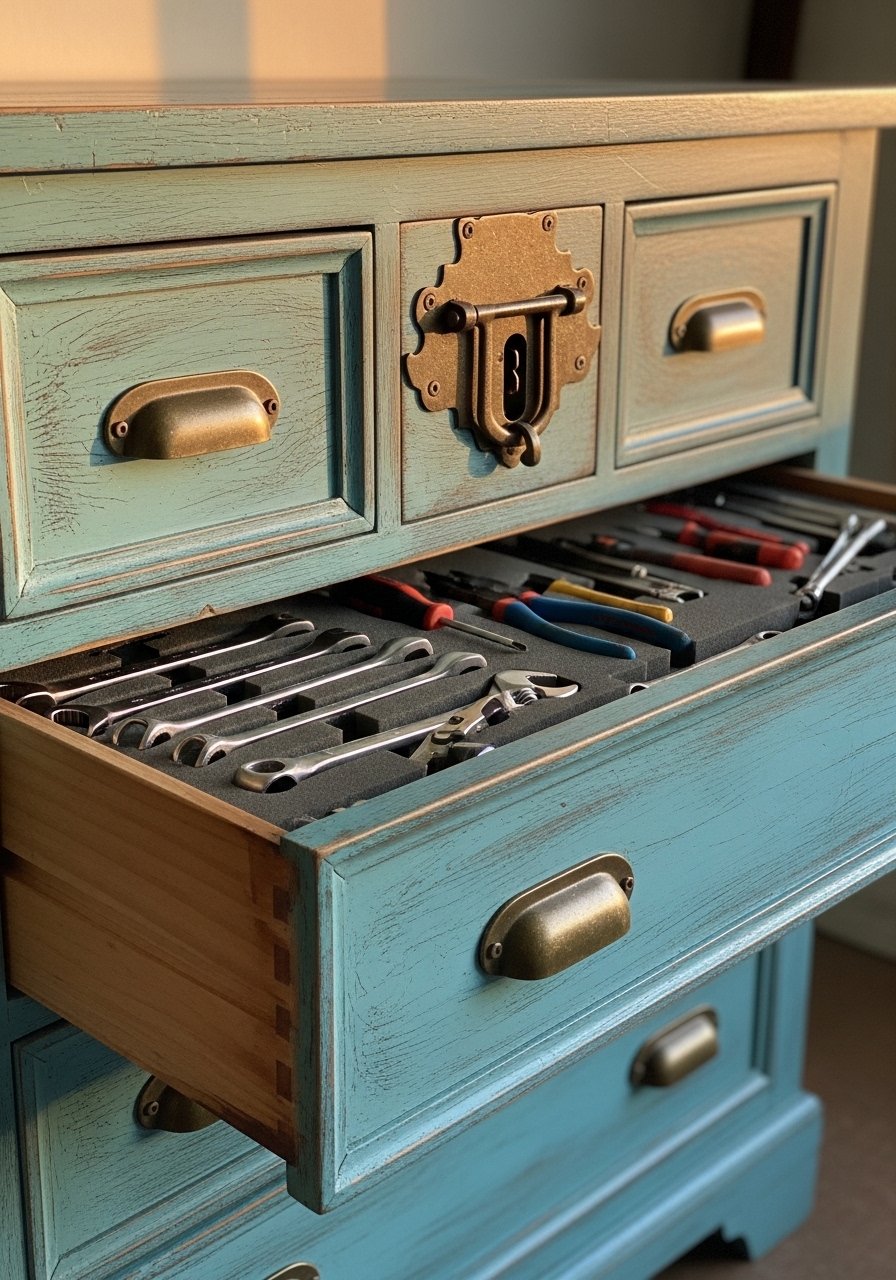
I turned a thrifted dresser into a lockable tool chest by adding drawer liners and a hasp lock. Measure drawer depth before planning, a 20-inch depth handles most power tools. Reinforce bottoms with a 3/4-inch plywood panel for durability. A dresser-to-tool-chest lock kit helps with security. Newbies forget ventilation when storing batteries. Drill a few small holes in the back of the drawer for airflow. This gives a workshop a neat, homeowner-ready look while keeping kids out.
Your Decor Shopping List
Textiles
- Honestly the best $12 I have spent. 12-inch power tool foam liners, pack of 6 for chests and drawers
Wall Storage
- 24-inch magnetic tool holder (~$25). Mount at eye level over the bench
- Mini pegboard sheets 12×12 (~$10 each). Cut to fit cabinet doors
Shelving & Racks
- Invisible floating shelf brackets, set of 4 for paint storage
- Ceiling storage pulley system (~$40). Good for seasonal ladders
Hardware & Small Parts
- Mason jars with lids set of 12 (~$22). Label the lids for quick grabs
- Drawer divider kit adjustable (~$18). Keeps hardware sorted
Mobile & Safety
- Locking caster wheels set of 4 (~$30). For carts and islands
- Tool chest hasp lock kit (~$15). Add to upcycled dressers
Budget Finds
- Picture ledges 18-inch, set of 2 (~$20). Use for chargers and small drills
Most of these are available at big box stores like Target or HomeGoods if you prefer to see them before you buy.
Shopping Tips
White oak beats dark wood in 2026. White oak floating shelves look current, not dated. Pick them if you want a modern workshop vibe.
Grab locking caster wheels for about $30. Put them on a mobile cart and you gain a whole workspace in one afternoon.
Curtains should puddle or kiss the floor, never hang halfway up. For workspaces windows this is less relevant but the height rule helps when you mount tools nearby. These heavy-duty 96-inch panels will give you the length needed if you have tall windows near your bench.
One big jar beats five tiny ones. Swap to mason jars with lids, set of 12 and label them. You will stop hunting for the right screw.
Everyone buys a whole pegboard kit. Try mini pegboard sheets for cabinet doors and tight spaces instead. They are cheaper and fit where full sheets do not.
Frequently Asked Questions
Q: What is the easiest first step toward organizing tools?
A: Hang a magnetic strip at eye level. It is one low-effort change that reduces drawer hunting immediately and costs under $30. Pair it with a small pegboard for bits you do not want on metal.
Q: Can I mix a stylish look with heavy-duty storage?
A: Yes. Use picture ledges and a painted dresser chest for chargers and drills. Reinforce with plywood and add foam liners. The result looks intentional and keeps everything protected.
Q: How do I store batteries safely?
A: Store batteries in a ventilated drawer or open shelf. Drill a few small 1/4-inch holes in the back panel of any closed drawer to allow airflow, and keep them separate from high-heat areas.
Q: What size pegboard should I buy for a standard garage?
A: Start with a 4×4 foot section for a primary zone above your bench. Expand in 2-foot increments. Spacing hooks about 3 inches apart in busy areas keeps visibility high.
Q: Are magnetic organizers strong enough for heavy tools?
A: For heavy metal tools like hammers and large pliers use a thick magnetic bar rated for pounds of pull. For small drivers a compact strip is fine. Always mount to studs or use strong anchors.
Q: How do I stop small hardware from getting lost in drawers?
A: Use dividers with 1.5-inch compartments for common screws and 2-inch compartments for larger bolts. Label lids on mason jars and keep them on a ledge so you can read sizes at a glance.
Q: Can renters install these systems without damaging walls?
A: Yes. Use freestanding pegboard panels, over-the-door racks, and mobile carts to avoid permanent holes. For pegboard inside cabinets use adhesive-backed mini pegboard if permitted.
Q: What is a smart low-cost upgrade I can do this weekend?
A: Cut PVC into short holders for drill bits and brushes and mount them on scrap plywood. It costs under $20 and instantly reduces bench clutter.
