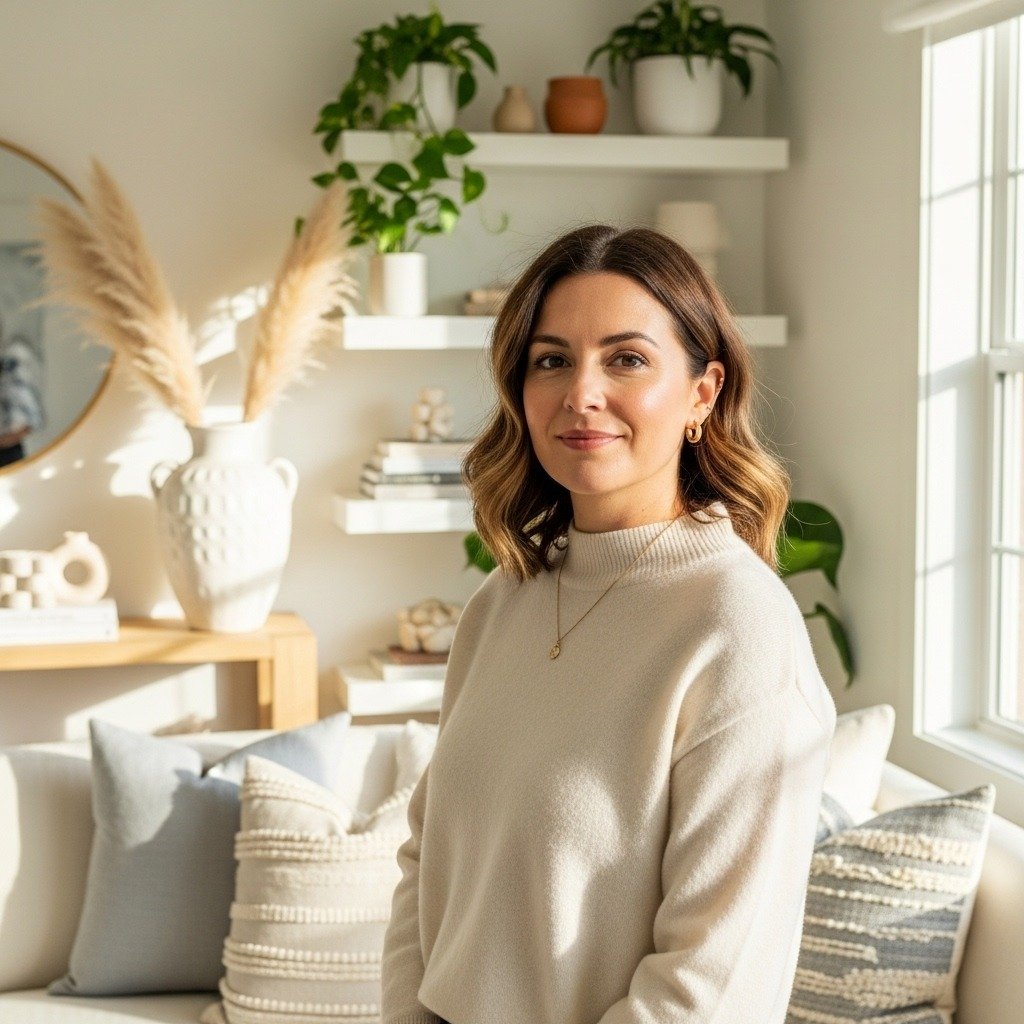
I had an ugly blank over my sofa for months. I tried one big print, then a mismatched cluster, then a grid that felt like a poster wall. Everything looked either too small or like it was drowning the wall. It took several failed attempts before I stopped blaming the art and started measuring the space.
What fixed it was a simple set of habits: pick a real center point, mock the layout on the floor, and leave breathing room. I messed up the first three times because I was afraid of empty space. Once I learned how much to leave, the room finally felt like it belonged to us.
Step 1: Measure the wall and choose the right scale
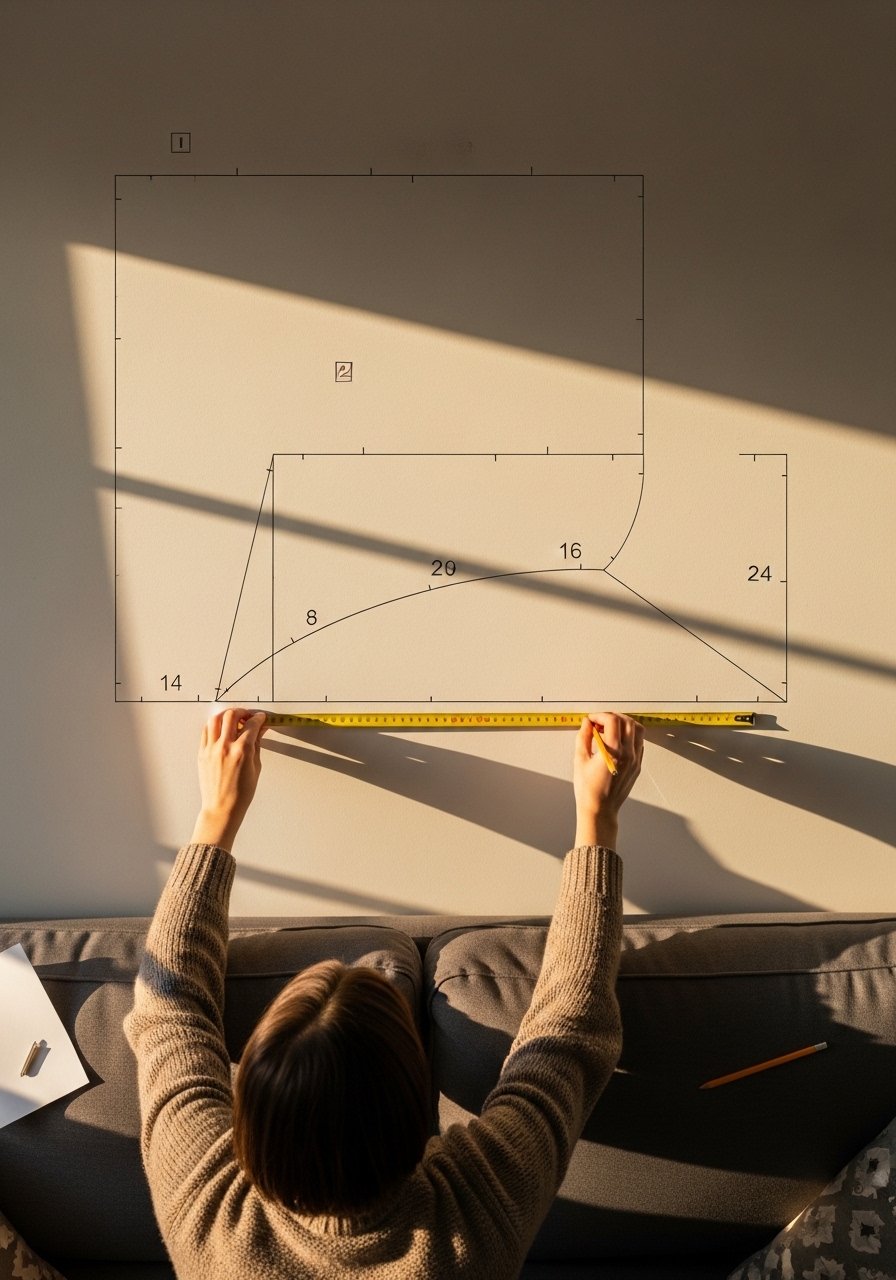
Measure first. Aim for the center of your main artwork to sit about 57 inches above the floor. If you are hanging art above a sofa, the full arrangement should span roughly 60 to 75 percent of the sofa width. I learned this after hanging something tiny that looked like it was lost. The visual change is immediate when art has the right scale, it grounds the seating and stops the wall from feeling awkward.
Common mistake fixed here: hanging pieces too high or choosing art that is too small. Insight most people miss: negative space around art is as important as the pieces themselves.
Step 2: Lay pieces on the floor and lock in spacing

Before any nails, arrange frames on the floor. I pin notes to the frames with tape so I remember which sits where. For a tight grid leave 2 to 3 inches between pieces. For an airy gallery leave 4 to 6 inches. The layout translates to the wall much more cleanly when you see it laid out flat.
This step saves time and wrong holes in the wall. I once skipped this and ended up with a lopsided gallery that required three new holes. A practical tool I use is a gallery hanging template kit which made transferring the floor layout to the wall painless.
Step 3: Anchor art to furniture and pick a center piece
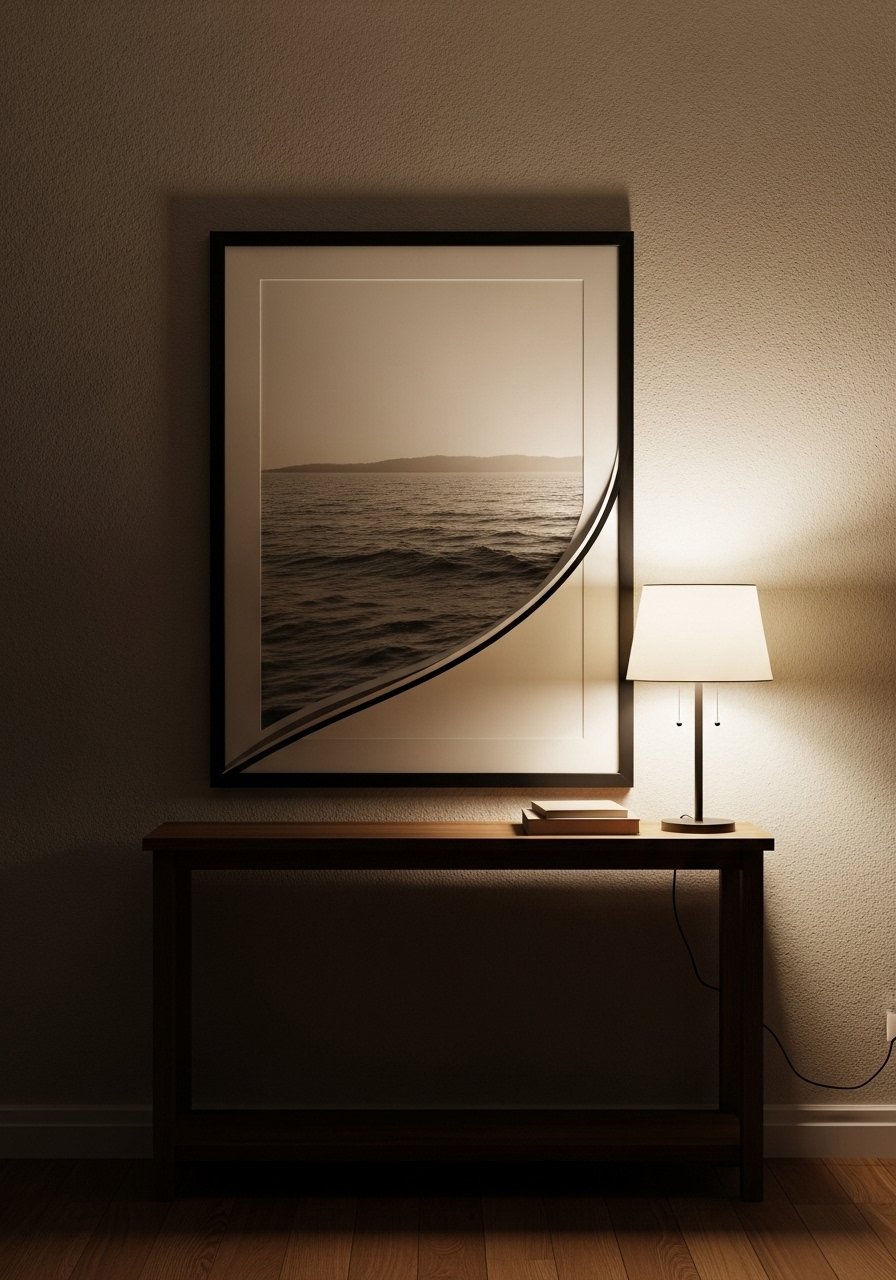
Most people start with the biggest item. That felt right, but I found it better to pick a medium piece as the anchor and build around it. If the arrangement sits above furniture, align the bottom of the frame about 6 to 12 inches above the top of the furniture, or center the whole grouping at 57 inches. The best result balances frame sizes and materials.
Texture matters. A canvas print has a soft, toothy surface, while a metal frame feels cool and deliberate in your hands. The mix of textures prevents everything from reading flat. If you want the flexible option, I use brass picture ledges, 24-inch for leaning art. Ledges saved me the commitment I regretted after the second weekend.
Step 4: Layer in depth with objects, lighting, and texture
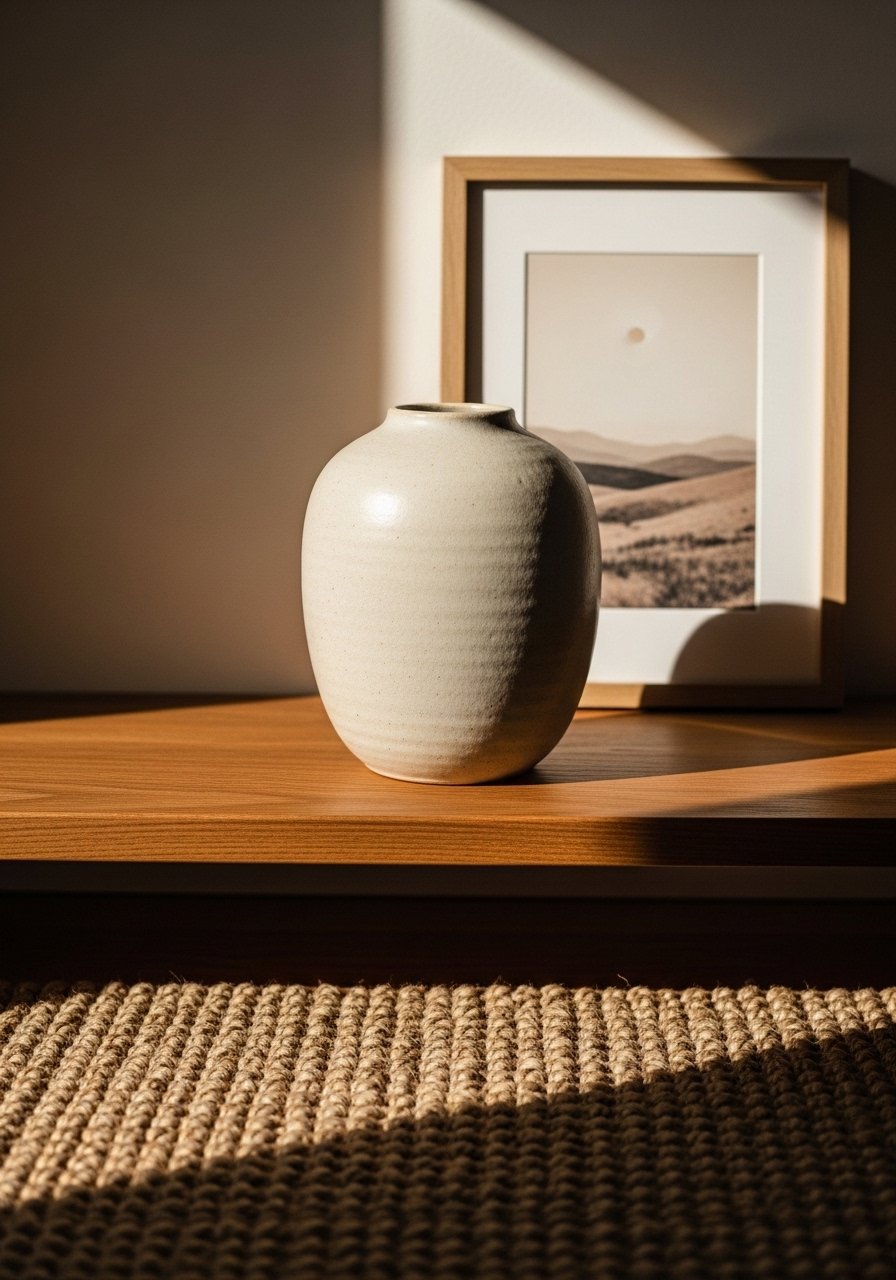
This is the step where it starts to actually look styled instead of cluttered. Add a sculptural object or a small framed piece in front of a larger print to create depth. A ceramic vase feels heavy and grounded in your hand, and a linen-covered print adds a nubby surface that catches light differently than glass.
Lighting makes a huge difference. A slim LED picture light brings out color and texture without glare. I use this ceramic vase set, matte white for scale and weight. Small, deliberate layers stop the wall from feeling like a wall and make it feel like part of the room.
Step 5: Step back, live with it, and edit after a few days
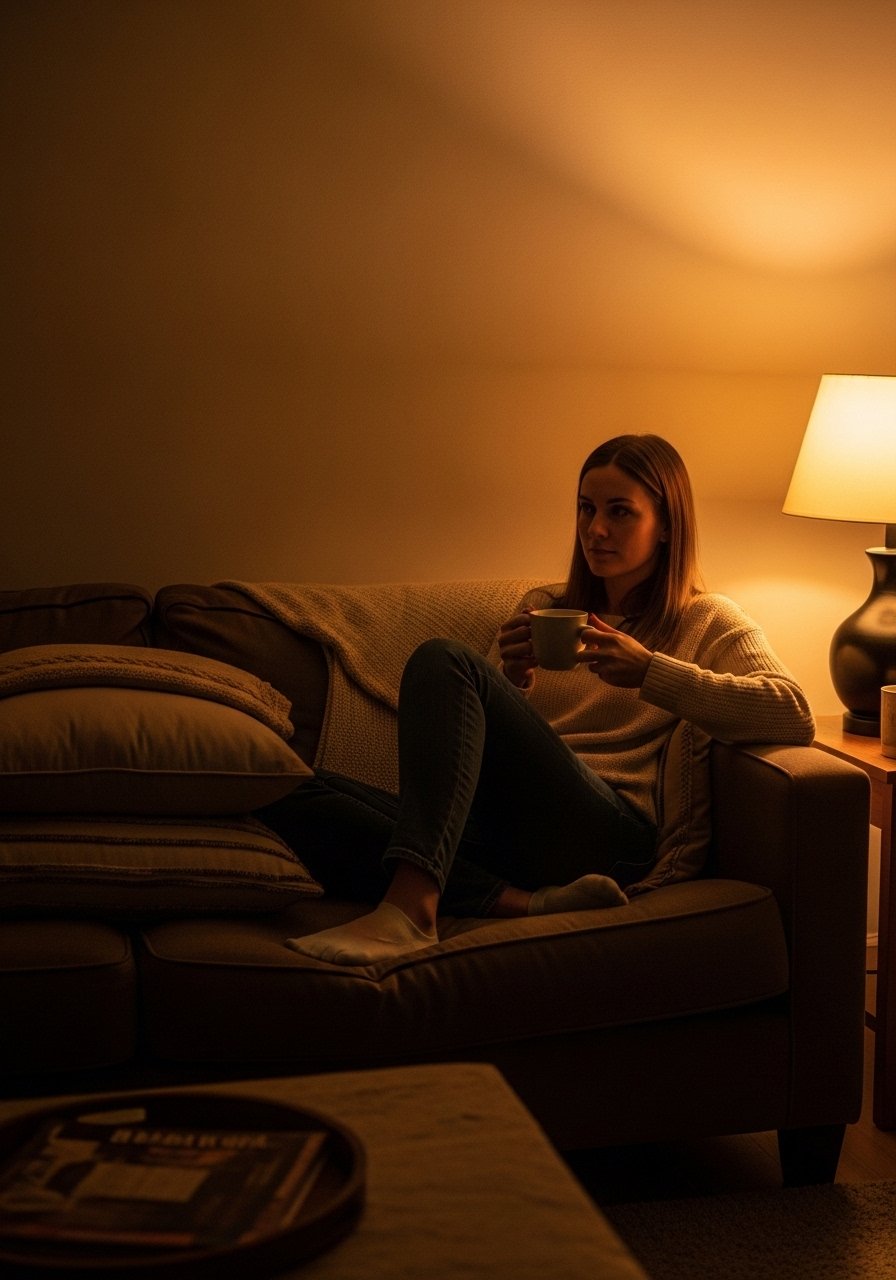
I used to skip living with a layout and would keep tweaking until it felt forced. Now I wait. Walk away for at least ten minutes, then live with it for a few days. You'll see if a piece feels crowded or if there is actually too much empty space. The common urge to add more usually makes the composition worse.
If something still feels off after a week, remove an item rather than adding one. Small edits often do the heavy lifting. For quick swaps I keep a spare natural wood frame, 16×20 on hand. It saved me from a regrettable impulse purchase once.
Your Living Room Artwork Shopping List

- Linen art print, 16×20 ($25-45). Use as a textured anchor in Step 3. The fabric surface changes how light sits on the image. Similar options at HomeGoods.
- Brass picture ledges, 24-inch ($18-30). For leaning art and flexible arrangements in Step 3.
- Gallery hanging template kit ($12-22). Transfers your floor layout to the wall cleanly in Step 2.
- Ceramic vase set, matte white ($25-40). Adds weight and a tactile element in Step 4.
- Natural wood frame, 16×20 ($20-35). A neutral frame for swaps in Step 5.
- LED picture light, slim profile ($30-70). To highlight texture and color in Step 4.
- Jute area rug, 8×10 ($90-160). Grounds a seating area mentioned in Step 1. Neutral enough to keep art the focus.
- Chunky knit throw in oatmeal, 50×60 ($40-65). For comfort and to add a soft layer in Step 5.
Why Your Wall Still Looks Empty After Hanging Art
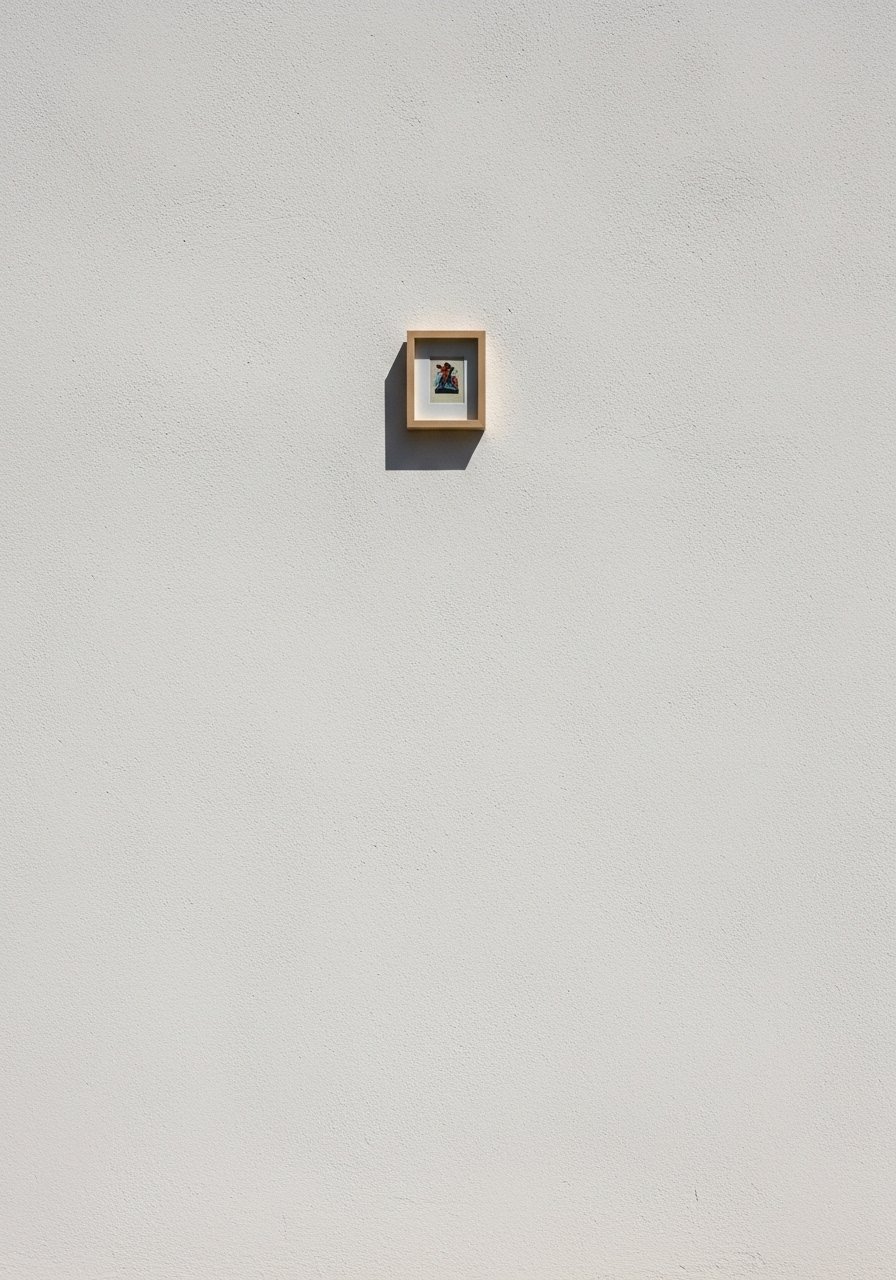
If the wall still feels empty, check three things. First, scale: an arrangement that covers 60 to 75 percent of a sofa width will feel intentional. Second, spacing: too-tight clusters can read like clutter, too-wide gaps look unfinished. Third, layers: art plus at least one physical object or a plant will stop the wall from feeling flat. I ignored layering for ages and the room felt sterile until I added a vase and a small lamp.
Making This Work in a Small Room
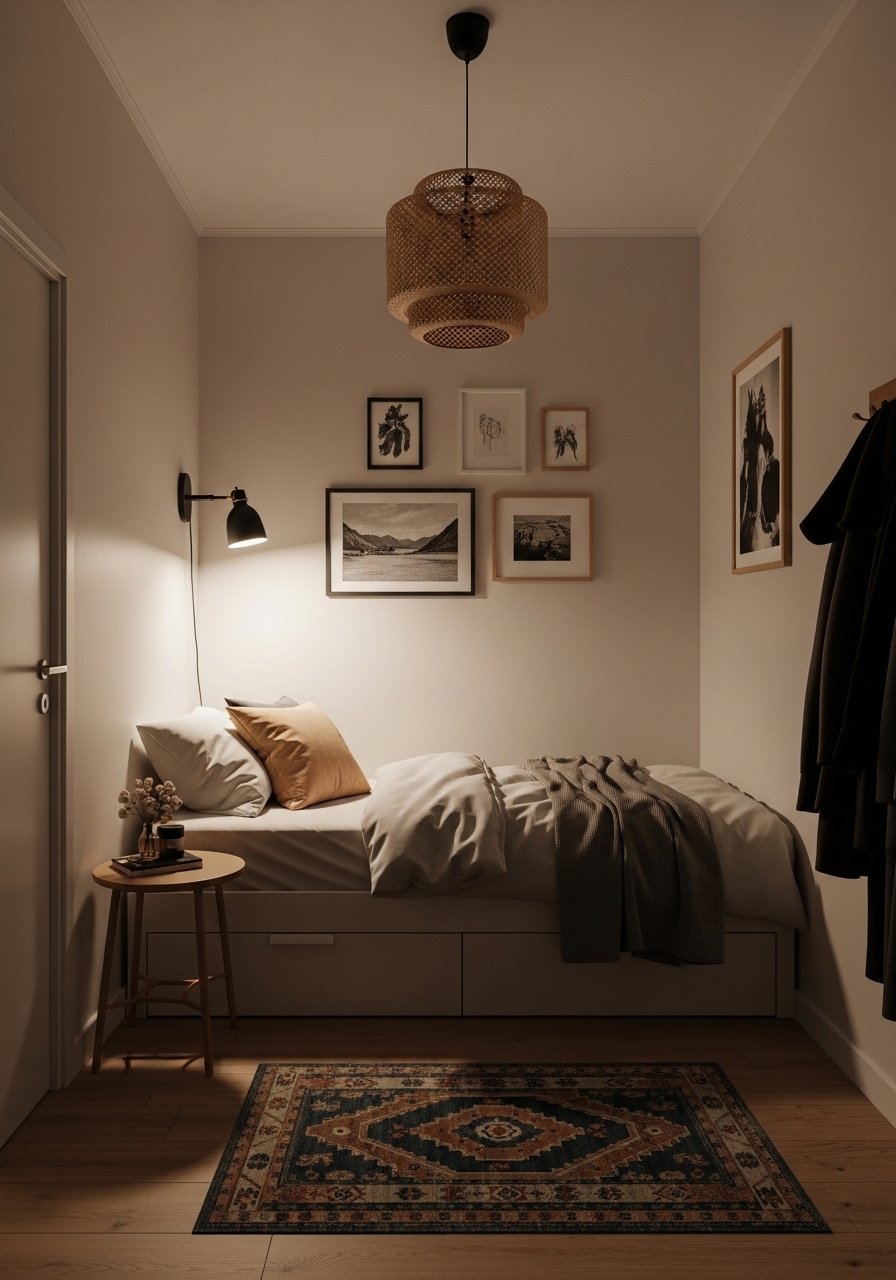
In a small room, keep art lower and tighter. Tips that actually help:
- Use one medium anchor piece rather than many small frames. It reads cleaner.
- Aim for the center at 57 inches but lower the whole grouping 2 inches if ceilings are under 8 feet.
- Lean art on a narrow shelf to avoid committing to multiple holes. The brass picture ledges, 24-inch are perfect here.
- Keep frames light in color to avoid visual heaviness.
What This Looks Like After a Week with Kids and a Dog
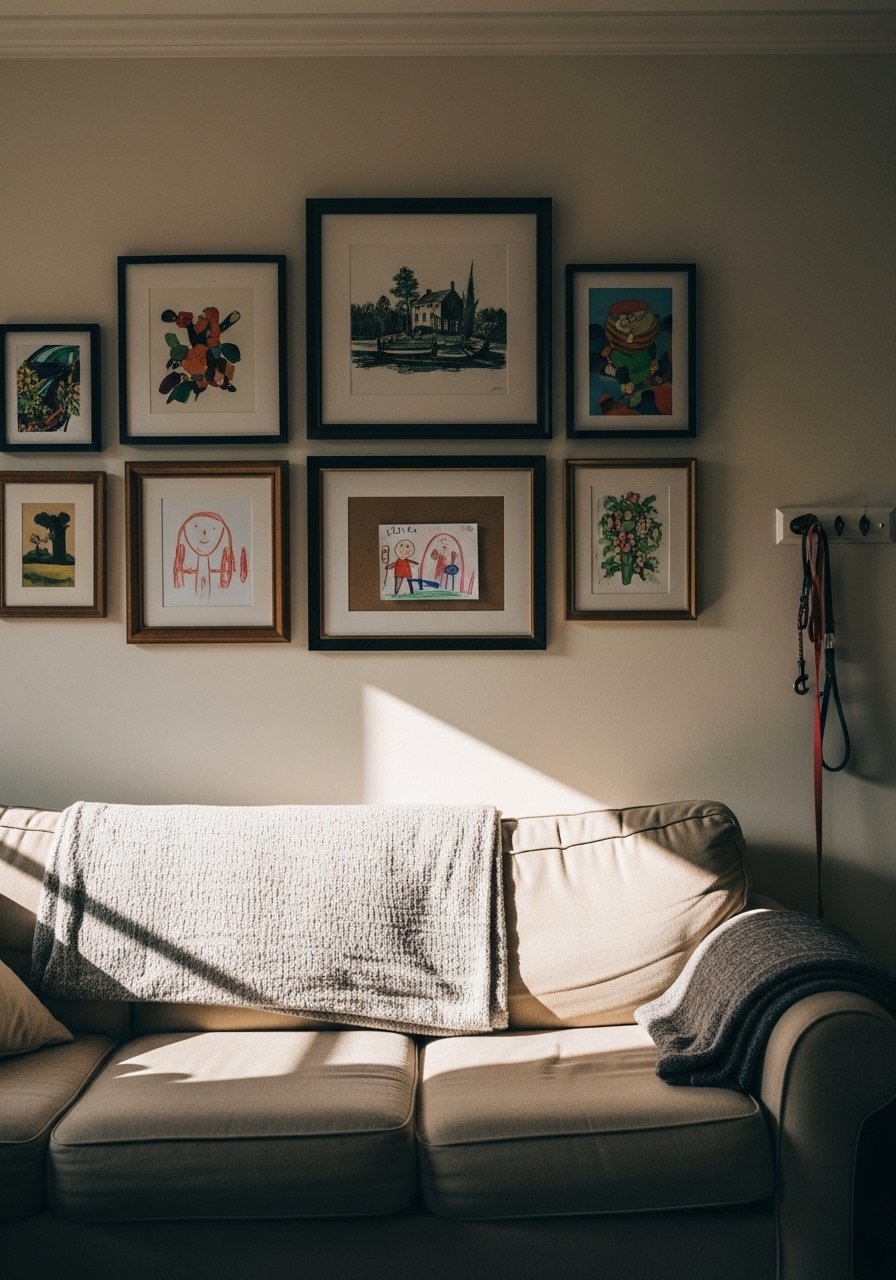
Real life changes styling. Expect a crooked frame, a sticky spot, or a child’s drawing tucked onto a ledge. I learned to secure frames with a small bump stop or earthquake putty in high-traffic homes. Avoid delicate frames at bottom reach. Choose washable mats and frames you can dust easily. After a week you will know what needs to be moved for daily life. My partner moved one frame to a higher ledge after it got nudged twice, and everyone stopped noticing once it was safer.
Pick One Wall and Start Small
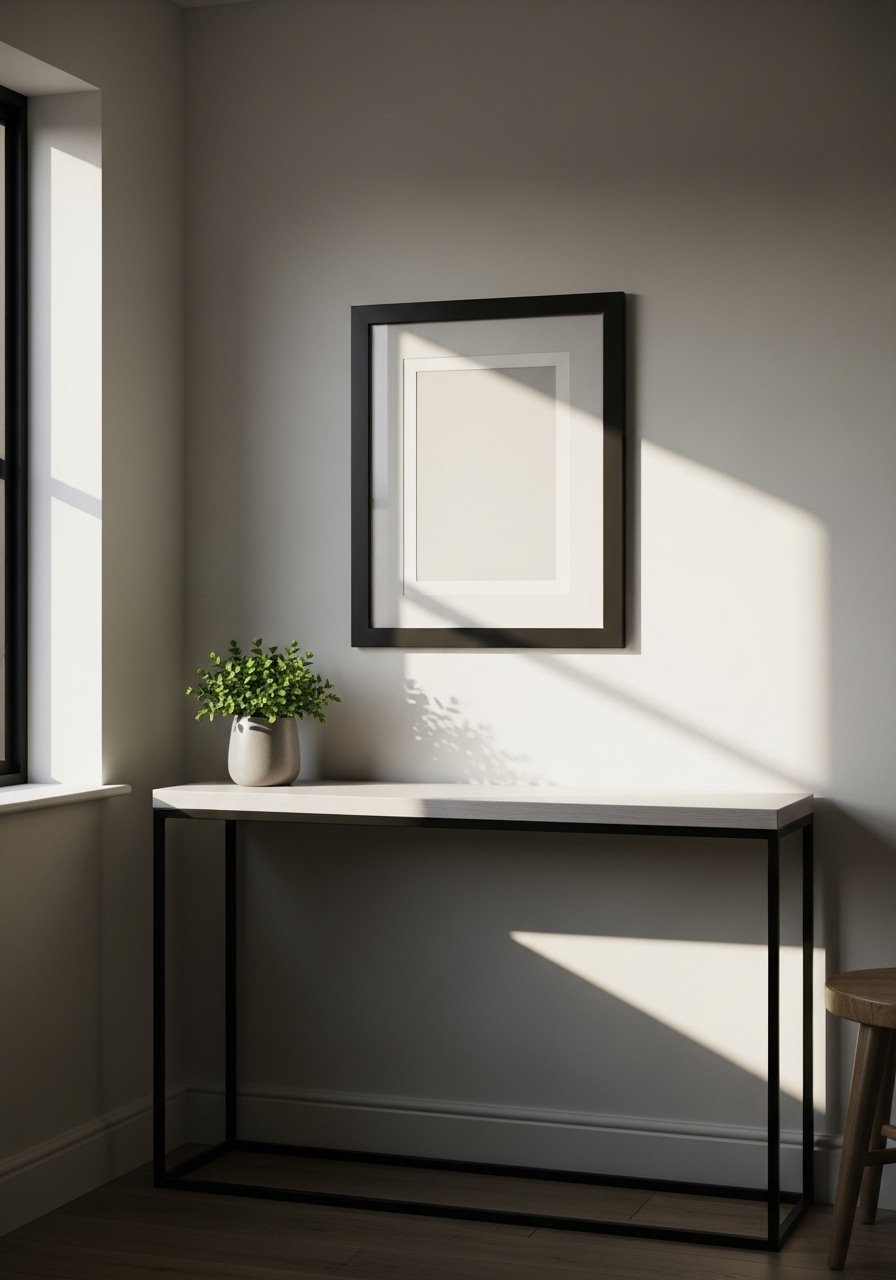
Pick one wall and give it permission to be imperfect. Start with one medium piece or a single shelf of leaning art, then live with it for a few days. If you want the lowest-commitment start try a linen art print, 16×20 on a brass ledge. You will notice what the room needs after the first week, and small edits will get you where staged photos usually pretend people start.