
I used to hate the way my living room felt at night. The overhead light was harsh and everything that was meant to feel cozy read as flat and washed out. I bought candles, then a lamp, then another lamp. It only got worse because each piece competed instead of working together.
What finally helped was treating light like furniture. Not more things, but fewer, better-placed sources that sit at different heights. I messed this up the first three times. My third setup looked crowded and uneven until I backed away and measured a few key heights.
What follows is the exact order I use now when I walk into a room that needs mood lighting. Small, careful moves, a couple of basic measurements, and a willingness to pull a light and try it in a new spot.
Step 1: Pick your three light roles and place them
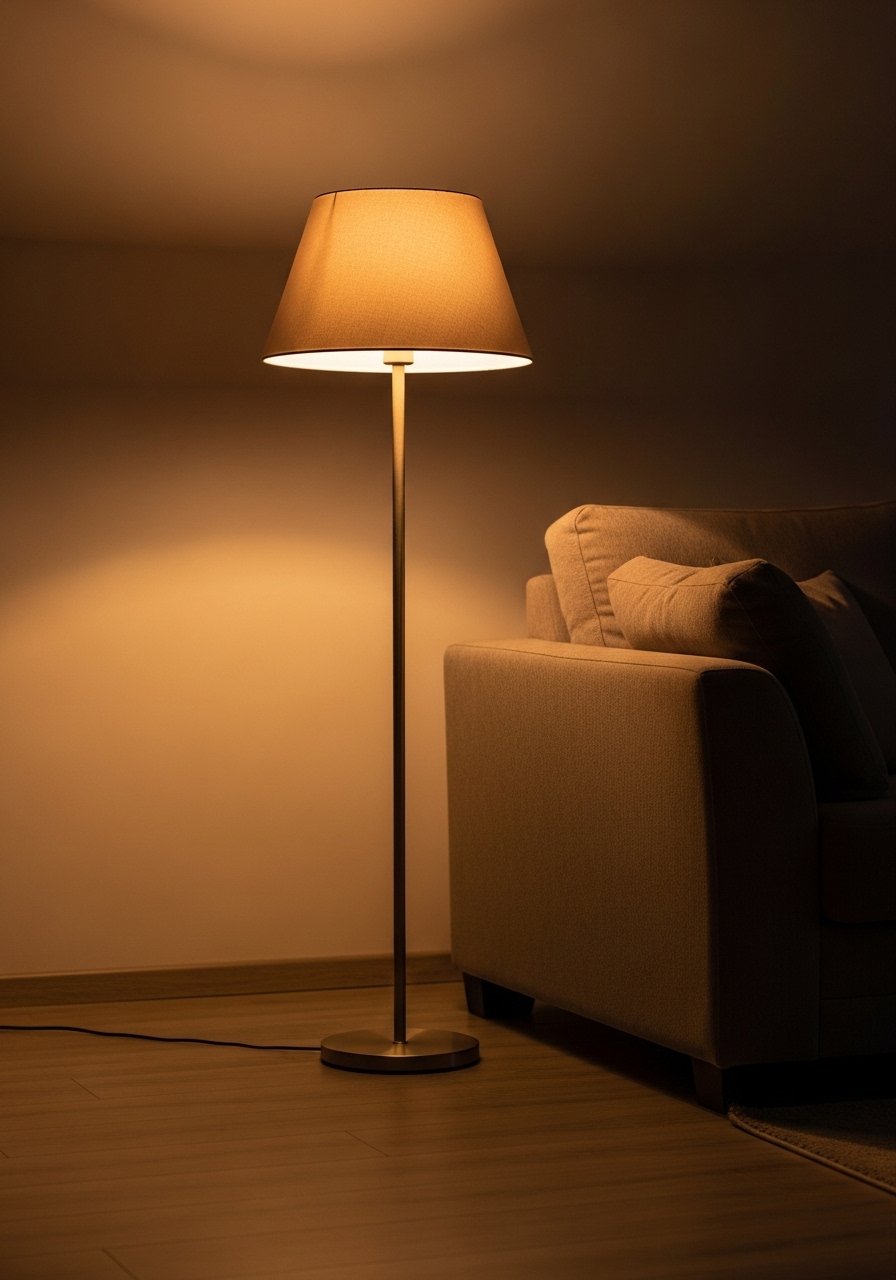
Most people start by buying pretty lamps. That is backwards. Decide the roles first. I use one anchor lamp, one task source, and one ambient or accent source. The anchor is usually a floor lamp by the sofa. Task is a table lamp for reading. Accent is a small wall sconce or string light for the corner.
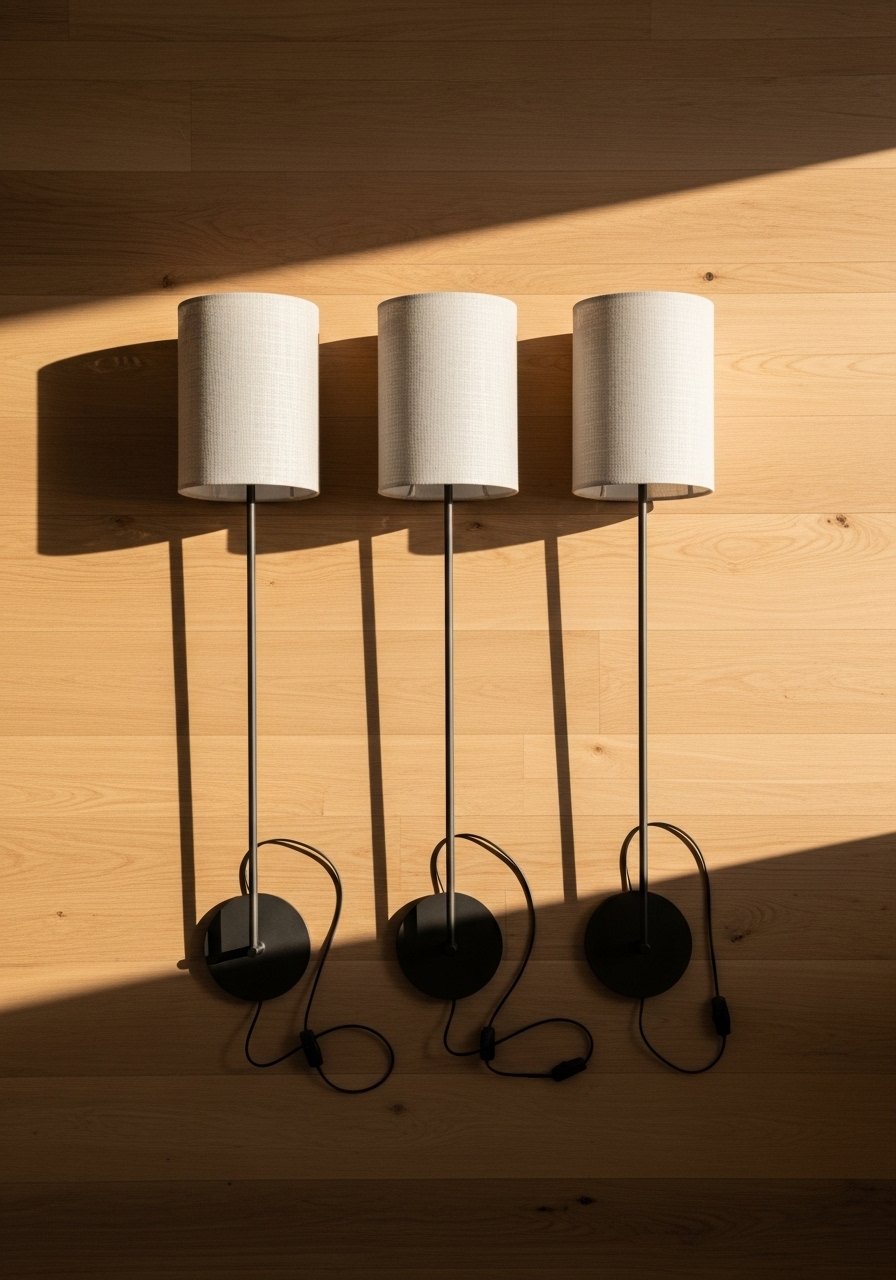
Visually, aim for a triangle of light. In a medium living room that means spacing sources about 4 to 6 feet apart so the room reads balanced, not spotlit. For height, the top of a floor lamp shade should be roughly at eye level when seated, about 58 to 62 inches from the floor. The payoff is a room that reads layered and calm.
Step 2: Tune the warmth and dimming for mood
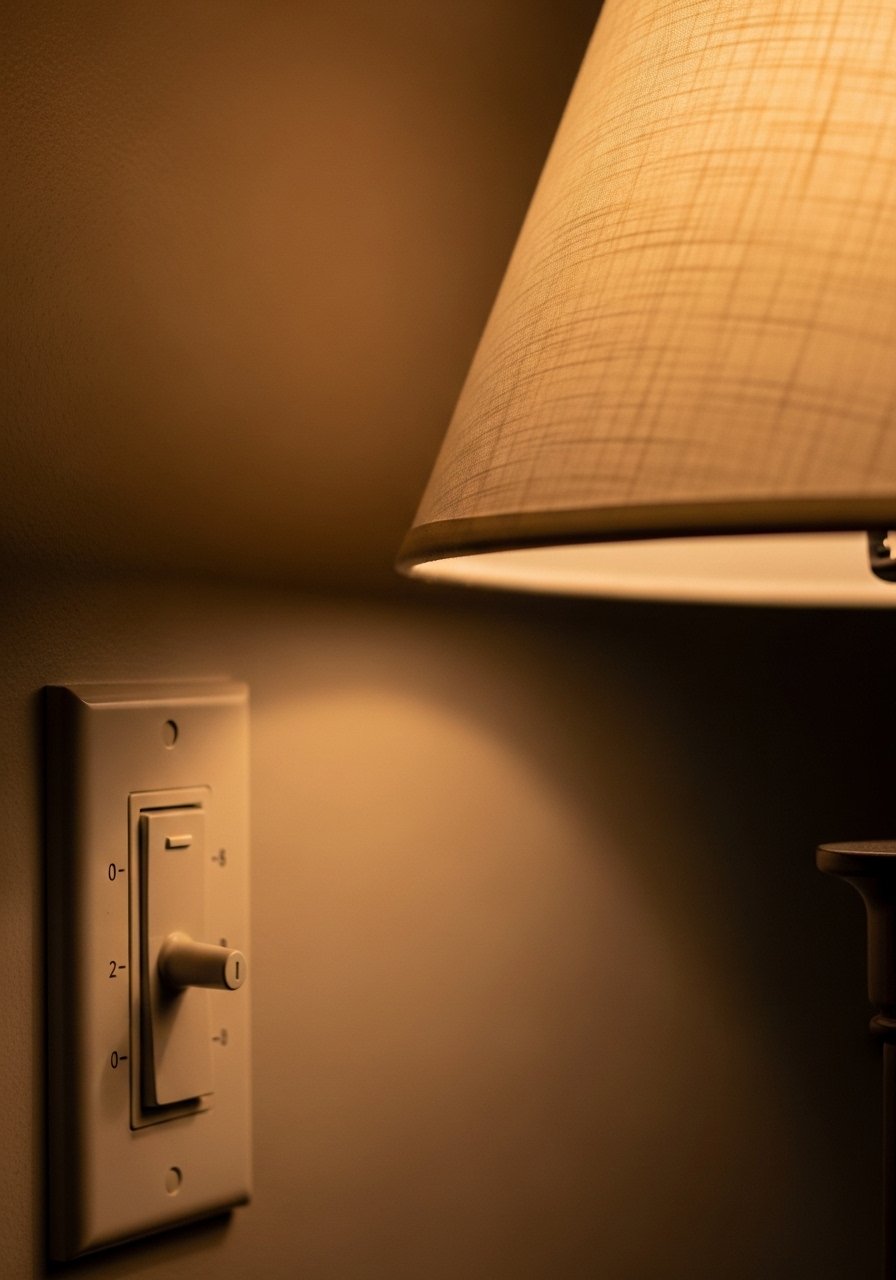
This is where it starts to feel like a real room instead of a display. Switch bulbs to warm white, around 2700K to 3000K. Swap a bright 100-watt replacement for a 60-watt warm bulb and notice the air change. If your fixtures accept dimmers add them. Dimming to about 40 to 60 percent gives that cozy pool of light without making the room murky.
I fought with bulbs for ages and once bought a cheap set that hummed. Lesson learned: spend a little on the bulbs. A smooth, warm glow feels soft on the skin and makes textures like nubby throws and linen pillows read richer.
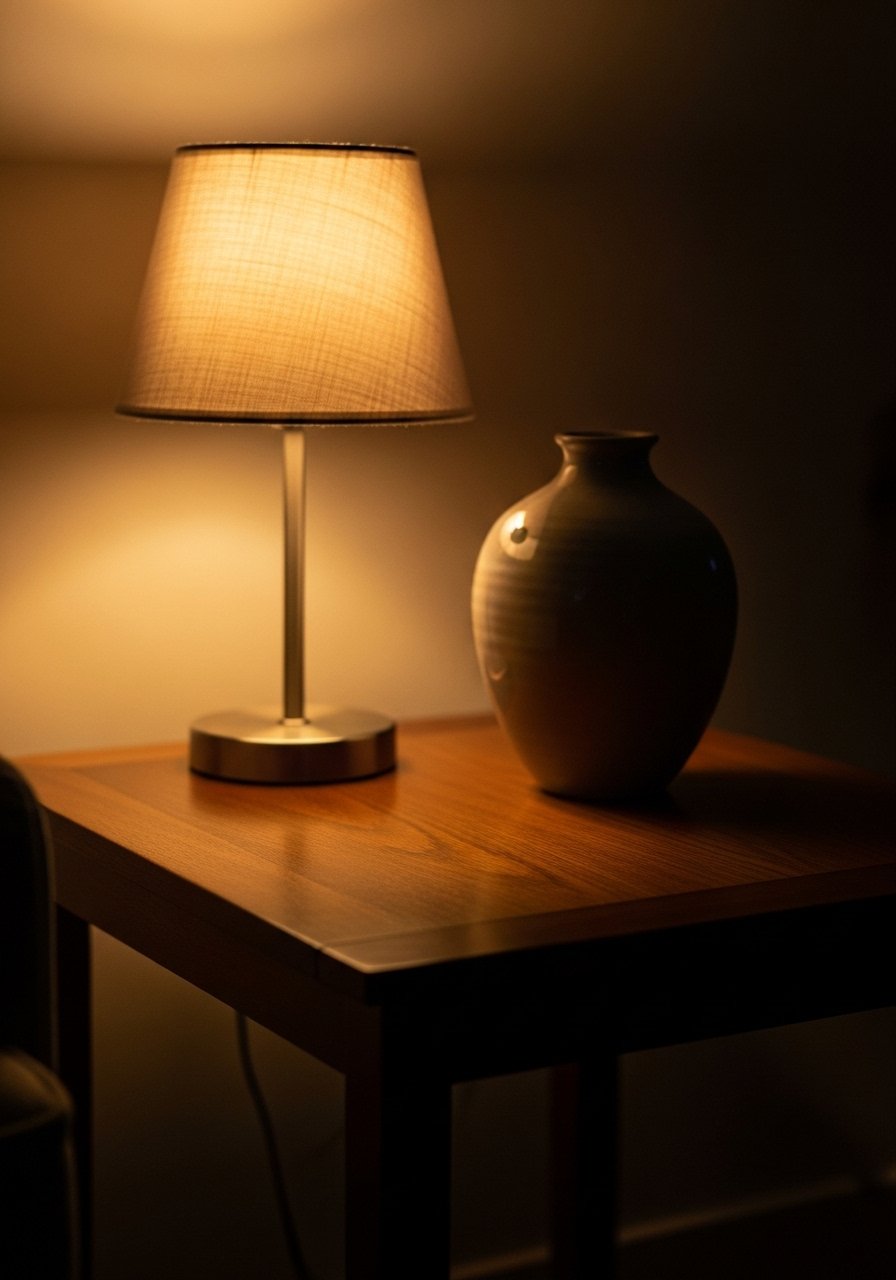
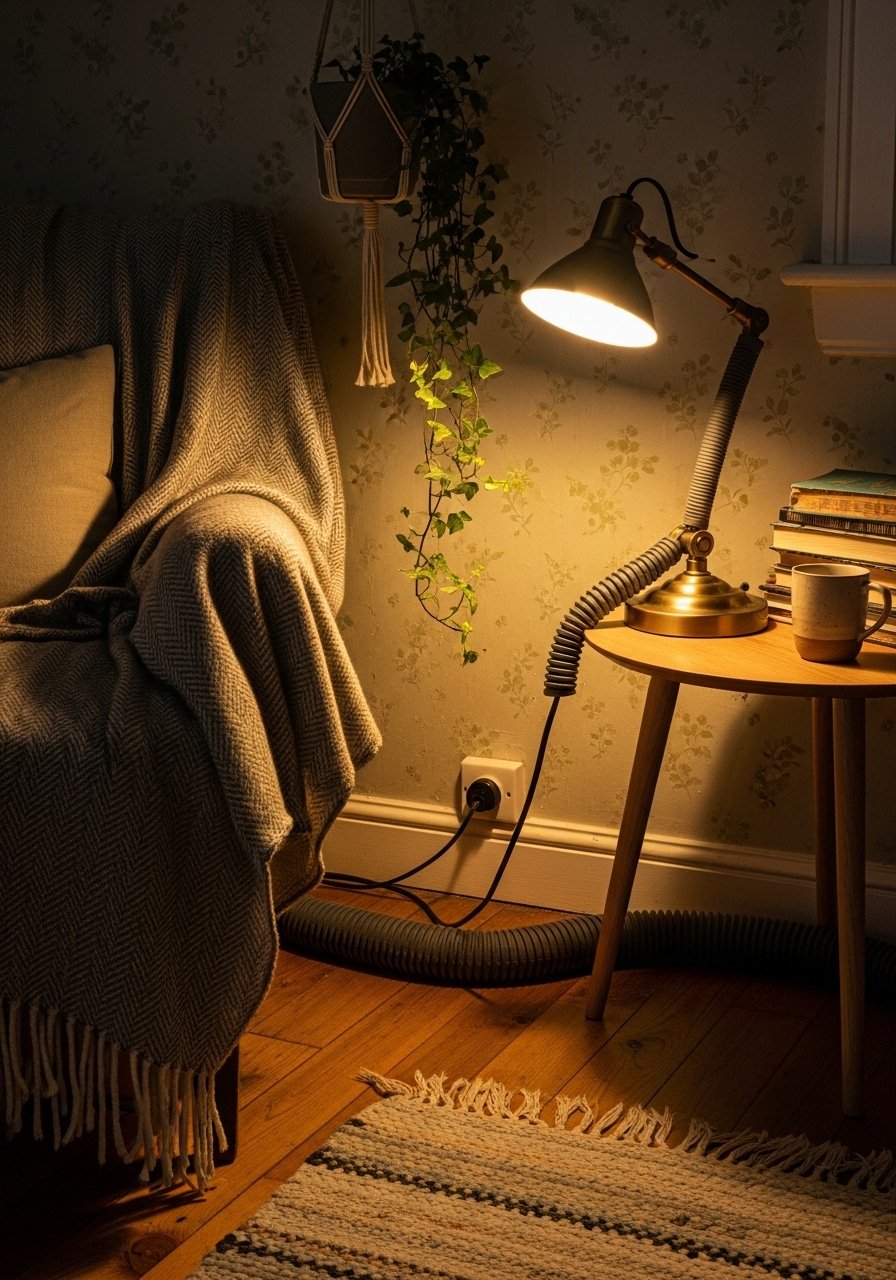
Step 3: Anchor the seating area with a low lamp and texture
Pull a low lamp into the seating triangle. Place the base so the light grazes the back of the sofa and hits the coffee table. This anchors the seating visually and creates a warm landing spot. If your coffee table is 16 to 18 inches high, choose a lamp whose shade top sits just above the seated eye line when the person is on the sofa.
Add a chunky knit throw or a woven pillow near that light. The throw will feel heavy in your hands, soft and slightly scratchy if wool, which gives a tactile contrast to a smooth ceramic lamp base. I almost skipped adding texture here once and the lamp looked lonely on its own.
Step 4: Soften corners and avoid crowding with scale control
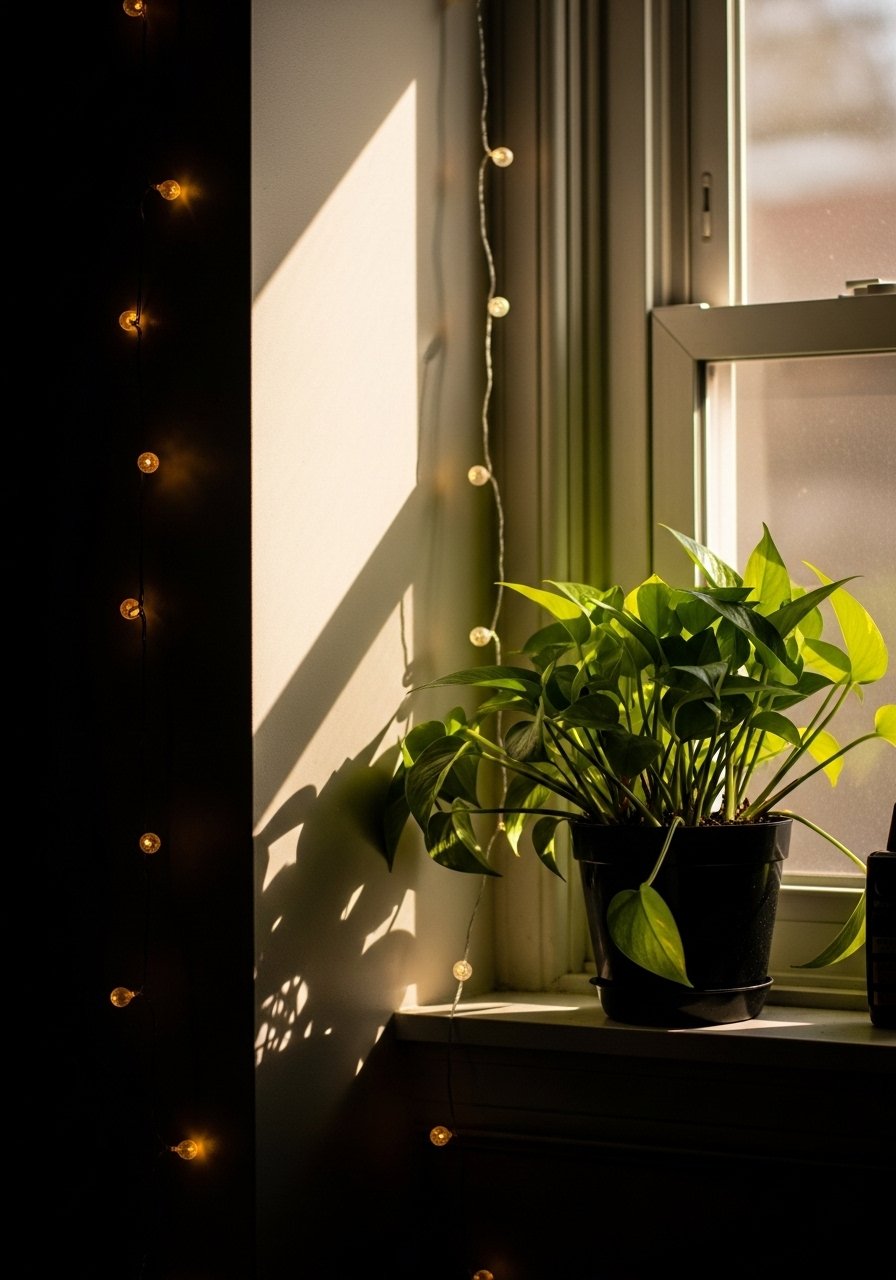
Corners are the easiest place to overdo it. String lights, a plant, a small table, and a basket were my first corner disaster. Too many things fought for attention. Instead, choose one or two items and let negative space do work. If you use string lights hang them cleanly along the wall edge, not tangled in the plant.
Scale matters. A tall narrow lamp can fill a corner without needing extra objects. If you prefer an accent light, keep it to about 30 to 40 percent of the wall height so the glow reads intentional. My partner hated the asymmetrical look at first. After a week he admitted the corner felt calmer.
Step 5: Live with it and tweak after everyday use
This step is the one most people skip. Use the room for a few days with your new layout. Sit, read, watch TV, cook. Notice shadows that hit your face or glare on the TV. Move a lamp a few inches, change a bulb to one step warmer, or shift a shade so it hides the bulb from direct view. Small tweaks make a big difference.
I moved one lamp three times over a week before it felt right. The payoff is quiet confidence. You will know which light is working because it will feel comfortable, not artfully staged.
Your Mood Lighting Shopping List
- Warm LED floor lamp, brushed brass, 62-inch ($70-140). For Step 1, this is my anchor lamp choice. Solid, slightly heavy base, smooth metal finish.
- Soft-touch table lamp, ceramic base, 18-inch ($30-60). Use in Step 3 for task light on a side table.
- Warm LED bulbs, 2700K, dimmable, 4-pack ($18-30). You will swap these into most fixtures in Step 2.
- Plug-in dimmer switch, inline knob ($12-20). For Step 2, easy to add without rewiring.
- Vintage-style string lights, warm white, 16 ft ($20-35). Use in Step 4 to soften a corner. Similar at Target.
- Ceramic vase set, matte white, varied heights ($25-40). For Step 5 accents and height variation on low tables.
- Chunky knit throw, oatmeal, 50×60 ($40-65). I keep one on the arm of every sofa I own. Used in Step 3.
- Small table lamp with fabric shade, 14-inch ($20-45). Handy for narrow corners in Step 4.
Why your room still feels flat after one lamp
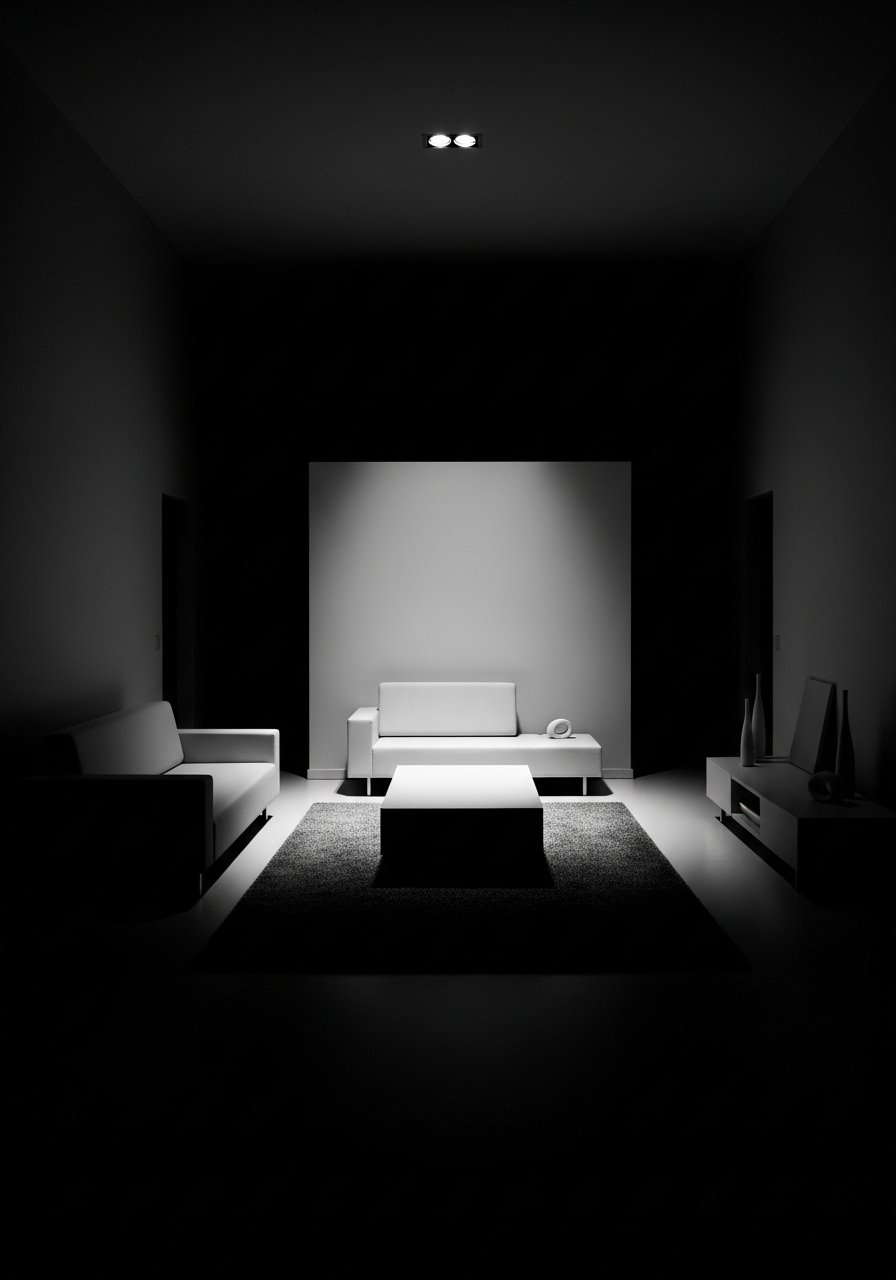
A single lamp rarely fixes a room. I learned this the hard way after buying a beautiful floor lamp that simply shone on an empty rug. The missing piece was variety of height and purpose. If every light is the same height the room reads monotone. Also watch for glare. If the lamp exposes the bulb you will get harsh points of light that make textures look washed out. Give each light a role and an appropriate shade to soften the beam.
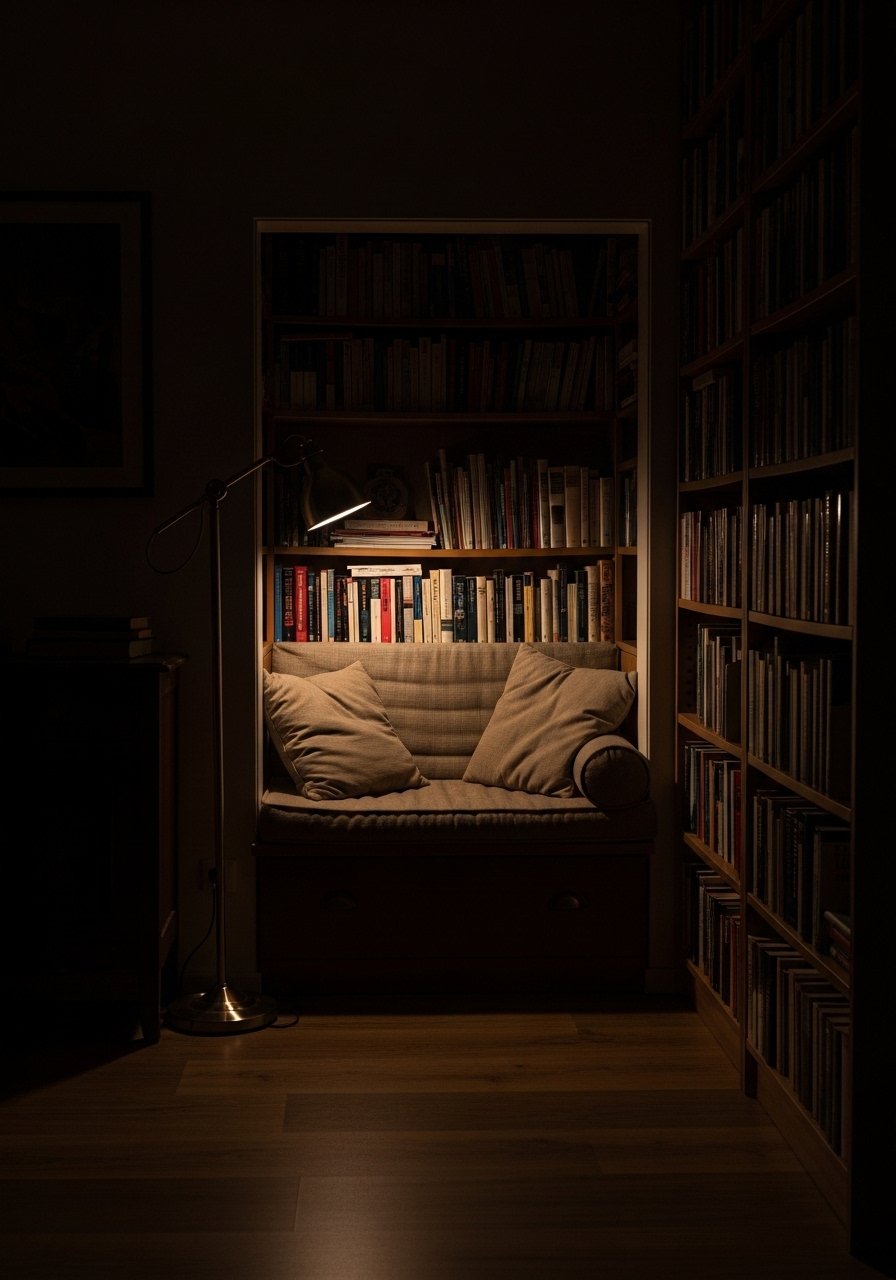
Making this work in a small room
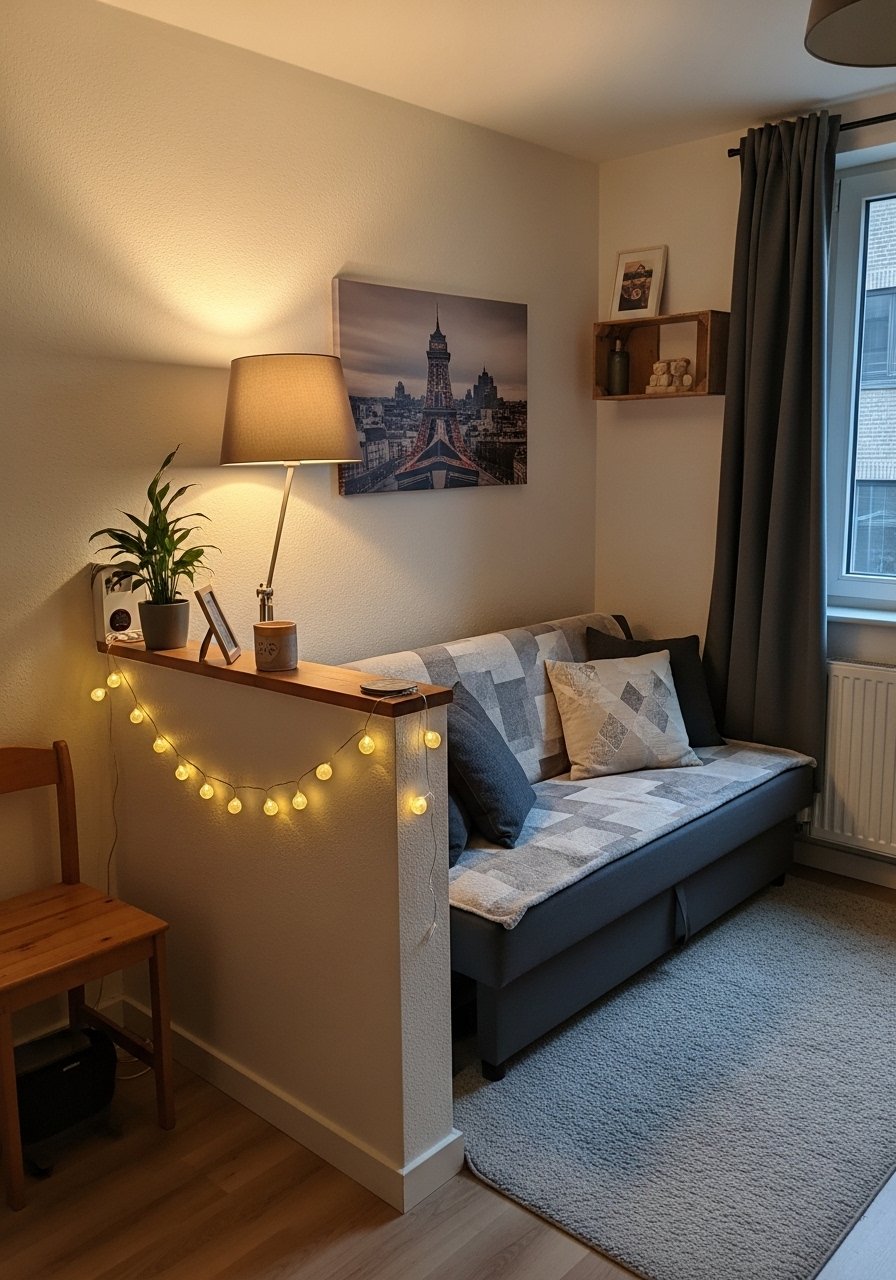
Small rooms respond well to slim-profile lamps and wall-mounted options. Use a tall thin floor lamp behind seating so it does not take floor real estate. Mount a dimmable sconce at about 60 inches from the floor to save table space. Bulbs under 40 watts equivalent are often enough in tight spaces. Keep furniture placement close to the light triangle; in a studio that usually means 3 to 4 feet between sources for balance.
Quick checklist
- Choose slim bases, not chunky ones
- Use plug-in sconces if you cannot hardwire
- Test dim levels in the evening light
What this looks like after a week with kids and pets
Reality will test your setup. My cat liked to nudge cords and my kid used a string light as a curtain. Plan for life. Conceal cords with simple covers, mount lights out of paw reach, and favor ceramic or metal bases that survive bumps. Expect to move the accent light once. After a week with family around, the room should feel softly layered and be easy to live in. If it is not, reduce one light or swap a fragile accessory for a sturdier one.
Start with One Lamp
Pick the one light that will give you the biggest emotional lift and add it first. A warm floor lamp by the sofa, with a dimmable bulb, is the lowest friction change you can make. Sit under it for a night and notice how the room feels.
Once that feels right, add the second and third sources using the spacing and height notes above. You will end up with a room that feels intentional and lived-in, not like a staged photo.
