
I kept waking up to a headboard that felt like wasted wall. I tried slapping a tiny print in the middle, propping leaning frames on the headboard, and piling pillows until the bed looked like a sofa. It never read as intentional, just crowded.
The moment that changed things was when I actually measured the bed and treated the area above the headboard like a small stage. Once I stopped overfilling it and started choosing one or two pieces at the right size and height, the whole room relaxed. I messed it up at least three times before this approach clicked.
Step 1: Clear the area and measure for scale
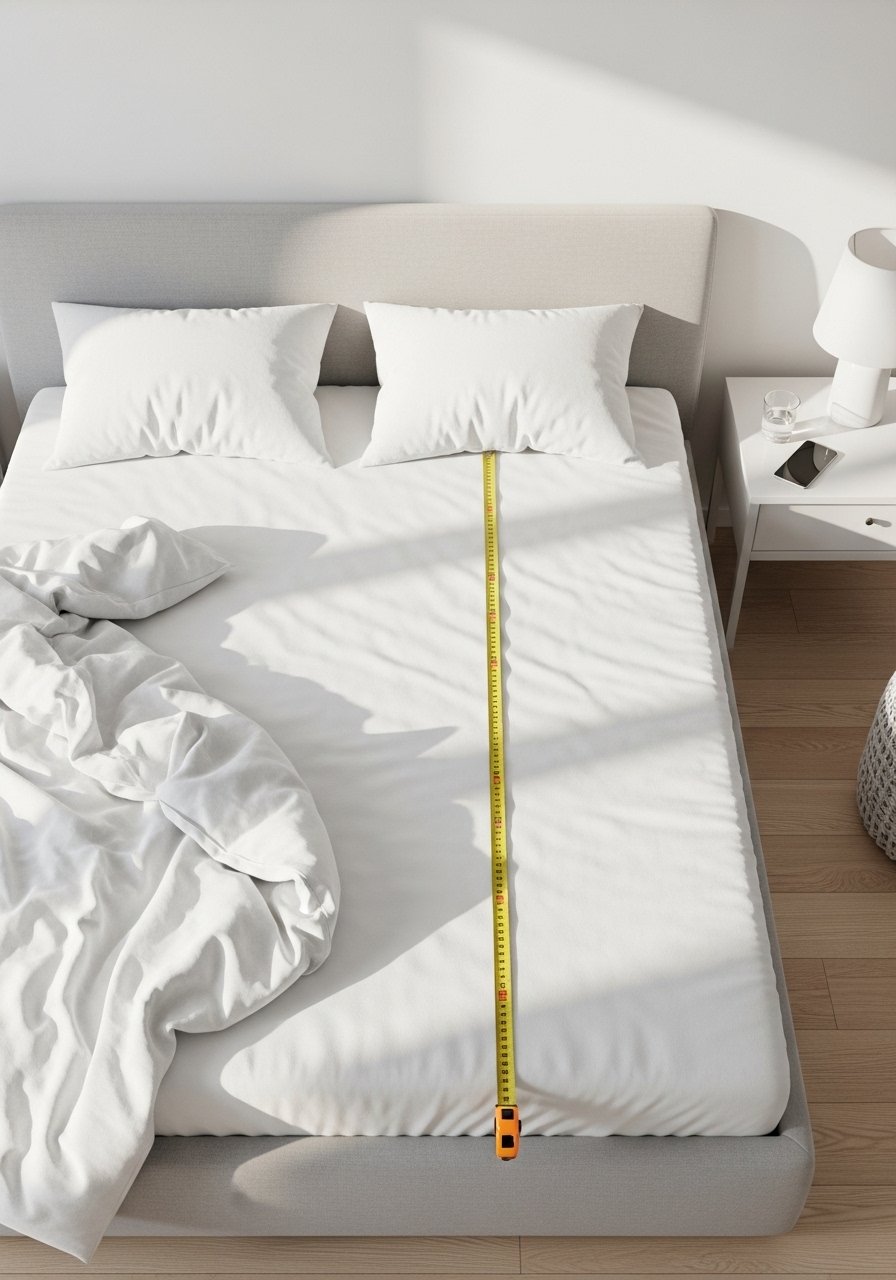
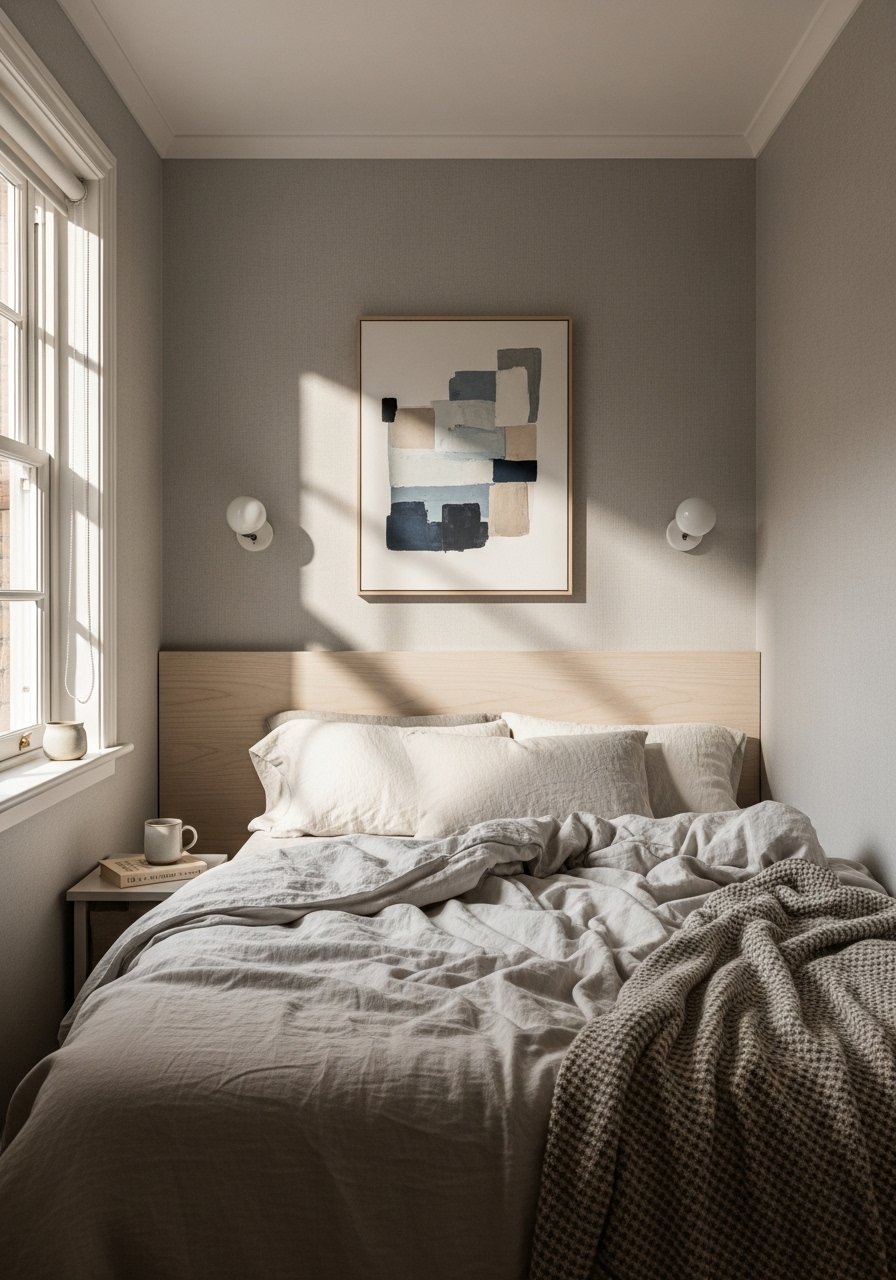
Pull everything off the headboard and the surrounding wall. I know it feels like wasting time, but this is when you notice what competes with the bed. Measure the bed width. A simple rule I use is the main artwork or grouping should sit at roughly two thirds of the mattress width. For a queen that means about 50 inches of visual width to fill, give or take.
Also measure headboard height. Aim to hang the bottom edge of art 6 to 12 inches above the top of the headboard. I skipped this step and hung things too high the first time. The room felt disjointed and the wall looked empty even though it was covered.
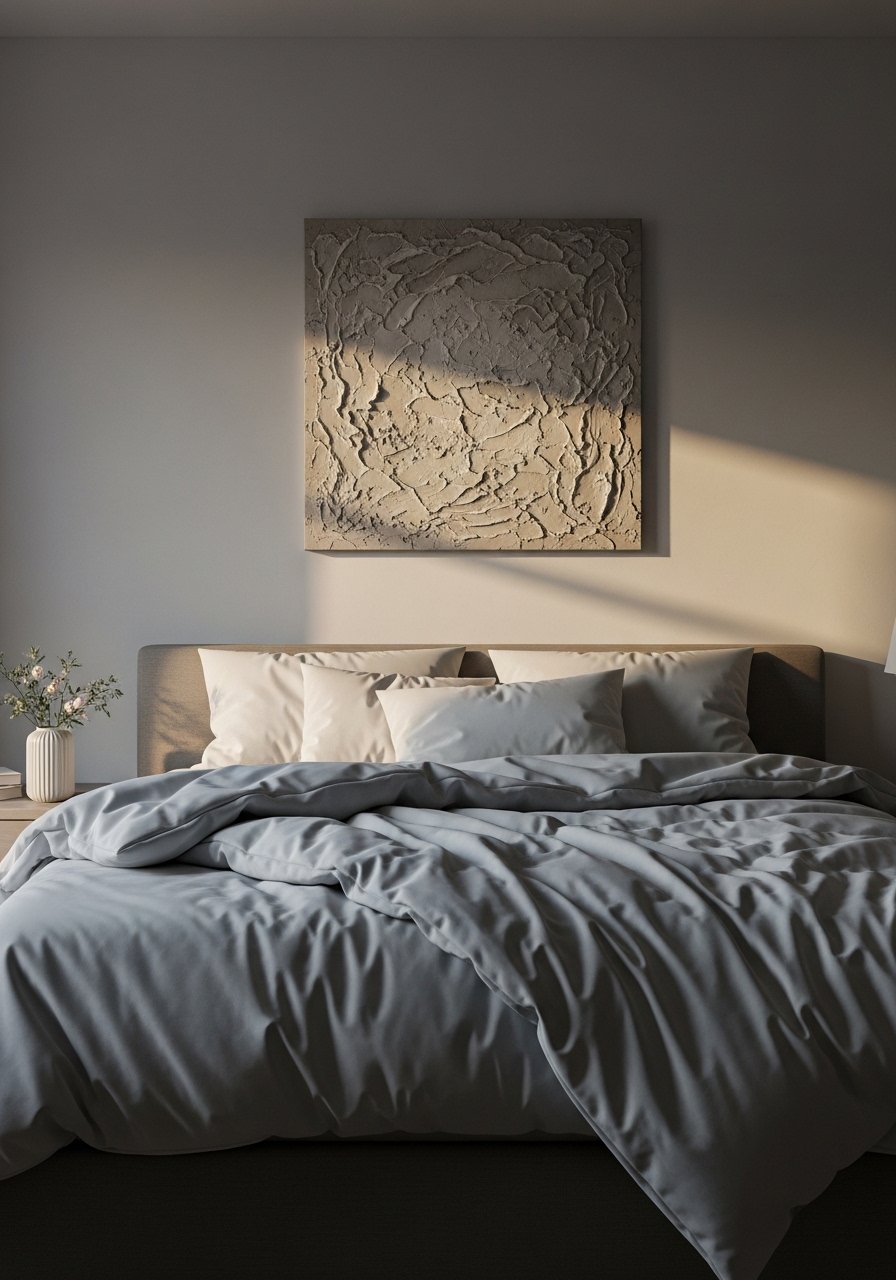
Step 2: Pick a single anchor or a balanced cluster
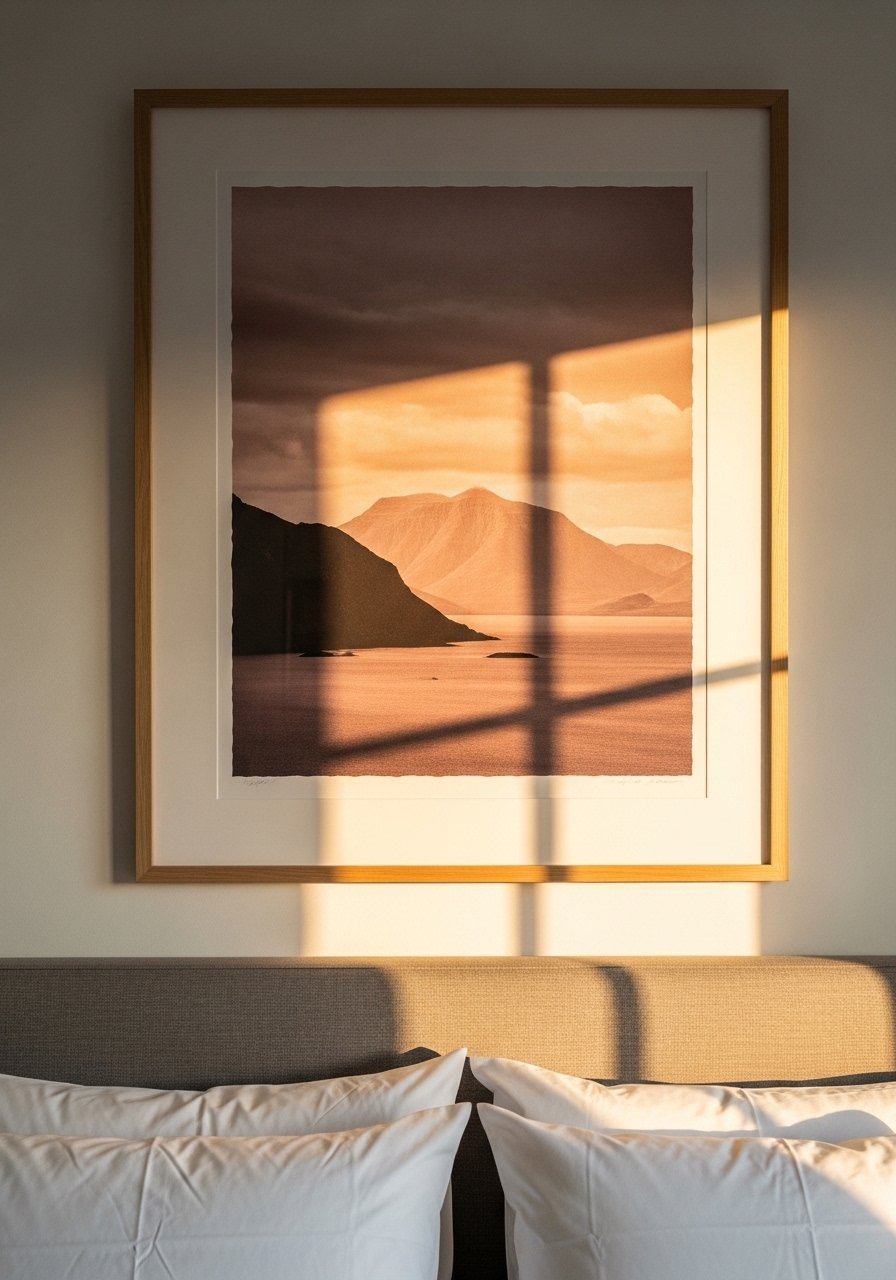
Decide whether you want one strong piece or a small, edited cluster. When I chose one anchor it was a textured textile panel, nubby and warm to the touch, and suddenly the bed felt grounded. If you go cluster, keep the total width at that two thirds rule and vary height within the group so your eye travels.
Common mistake is choosing items that are all the same scale. That makes the display flat. Another error is crowding the art against the headboard. Leave breathing room. For clusters, keep the tallest piece about two thirds the headboard height so nothing overwhelms.
Step 3: Add functional light and side balance
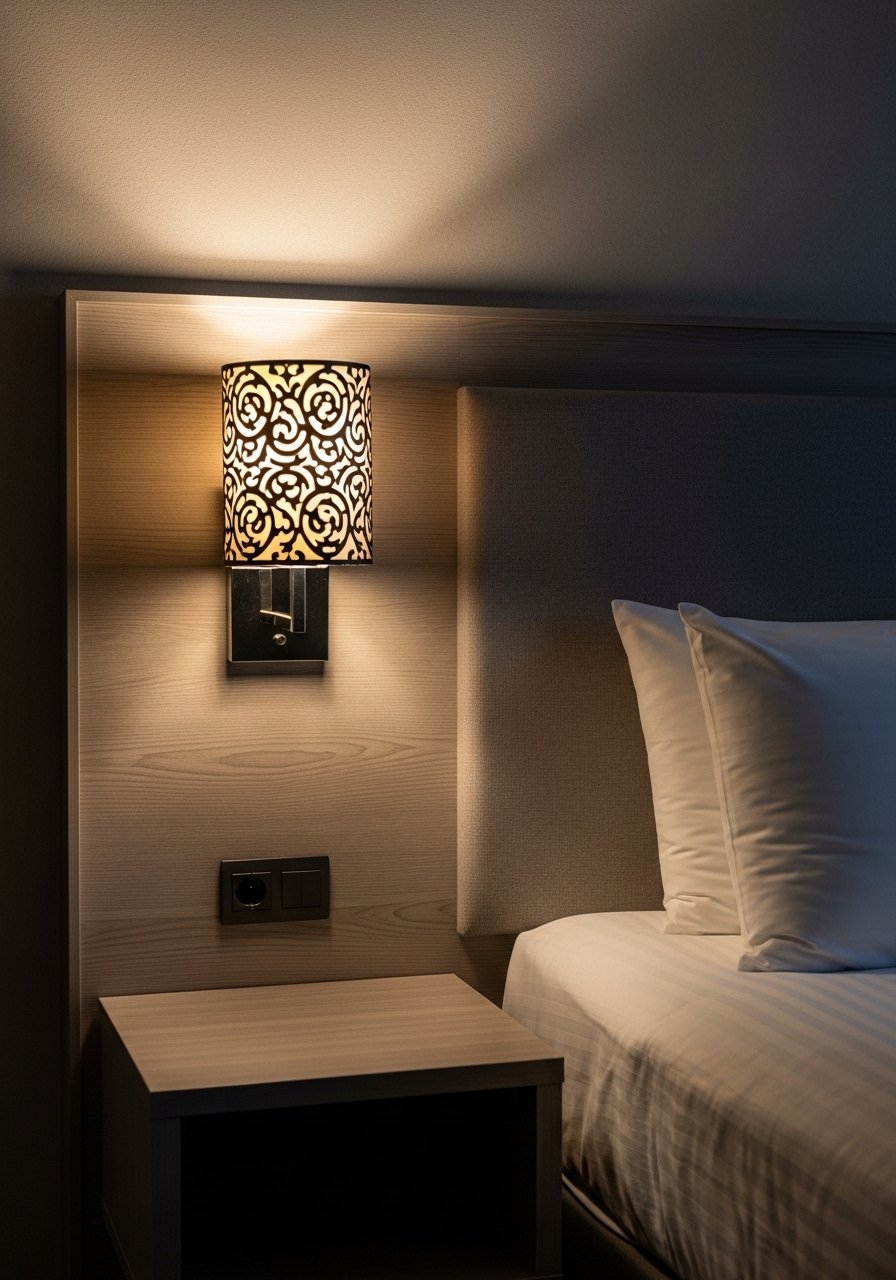
Lighting changes everything. Hard overhead light flattens the headboard area. Wall sconces or a pair of lamps give vertical interest and a soft pool of light that makes textiles look richer. Mount sconce centers roughly 58 to 62 inches from the floor, or 4 to 6 inches above the headboard top depending on the ceiling height.
My partner and I installed sconces too low the first time and banged our heads. Another misstep is picking fixtures that are too visually heavy. Choose something with a slim arm or an open shade so the headboard art keeps the focus.
Step 4: Layer textiles for touch and calm
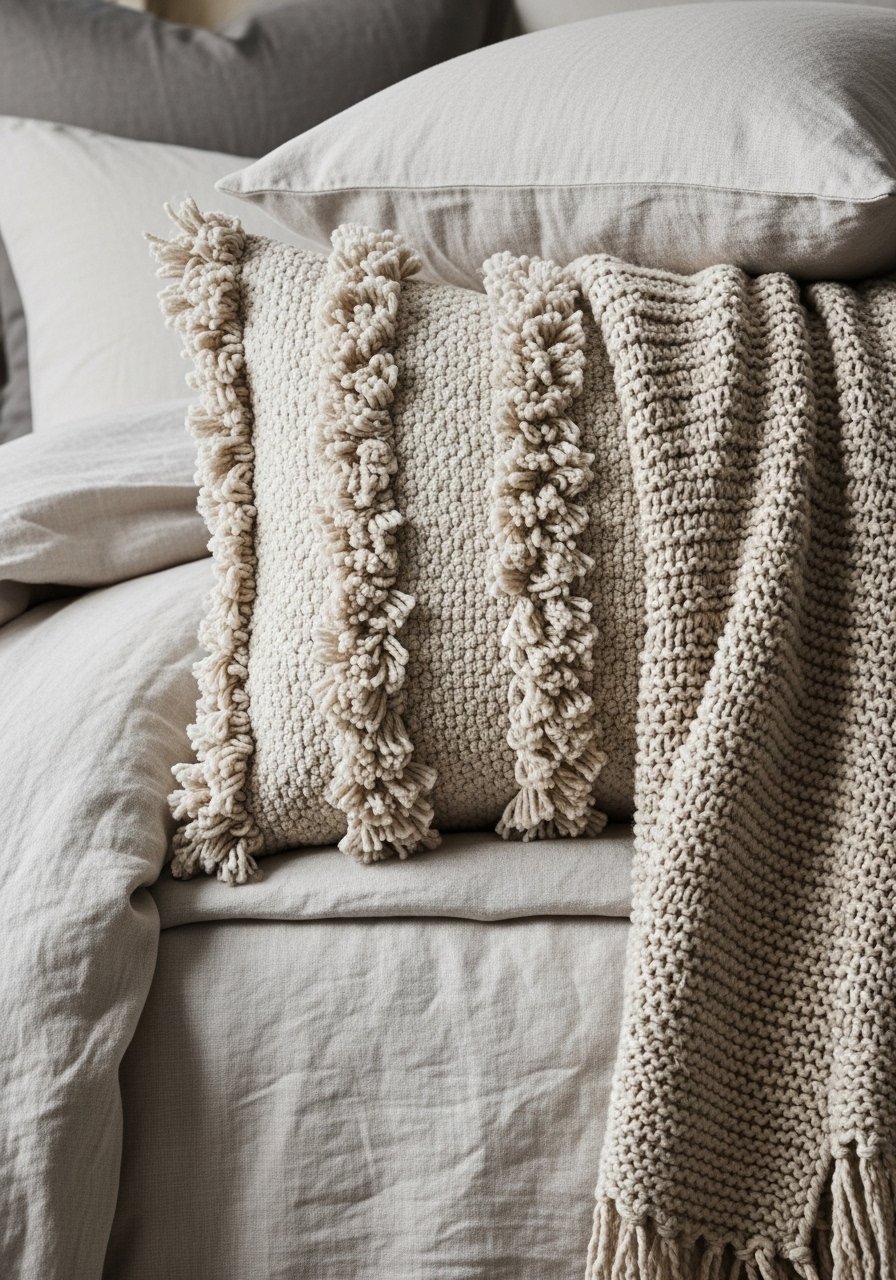
Pillows and a throw finish the look. Start with two euro shams 26×26 in the back, then standard pillows and one decorative pillow about 20×20 in front. A 50×60 throw folded at the foot of the bed adds a soft counterpoint to harder surfaces. Linen feels cool and a bit slubby against the skin. A chunky knit throw is tactile and heavy, it will droop differently every day.
I used to add too many patterned pillows thinking more meant better. It looked busy, not layered. Now I pair one pattern with solids and vary textures so the bed feels calm and inviting.
Step 5: Edit, step back, and live with it for a week
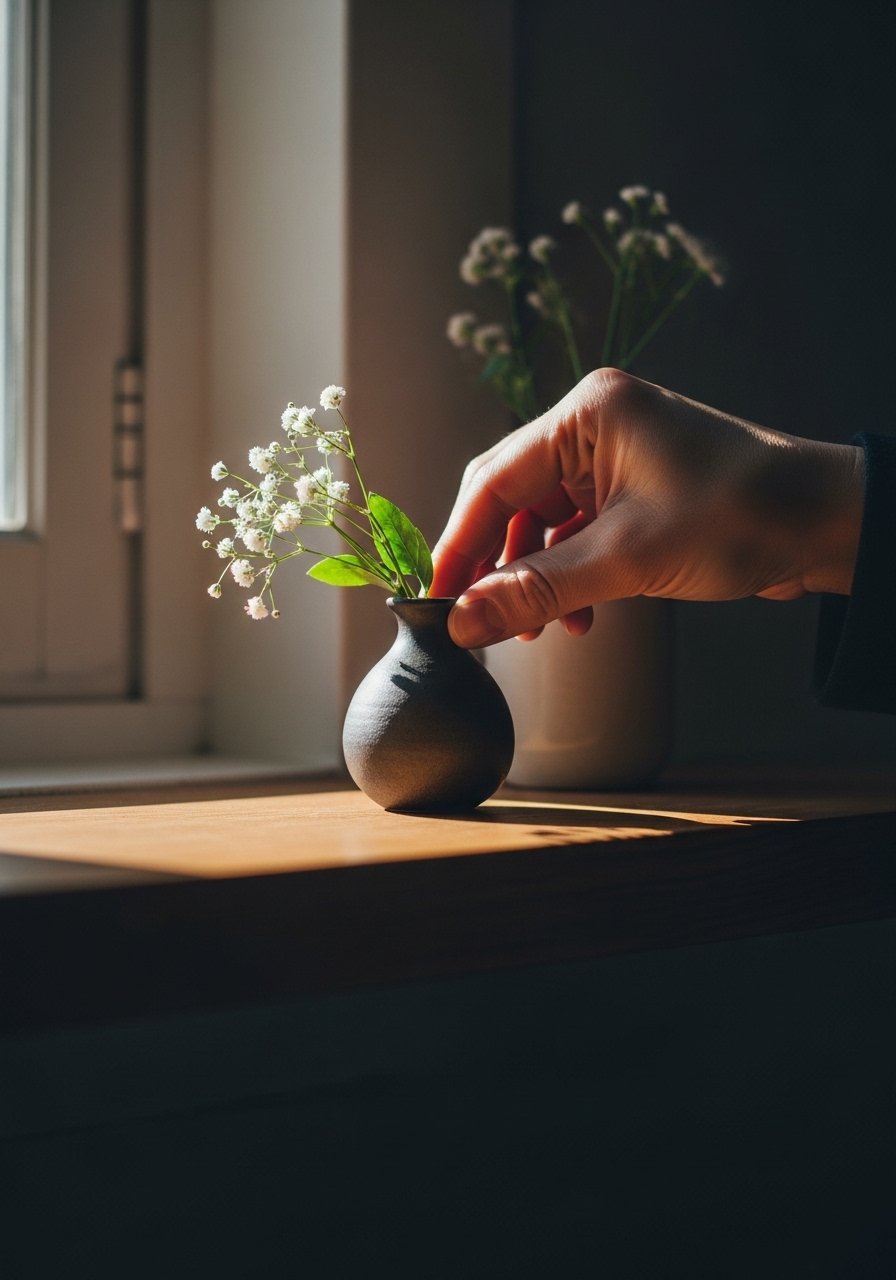
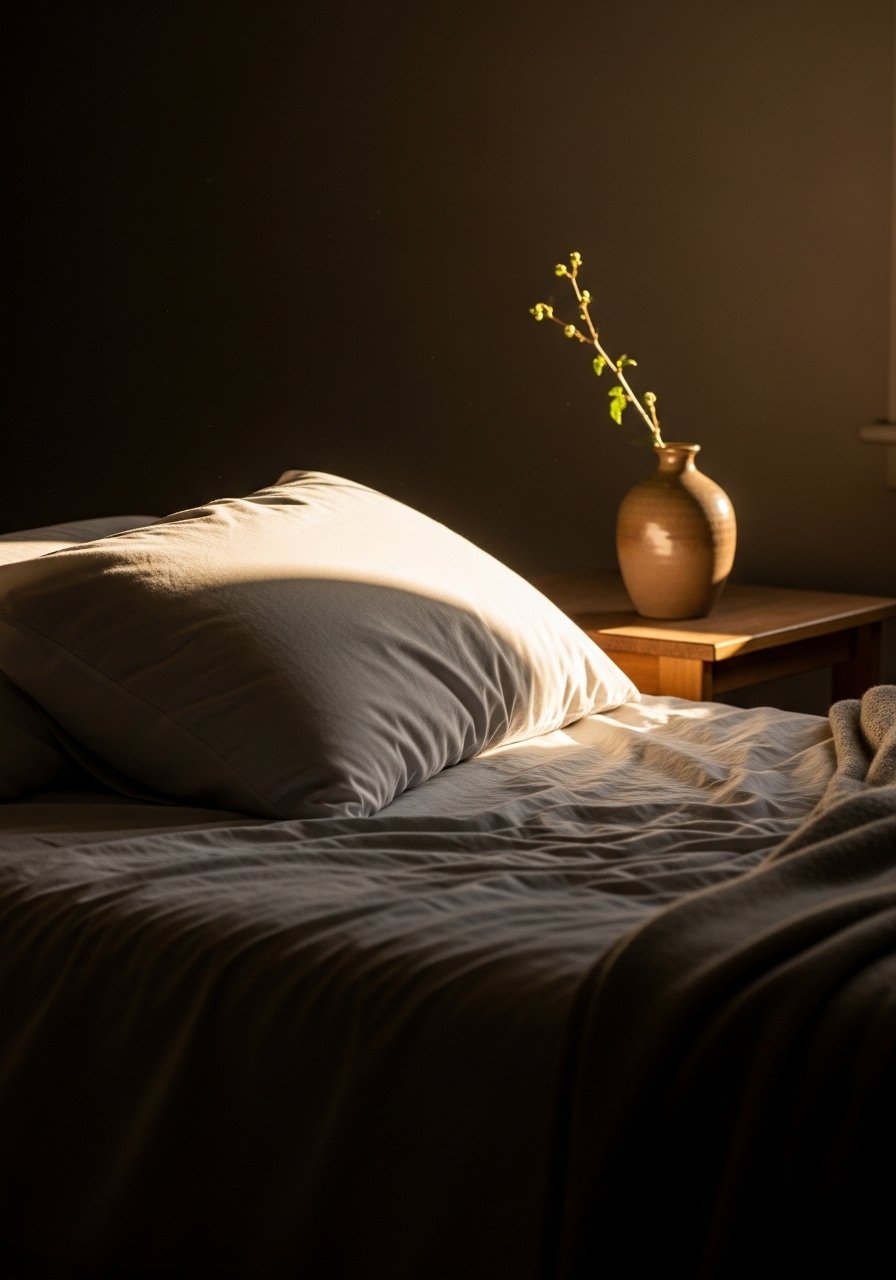
This is the part where you will want to add more stuff. Don't. Walk away for ten minutes, come back, and you will see it differently. Place one decorative object on a shelf or bedside table that has presence, like a ceramic vase that is solid and cool in your hand. I learned the hard way that tiny trinkets disappear visually, and pets will find them.
Live with the setup for a week before changing anything major. I adjusted spacing twice after sleeping with it. Small edits make the difference between staged and lived-in.
The Bedroom Basics You'll Actually Use
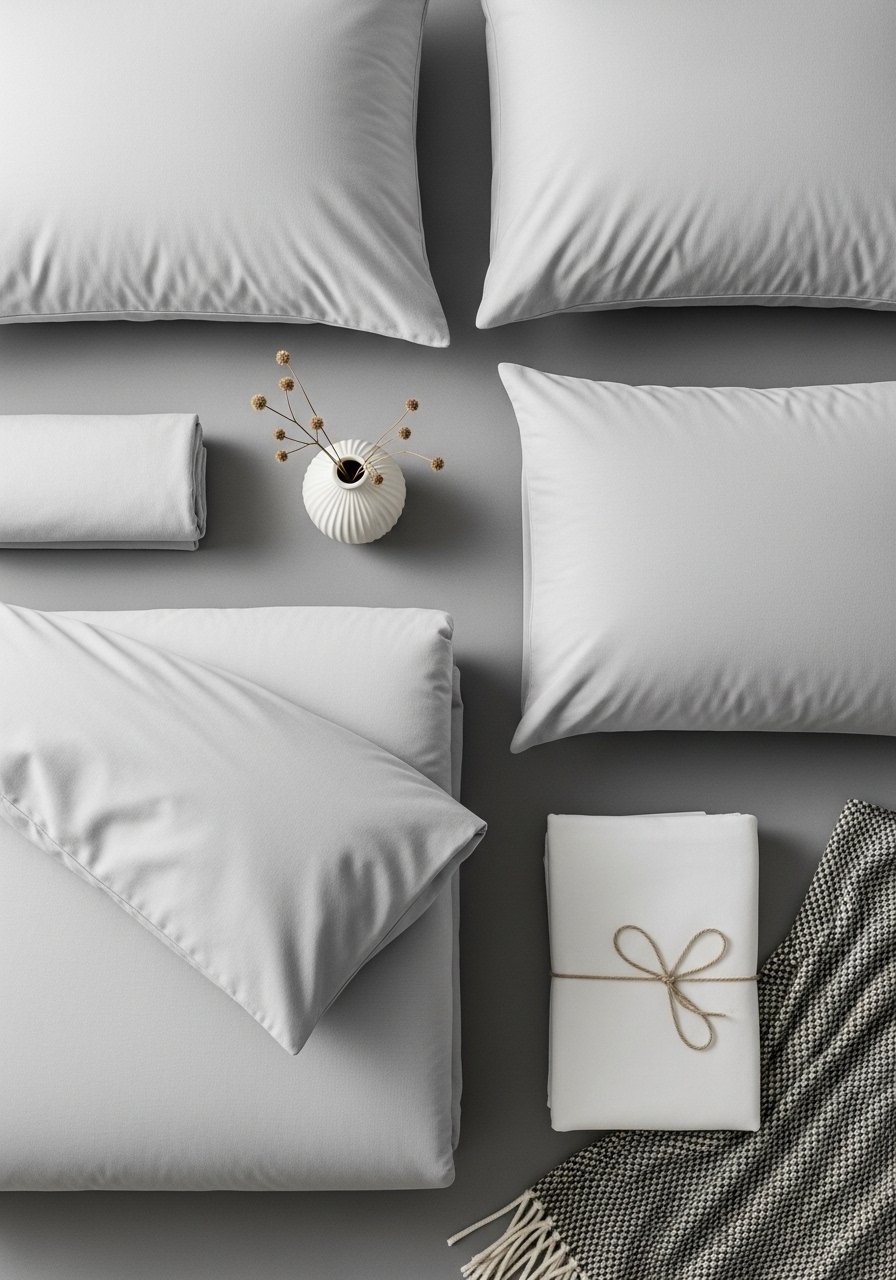
- Linen duvet cover in sage green, queen ($70-110). The slubby texture cools to the touch and softens lamp light. Used in Step 4.
- Chunky knit throw in oatmeal, 50×60 ($40-65). Heavy, tactile, easy to fold at the foot of the bed. Mentioned in Step 4.
- Set of three matte ceramic vases, small to medium ($25-40). Ceramic has weight and keeps a group grounded. Used in Step 5.
- 24×36 framed print on textured paper ($35-80). Good scale for a queen bed when centered. Referenced in Steps 1 and 2.
- Brass swing-arm wall sconces, pair ($60-120). Slim profile, warm light. Used in Step 3.
- Floating picture ledge, 48-inch ($18-35). For leaning art and a casual layered look. Referenced in Step 2.
- 26×26 euro pillow inserts, down alternative ($20-35). Plump enough to stand up and frame the bed. Used in Step 4.
- Rattan wall mirror, 30-inch ($60-120). Adds texture and reflects light, good for asymmetry. Suggested in Steps 2 and 5.
Why Headboard Art Still Looks Off

A few specific reasons the area above your headboard might feel wrong. First, scale is the culprit. Too small and the art disappears, too big and it fights the bed. Second, height errors break the connection between bed and wall. Third, visual noise around the headboard competes with your focal piece.
Fix these by measuring first, editing ruthlessly, and choosing one object that has tactile weight, like a ceramic vessel or a woven textile. If something still feels off, remove one item. Often less looks like more.
Making This Work in a Small Bedroom
Small rooms need vertical thinking. Use a single tall piece that runs a third of the wall height, or stack two narrow pieces vertically to create upward movement. For a full-size bed, aim for artwork that is about half the mattress width rather than two thirds. Narrow floating shelves work well because they do not eat floor space.
If you rent, use command strips for lightweight pieces and choose wall-mounted lighting instead of floor lamps. I swapped a heavy framed piece for a woven wall hanging when we moved and the room felt instantly cozier.
What This Looks Like After a Week with Real Life
After a week, expect a pillow to drop, the throw to migrate, and a small smudge on the wall from leaning frames. That is normal. Check that nothing is blocking light on either side of the bed. Dust ceramics and flip pillow inserts if they start to flatten.
If kids or pets are involved, move fragile items up onto a shelf or swap ceramics for heavier objects that are less likely to tip. My cat knocked over a vase twice before I put it on a higher ledge.
Start with One Accent Above the Headboard
Pick one accent piece and commit to its placement for a few days. Measure, hang 6 to 12 inches above the headboard, add soft lighting and two layered pillows behind a single decorative pillow. That small kit will change how the whole room reads.
I began with a single framed print and a chunky throw. After a week of living with it my room felt calmer and more settled. Start there and only tweak one thing at a time.
