
I used to walk into a room that felt cold and empty, even after buying new furniture. The corners were awkward and the walls looked flat.
Stringing fairy lights changed the mood without a big budget. I'll show the simple approach I use.
How to Decorate a Room With Fairy Lights Aesthetic Style
This is the method I use every time a room feels unfinished. You’ll learn how to pick lights that read warm, place them so the space feels balanced, and layer fabrics and reflective surfaces that catch the glow. The result is a cozy, intentional room you actually want to spend time in.
What You'll Need
- Warm white LED fairy string lights, 33 ft, plug-in (~$12–25)
- Battery-operated copper wire fairy lights, 20 ft, warm white (~$8–18)
- LED curtain string lights, 6×3 ft, warm white (~$20–45)
- Globe string lights, 15 ft, clear bulbs, plug-in (~$18–40)
- Photo clip fairy lights, 10 ft with wooden clips (~$12–22)
- Cotton throw blanket in oatmeal, 50×60 (~$30–55)
- Lean wood-framed mirror, 24×36 inch, natural oak (~$80–150)
Step 1: Choose the right light type and color temperature
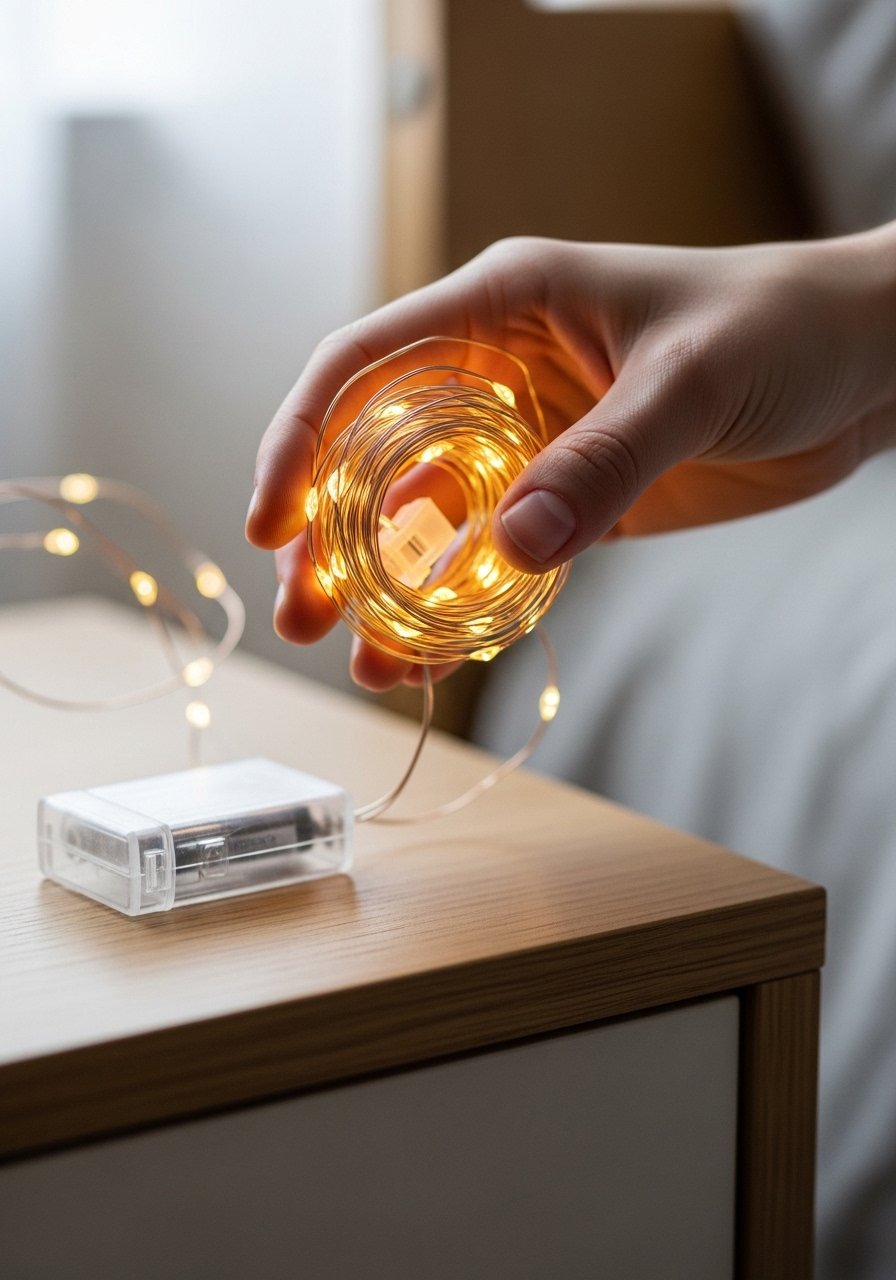
I always start by deciding plug-in vs battery and warm vs cool light. Warm white reads cozier and flatteringly soft in photos and real life. Battery lights are great for small nooks and flexible styling. Plug-in strings give steadier power for bigger installations.
What visually changes is the color temperature: warm lights add a golden wash, cool lights feel clinical. One miss I see is grabbing multicolor sets for a calm bedroom; they fight the cozy vibe. Avoid buying lights that are too bright for the scale of the space.
Step 2: Map anchor points before you hang anything
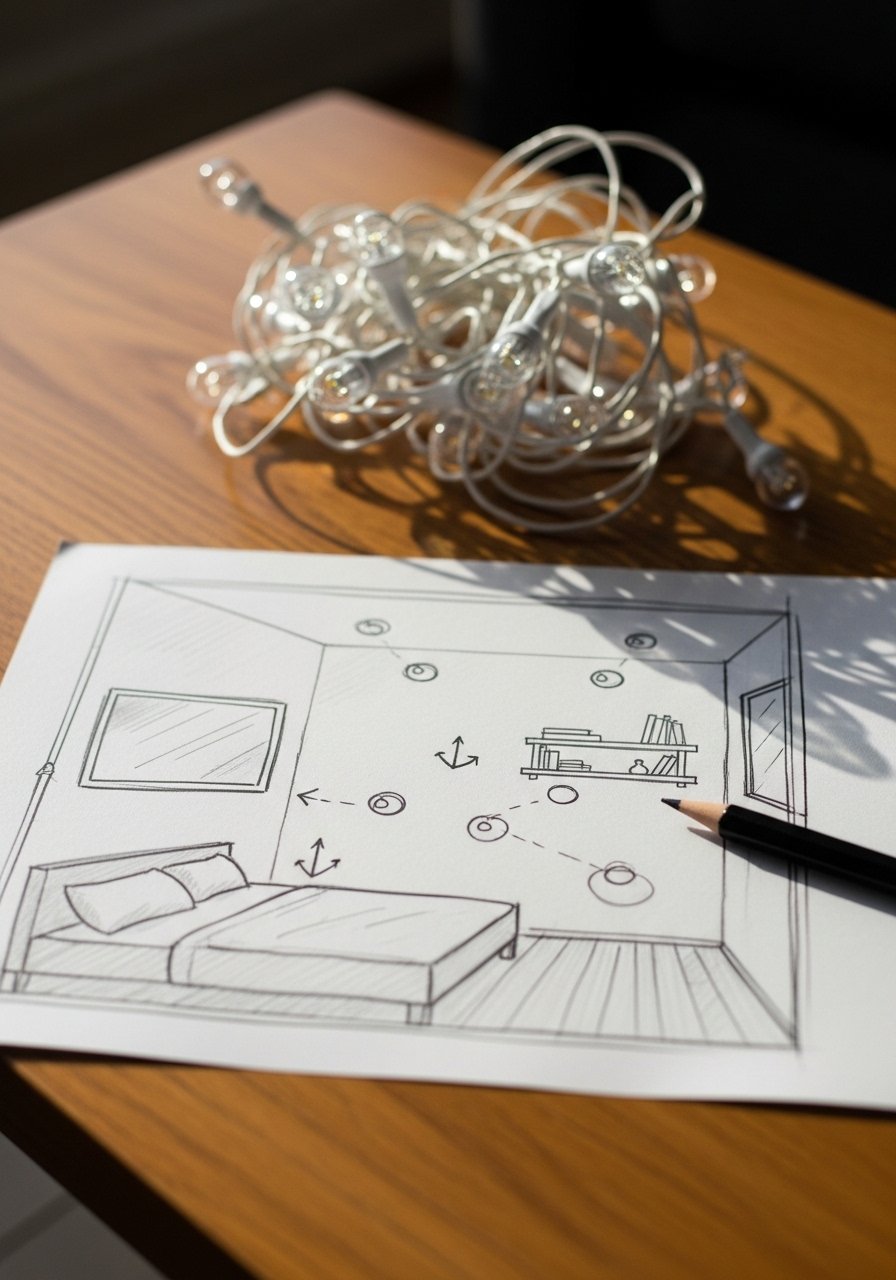
I sketch the room quickly or walk it with a lamp. I pick 2–3 anchors like the headboard, a shelving unit, and a mirror. Anchors give the eye places to land and create a visual triangle across the room.
The visual change is flow: the lights make the room read as a whole rather than a collection of objects. People often forget negative space — you don’t need to light every wall. A common mistake is scattering single short strands everywhere; that reads messy instead of intentional.
Step 3: Layer textiles and reflective surfaces to catch the glow
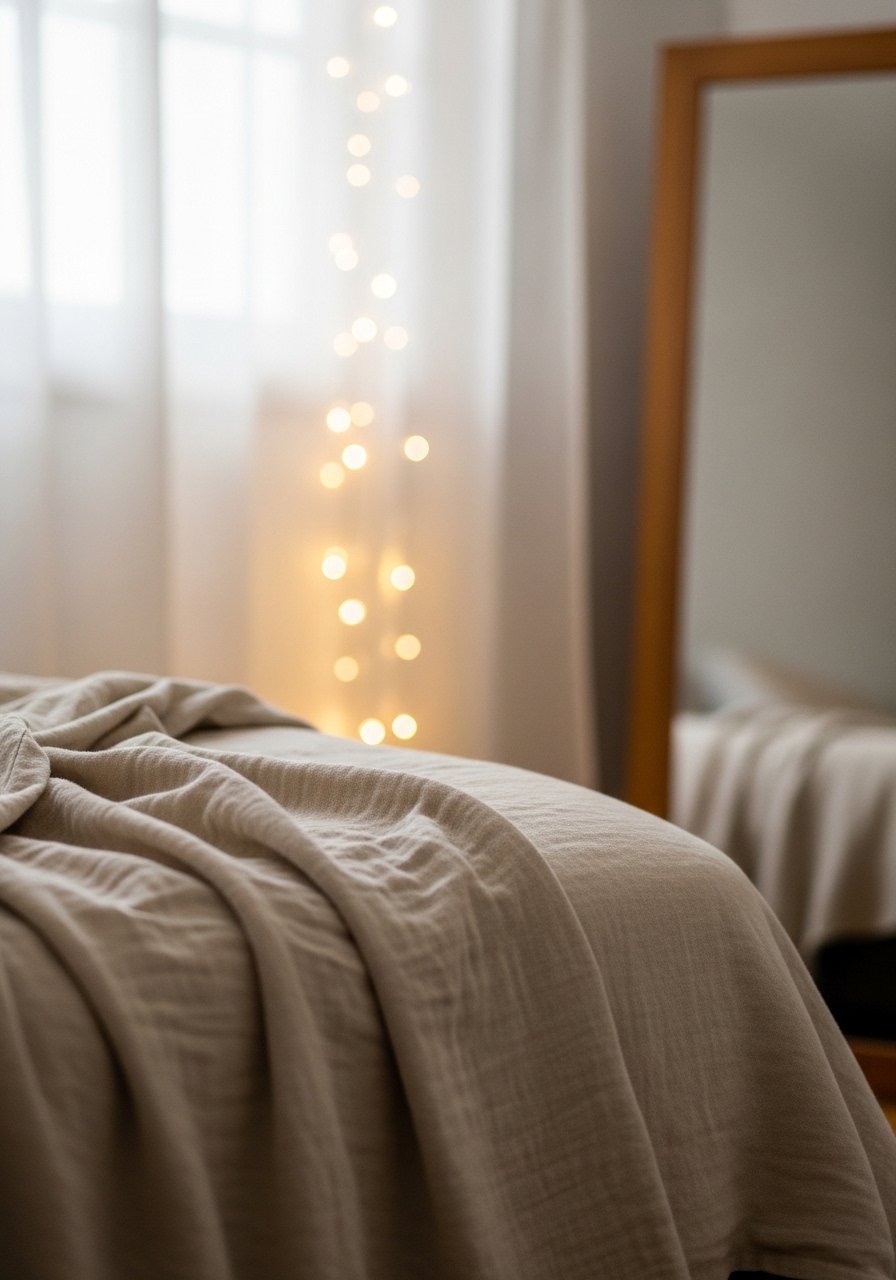
Once the lights are placed, I add fabrics and a mirror. Sheer curtains diffuse and soften the glow. A cotton throw and a textured pillow pick up points of light and make the whole vignette feel lived-in. A lean mirror near a light source doubles the effect without adding more cords.
People don’t realize texture changes perceived brightness — soft fabrics absorb, mirrors amplify. Don’t overuse glossy surfaces; too much reflectivity creates harsh spots. Aim for balance: one reflective surface, two soft textiles.
Step 4: Style lit areas with curated objects and edit ruthlessly
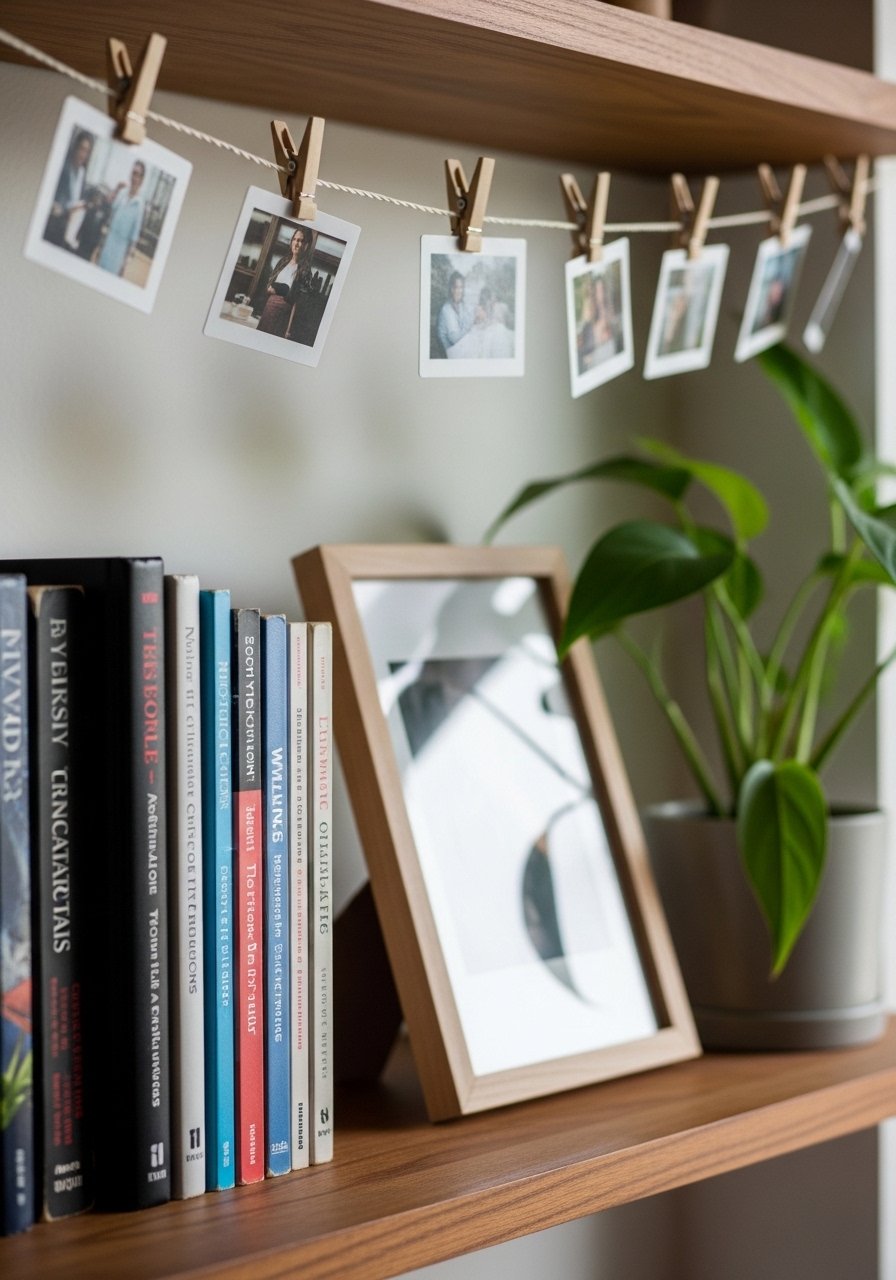
Treat lit spots like focal vignettes. I add one personal item — a small plant, a stack of favorite books, or a framed photo — then step back. Fairy lights highlight what’s nearby, so editing matters. Photo clip lights work well over a small collage, but keep the photos limited to avoid cluttered noise.
The change here is clarity: you’ll see a composed corner instead of a messy shelf. The thing people miss is that lights demand simplicity. Avoid pinning every postcard and medal to a lit area; it becomes visual static.
Step 5: Make the glow part of your nightly routine and keep it safe
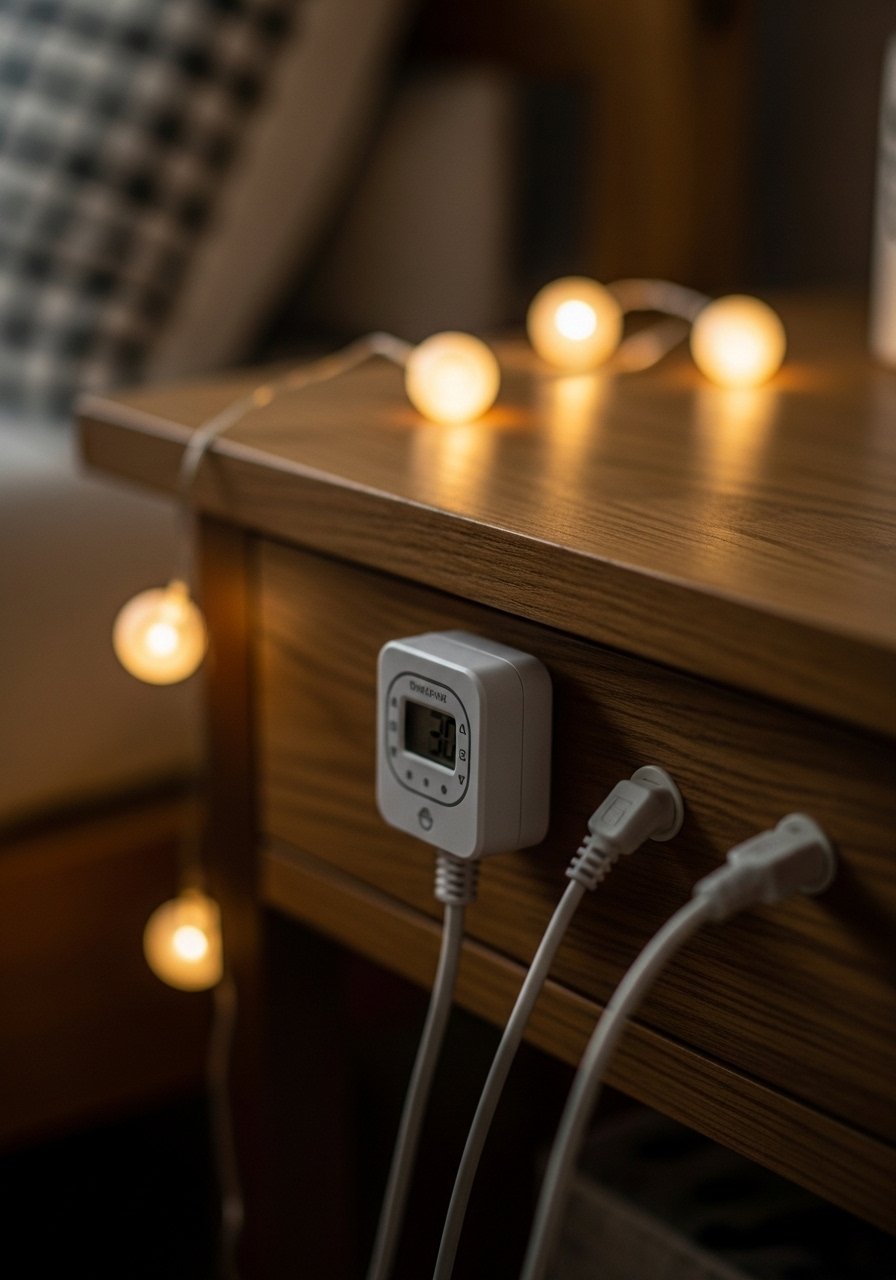
I set timers or plug the lights into a smart outlet so they come on and off reliably. Timers make the look feel intentional and prevent battery drain. I also hide cords along trim, use low-heat LED strands, and check connectors regularly.
Visually, a timed, dimmed glow reads calm and consistent. One insight is that routine use defines the look more than intensity. Don’t run cheap battery lights all night; they dim unevenly and look patchy. Use proper mounts and avoid overloading outlets.
Common Mistakes and How I Fix Them
I see the same errors: too many colors, lights in every corner, and poor scale. I fix these by simplifying. Choose one light color. Use 2–3 anchors. Match the length of the strand to the surface.
Quick checklist I use:
- Pick warm white for a cozy mood.
- Use mirrors sparingly to amplify glow.
- Edit objects near lights; less is more.
Adapting the Look for Different Rooms and Budgets
In small bedrooms I rely on battery copper lights and a single mirror to make a big difference. In living rooms I choose longer plug-in globe strands across a shelf or window. On a budget, start with a single 20–33 ft string and a cotton throw.
Budget tips:
- Battery strings (~$8–18) for small vignettes.
- Plug-in sets (~$12–25) for larger areas.
- Reuse textiles you already own to add softness.
Mixing Fairy Lights with What You Already Own
I don’t replace everything to get the aesthetic. I layer lights over existing shelves, drape them across frames, or tuck them behind plants. The goal is cohesion, not a themed room.
A few pairing ideas:
- Modern minimal: thin copper wire lights + neutral textiles.
- Cottagecore or cozy aesthetic: curtain lights + dried flowers.
- Eclectic shelves: photo clip lights + curated small objects.
Final Thoughts
Start small and treat lights like punctuation, not wallpaper. A single 20 ft warm white strand or a set of battery copper lights is a low-cost way to test the look.
Be intentional, edit what the lights highlight, and use a timer. The result is a room that feels cozy, balanced, and used—without a full makeover.
