
I kept rearranging furniture for weeks and nothing felt right. I thought the answer was new art, or more plants, or a matchy pillow set. Turns out I was shoving things into corners and treating empty space like a mistake. After three versions that felt cluttered and one that felt flat, I learned the problem was scale and editing, not more stuff.
What helped was a simple sequence: clear, anchor, layer, edit, live with it. Small buys, a few measurements, and honestly, a lot of stepping back. If you are broke, impatient, or sharing the space, this method gets the room feeling calm and used, not like a showroom.
Step 1: Clear the Surface and Edit Ruthlessly
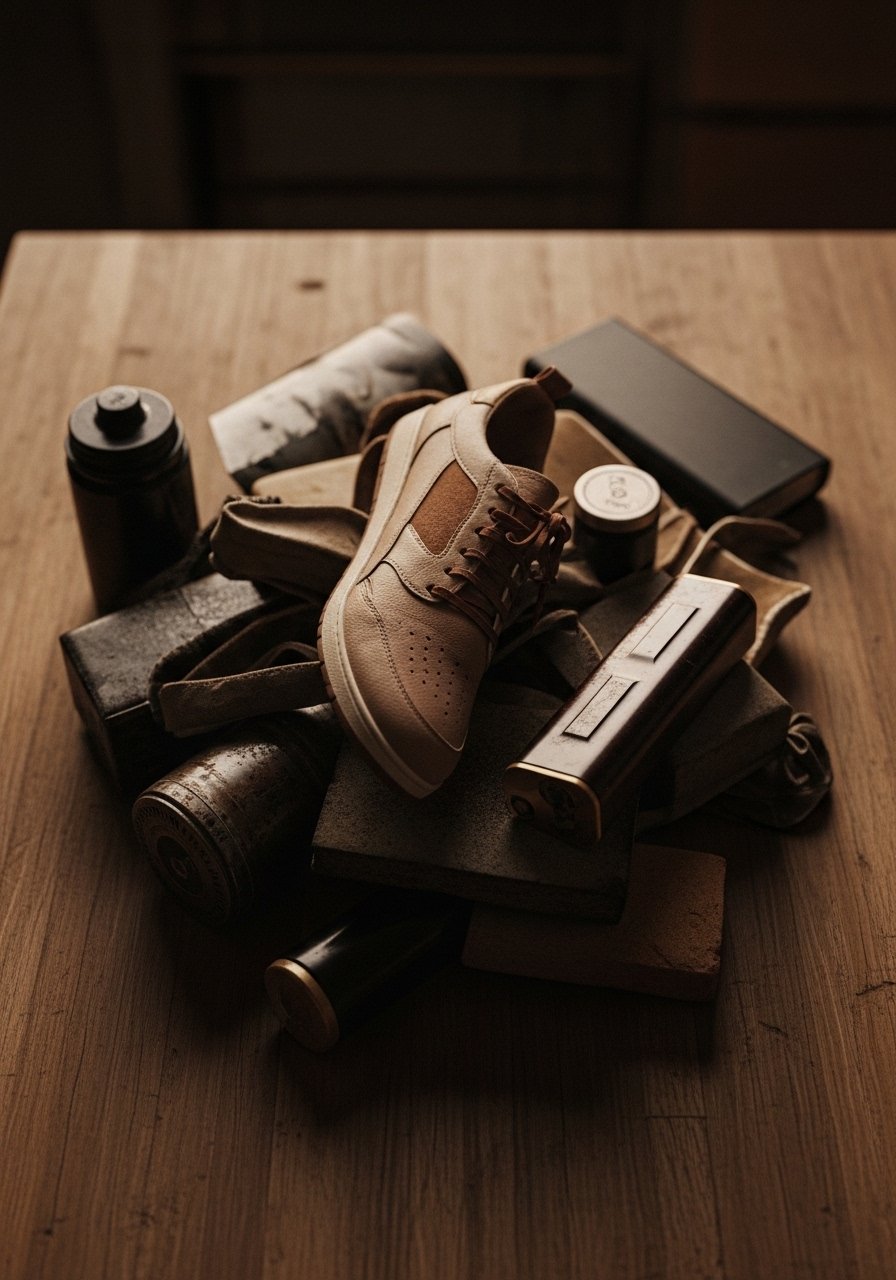
Pull everything out of the room's busiest surfaces. Yes, everything. Lay items on the floor or a table so you can see size and texture together. This is the hard edit where you get rid of duplicates and things that have no place. I kept a dozen tiny candles once and thought they made the mantel cozy. They looked crowded and cheap.
Keep three to five items per surface, grouped in odd numbers. Aim for a 3 to 2 to 1 size relationship when choosing tall, medium, and short pieces. The change you will notice first is breathing room. Surfaces feel lighter, the room reads as intentional, and that soft nubby throw you forgot about gets the attention it deserves.
Step 2: Anchor the Room with One Big Thing
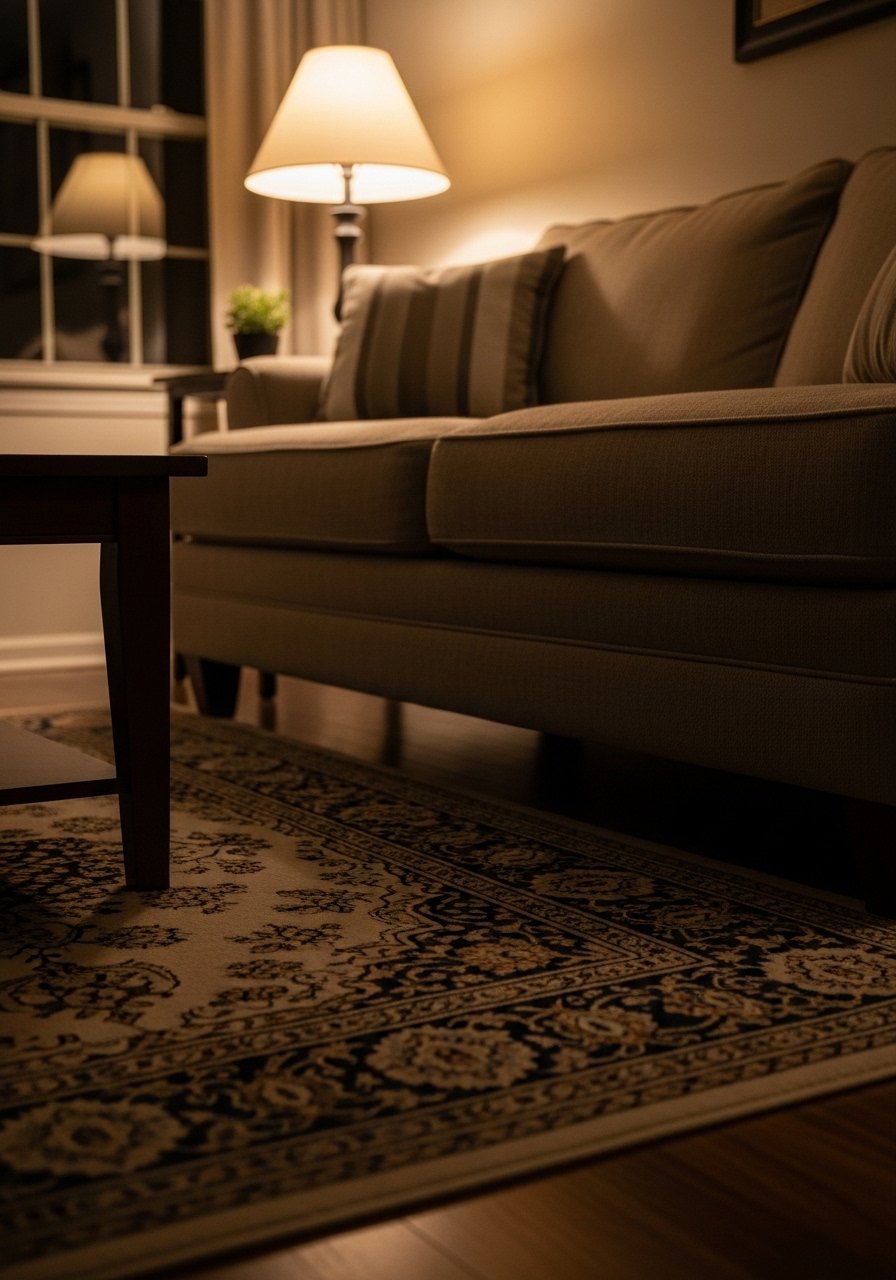
Most people pick cushions first. Start with the anchor instead. A properly sized rug or a statement sofa grounds the whole space. Aim for the rug to cover about 60 to 70 percent of the open floor in a seating area, or at least have the front legs of seating on the rug. Another quick rule, center artwork at about 57 inches from the floor to the middle of the piece if you hang it above a sofa.
When I used a rug that was too small, the furniture looked disjointed and the room felt cheap. The right rug or a larger couch changes how everything else sits. Textures matter too; a jute rug will feel rough under bare feet while a wool blend feels warm and dense. Pick what lives with your household.
Step 3: Layer Texture, Not Stuff
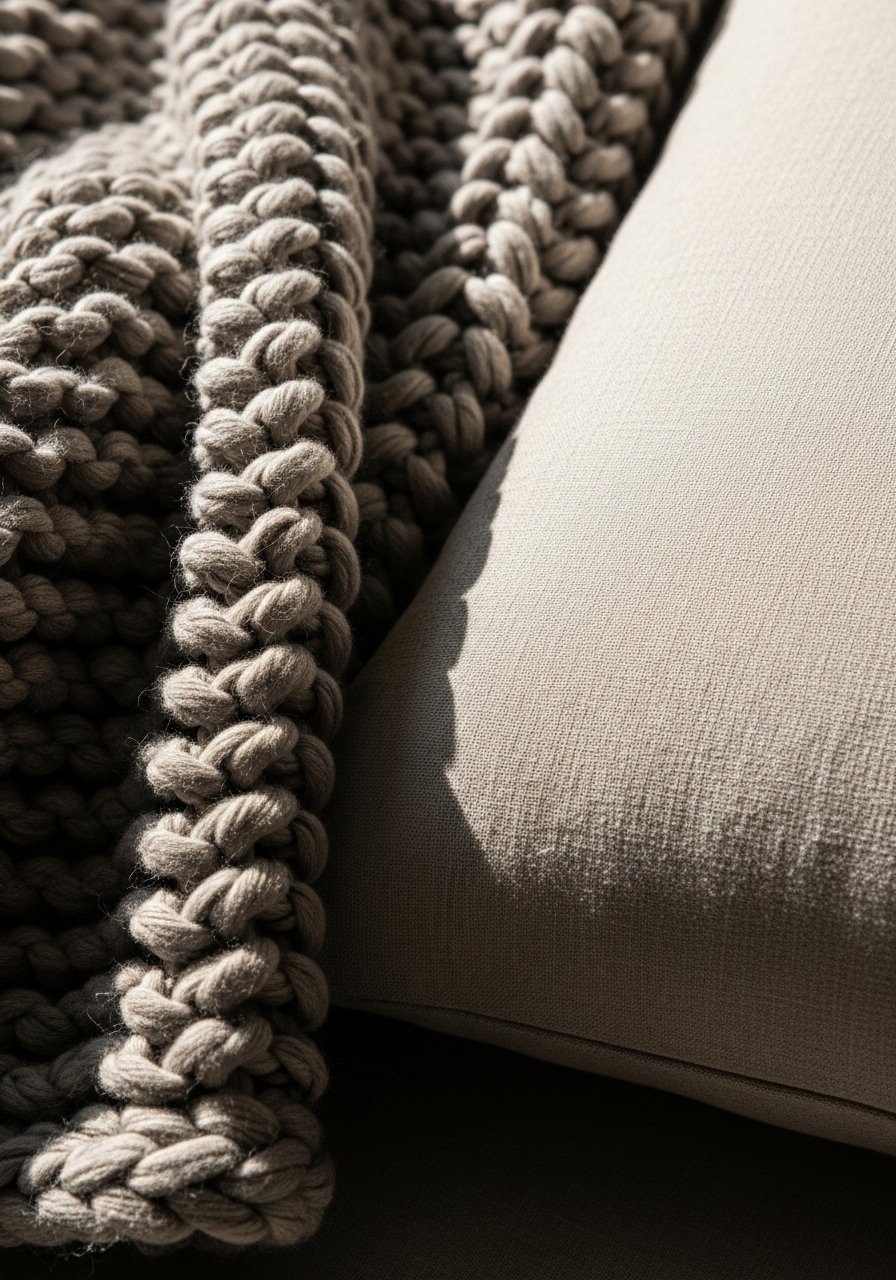
This is the step where it starts to actually look styled instead of cluttered. Layer one chunky texture, one smooth texture, and one midweight fabric. For example, linen pillows, a cotton cover, and a chunky knit throw work together. Remember that boucle looks incredible in photos. In real life, it catches every crumb. If you have kids or pets, choose washable cotton or a tight-weave velvet instead.
Add one tall element for vertical interest, about 12 to 18 inches taller than your medium piece. I once put two tall vases that were the same height and it read flat. Swapping one for a slightly shorter vase made the display feel deliberate. The sensory change is immediate. Your hand will notice the coarse ceramic versus the cool smoothness of glass, and your eye will stop hunting for the next thing.
Step 4: Edit for Balance, Then Step Back
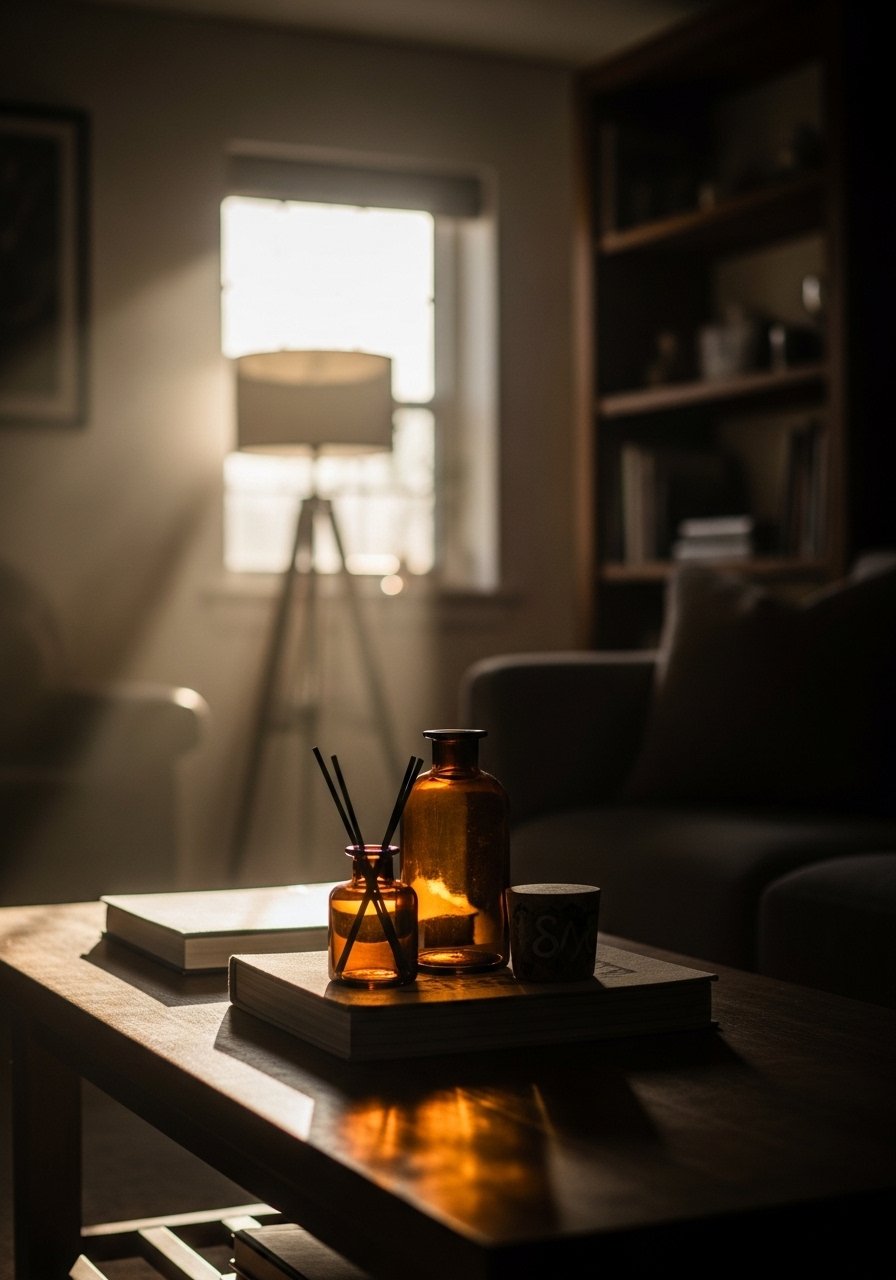
I almost skipped this part every time. After you place things, walk across the room and sit down. Step back, walk around, and give yourself ten minutes. Resist the urge to add more. The common mistake is overfilling when you feel unsure. Instead, remove one item from each surface and see how it breathes.
Aim for asymmetry in groupings. Three items on one side balanced by two on the other often reads better than perfect mirror setup. If a shelf still looks off, swap one item for a lighter color or different texture, not another object. That tiny change shifts visual weight without buying anything new.
Step 5: Live with It for a Week and Tweak
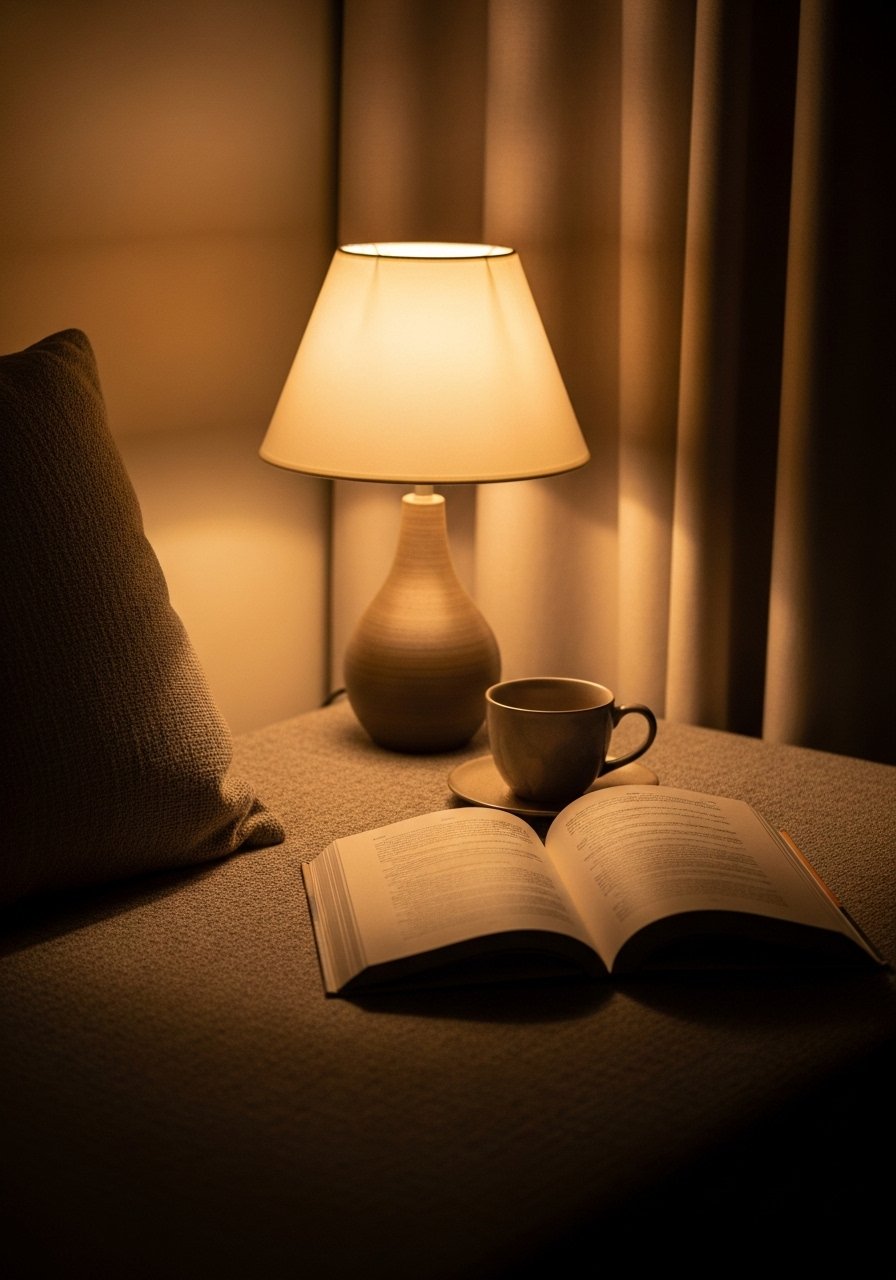
The room will behave differently once people use it. Lamps change how fabrics read at night. Dog hair shows which fabric choices were hopeful and which are practical. Give it seven days, then adjust. I had to move a lamp twice because the reading light hit the wrong spot and made the couch look flat.
This is where confidence grows. Small swaps feel low risk, like replacing one pillow or moving a plant. My partner hated the asymmetrical shelf layout at first, then admitted it looked better than the perfectly even version. Living with the space reveals what needs to change in a practical way.
What to Grab for a Budget Room Refresh
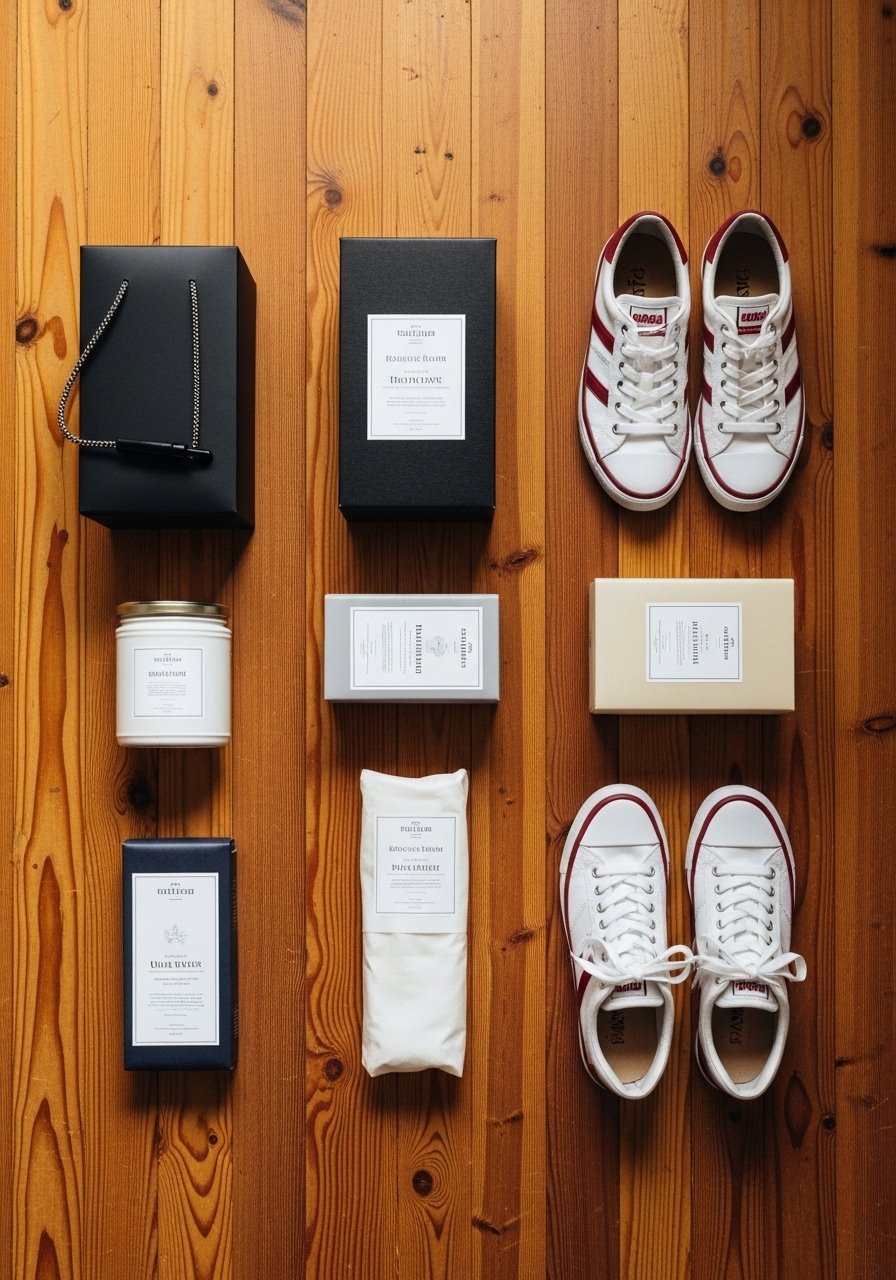
- Chunky knit throw in oatmeal, 50×60 ($40-65). I keep one on the arm of every sofa I own, used in Step 3.
- Linen throw pillow covers, 18×18, natural ($15-25 for a set). Linen softens a room without adding shine.
- Jute area rug, 8×10 ($90-160). Use this to anchor seating per Step 2. Similar options at Target and HomeGoods.
- Matte ceramic vase set, varied heights ($25-40). One tall piece works well in Step 3.
- Adjustable table lamp with warm LED bulb, 17-inch ($30-50). Swap bulbs to a warm 2700K for cozy night light, referenced in Step 5.
- Brass picture ledge, 24-inch ($18-30). Makes switching art easier and avoids patching walls, helpful for Step 2.
- Woven basket for throws, medium ($20-35). Keeps the room tidy after editing in Step 1.
Why Your Room Still Feels Off After Styling
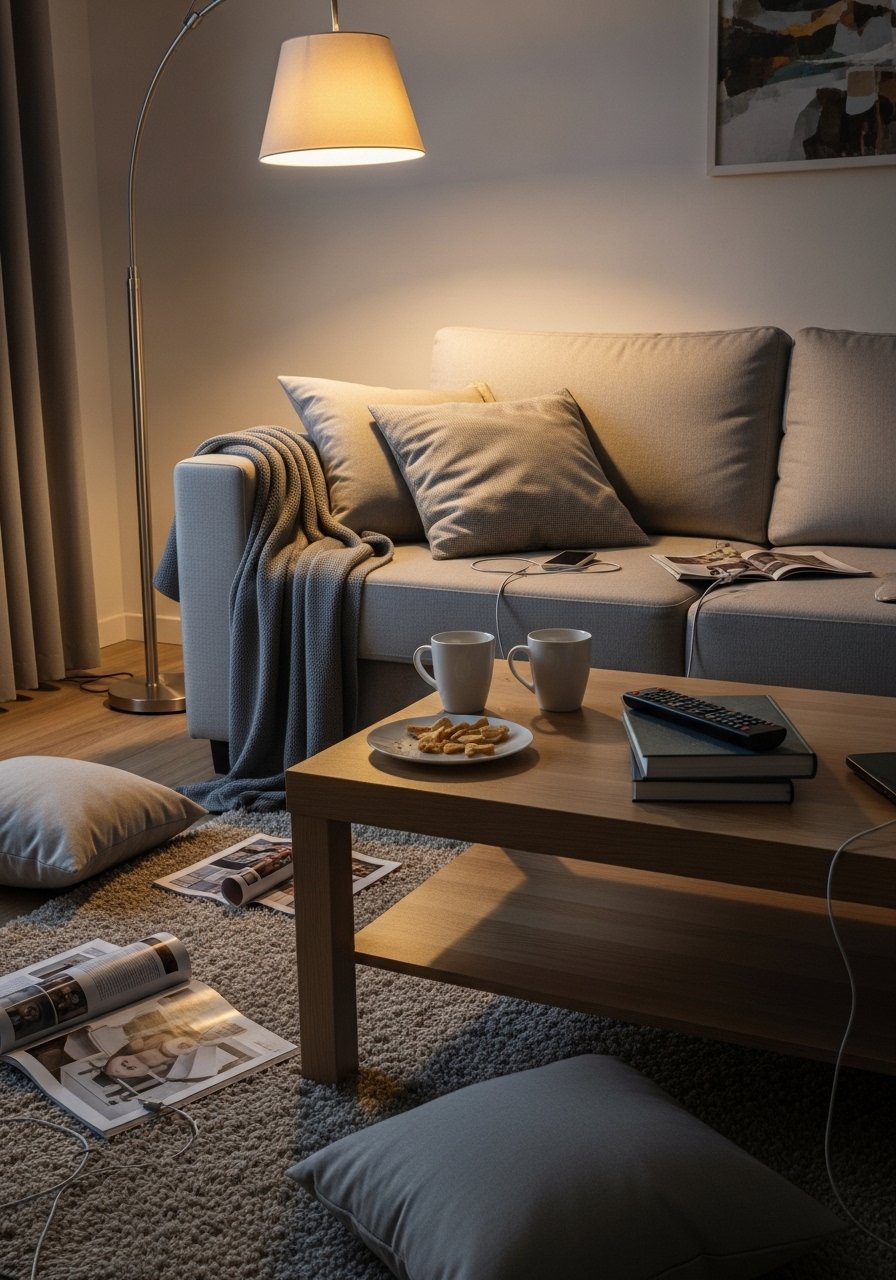
Two common reasons rooms still feel wrong are scale and lighting. If a rug is too small the furniture floats. If your main lamp is on the wrong side the seating looks flat. Another issue is over-editing into a shell of a room. Too little lived-in texture makes a space feel sterile.
Practical checks
- Does the largest furniture piece have support under it, like a rug or side table?
- Is there at least one warm light source for evenings?
- Do surfaces have a mix of tactile materials, not just shiny objects?
Making This Work in a Small Room
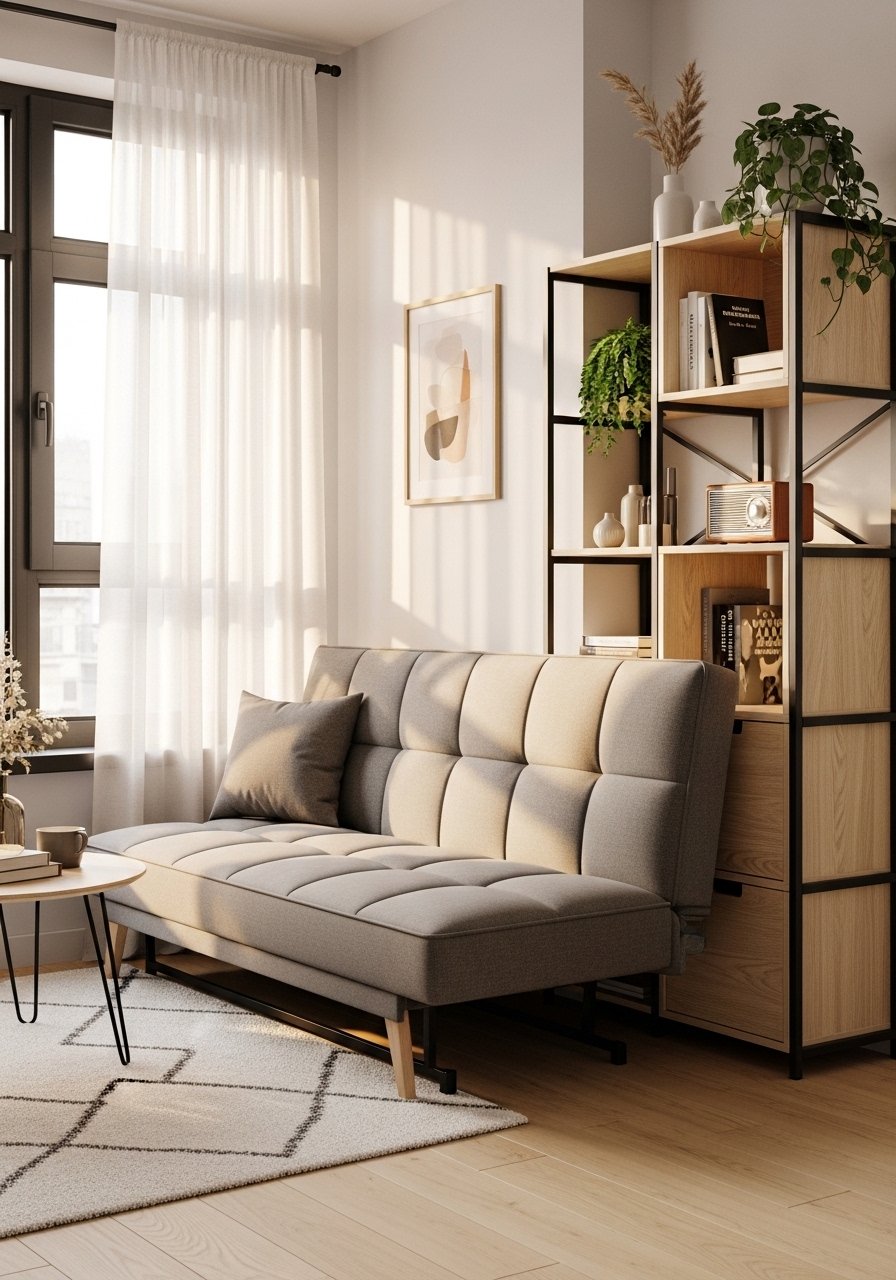
In a small room, scale everything down. Choose a rug that reaches under the front legs of seating rather than trying to cover the whole floor. Use mirrors above low furniture to add perceived depth. Select slimline furniture so pathways stay clear. I swapped a bulky armchair for a streamlined one and the room felt twice as open.
Keep storage visible but neat. A woven basket under a console holds blankets and reduces the need for extra furniture. If you rent, picture ledges and removable hooks are your best friends for art.
What This Looks Like After a Week with Kids and a Dog
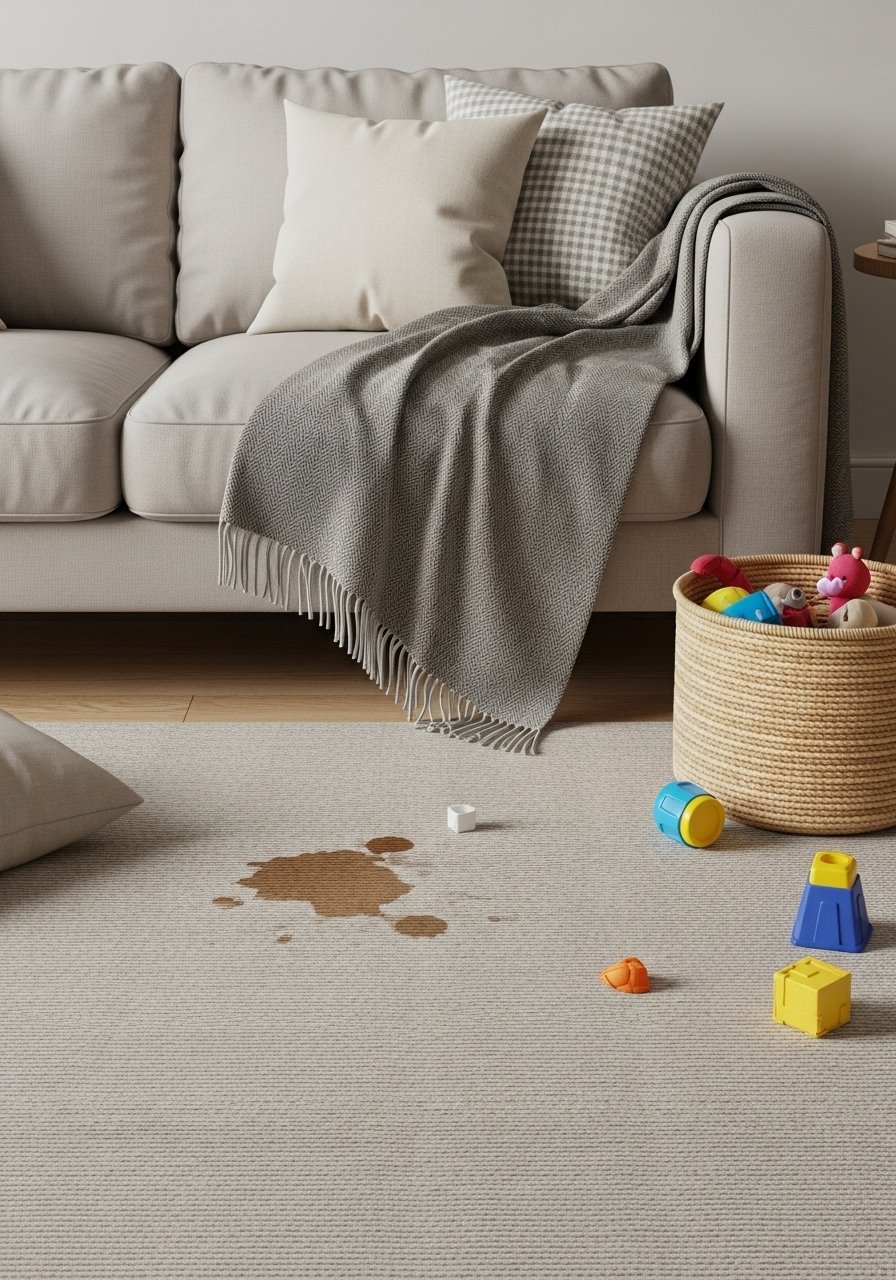
Real life reveals the winners and losers. Throws that look good in photos might trap pet hair. Light-colored linen pillows may show fingerprints within a day. The safe bets are washable covers and hard-surface accents for the lower shelves.
Before and after, one small change makes a difference. After a week, I moved fragile items to a higher shelf and replaced an impossibly fluffy pillow with a tight-weave alternative. The result stayed tidy and felt like home.
Start with One Corner
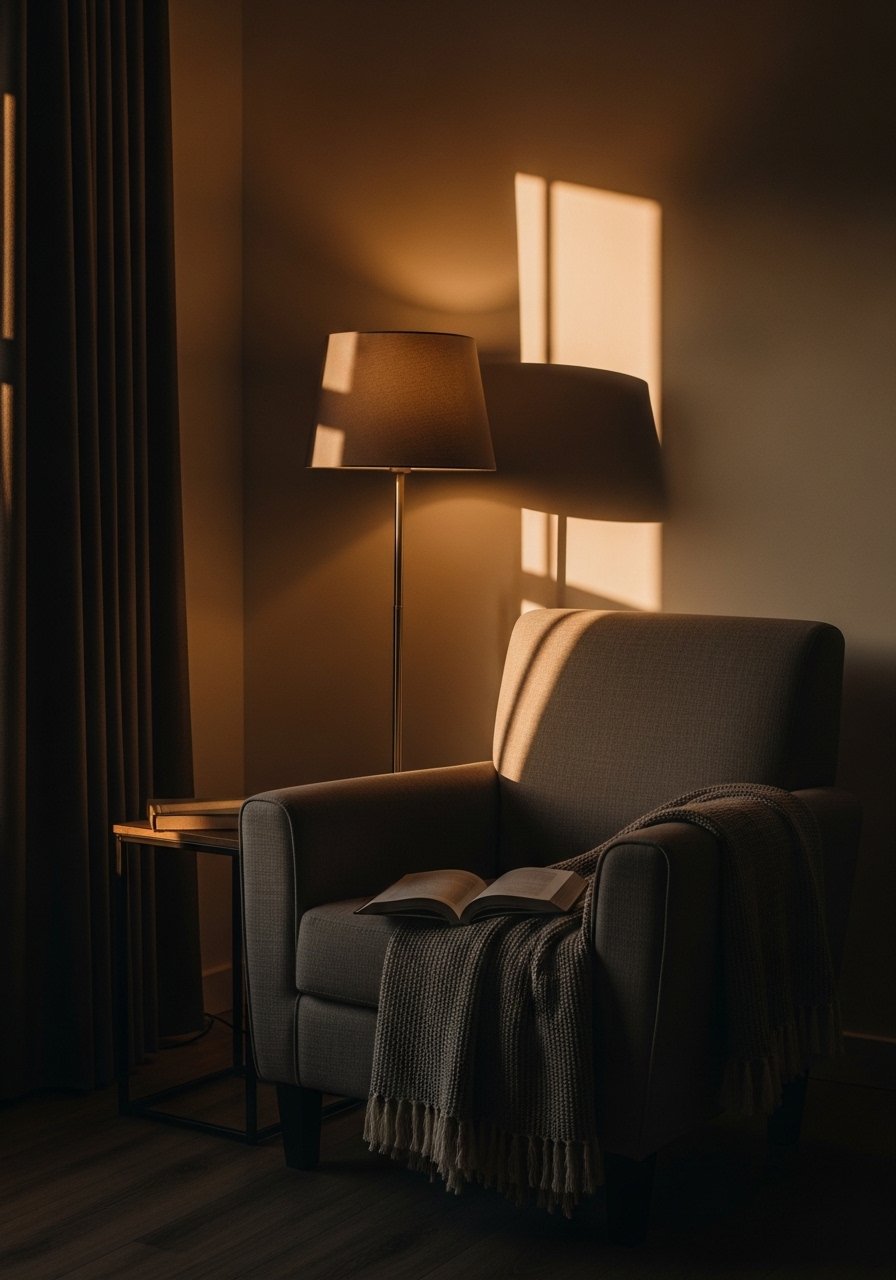
Pick a single corner to practice the method. Clear it, anchor it with a rug or chair, layer three textures, then edit. If that corner works, the rest of the room usually follows without a big spend.
Begin with a low-commitment buy, like the chunky knit throw, and see how it changes the feel. Give it a week and tweak as you live in the space. Small choices, lived in, add up to a room that finally feels calm and used.