
My living room had nice furniture and decent lighting but it still felt like a waiting room. Took me embarrassingly long to figure out it was missing texture. Every surface was smooth, every color was flat, and nothing invited you to actually sit down. Painting one tired cabinet with chalk paint and swapping hardware made the whole space feel like ours again.
These ideas lean modern farmhouse with a few midcentury and cottage touches. Most projects run $20 to $150, with a handful where new hardware or a topcoat pushes the cost higher. These work in living rooms, bedrooms, kitchens, and small entryways, basically anywhere that needs personality without a full renovation.
Classic Distressed Dresser for a Cozy Bedroom
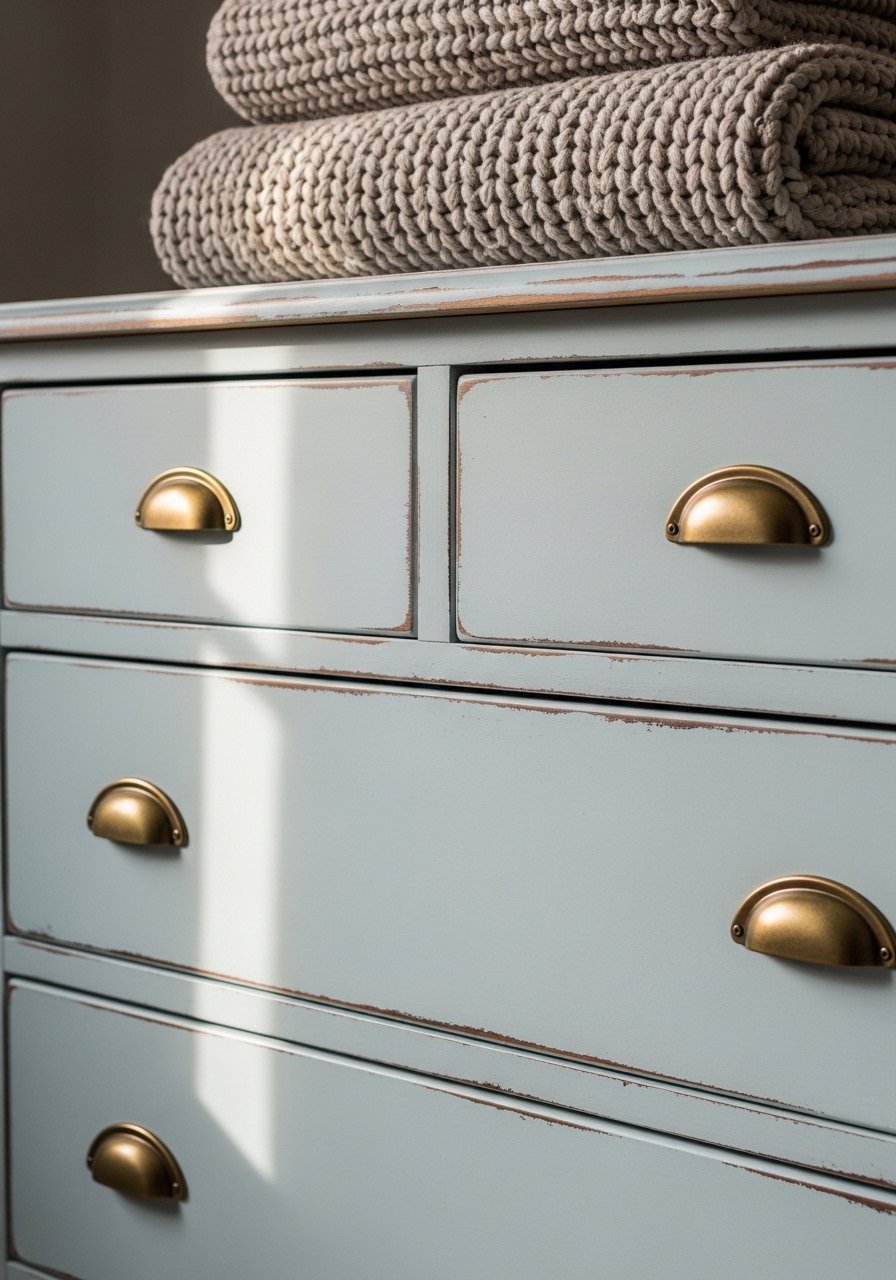
The moment I sanded just the corners of a thrifted dresser, the piece stopped looking factory-made and started telling a story. Distressing works because it shows edges that naturally wear, not random scuffs. For a bedroom, go for two thin coats of chalk paint, sand 120-grit at corners, then protect with clear furniture wax. I used chalk-paint-annie-sloan for color consistency and clear-furniture-wax-brush to apply wax. Common mistake, over-sanding the flat panels until the grain looks fake. A good rule is the rule of three: distress three spots per face for visual rhythm.
Two-Tone Media Console with Midcentury Vibe
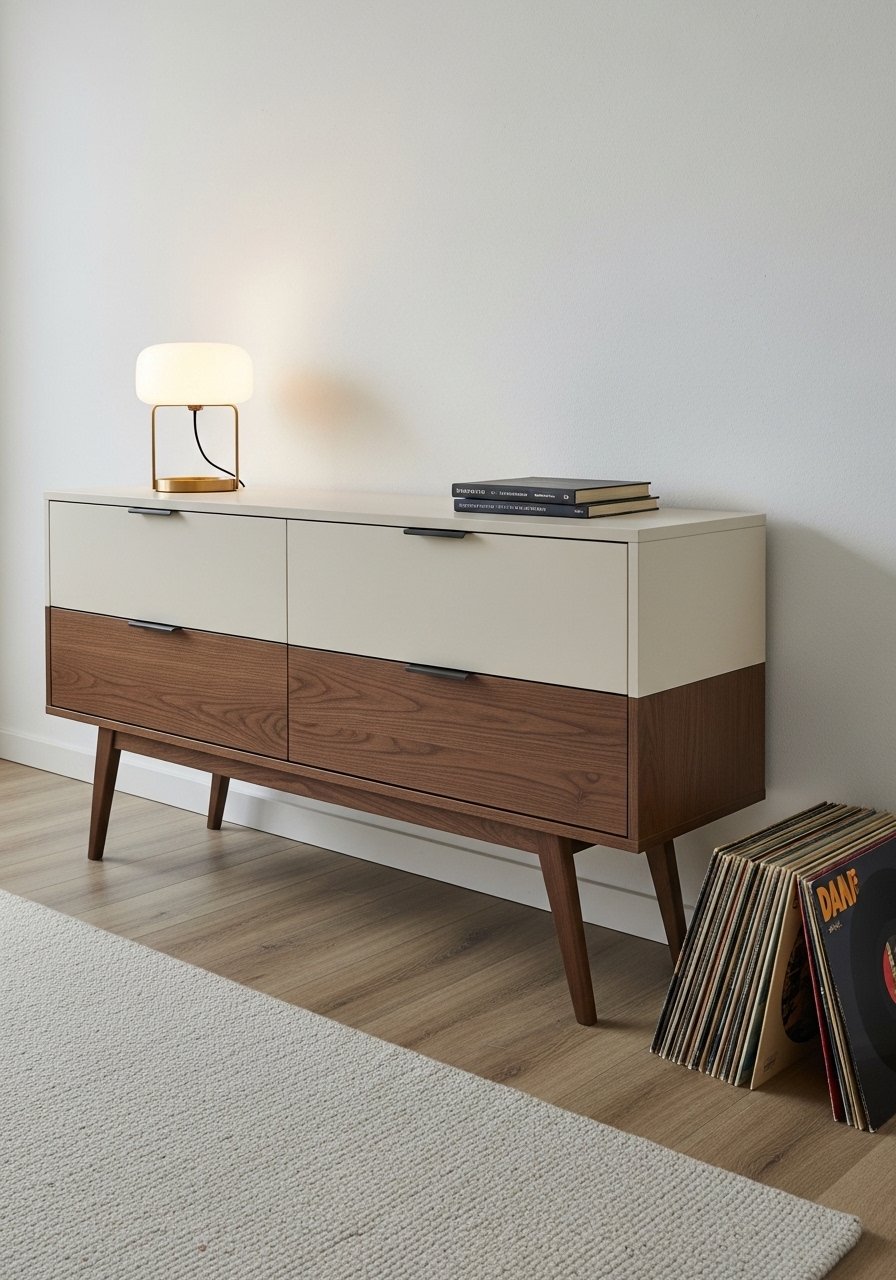
I wanted the console to read custom without spending custom money. Two-tone keeps scale in check, so paint the doors a darker hue and the frame a soft cream. Use a foam roller for flat areas and a small brush for corners to avoid brush marks. Try foam-paint-roller-4-inch and mini-sash-brush-set. Budget for new midcentury legs if the base needs lifting, around $25 to $60. People often match colors too closely. Aim for 80/20 color ratio, with 80 percent neutral and 20 percent the bold tone for balance.
Chalk Paint Kitchen Island Makeover That Holds Up
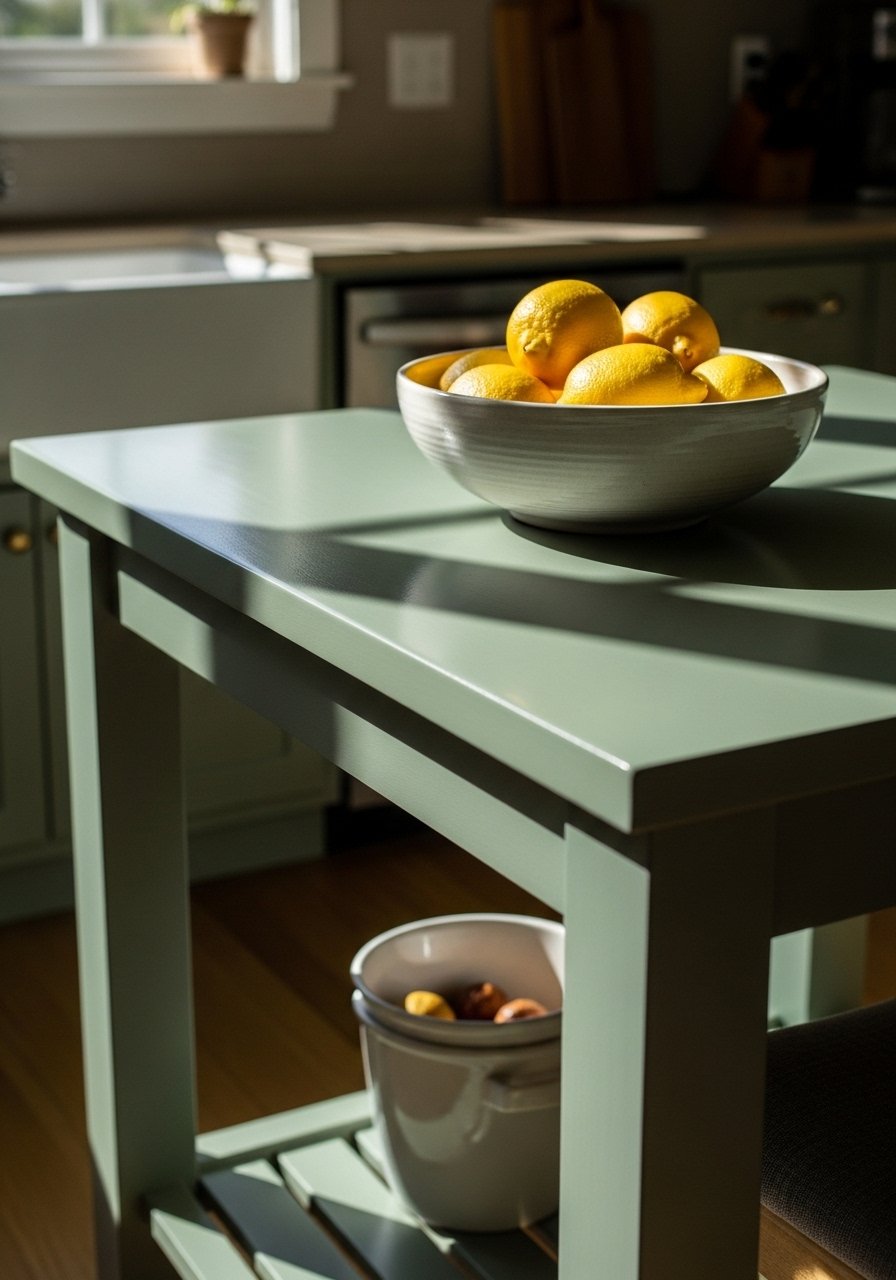
Kitchen islands get the most use and the most worry. Chalk paint looks great but must be sealed. I did two coats of paint, lightly sanded between, then three coats of an oil-based poly on the top for durability. For hardware, swap in brushed brass for warmth. My go-tos were chalk-paint-sage and oil-based-polyurethane-clear. Common frustration, thinking chalk paint is bulletproof without sealer. It is not. Specific detail, roll the poly across the grain and let each coat dry 8 hours to avoid tackiness.
Painted Bookshelf with Stenciled Backing for Depth
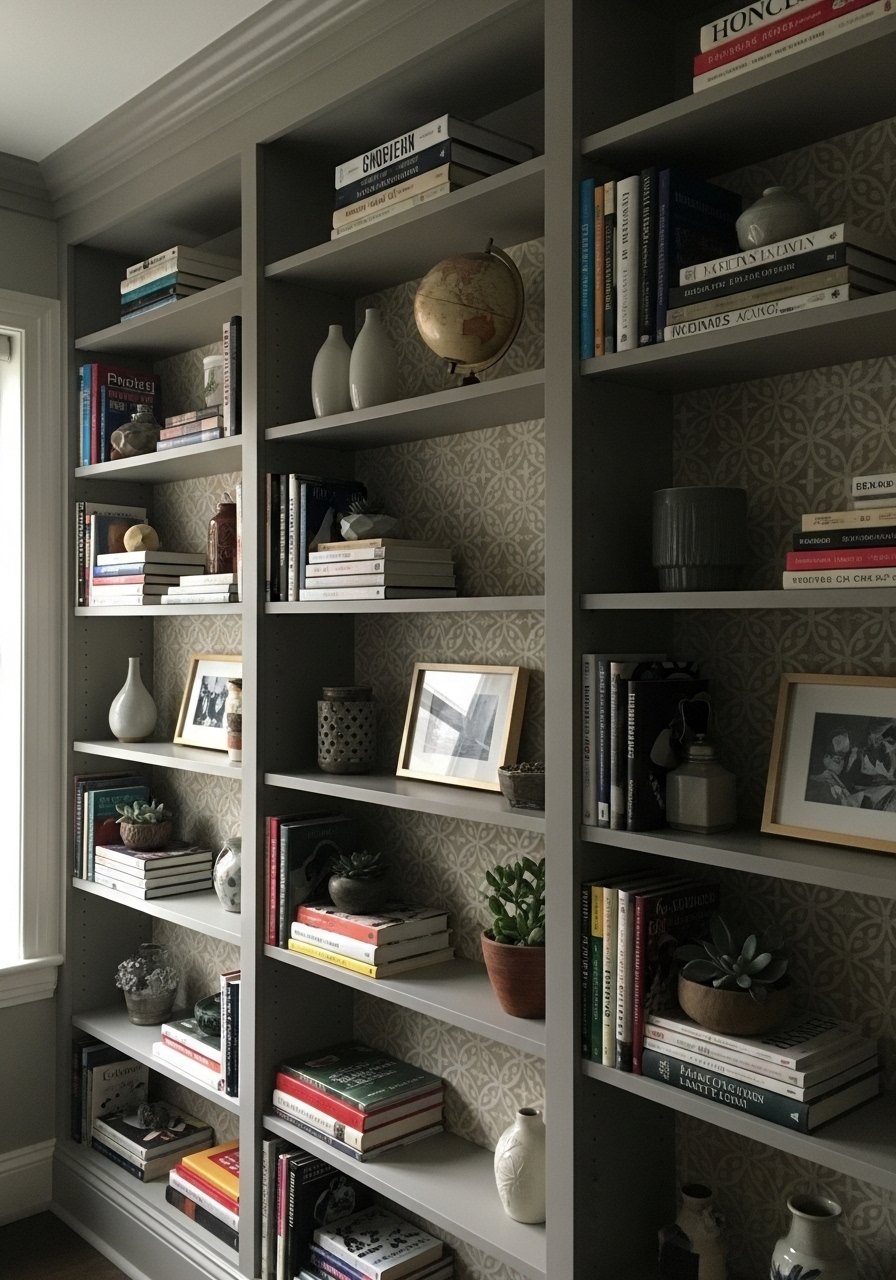
There is something about a patterned backing that makes shelves feel intentional. I painted the face frame in warm gray and used a small geometric stencil on the back panel every third shelf. Stenciling repeats create rhythm, so follow the rule of three for placement. Use small-geometric-stencil and multi-surface-chalk-paint. People forget to prime plywood backs and the pattern can soak in unevenly. A thin coat of paint as a base, then stencil with a stipple brush, keeps the pattern crisp. Works in living rooms, home offices, or as a display in a hallway.
Painted Dining Chairs with Durable Seat Finish
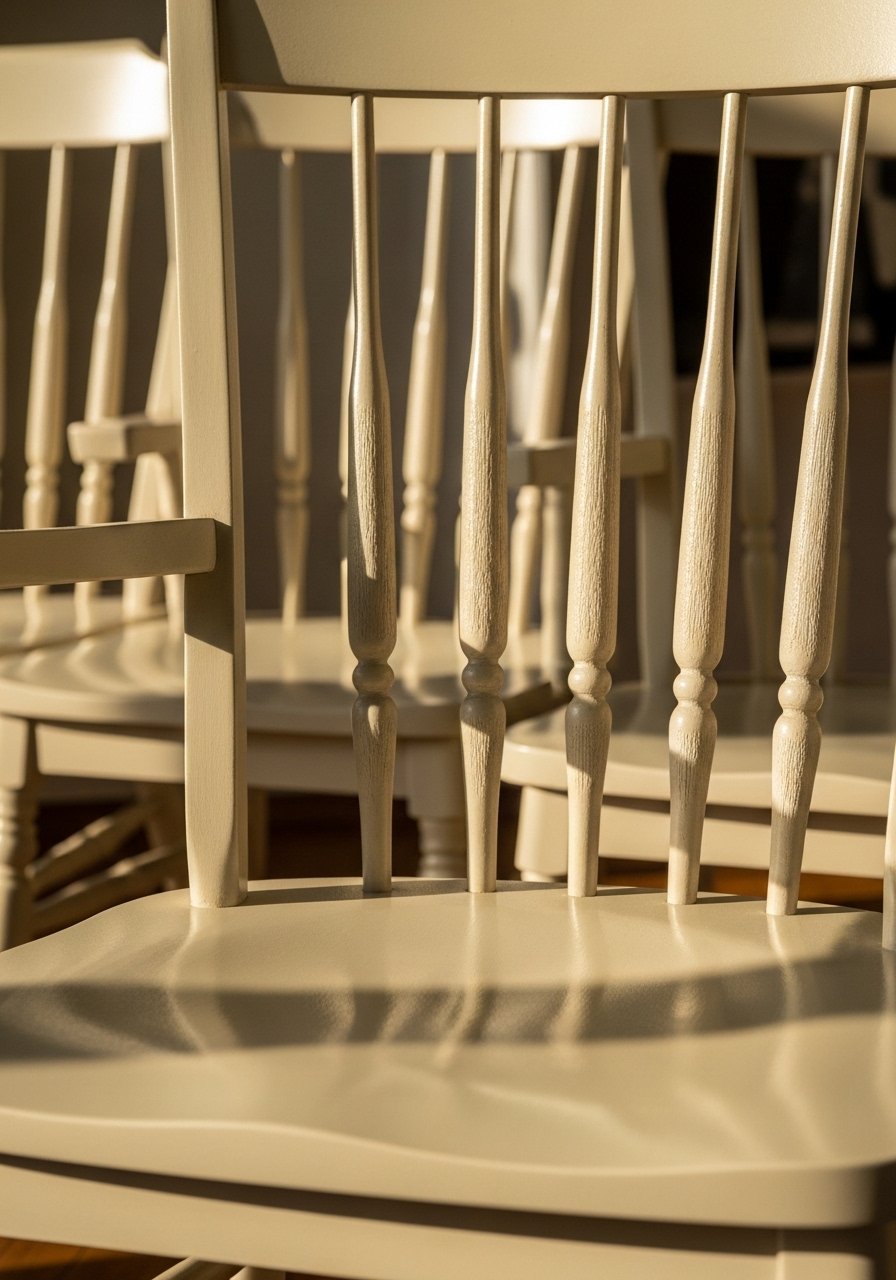
Dining chairs see spills, kids, pets, and patience. I always paint the legs and backs with chalk paint and seal the seats with a wipe-on poly for water resistance. Two thin paint coats, then one coat of wipe-on poly will keep coffee rings away. I used wipe-on-polyurethane and chair-paint-brush. Common mistake, brushing too heavily and creating visible strokes. Tip, sand with 220 between paint coats for touchable smoothness. Budget per chair under $25 if you skip new upholstery.
Chalk Painted Coffee Table with Scratch-Resistant Top
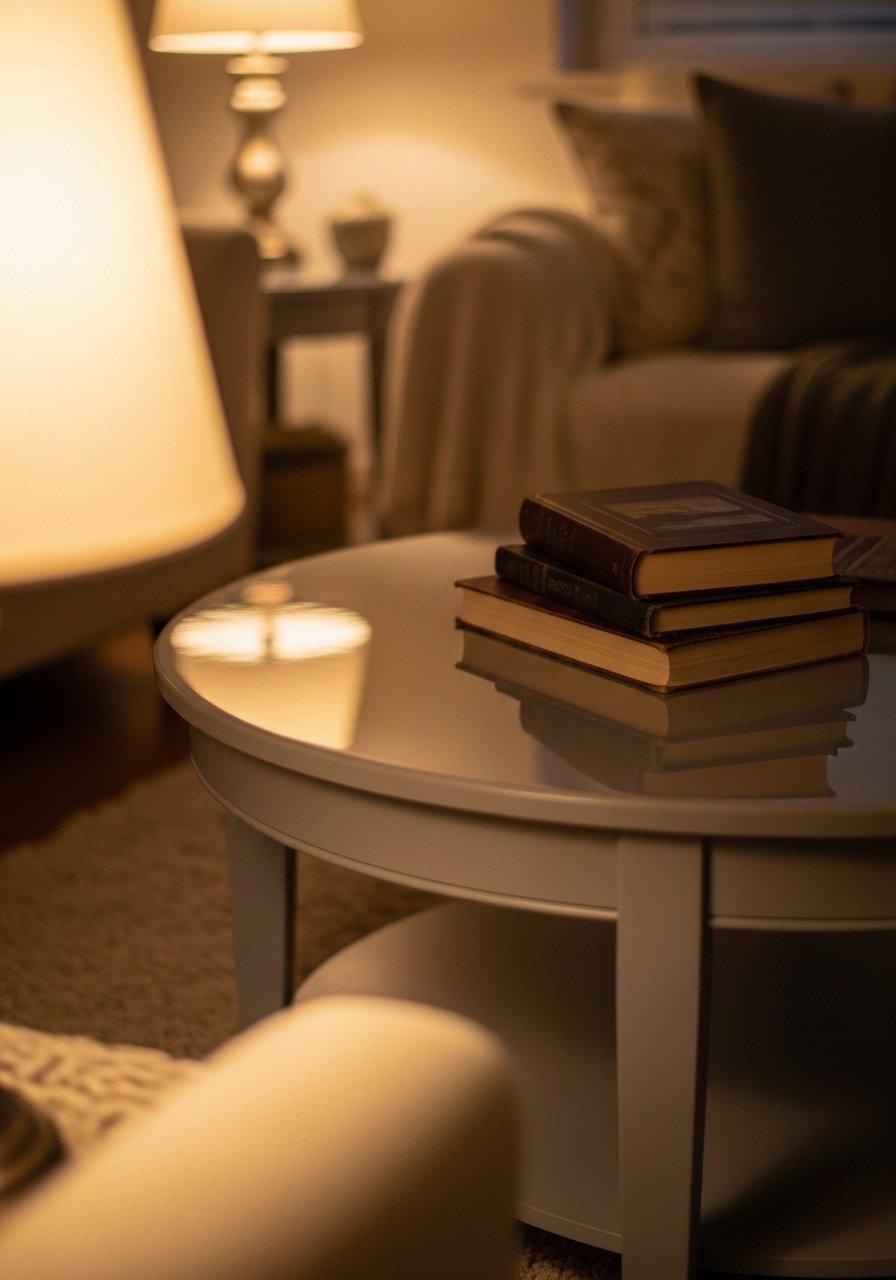
I ruined one finish by skipping a real topcoat. For coffee tables, paint the base and use either a 2K epoxy or several coats of polyurethane on the top. Epoxy gives a glossy, glass-like surface and survives wine glasses better. For a lower-budget route, three thin coats of satin poly also work. I tested table-epoxy-kit and satin-polyurethane-clear. A detail most people miss, tape the apron edges and pour only on the top to avoid drips. Expect 24 to 48 hours of cure time for full hardness.
Vintage Vanity Painted in a Soft Pastel for Bathroom Glow
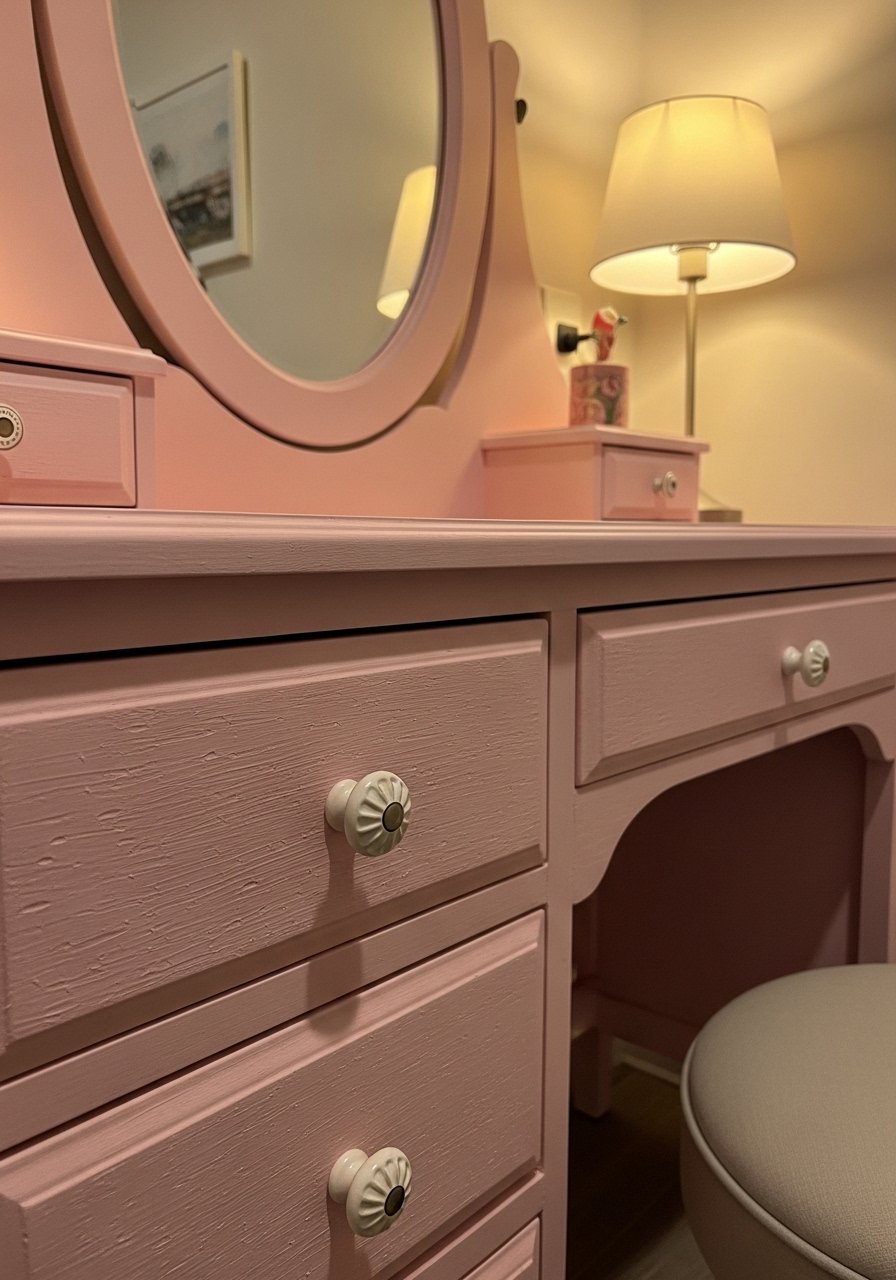
A vanity in a pastel instantly softens a bathroom. I painted mine powder pink and replaced the old hardware with white ceramic knobs to keep the look fresh. Bathrooms need moisture protection, so I topped everything with a clear water-based varnish. Use ceramic-drawer-knobs-white and water-based-clear-varnish. Common frustration is paint peeling in humid spots. Sand the surface lightly and add two topcoat layers. A small detail, paint the underside of the top drawer face too, guests see it when you open the drawer.
Entryway Console with Faux Marble Painted Top
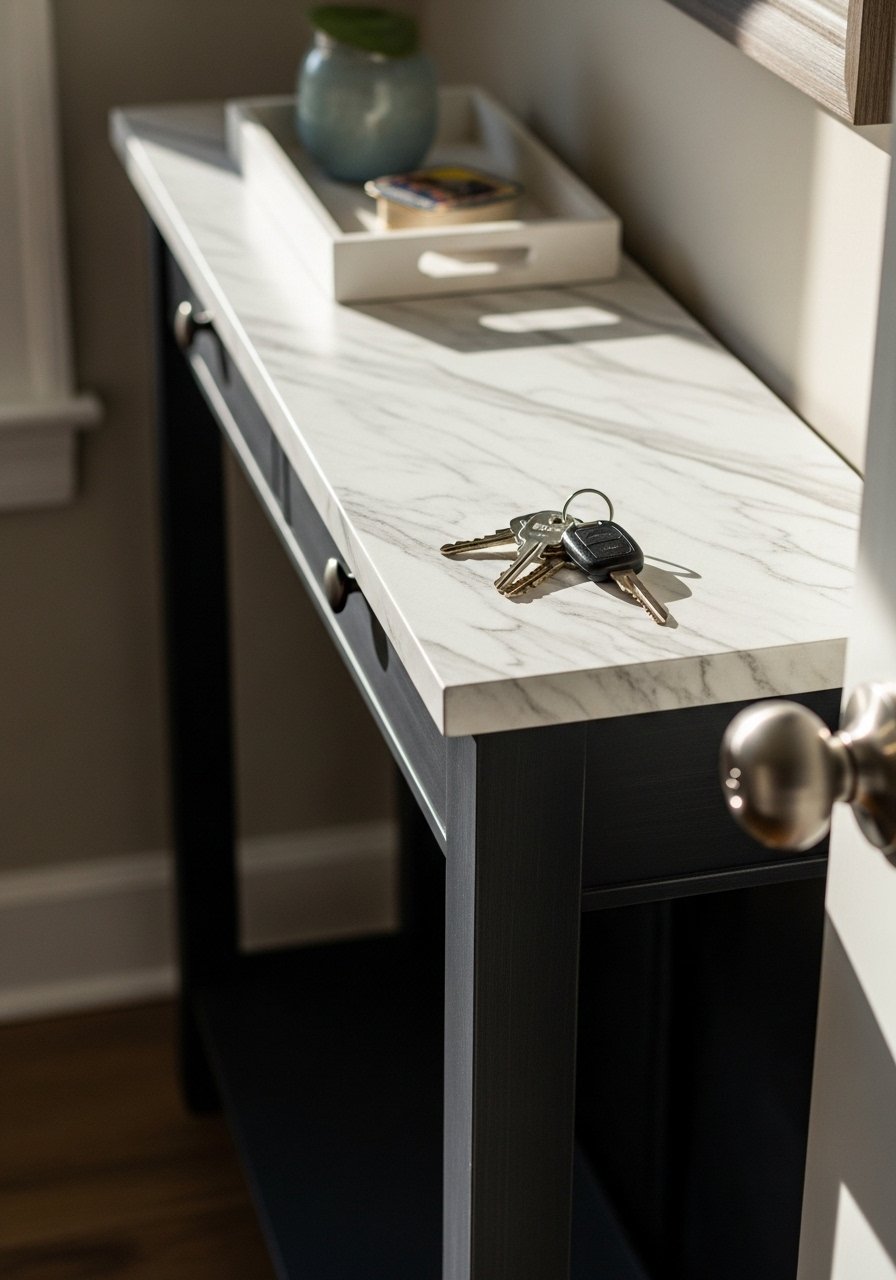
Entry consoles take keys, mail, and shoes. I painted mine a dark base and faux-marble the top for an expensive look on a modest budget. Use a sponge and feathering brush for veins, then seal with poly. I practiced the veins on cardboard first. Try faux-marble-brush-set and clear-topcoat-protect. People often overdo the veins, making it busy. Keep about 80 percent of the top calm and put veins in the remaining 20 percent for realism. Works great in small foyers and narrow hallways.
Layered Nightstands with Mixed Metals for Eclectic Bedrooms
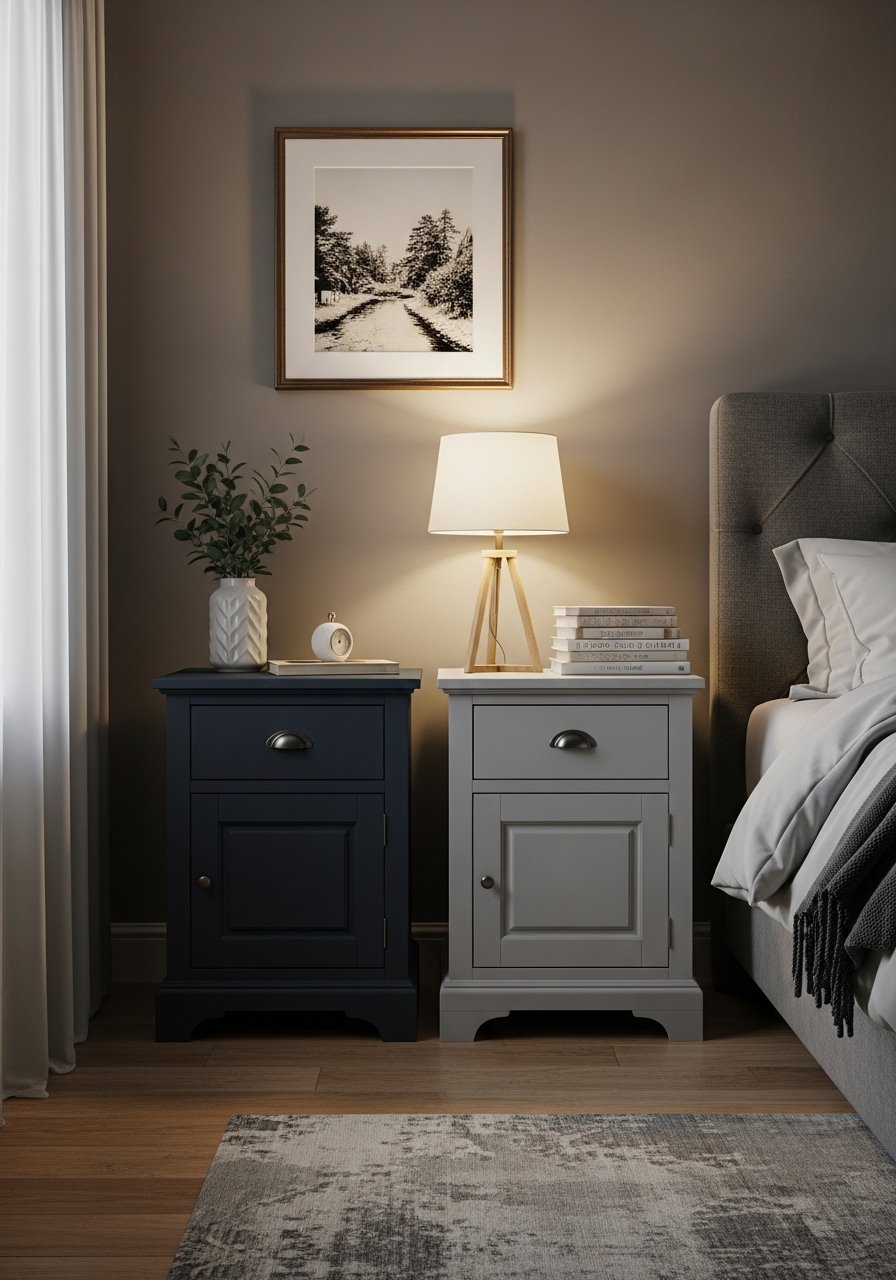
There is something about mixing metals that makes a bedroom feel lived-in. I painted two mismatched nightstands and chose different metal finishes for each, brass on one and brushed nickel on the other. The mix stops everything from matching too much. For hardware, try brass-cup-pulls-set and brushed-nickel-knobs. Common mistake, picking finishes that clash in temperature. Keep one warm metal and one cool metal, then tie them together with a single small accessory in the dominant finish. Budget under $100 to redo both with paint and hardware swaps.
Painted Outdoor Bench with Weatherproof Finish
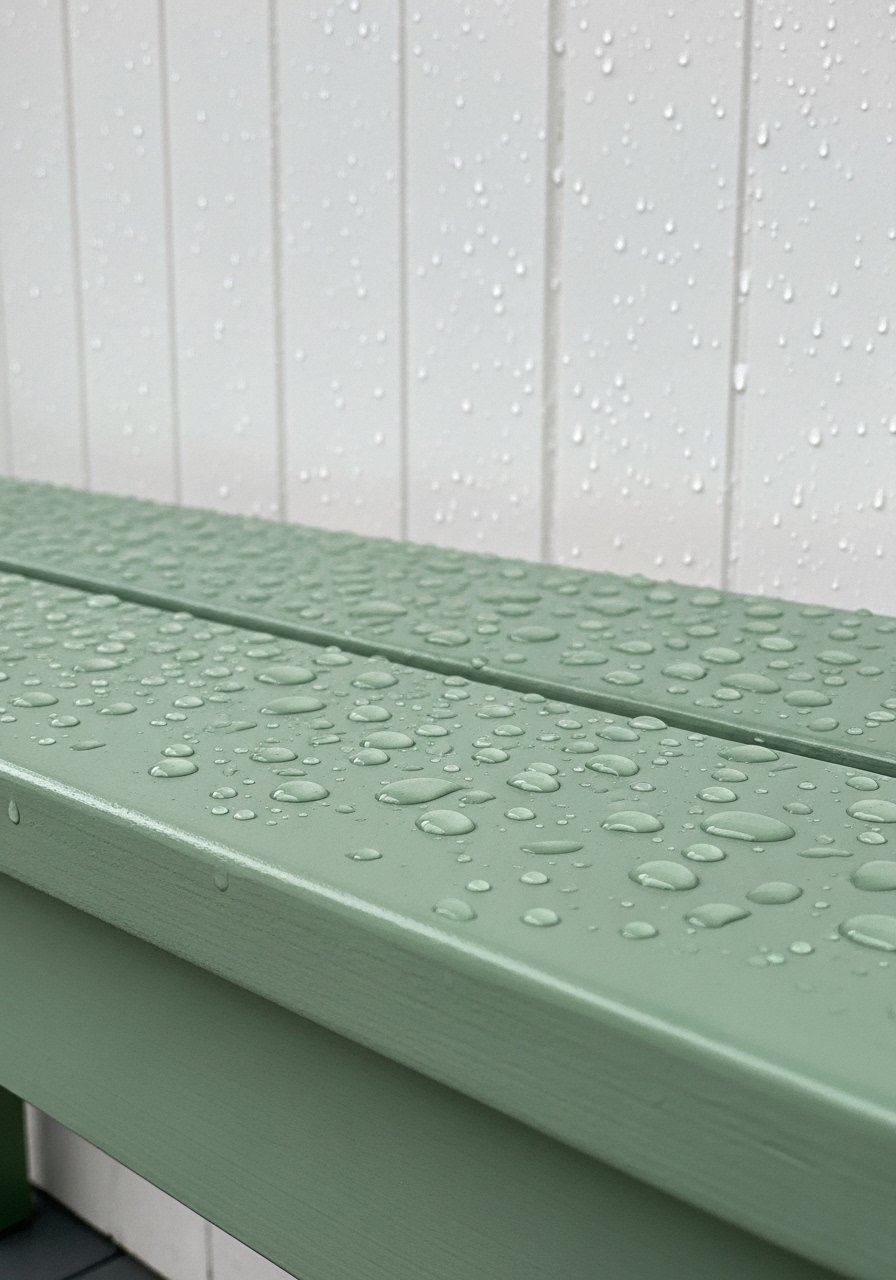
I painted a porch bench and learned outdoor projects need a different finish. Use exterior chalk paint or a latex primer first, then finish with an exterior polyurethane. I used two coats of exterior poly and waited 48 hours before placing cushions. People expect the indoor finish to hold up outdoors. It will not. Try exterior-chalk-style-paint and exterior-polyurethane-clear. A detail most articles skip, lift benches off the ground a bit while curing so moisture does not wick up into the new finish.
Kid-Friendly Toy Chest with Chalkboard Front
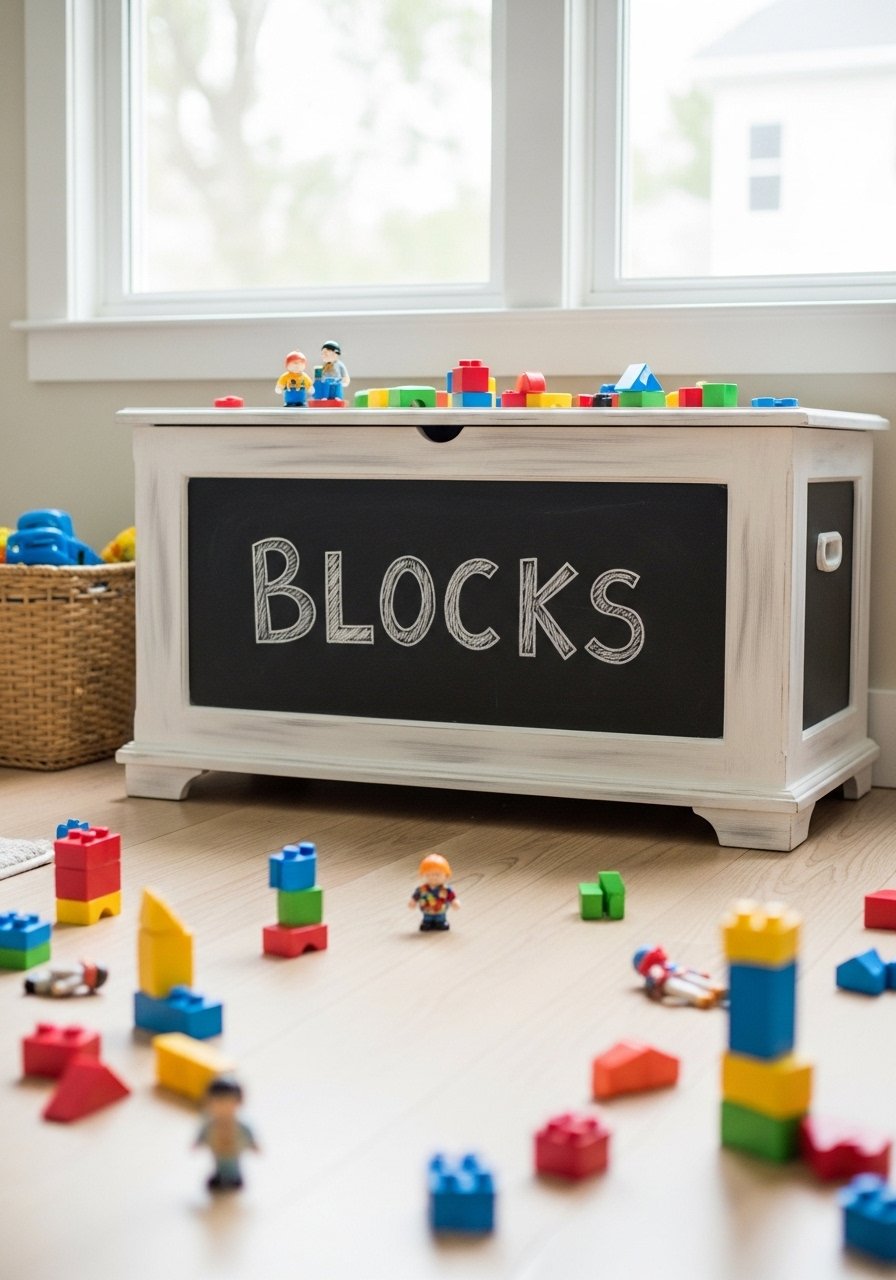
My nephew loves to label everything. I painted a toy chest with chalk paint and left the front as a chalkboard surface for rotating labels and drawings. Use chalkboard-paint-black over a primed surface and seal the lid with satin poly so crayons wipe off. Common frustration, paint that flakes with rough play. Fix it by sanding edges and adding a hinge support for heavy lids. A small detail, prime the inside lip where the lid sits to avoid paint transfer over time.
Refinished Armoire with Grain-Effect Technique
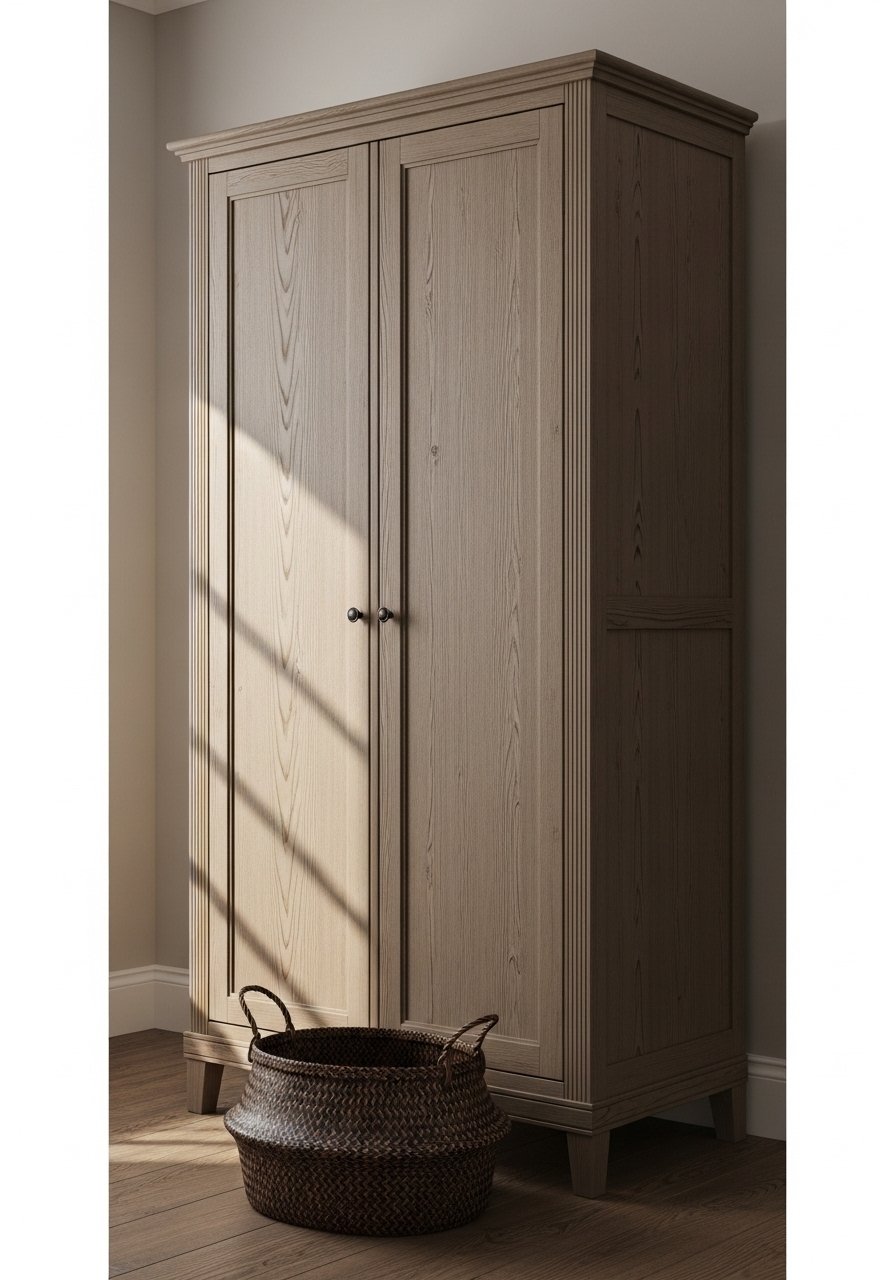
I wanted the look of oak without stripping everything. The grain-effect technique uses a glaze and a wood-graining tool to mimic texture, then a clear satin coat. It is more convincing when you keep the grain vertical and match it to the real wood in the room. Use wood-graining-tool and antique-glaze-medium. Common mistake, making grain too regular. Vary your strokes and stop every few inches to feather for realism. Works well in bedrooms or dining rooms where a heavy wooden piece needs a lighter feel.
Accent Side Table Using Antiquing Wax for Subtle Depth

Antiquing wax adds shadow in the crevices and reads like age without heavy distressing. Apply a thin coat with a lint-free cloth and wipe excess away in long strokes. I use dark wax only in corners and recessed details, then buff after 30 minutes. Try dark-antiquing-wax and lint-free-buffing-cloth. The problem people have is slopping on too much wax and ending with greasy surfaces. Less is more. Pair this table with the gallery wall idea later for balance.
Painted Headboard Panel That’s Rental-Friendly
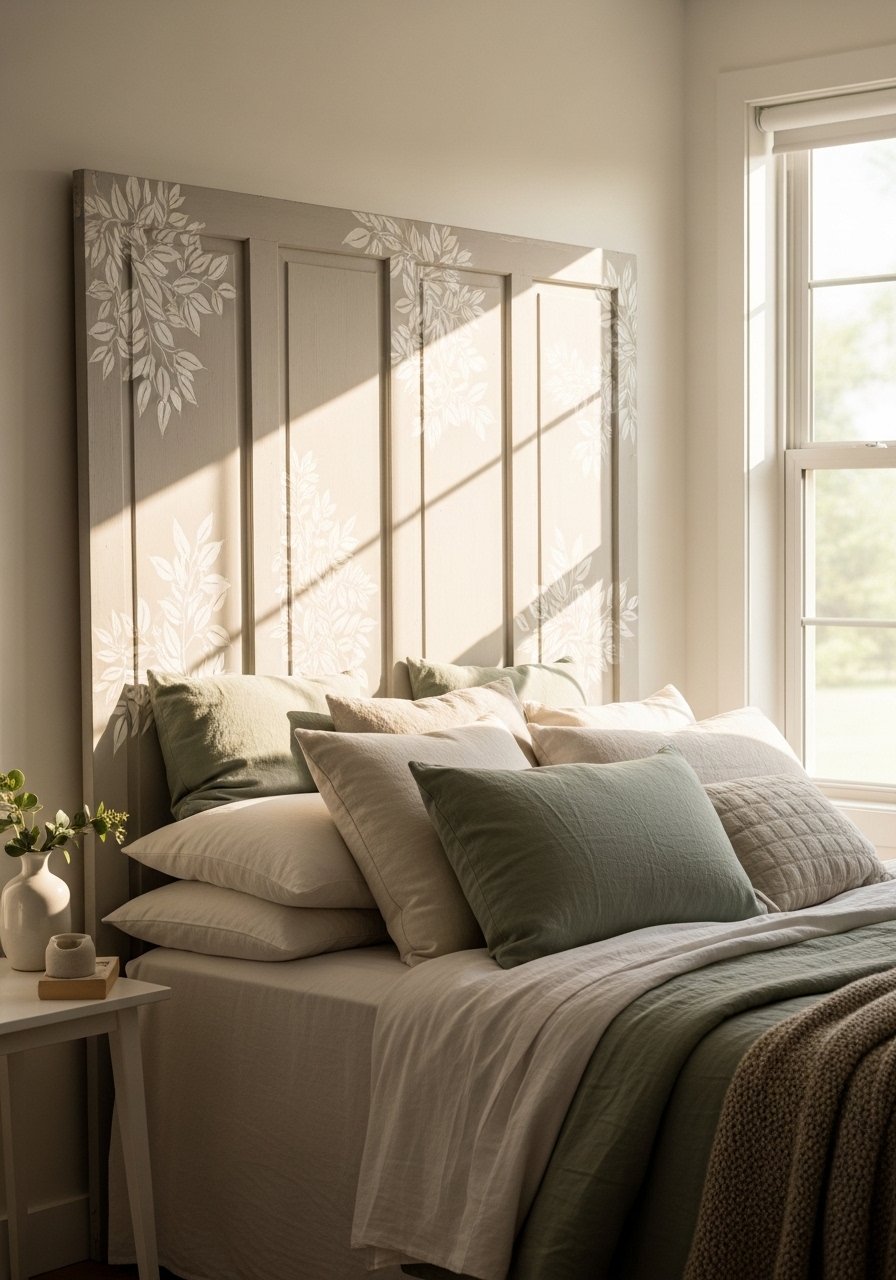
There is something about a painted headboard that makes a bedroom feel finished without nailing into walls. I painted a lightweight MDF panel and leaned it, so renters can remove it easily. Stencil one large motif, centered horizontally and vertically, and use a softly tinted glaze for shadow. Use lightweight-mdf-panel and botanical-stencil-large. Common frustration, buying a panel too small. Measure bed width and add 6 inches on each side for proper scale. This pairs beautifully with the layered nightstand idea above.
Chalk-Painted Kitchen Cabinets with Long-Lasting Topcoat
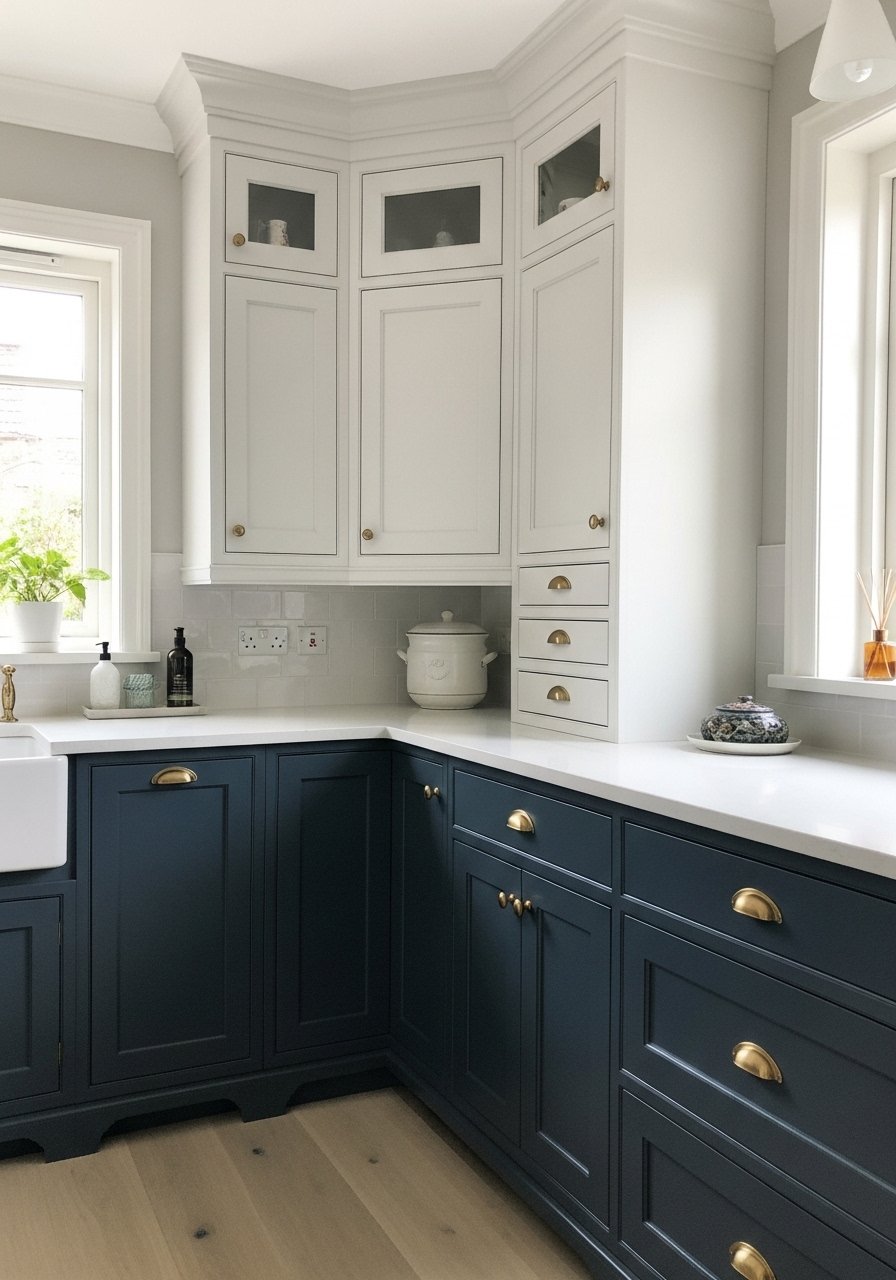
Painting actual kitchen cabinets is scary, but doable with the right prep. Degrease, scuff sand with 220-grit, then use a bonding primer before two thin coats of chalk paint. Finish with a water-based conversion varnish for real kitchen durability. I used bonding-primer-for-cabinets and conversion-varnish-water-based. A common mistake, skipping hardware removal. Paint is easier and cleaner when doors are off and hung on sawhorses. Expect a weekend project for a 10-door kitchen.
Your Decor Shopping List
Textiles
- Honestly the best $40 I have spent, chunky-knit-throw-blanket-cream (~$35-55). Drape over a sofa arm for instant warmth
- 22-inch-linen-pillow-covers-set-of-2 in warm neutral colors, down-filled inserts sold separately
Wall Decor
- For the gallery wall idea, brass-picture-ledges-pack-of-2 (~$18-25), lets you swap art without new nail holes
- large-round-leaner-mirror-36-inch in black metal, perfect above an entry console
Painting Tools
- mini-sash-brush-set for corners and detail
- foam-paint-roller-4-inch for flat panels
- clear-furniture-wax-brush for wax application
Hardware + Finishes
- brass-cup-pulls-set and brushed-nickel-knobs for mixed-metal looks
- oil-based-polyurethane-clear for tabletops and high-wear surfaces
Budget Finds
- chalkboard-paint-black (~$10-20), great for toy chests and fronts
- Similar at Target or HomeGoods for quick hardware swaps and pillow covers
Shopping Tips
White oak beats dark wood in 2026. Design feeds have shifted completely. These white-oak-floating-shelves look current, not dated.
Grab velvet-pillow-covers for $12 each. Swap them every three months and the whole room feels different.
Curtains should puddle or kiss the floor, never hang halfway up. These 96-inch-linen-panels are right for standard nine-foot ceilings.
Everyone buys five small succulents. One single faux-fiddle-leaf-fig-6ft has ten times the visual impact.
Measure twice, cut once when you buy hardware. Drill-guide-for-hardware-install keeps pulls level and prevents wasted holes.
Frequently Asked Questions
Q: Can chalk paint be used on laminate furniture?
A: Yes, with prep. Scuff sand lightly and apply a bonding primer before chalk paint. Laminate needs a mechanical key more than raw wood. Finish with a poly for wear. Bonding-primer-for-laminate is a safe bet.
Q: How do I keep brush marks from showing on flat panels?
A: Use a foam roller for the big areas and a good synthetic brush for edges. Lightly sand 220-grit between coats and avoid heavy brushing. A little patience with thin coats beats restarting.
Q: What topcoat should I choose for a kitchen island or table?
A: For surfaces that get heavy use pick an oil-based poly or a 2K epoxy if you want gloss and scratch resistance. For less demanding pieces, a water-based satin poly is fine and dries faster.
Q: Can I mix boho textiles with painted modern furniture without it looking messy?
A: Yes. Keep the furniture finishes simple and use the rule of three with textiles. Pick one color family and vary texture, not pattern. I mix linen throws, a patterned lumbar, and a chunky knit for balance.
Q: What size rug do I need for layered rugs or below a painted piece?
A: Bigger than you think. For a sofa, at least an 8×10 so front legs sit on it. For a bedside area rug, go two feet wider than the bed on each side when possible.
Q: How long before a painted cabinet is ready for regular use?
A: Expect at least 72 hours for a full cure on most finishes, longer for oil-based topcoats. Light use at 24 hours is okay, but give hardware and hinges the full cure time to avoid sticking.
