
I once strung fairy lights across the ceiling and it looked like a holiday tent. Too tight against the walls, too many things competing for attention, and the whole room felt busy instead of calm. I tried denser strings, then colored bulbs, then gap-filled grids. Nothing worked until I stopped treating the ceiling like extra decor and started treating it like part of the room’s lighting plan.
What finally clicked was planning the coverage, giving the lights room to breathe, and anchoring their glow with a grounded bed and a couple of tactile layers. I botched it at least twice, and I still tweak brightness after guests leave. If your ceiling feels off, this method will get the glow right without turning the room into a novelty.
Step 1: Map the ceiling and choose your coverage

Grab a tape measure and mark the ceiling with a pencil or painter’s tape. For a soft canopy, aim to cover 60 to 80 percent of the ceiling so you avoid a boxed-in feeling near the walls. If you want rows, space them 8 to 12 inches apart. Micro LEDs look best with 4 to 6 inch bulb spacing. Globe-style bulbs can sit 6 to 12 inches apart.
Measure the room perimeter and pick a string length about 1.5 times that if you plan on draping. For a 10 by 12 foot room the perimeter is 44 feet, so buy at least a 65 foot string for generous drapes. This step makes decisions easier and prevents the common mistake of buying too little or grabbing the longest strand without a plan.
Step 2: Place anchors and test the hang
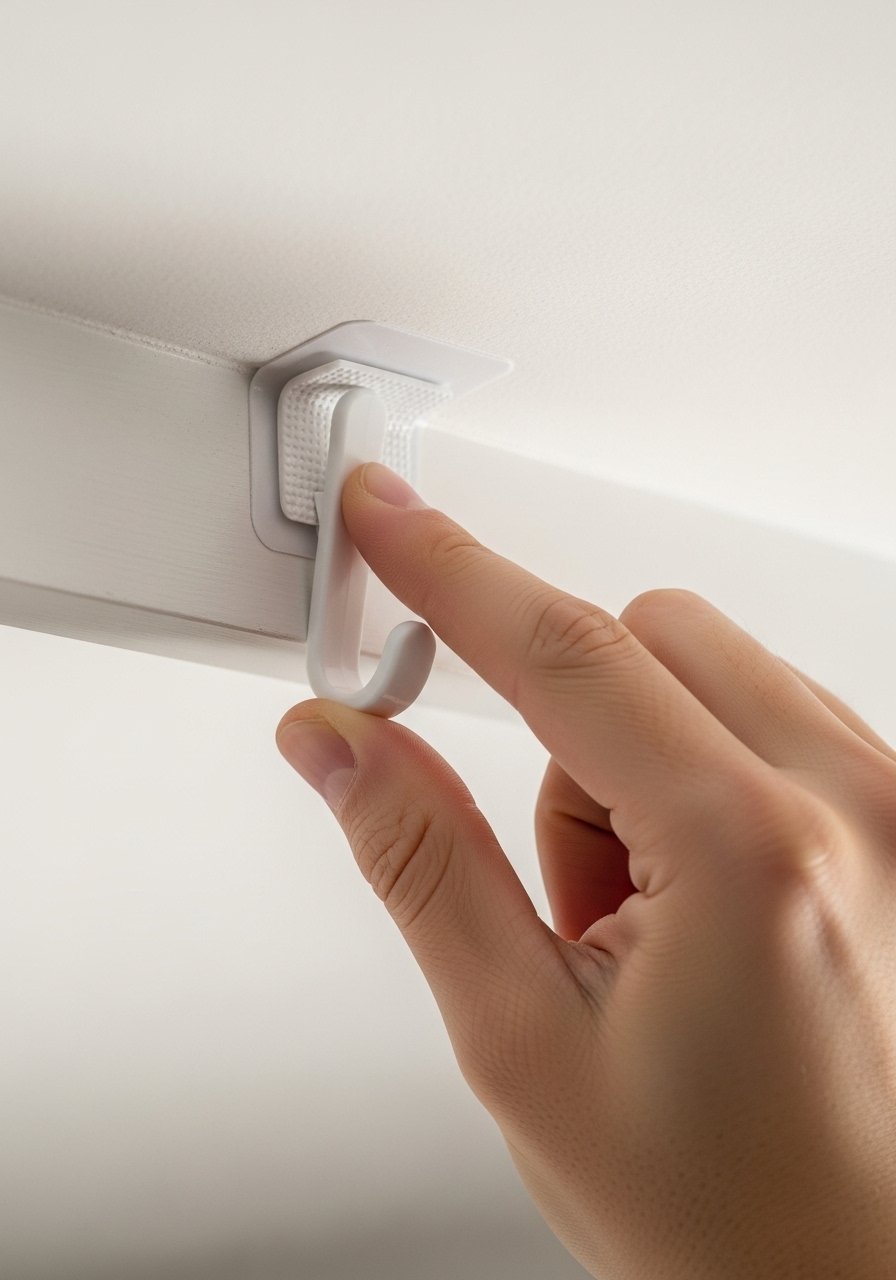
Use removable ceiling hooks rated for the weight of your strand, or small screw hooks if your ceiling allows. Test each anchor by clipping a strand on and letting it hang for a few hours before committing. My first install had strands slipping because I picked hooks meant for picture frames. That was annoying to fix.
If your lights have thin wire they will feel cool and slight in your hand. Heavy rope lights are bulky and need sturdier anchors. Keep cords tidy with adhesive cable clips run along beams or the top edge of the wall so you only see the glow, not the mess of cords.
Step 3: Create the look, canopy or grid

This is where it starts to feel styled instead of random. For a canopy, anchor points along three edges with a gentle curve toward the center above the bed. Leave a 12 inch gap from the wall so the light reads as floating. For a grid, run parallel rows that stop 12 to 18 inches from walls to avoid the boxed-in look.
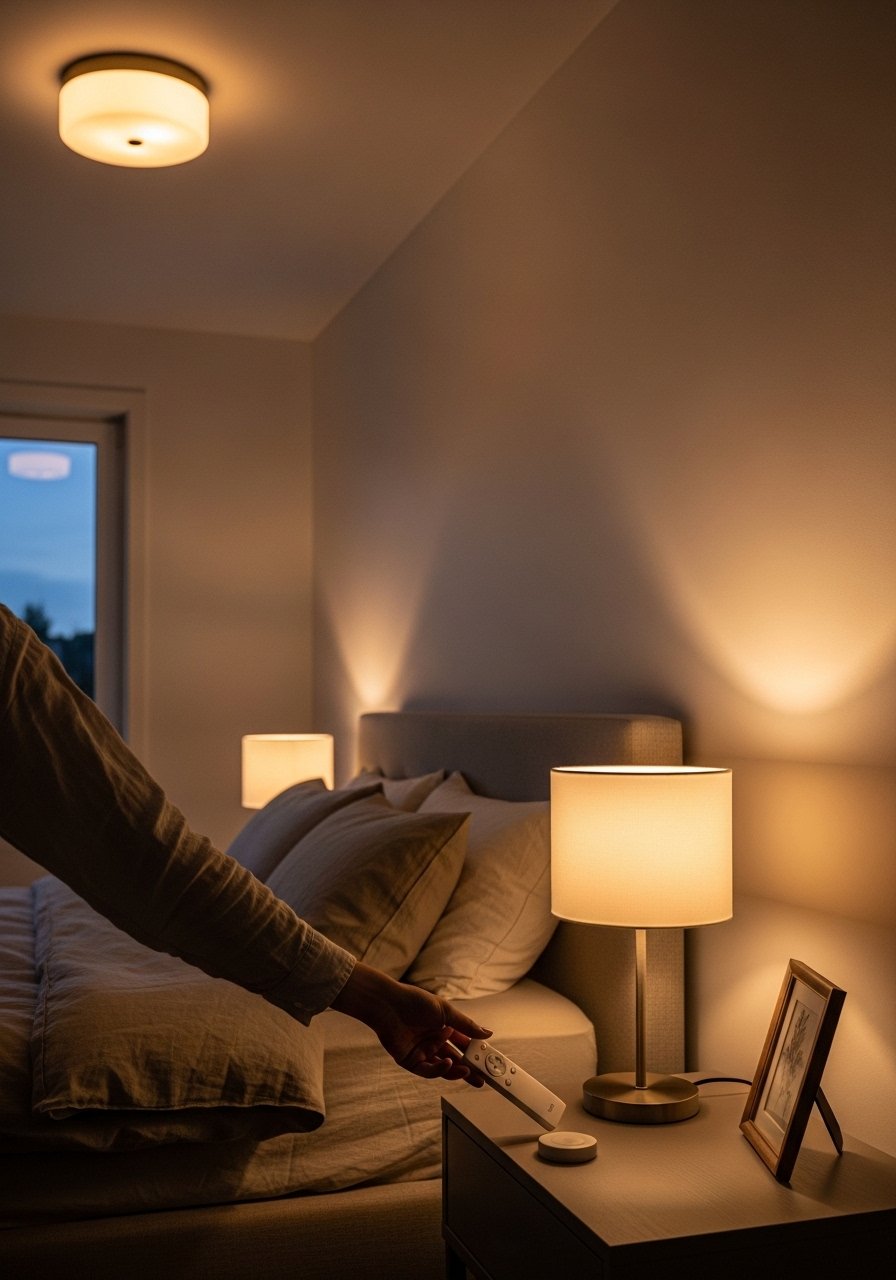
A smart plug or inline dimmer makes a huge difference. My partner hated the first version because it was too bright. Adding a dimmer fixed that and made evenings feel warm and calm. Common mistake: pulling rows too tight. Give each drape a soft scallop for texture and better light spread.
Step 4: Anchor the glow with texture and weight
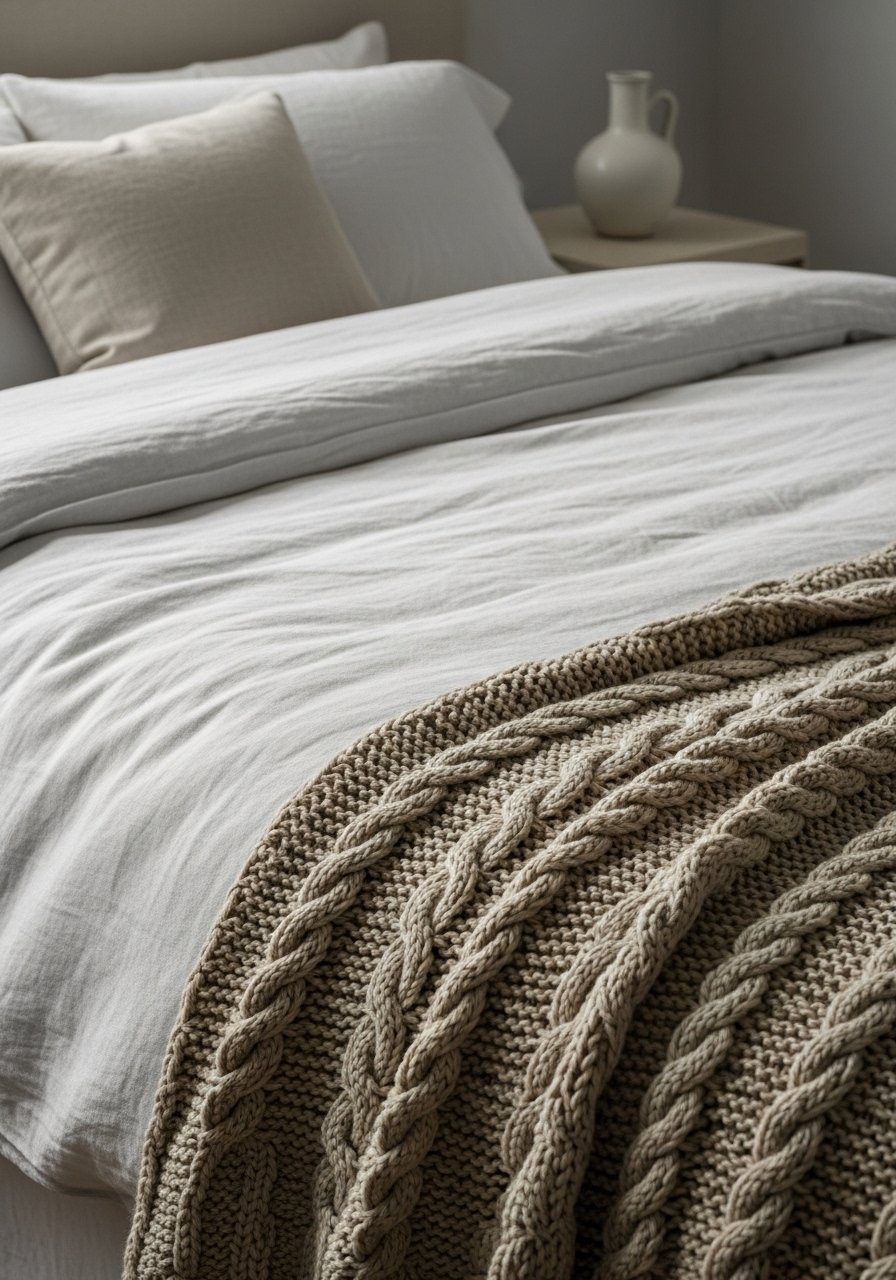
Ceiling lights read best when the rest of the room feels grounded. Add a linen duvet for crisp, cool texture and a chunky knit throw for weight at the foot. A 50 by 60 inch throw in oatmeal provides a soft, heavy counterpoint to the delicate light strings. Nightstands should be simple so the eye lands on the bed and the ceiling together.
A mistake I made was piling on accessories near the headboard. It competed with the canopy and made the space feel cluttered. Leave 8 to 12 inches of negative space above nightstands so the ceiling light becomes the room’s quiet star, not one of many noisy elements.
Step 5: Live with it, then tweak brightness and placement
Step away for a day or two. Use the lights different ways, set schedules with a smart plug, dim them for reading and bump them up for cleaning. My third attempt stayed, because I let it live and adjusted brightness slowly. The odd thing is you will notice things only after sleeping under it for a few nights.
If you have pets that like to jump, move the lowest drape a little higher. One pet ruined a strand the first week. Small changes like raising a row 6 inches or swapping to a sturdier cord can save a lot of frustration.
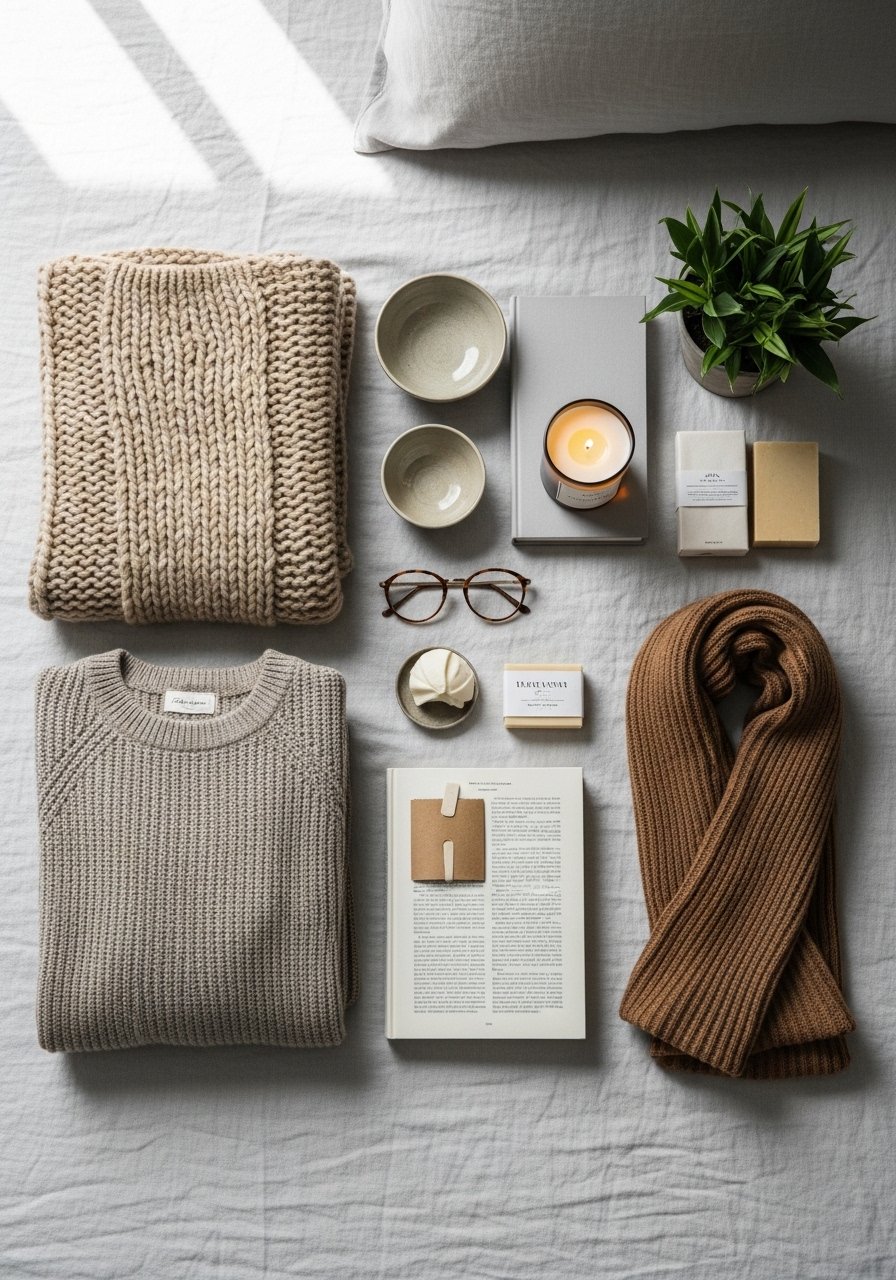
The Bedroom Basics You'll Actually Use
- Warm white fairy lights, 65-foot, 200 LEDs ($25-45). Use in Steps 1 and 3 for a generous canopy.
- Smart plug dimmer outlet ($15-30). Controls brightness in Step 3 and 5.
- Command ceiling hooks, 20-pack ($9-15). Temporary anchors mentioned in Step 2.
- Linen duvet cover, queen, sage ($70-110). Texture anchor for Step 4.
- Chunky knit throw, 50×60, oatmeal ($40-65). Adds weight at the foot of the bed in Step 4.
- Adhesive cable clips, 50-pack ($7-12). Keeps cords tidy as in Step 2.
- Glass globe bedside lamp with fabric shade ($30-70). Pairs with ceiling lights for layered mood in Step 4.
- Jute area rug, 6×9 ($60-120). Grounds the bed visually. Similar options at Target.
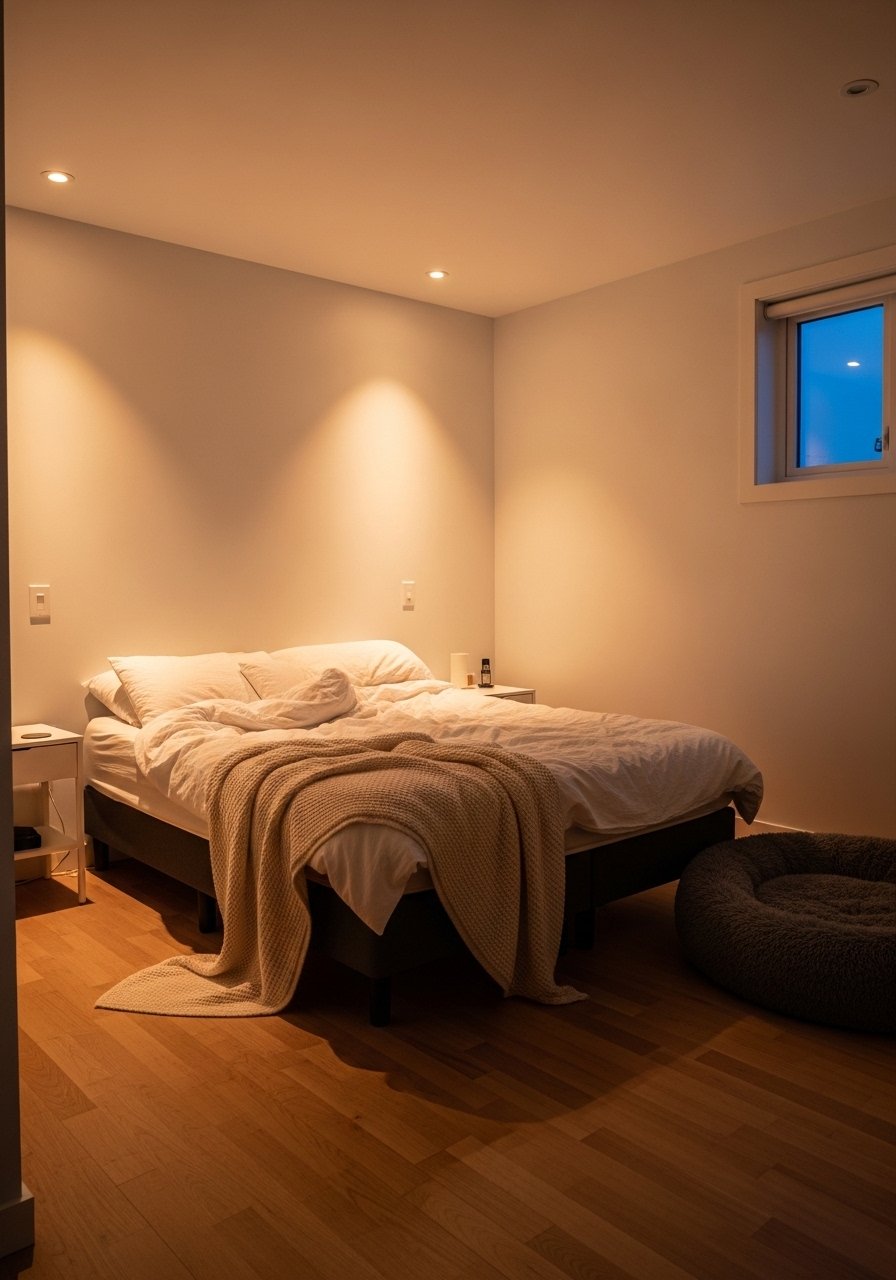
Making This Work in a Small Room

Small rooms need less coverage. Aim for 50 to 65 percent ceiling coverage so the light reads as an accent. Use a single strand draped just above the headboard rather than full-room grids. Swap a bulky headboard for a slim, textured one to keep the room feeling open.
A short list: pick micro LEDs, keep the first drape 10 to 12 inches above the bed, and use a mirror on the opposite wall to reflect the glow. I did this in a tiny guest room and it suddenly felt cozy instead of cramped.
Why Your Ceiling Lights Still Look Messy
If the lights read messy, check these things. One, your anchor spacing is inconsistent. Two, cords are visible where the eye should see only glow. Three, the rest of the room is cluttered so the ceiling competes with too many focal points.
When I tightened anchors without adjusting drape depth the result felt brittle. Loosen the scallops, tuck cords into clips along a beam, and remove one accessory from each nightstand. A single swap like that will quiet the ceiling treatment.
What It Looks Like After a Week with Real Life
The first week shows what holds up. Expect a few strands to sag or a hook to pop. I found a couple of adhesive hooks failed, so I replaced them with small screw hooks in non-rental rooms. If you have active pets or kids, raise the lowest drapes by 4 to 6 inches. If a strand dims, swap to a spare strand rather than fussing with it.
Living with the lights helps you notice the small scale details you miss while arranging, like which row needs a softer curve or which nightstand item pulls focus away from the canopy.
Start with One Strand Over the Bed

Pick a single strand and hang it above the bed the way I describe in Step 1 and Step 3. Use a smart plug so you can dim without rewiring. It feels low commitment and often fixes the whole room.
I started that way and ended up keeping the look because it made evenings calm and the textiles feel cozier. Try the warm white 65-foot strand first and live with it for a week. You will know exactly what to tweak.
