
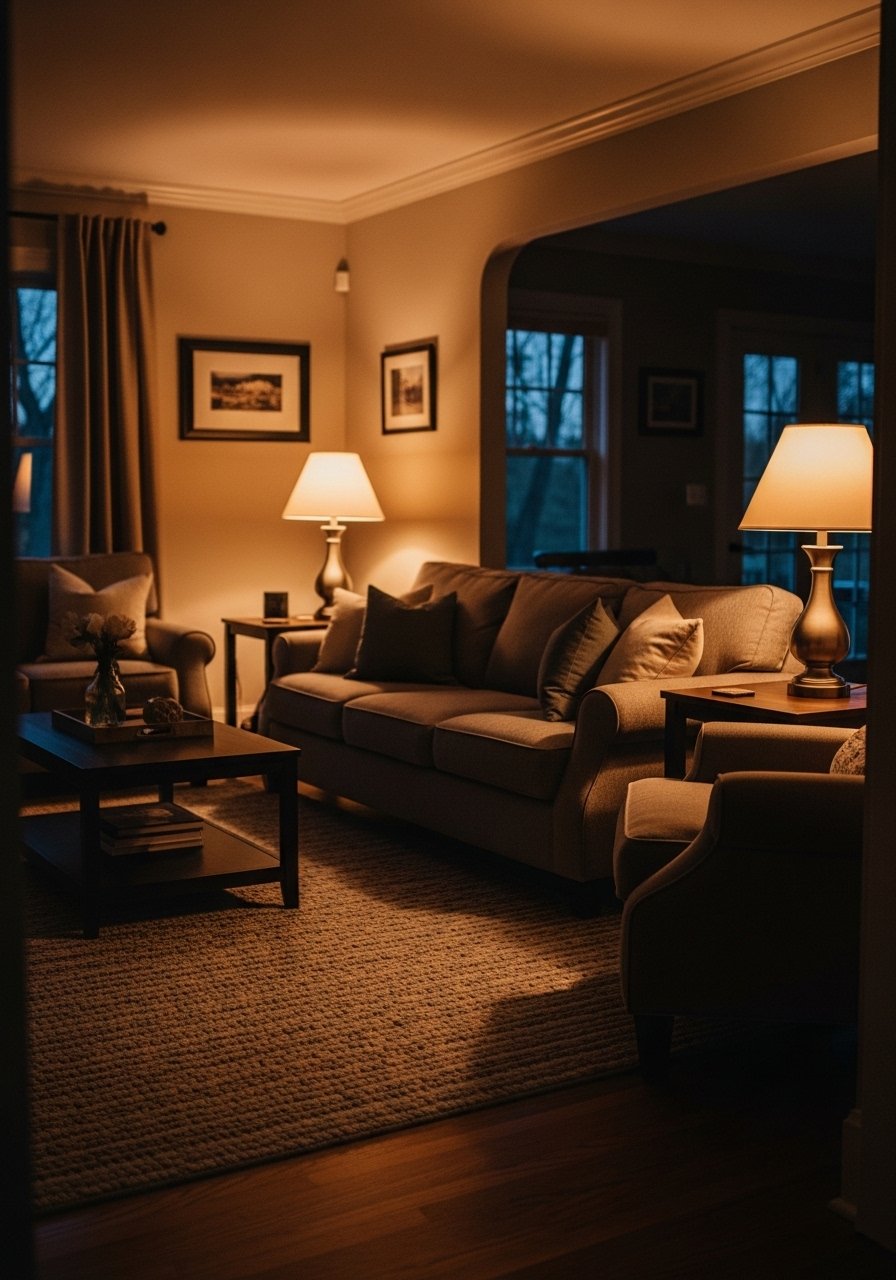
I remember staring at my sofa one evening thinking it was fine and also completely wrong. The furniture were all good pieces, but the room felt like a catalog spread where nothing belonged to each other. I moved the coffee table three times, tried symmetrical lamps, then added plants until it looked busy and sad.
What finally worked was treating furniture as teammates, not isolated stars. Once I picked an anchor piece and planned spacing with simple measurements, the rest started to make sense. I still mess up placement sometimes, but those mistakes taught me where to leave breathing room and where to be bold.
Step 1: Pick the anchor and measure the breathing room
Start with the biggest, most-loved piece, usually the sofa or main bed. Place it where traffic flows around it, not through it. For living areas, aim for 14 to 18 inches between the sofa and the coffee table. That distance feels natural when you're moving plates or reaching for a book.
Choose a rug that covers about two thirds of the seating area, or at minimum put the front legs of larger seating on the rug by 6 to 12 inches. That small measurement turns a scatter of furniture into a set. I learned this after my first rug felt too small and made the sofa float awkwardly.
Step 2: Build height in thirds

Most people pile same-height objects together and the eye gets bored. Break the vertical plane into low, medium, and tall. I like a low coffee table, medium lamp, and one tall floor plant or vase. For vignettes, group three to five objects so the composition reads as intentional.
One time I used only short things and the wall looked flat. Adding a 20 to 30 inch tall ceramic vase created a vertical rhythm that made the room feel anchored. The vase should feel heavy in your hands, not flimsy, so it reads like a real piece.
Step 3: Respect negative space and texture
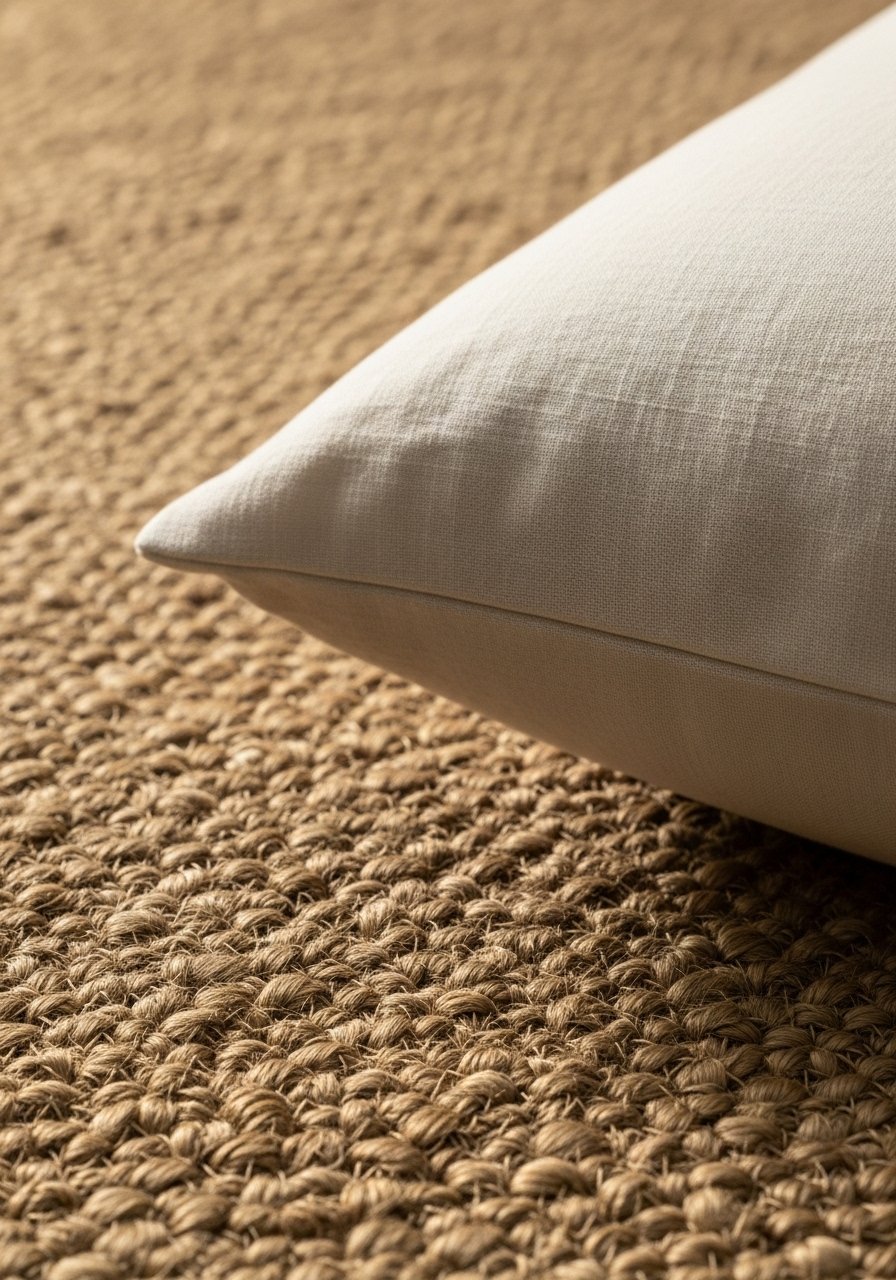
Leave empty space on shelves and surfaces. Aim to keep about 30 percent of a shelf or console clear; that breathing room makes the objects you keep feel curated. Texture keeps things tactile. Mix a smooth ceramic, a nubby linen pillow, and a chunky knit throw so you can see and almost feel the difference.
I almost skipped this step because my instinct is to fill gaps. The room started breathing after I removed a decorative bowl and left the shelf with two books and a small plant. The chunky throw on the arm invites you to touch, while the linen pillow stays cool to the touch on hot days.
Step 4: Anchor walls with a low-commitment ledge or one artwork
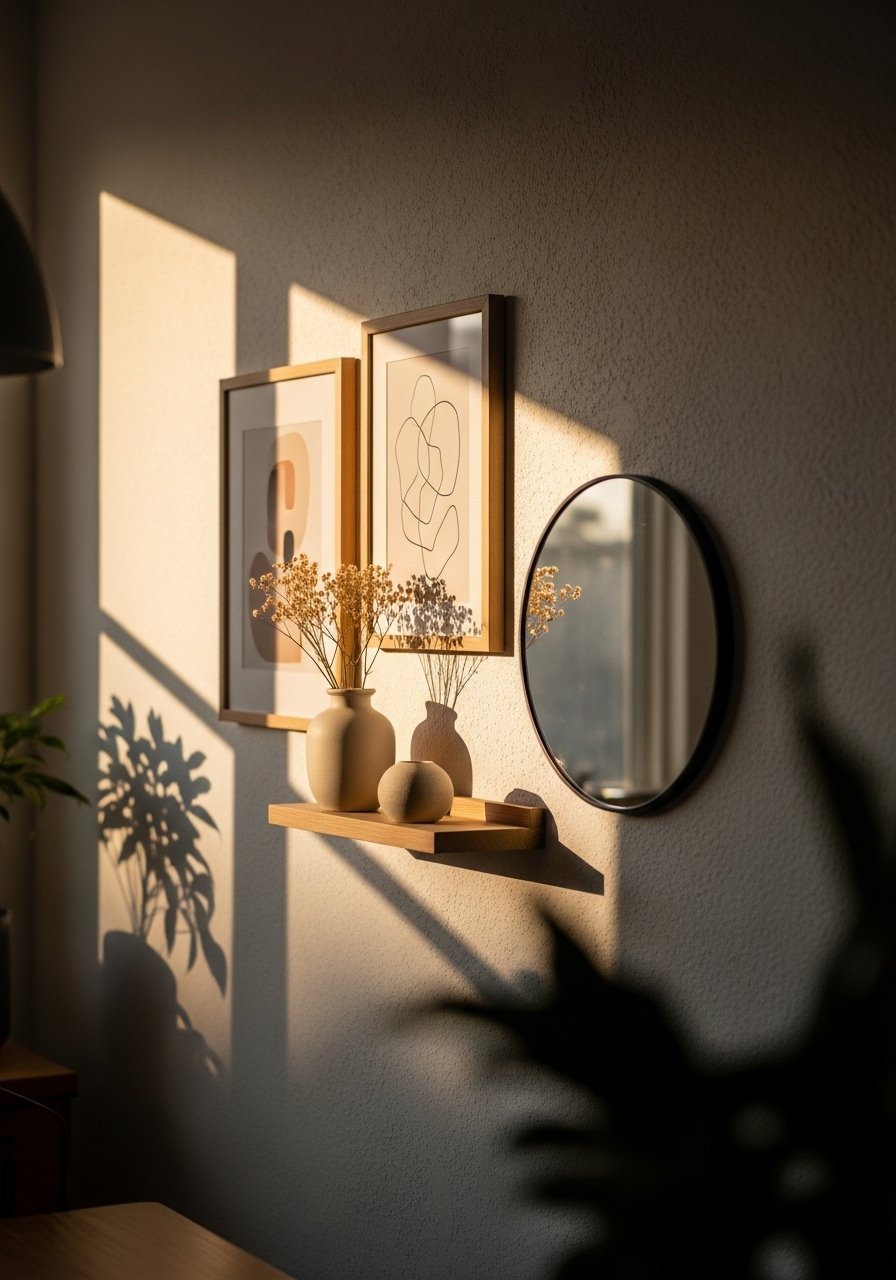
If you fear commitment, use a 24-inch picture ledge and layer a small print, a candle, and a plant. Keep the largest artwork about two thirds of the width of the furniture below it. I tried a perfect centered gallery and it read formal and stiff. Asymmetry with a single larger piece and a couple smaller ones felt livelier.
Watch out for the common mistake of hanging art too high. The center of art should be roughly 56 to 60 inches from the floor in most rooms. My partner hated the off-center ledge at first. A week later he sat down and said it finally felt like our space.
Step 5: Edit like you're leaving the house for ten minutes
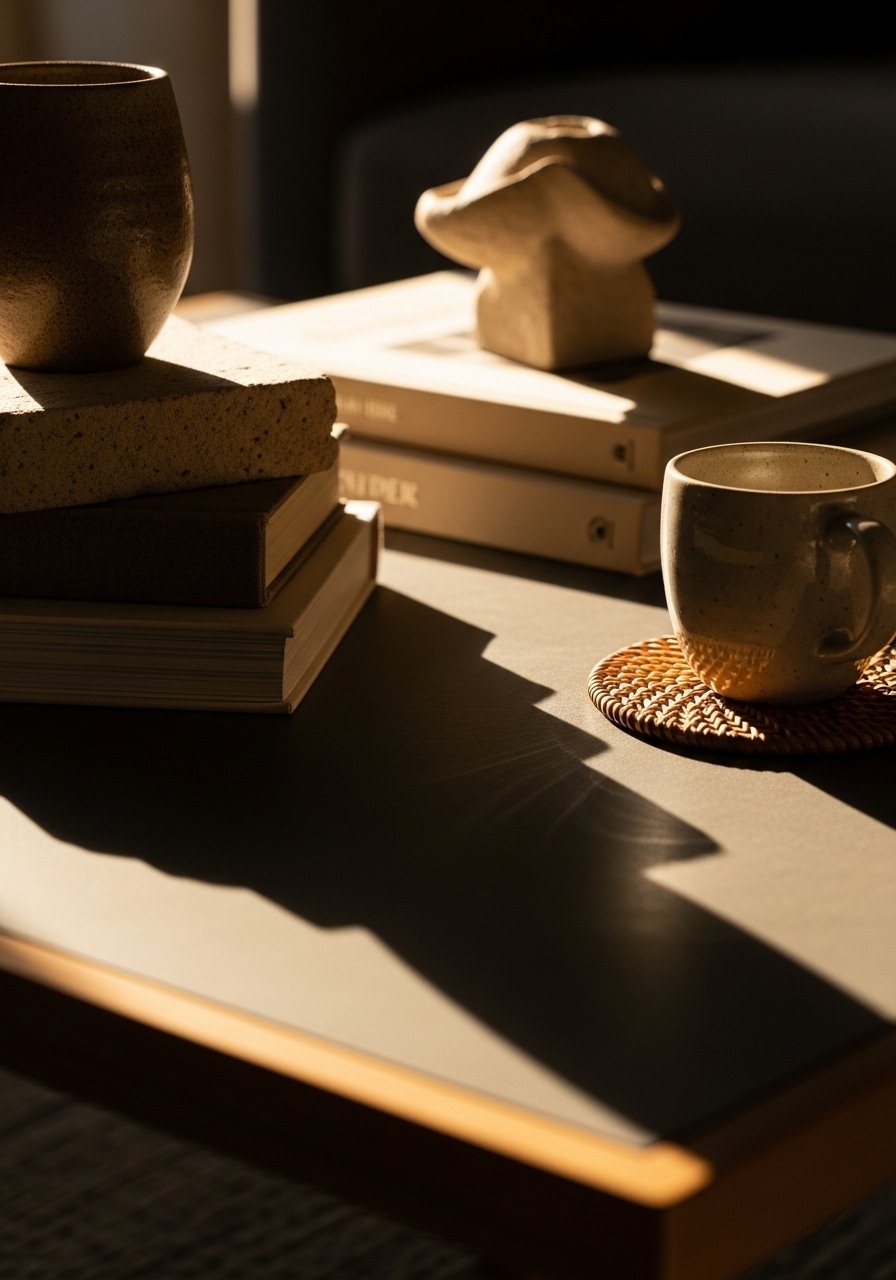
This is the step where it starts to look lived-in instead of staged. Put down a tray on the coffee table, add a stack of two books, one object with height, and a low bowl. Step back, count the items. If it feels crowded, remove one. Walk away for ten minutes and come back with fresh eyes.
I did this wrong the first three tries, everything looked crammed because I was afraid of empty space. The trick that finally stuck was to aim for odd groupings and let the largest item breathe. You will doubt the empty corner at first. Sit in it, use it, and you will see why it needed room.
What to Grab for Your Living Room Refresh
- Jute area rug, 8×10 ($90-160). Rug sizes referenced in Step 1.
- Chunky knit throw in oatmeal, 50×60 ($40-65). Used in Step 3 to add texture and touch.
- Ceramic vase set, matte white ($25-40). For the tall element in Step 2.
- Boucle accent chair, small scale ($220-420). Adds weight and softness, referenced in Step 1.
- Brass picture ledges, 24-inch ($18-30). For the low-commitment wall in Step 4.
- Linen lumbar pillow, natural ($22-45). A cool-to-the-touch texture called out in Step 3.
- Wood tray, medium ($15-30). Useful for Step 5 staging.
- Table lamp with fabric shade, 26-inch ($40-90). The medium height in Step 2.
Why Your Room Still Feels Off After New Furniture
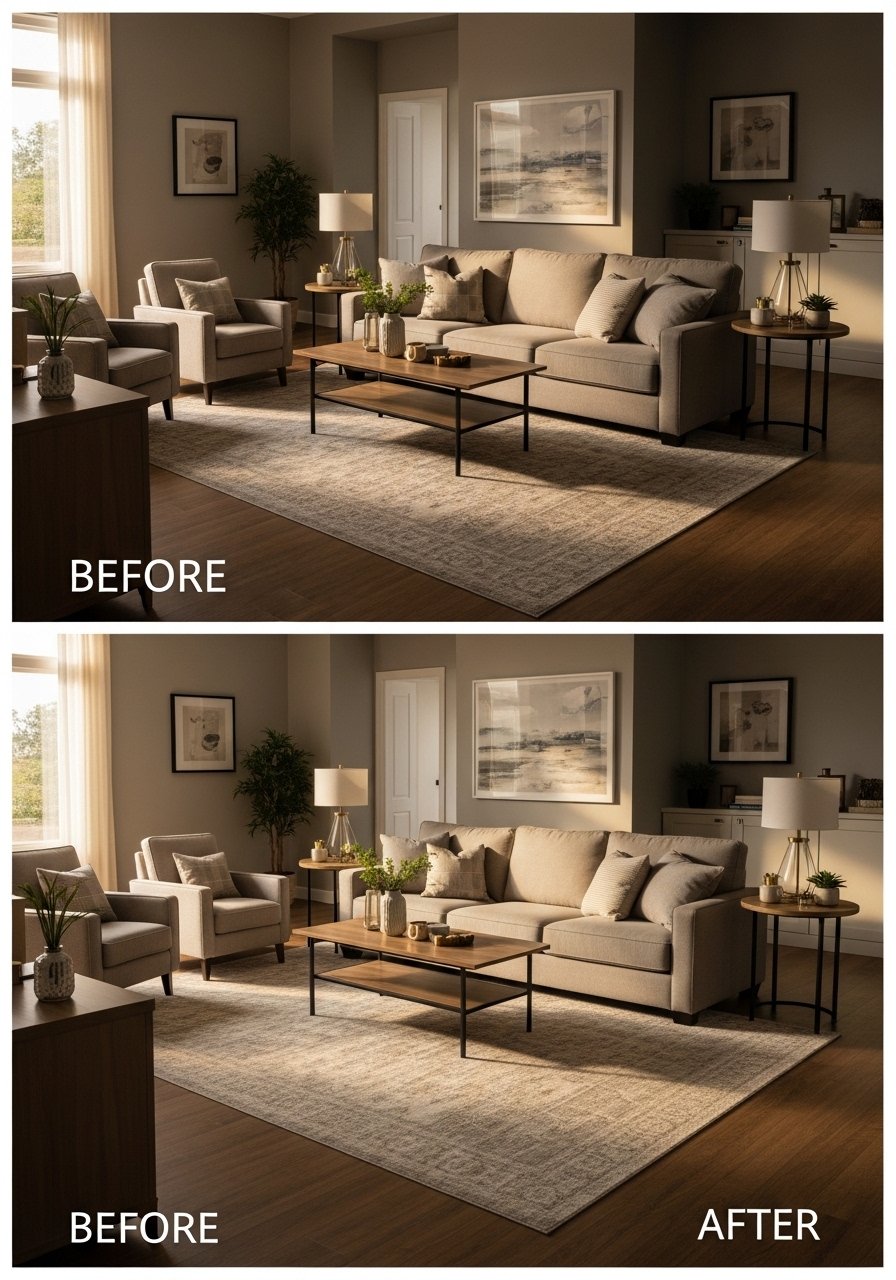
If you swapped in nicer pieces and the room still feels off, check scale and sightlines. People often aim furniture at walls instead of toward each other and leave too many gaps. Try pulling seating into a conversational cluster and making sure the rug and furniture relate to one another. Another missed detail is the tactile layer. A plastic-looking lamp or thin throw reads cheap in person, even if the silhouette is good. Spend on one texture you touch often, and let the rest be simpler.
Making This Work in a Small Room
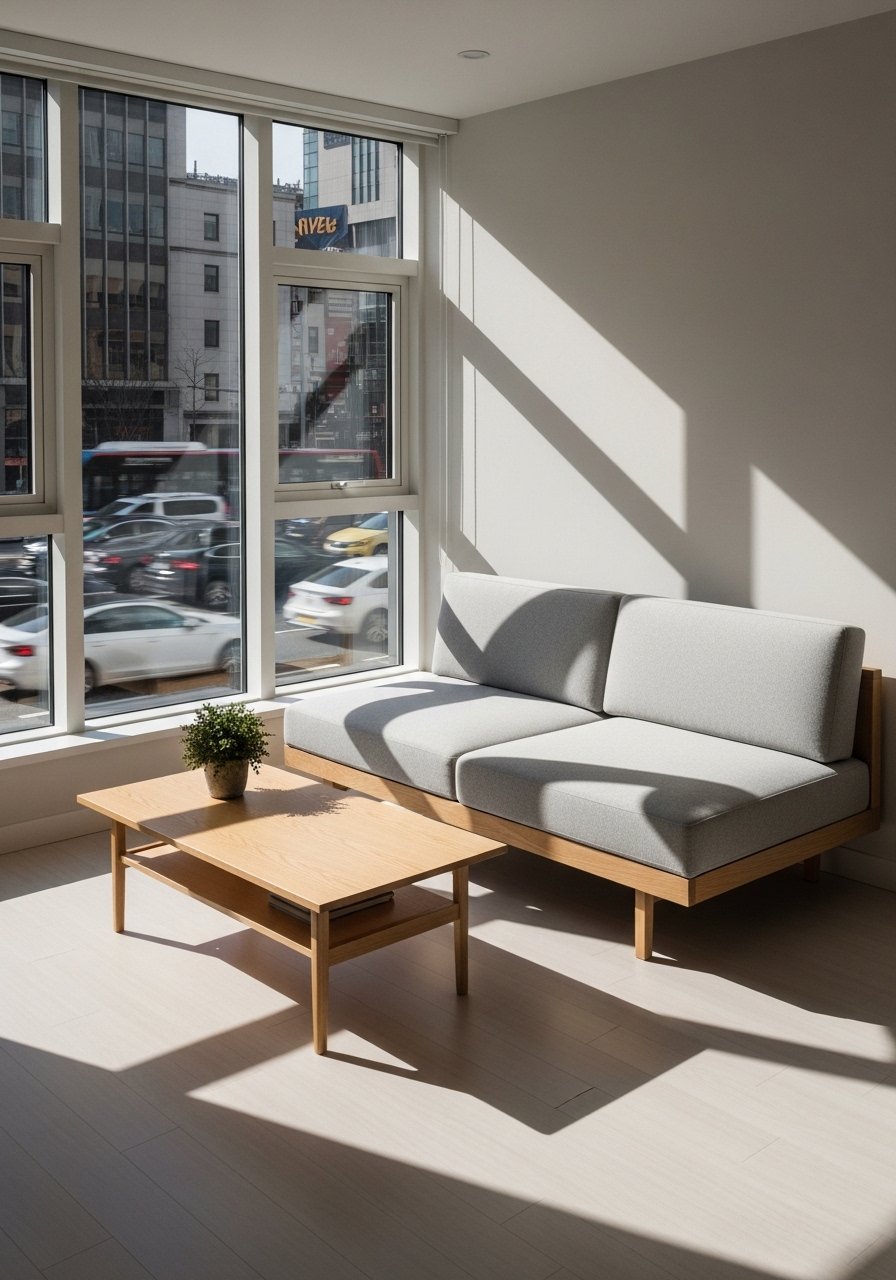
Small rooms need bold editing. Pick a scaled-down anchor like a 6-foot sofa or a loveseat and use a 5×8 rug that keeps the front legs on it. Keep vertical lines light with a tall plant rather than bulky cabinets. Use a mirror behind a lamp to double the light. Quick checklist style:
- Keep pathways at least 24 inches wide.
- Use low-profile coffee tables so sightlines stay open.
- Choose one large artwork instead of three small frames to reduce visual clutter.
What This Looks Like After a Week with Real Life
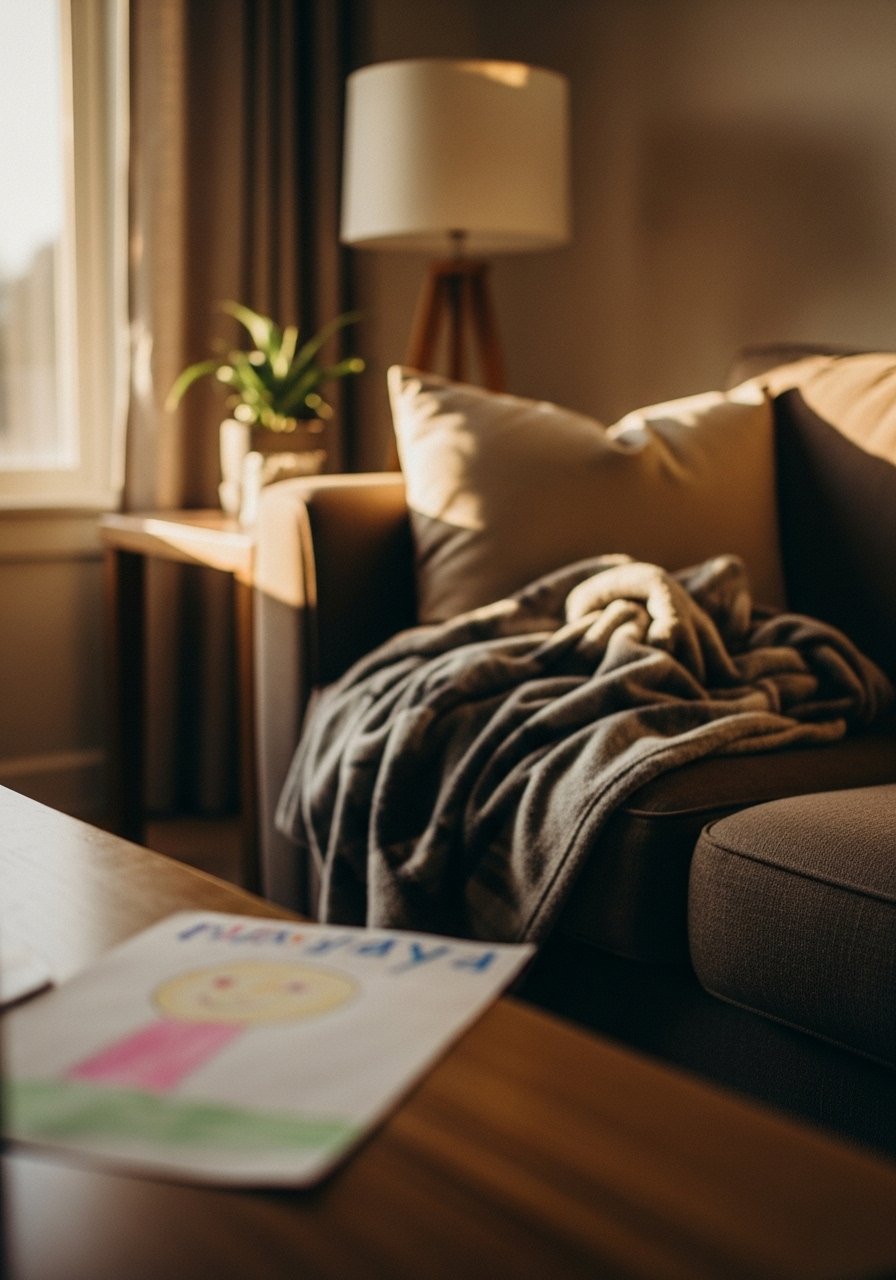
Expect small messes, shifting cushions, and a stack of daily mail. A well-styled room should still feel usable after a week. I gave up on perfectly folded throws and embraced a slightly rumpled knit. The jute rug hides tracked-in sand better than a pale wool one, which helped when my roommate tracked in garden soil. If pets are part of the household, choose heavier ceramics and a washable pillow cover. The goal is a room that invites life and hides the small evidence of it.
Start With One Corner
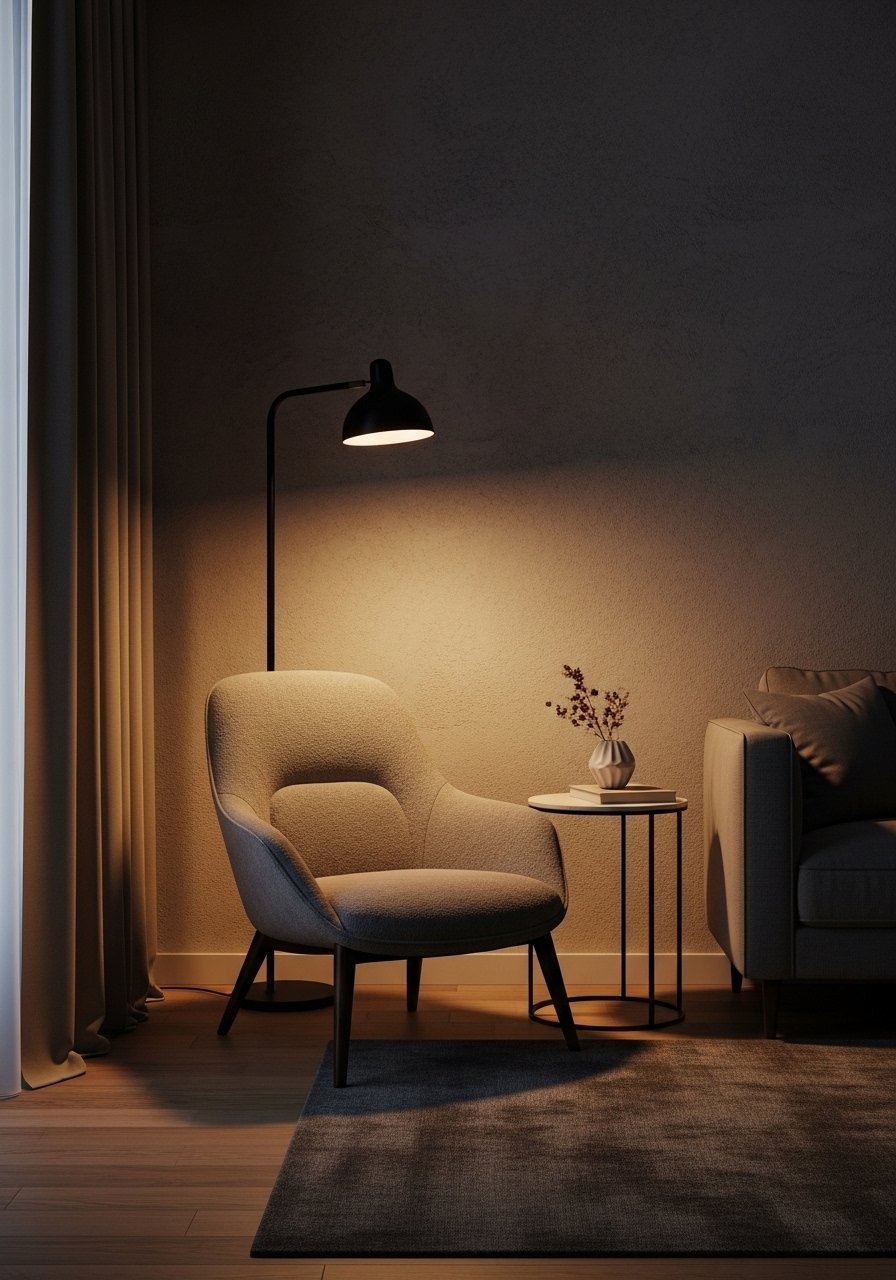
Pick one corner, one chair, one lamp, and a small rug or mat. Style that little scene using the spacing and texture ideas above. It is a low risk way to practice measurements and see how items play together.
When the corner finally felt right in my place, the rest of the room followed naturally. Trust the small test, edit ruthlessly, and let the room breathe.
