
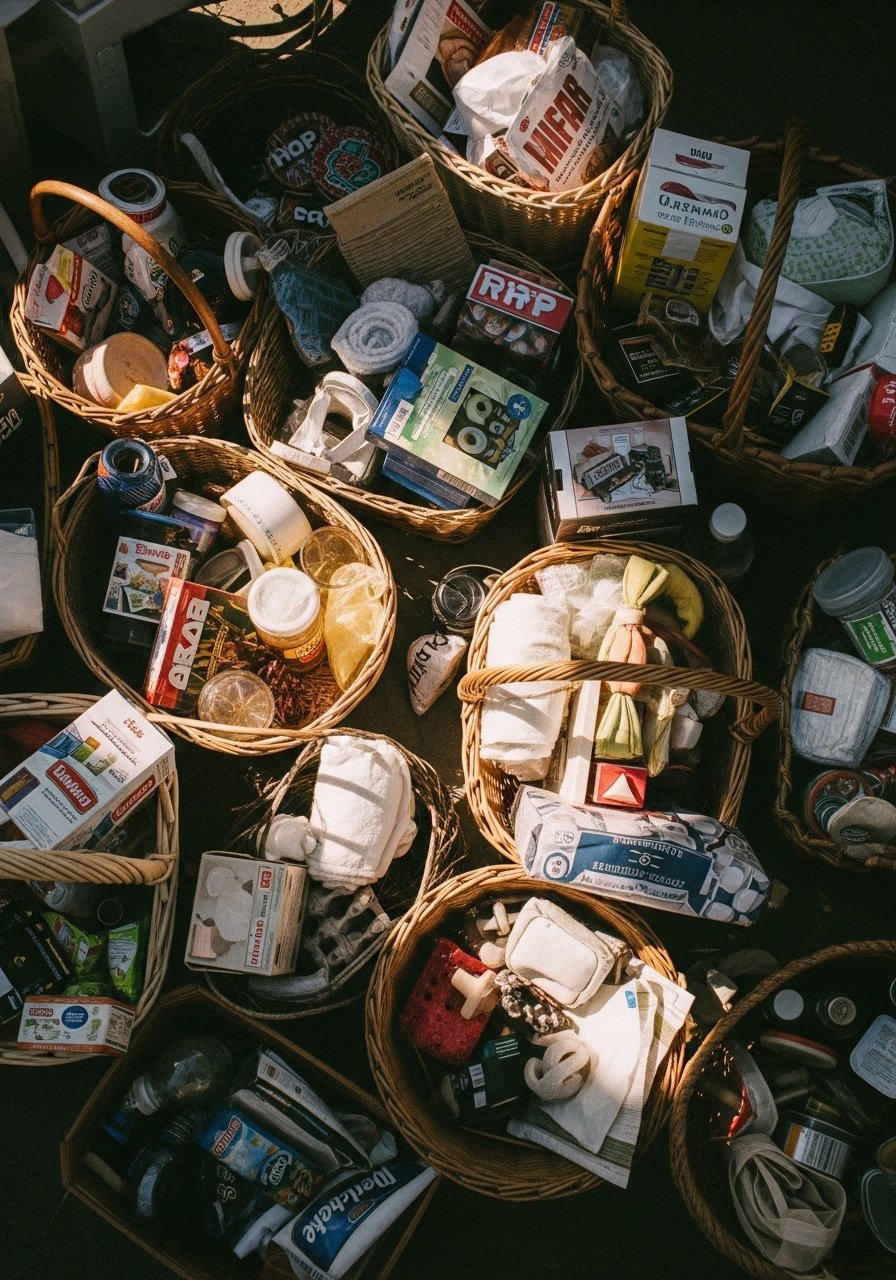
I had three baskets sitting under my console for months, all filled with random cords and unread magazines. Every time I tried to style the shelf above, something looked off. I thought more objects would fix it. Instead everything read as clutter.
After two failed attempts where I kept adding things and one poor attempt at perfect symmetry, I emptied everything and treated storage as decor. That small shift changed the whole room. What I learned is practical, messy, and repeatable. You will doubt it, you may undo it, and then you will keep the parts that actually work.
Step 1: Clear everything and sort by use
Pull everything out. Yes, every bowl, book, basket, and cable box. Lay like-with-like piles: daily items, seasonal stuff, things to donate. When I first did this, I kept too many sentimental pieces and the shelf never read calm. Let go of half the items you think you need. Measure your shelf depth and height. A common spacing I use is 12 to 14 inches between shelf surfaces when styling objects so things do not feel squashed. The result should be fewer things but clearer purpose for each container.
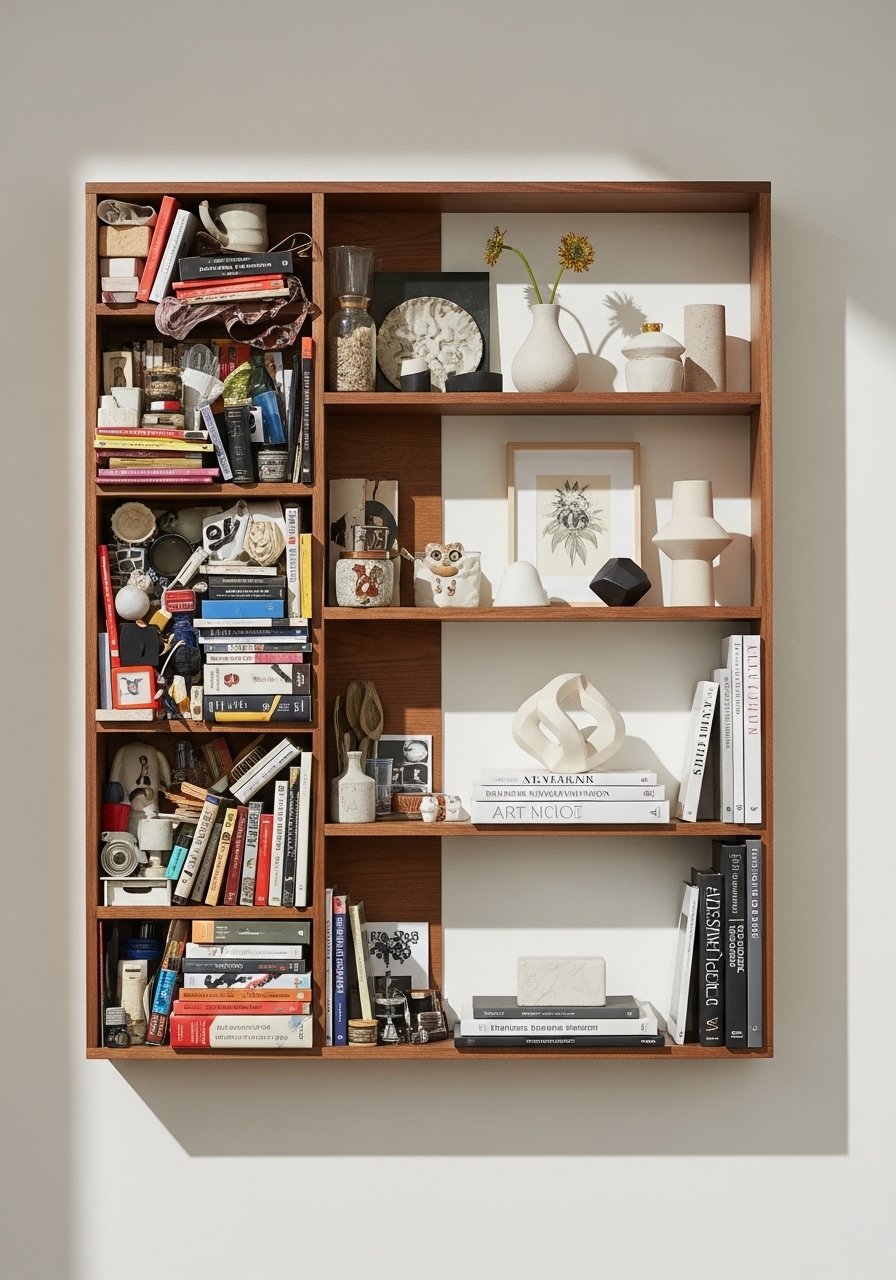
Step 2: Group in odd numbers and leave breathing room

Make small vignettes of 3 or 5 items. Odd groups read more natural than pairs. Put a stack of 2 books, a small ceramic vase, and a framed photo together. Aim for 30 to 40 percent empty space around each grouping so the eye can rest. Leave 2 to 3 inches between stacks and the edge of the shelf. My first versions had everything jammed edge to edge. This step is where it starts to look styled instead of crowded. Texture counts here, a matte ceramic feels grounded next to a glossy frame.
Step 3: Anchor with height, then soften with texture
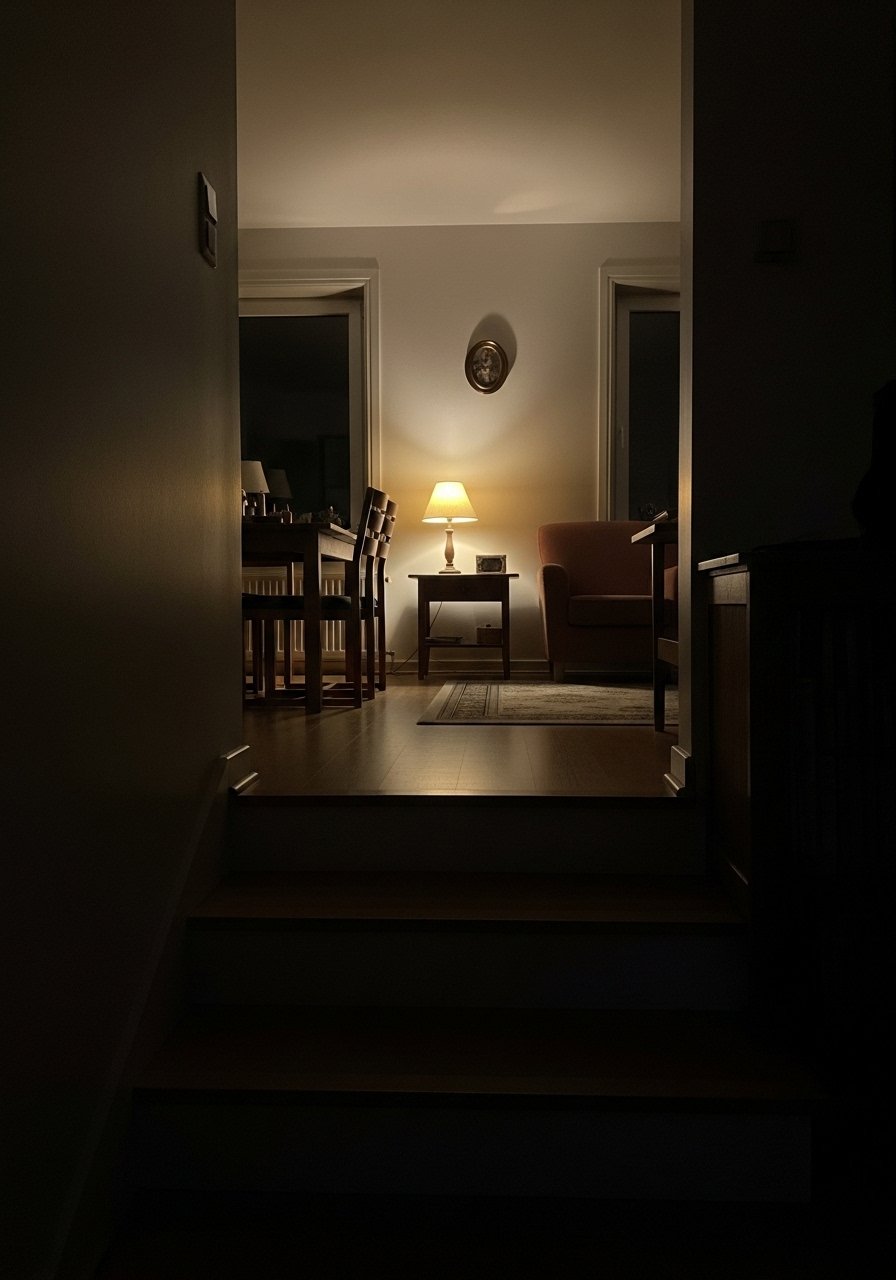
Place one tall element per shelf or vignette, roughly 1.5 times the height of a small book stack. Tall pieces give the eye somewhere to land. Then add a soft layer: a folded chunky-knit throw draped over a storage ottoman, a woven basket on the bottom shelf. I learned the hard way that too many smooth surfaces read cold. Mix in a nubby linen, a cool ceramic, and a rough jute to make the shelf feel tactile. The room should feel approachable when you reach for things, not brittle.
Step 4: Use pretty closed storage for the ugly stuff
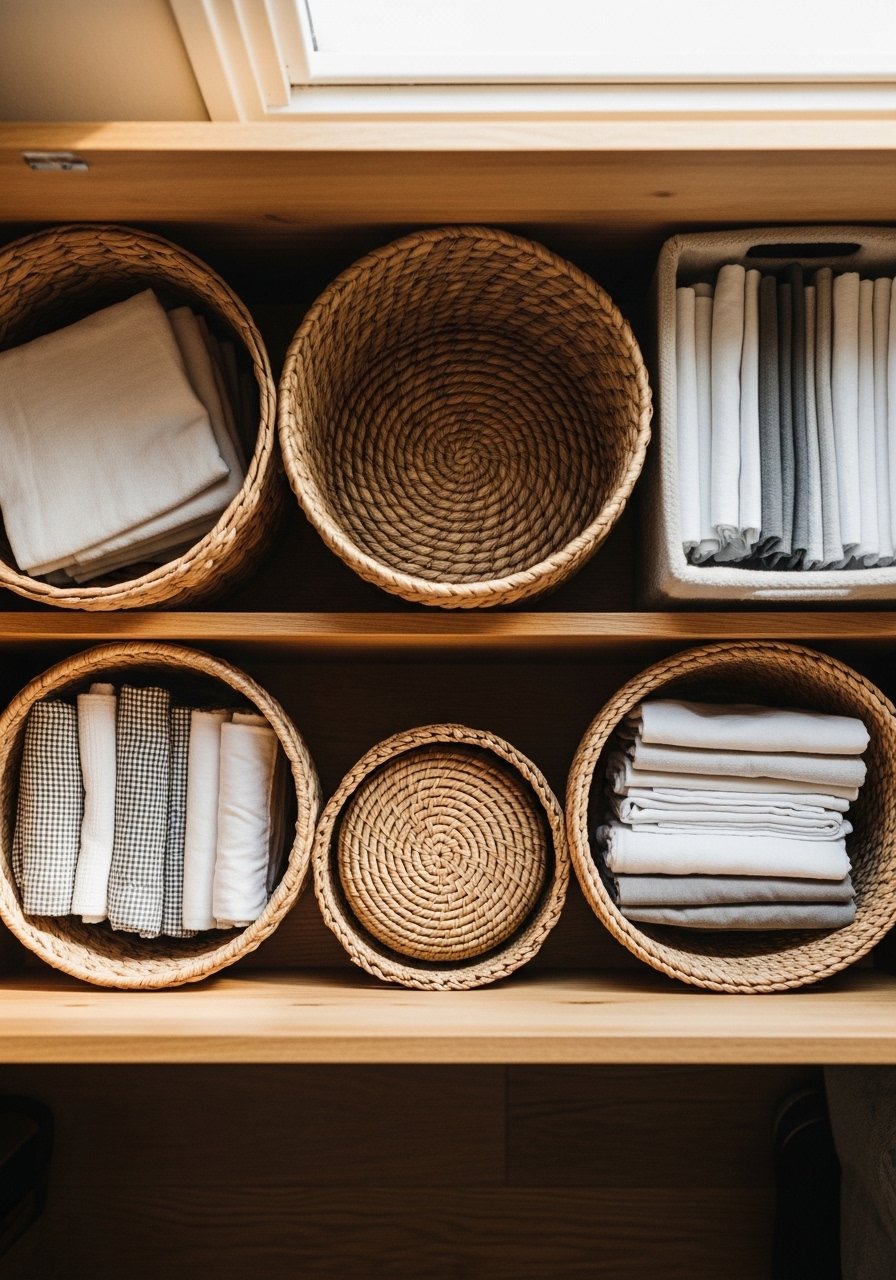
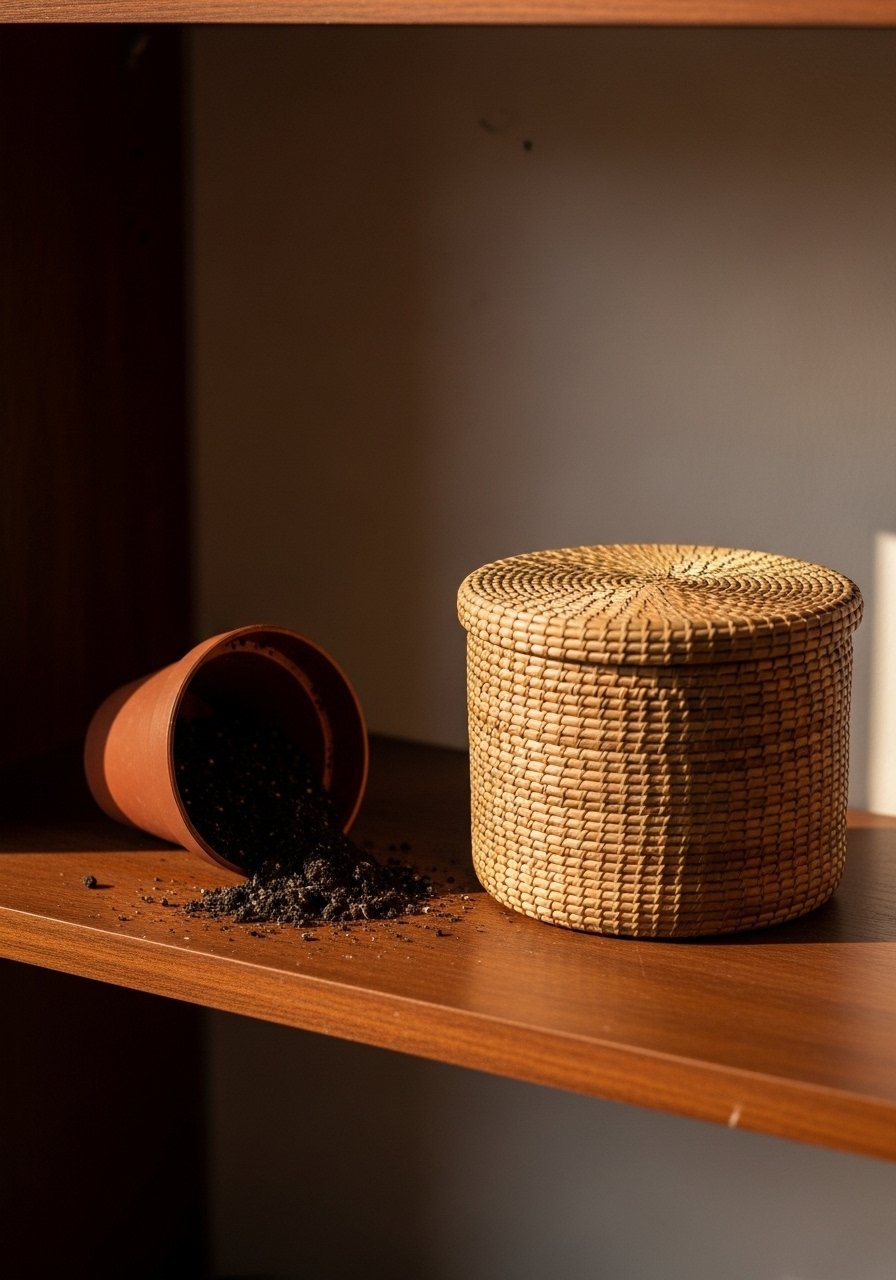
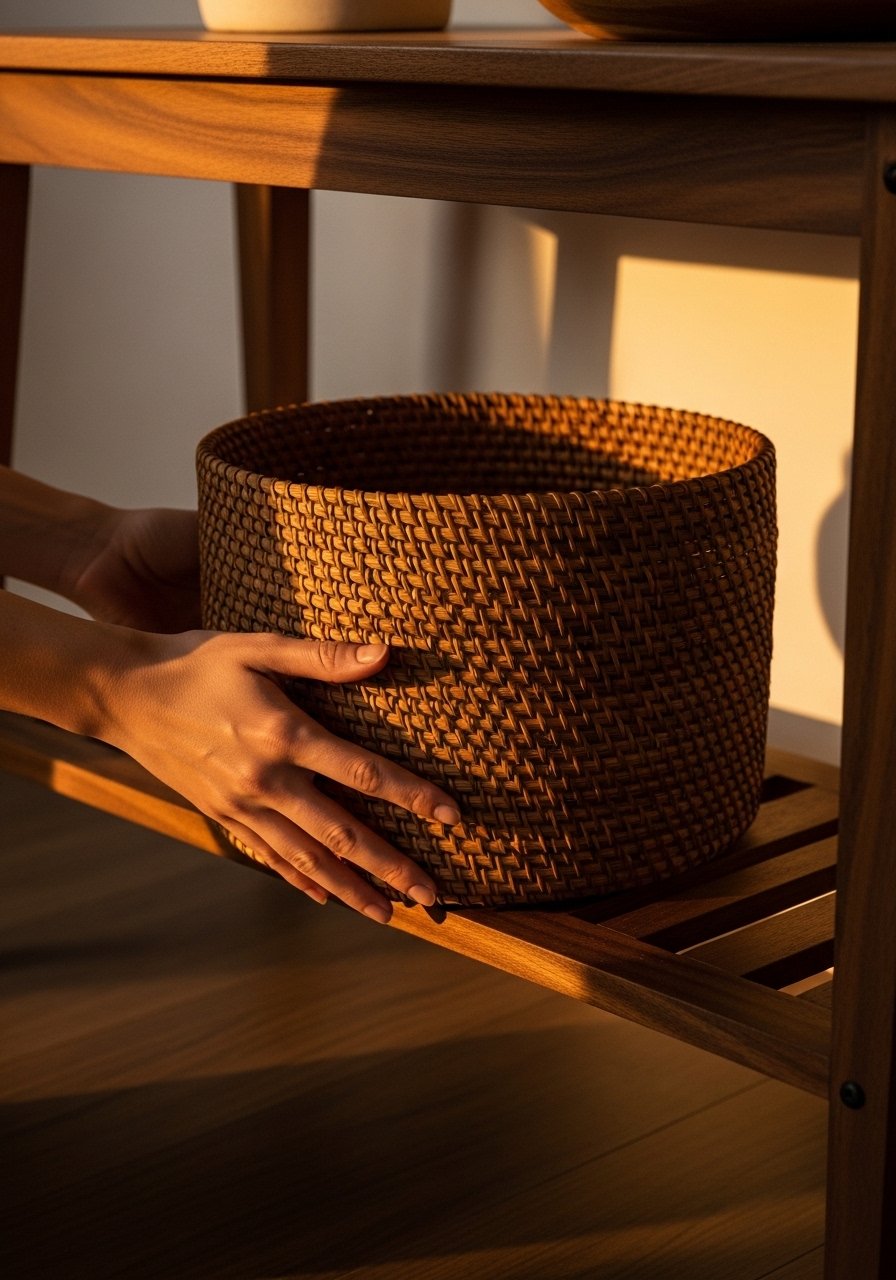
Closed storage is your secret weapon. Use woven baskets, linen bins, or an ottoman with storage to hide chargers, remotes, and kids’ toys. I once left all the remotes on display because I thought closed storage would look lazy. I was wrong. Covered storage keeps the surface calm and still counts as design when you pick material and color. Label inside bins if you need to. Balance: aim for one closed container for every two open vignettes so the shelf stays readable and functional.
Step 5: Live with it, tweak for use, then commit
Style for real life, not photos. Walk away for ten minutes, come back, and move one thing. I moved items around for a week before I stopped fiddling. Notice what you reach for daily and make that accessible. If you have pets, keep low open shelves clear or add heavy objects to prevent tipping. A small clear acrylic box works great for tiny items like keys and hardware. After seven days you will know which basket should go to the closet and which vase actually gets admired.
What to Grab for Your Aesthetic Storage

- Chunky knit throw in oatmeal, 50×60 ($40-65). I keep one on the arm of every sofa, used in Step 3 for texture.
- Jute area rug, 8×10 ($90-160). Grounding texture that pairs with woven baskets from Step 4.
- Bamboo storage baskets, large set of 2 ($30-50). Stash the ugly stuff, referenced in Steps 1 and 4.
- Storage ottoman with lift lid, linen, 36-inch ($120-220). Doubles as seating and hidden storage, used in Steps 3 and 4.
- Ceramic vase set, matte white ($25-40). For height anchors in Step 3.
- Acrylic catchall box, 9×6 ($12-20). For keys and small things in Step 5.
- Linen storage bins, collapsible, 12×12 ($18-30). Neutral closed storage, used in Step 4.
- Brass picture ledges, 24-inch ($18-30). For leaning art above storage surfaces, mentioned in Step 2.
Why Your Shelves Still Look Cluttered After Styling
Mostly it is too much of the same thing. Too many books, all vertical and close together, read like a block. Or you have no closed storage so every small object competes visually. Quick fixes: switch every third book to horizontal, leave 30 to 40 percent of the shelf empty, and add one fabric or woven piece. I ignored scale at first, choosing small vases for wide shelves. Pick a piece about two thirds of the shelf height to anchor the composition and the rest will fall into place.
Making This Work in a Small Room
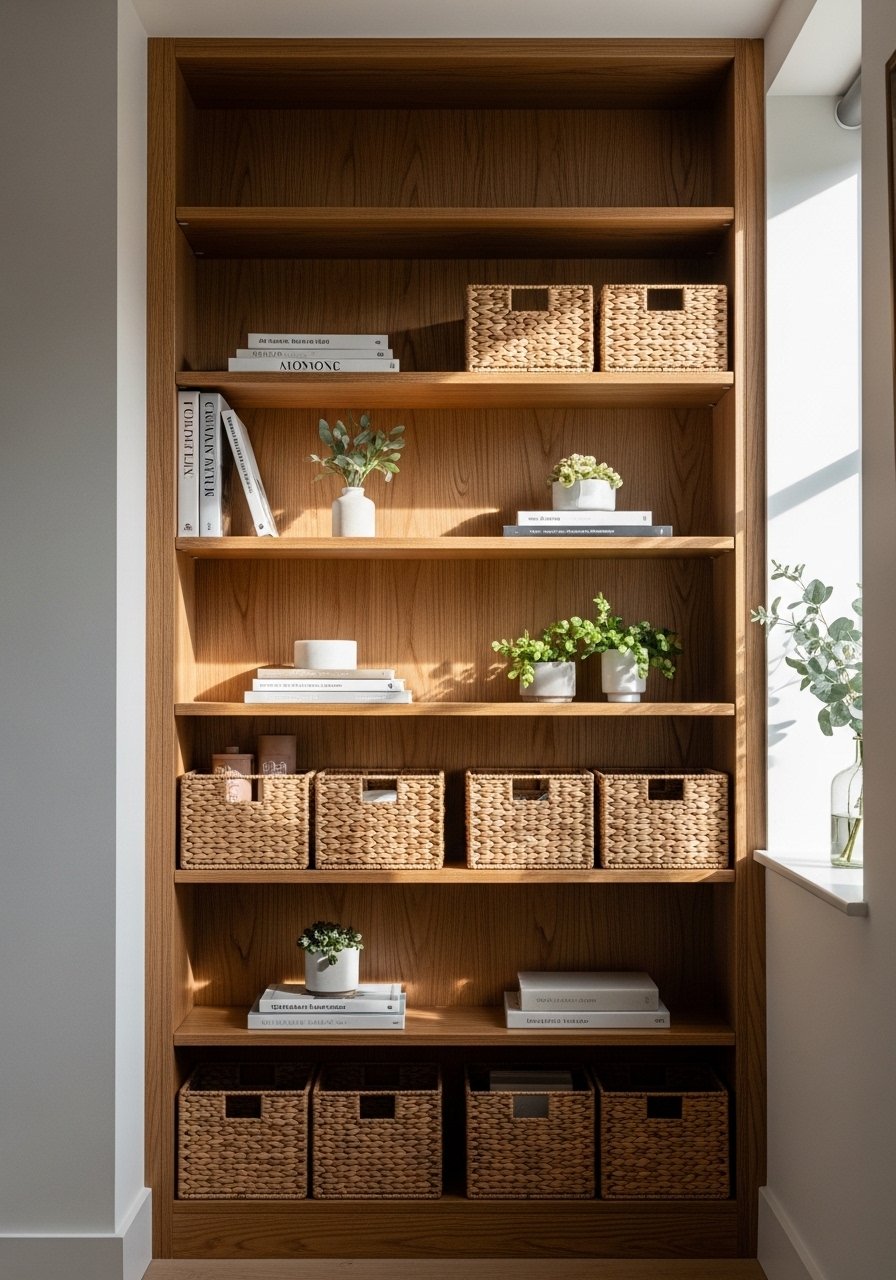
You do less, not more. In tight spaces use shallower shelves and taller items to draw the eye up. Swap a large area rug for a 5×8 jute runner to keep the floor from feeling heavy. Keep one visible, functional surface for daily use and tuck extras in ottomans or baskets. A rule I like is one closed container for every two open displays. My first attempt in a studio was overstuffed. After paring down, the room felt twice as big and twice as comfortable.
What This Looks Like After a Week with Kids and a Dog
Expect chaos and design around it. The top shelves will stay tidy, the low ones will not. Put fragile or decorative items out of reach and reserve the bottom shelf for durable baskets. I learned to place a heavier basket on the floor beneath open shelves so the dog’s tail does not send everything flying. After a week you will want to move one shelf lower or swap a basket for a bin with a lid. That tweak is normal and part of making the storage actually work.
Start with One Basket
Begin with one well-chosen container. Buy a basket in a neutral material like bamboo or jute, put the obvious clutter inside, and style a single shelf above it. That small change buys you clarity and courage to keep going. When I started that way, I stopped fiddling and actually used the storage. Your room will feel more intentional and more comfortable in a few small edits.
