
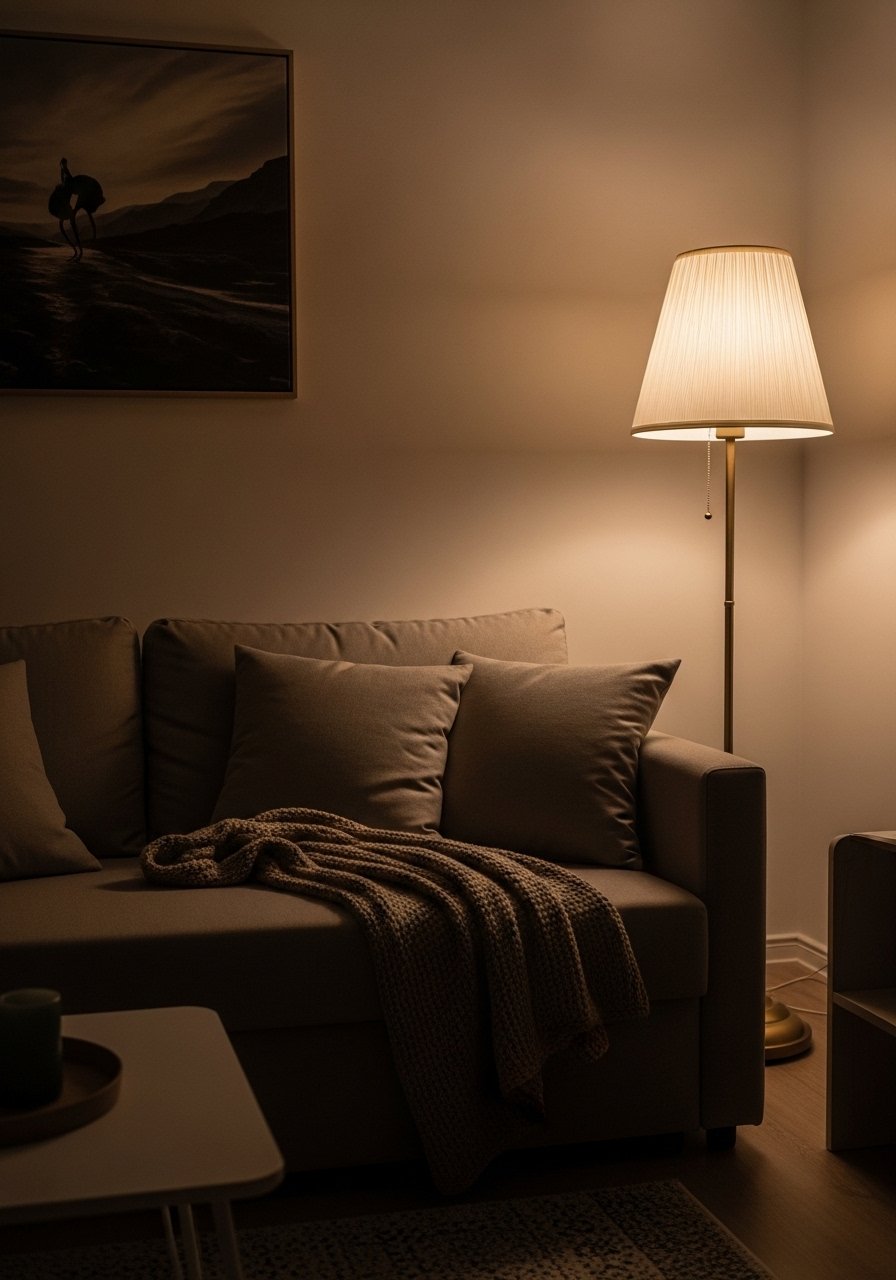
I used to think more pillows meant more comfort. Instead my sofa looked like a pillow barricade and the room felt crowded. I kept adding throws and swapping rugs, but nothing read as intentional. The moment that clicked for me was when I pulled every textile off the sofa, stood in the doorway, and realized the problem was scale and placement, not the pieces themselves.
I messed this up the first two weekends. My first layered attempt had matched textures and no contrast. The second had too many patterns. The third time I stopped aiming for perfect symmetry and started layering by weight, size, and how things feel to touch. It changed the whole room.
Step 1: Pick the rug and treat it like the base layer
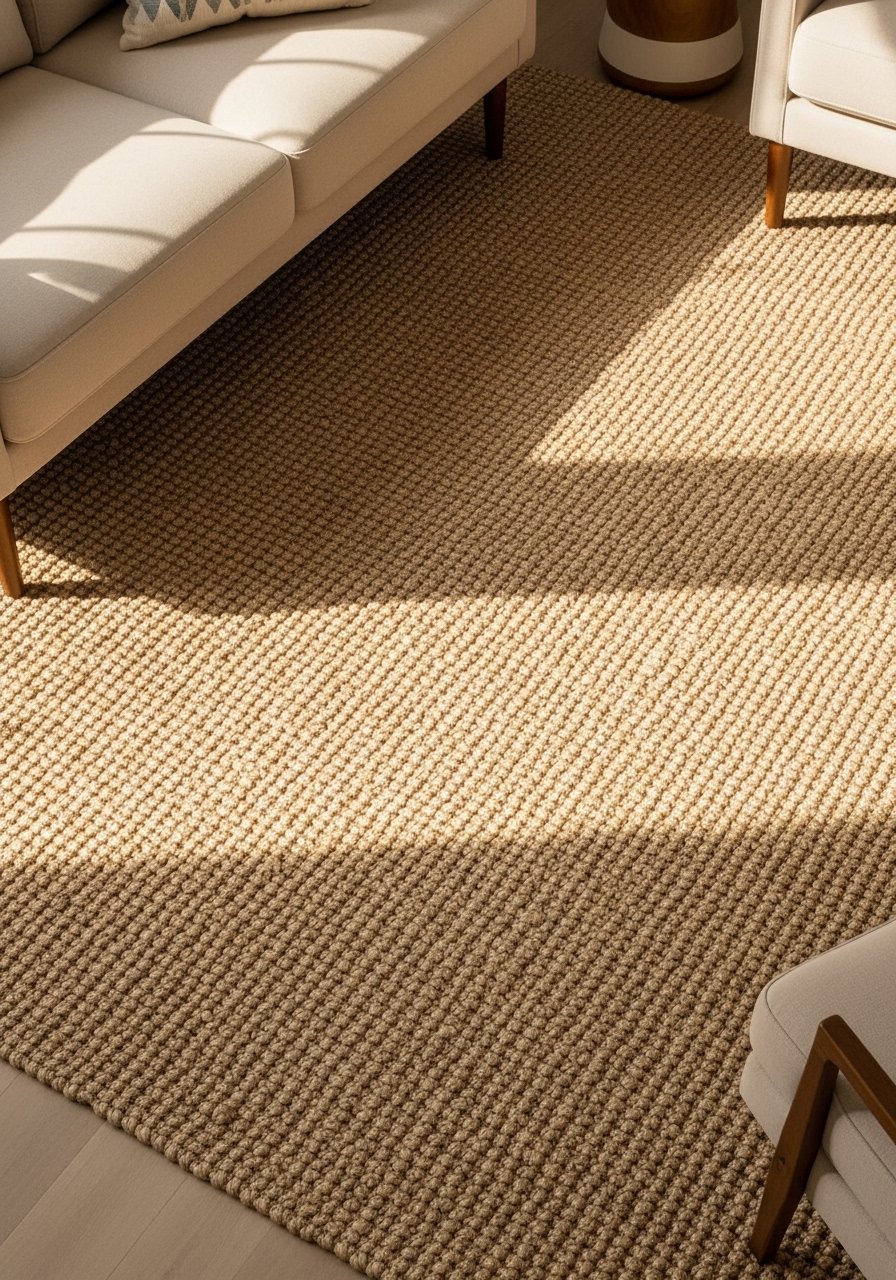
Start by choosing the rug that will sit under your seating. For a living area aim for an 8×10 so at least the front legs of the sofa and chairs sit on it, or leave 18 to 24 inches of exposed floor around the edges if you want the rug smaller. That one choice sets the room's scale and tells other textiles how big to be.
The first time I ignored the rug, pillows felt too small and the room looked chopped up. A jute rug brings rough, scratchy texture underfoot that grounds the space, while a wool rug reads softer and warmer. Once the rug is right, everything else layers more easily.
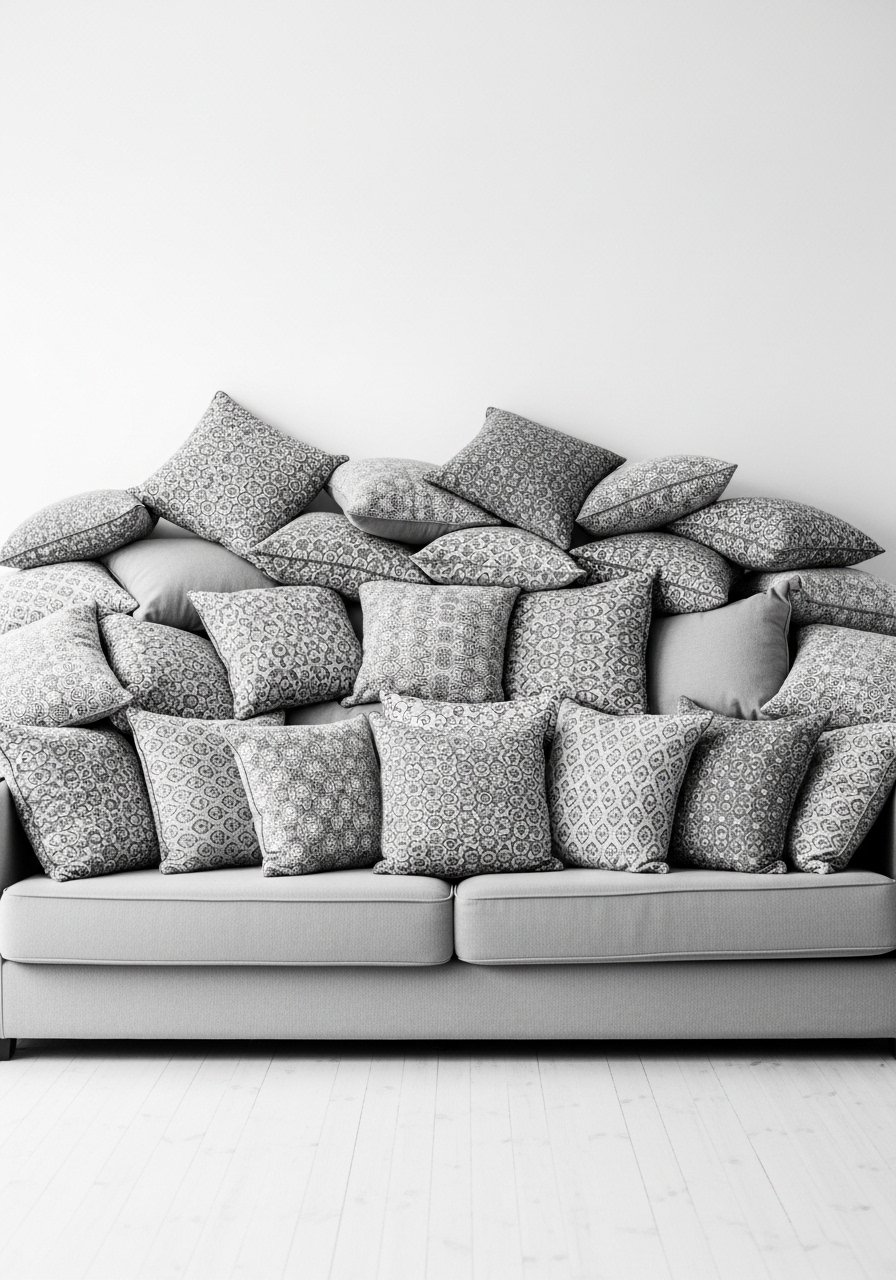
Step 2: Layer sofa pillows by size, not by number
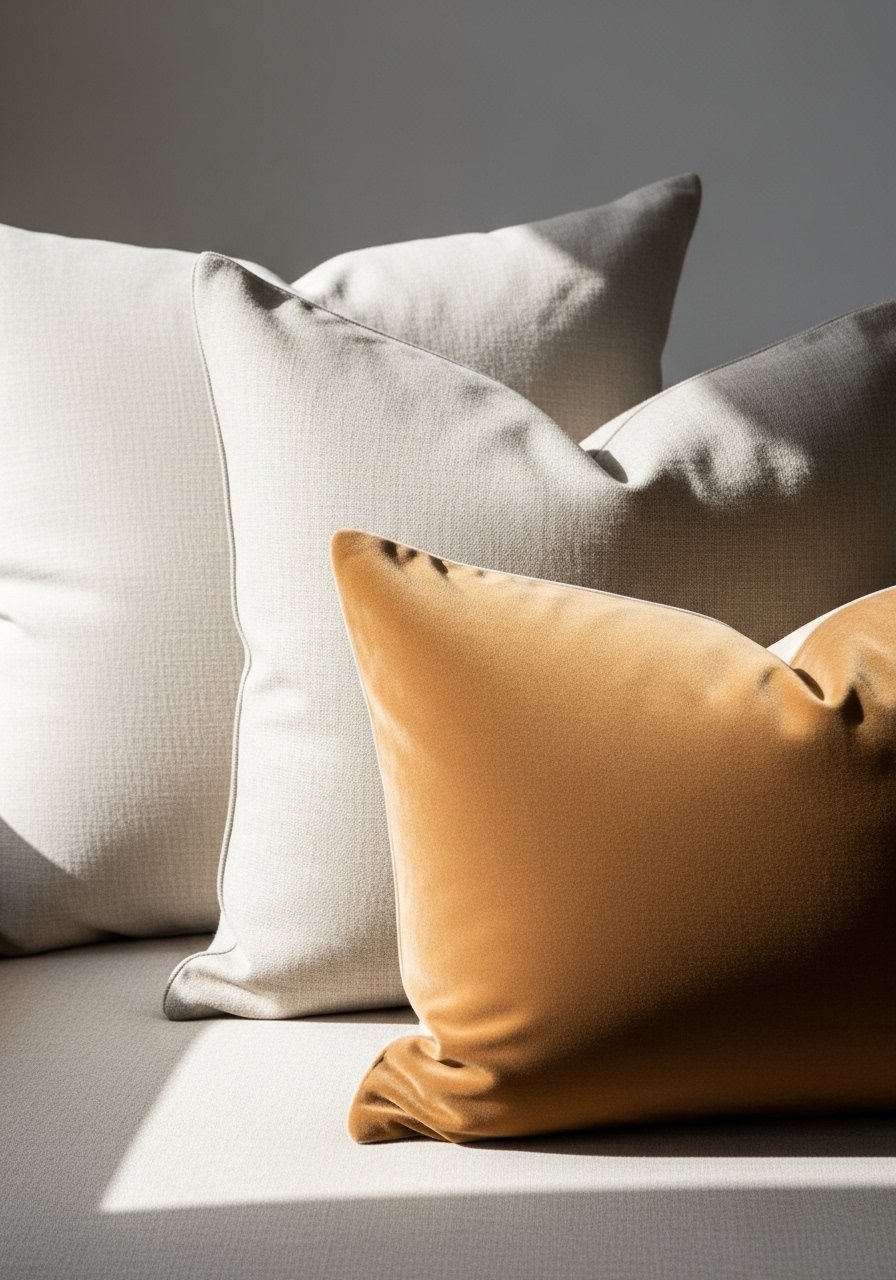
Most people pile identical square pillows until the sofa looks like a quilt. Try a simple ratio instead. Use one large square pillow at 26×26 for 60 percent of the visual weight, one medium 20×20 for 30 percent, and a lumbar 12×20 for the remaining 10 percent. That 60/30/10 split gives the eye a place to rest.
I learned this the hard way. My first setup had six same-size pillows and zero personality. The large pillow should be soft and slouchy, linen or washed cotton feels cool to the touch. The lumbar adds support and a contrasting texture. If you need fewer pillows, keep the ratio and drop the mid piece rather than the large.
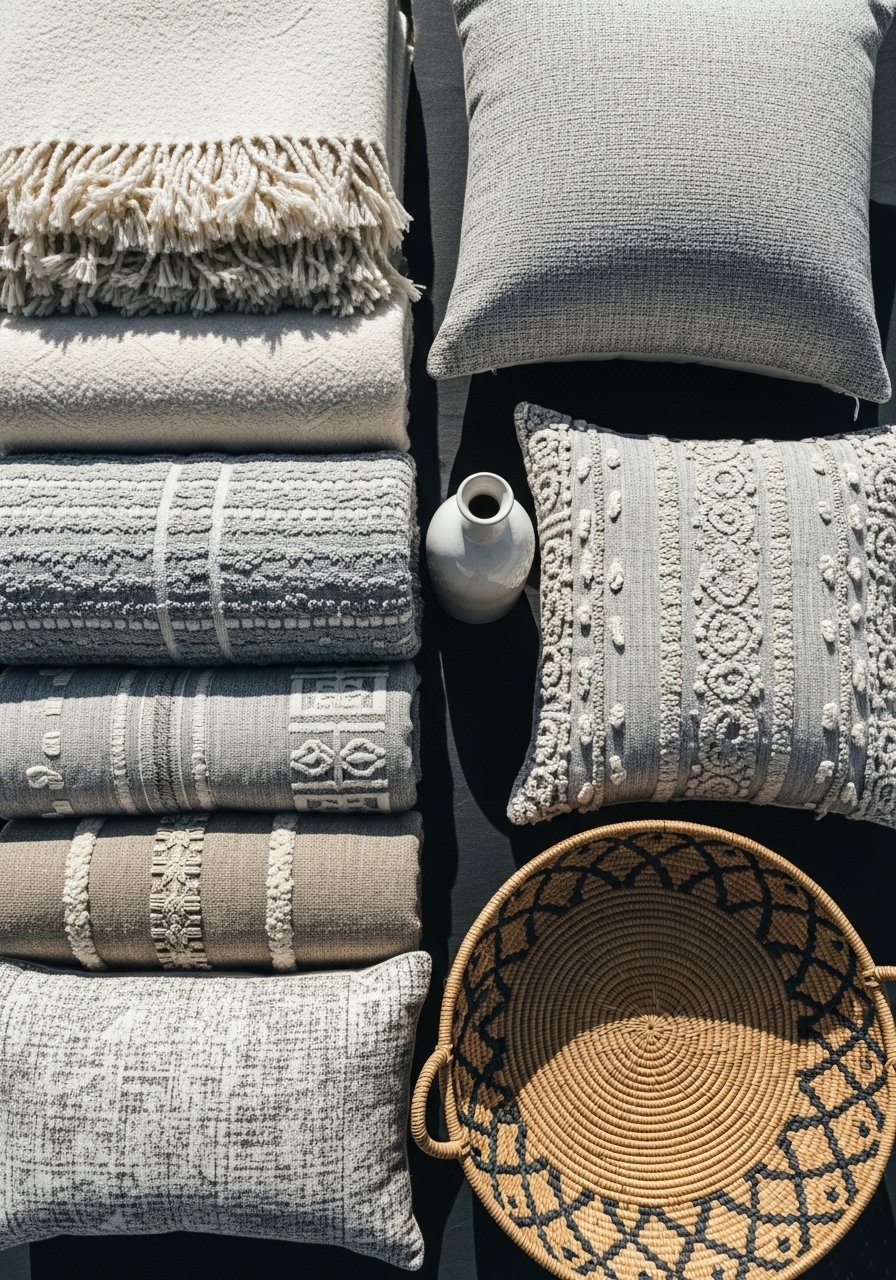
Step 3: Mix textures and pattern scales so your room reads layered, not noisy
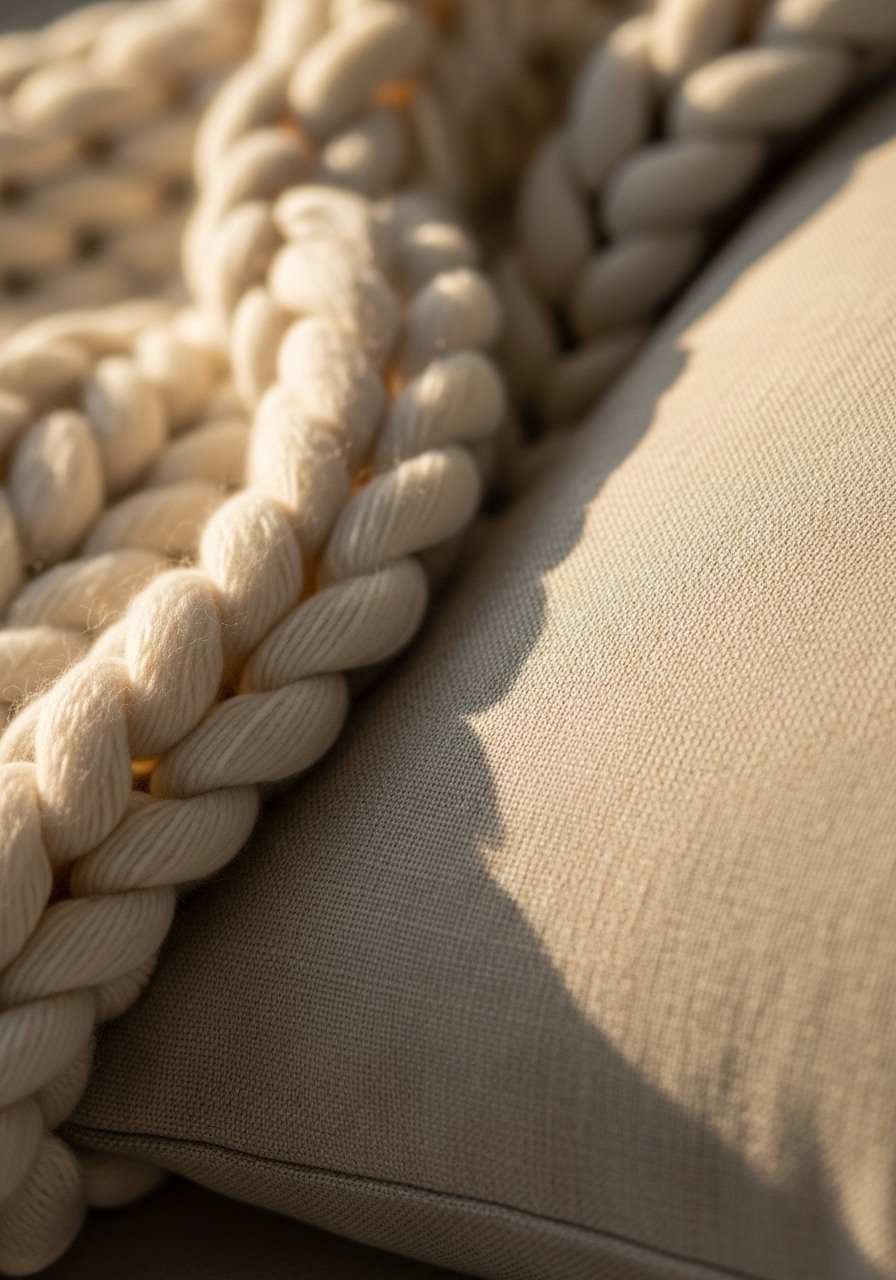
You want three to four distinct textures in a seating area. Combine a nubby boucle pillow, a smooth linen cover, a velvet lumbar, and a chunky knit throw. The chunky knit is heavy in your hands and catches crumbs, so I only use it on an armchair. A velvet pillow feels cool, then warm as you sit. Vary pattern scale too. Pair one large-scale geometric with a small-scale stripe and a solid to keep things calm.
One mistake I made was using three patterned pillows all the same scale. That reads messy. Swap one patterned piece for a neutral texture and the whole grouping breathes.
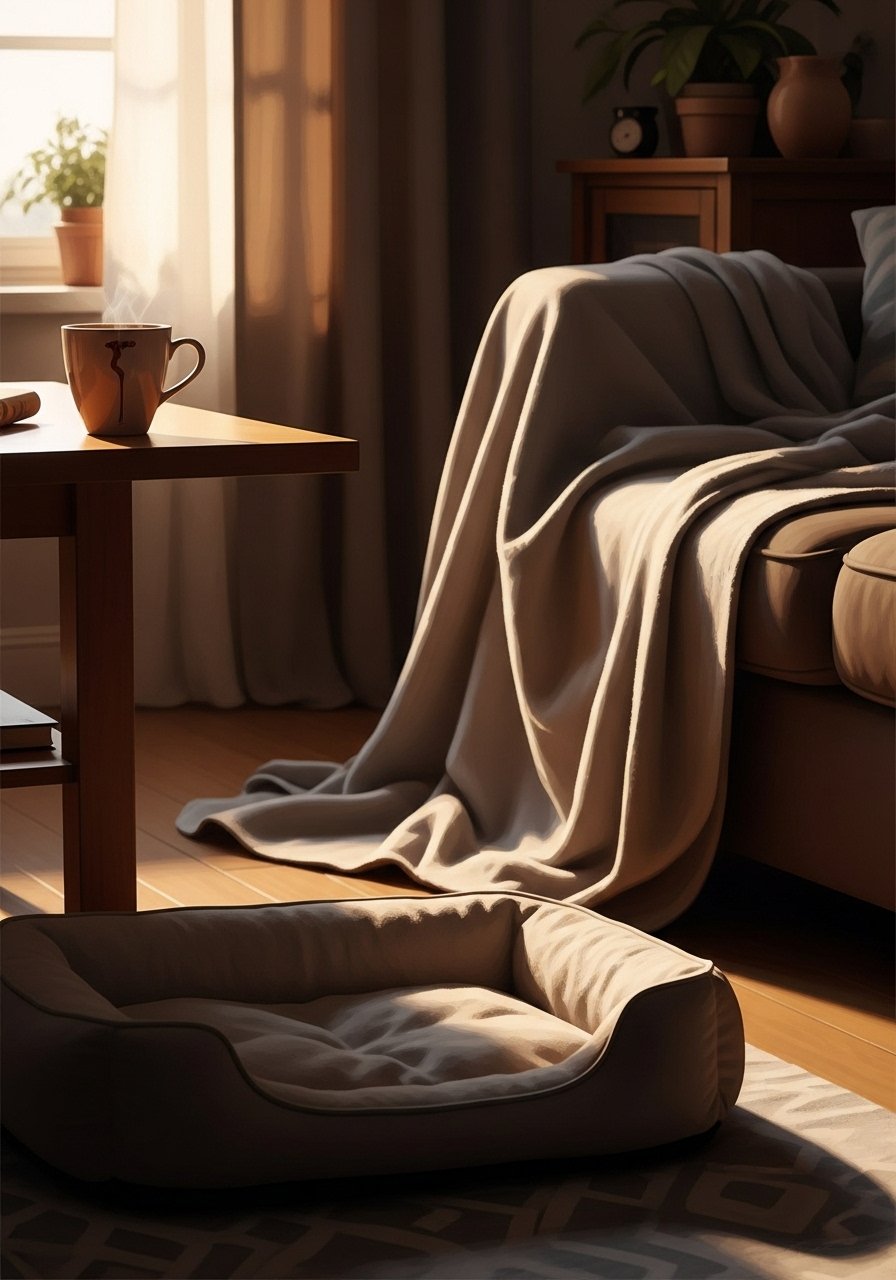
Step 4: Anchor corners and surfaces with throws, baskets, and tall accents
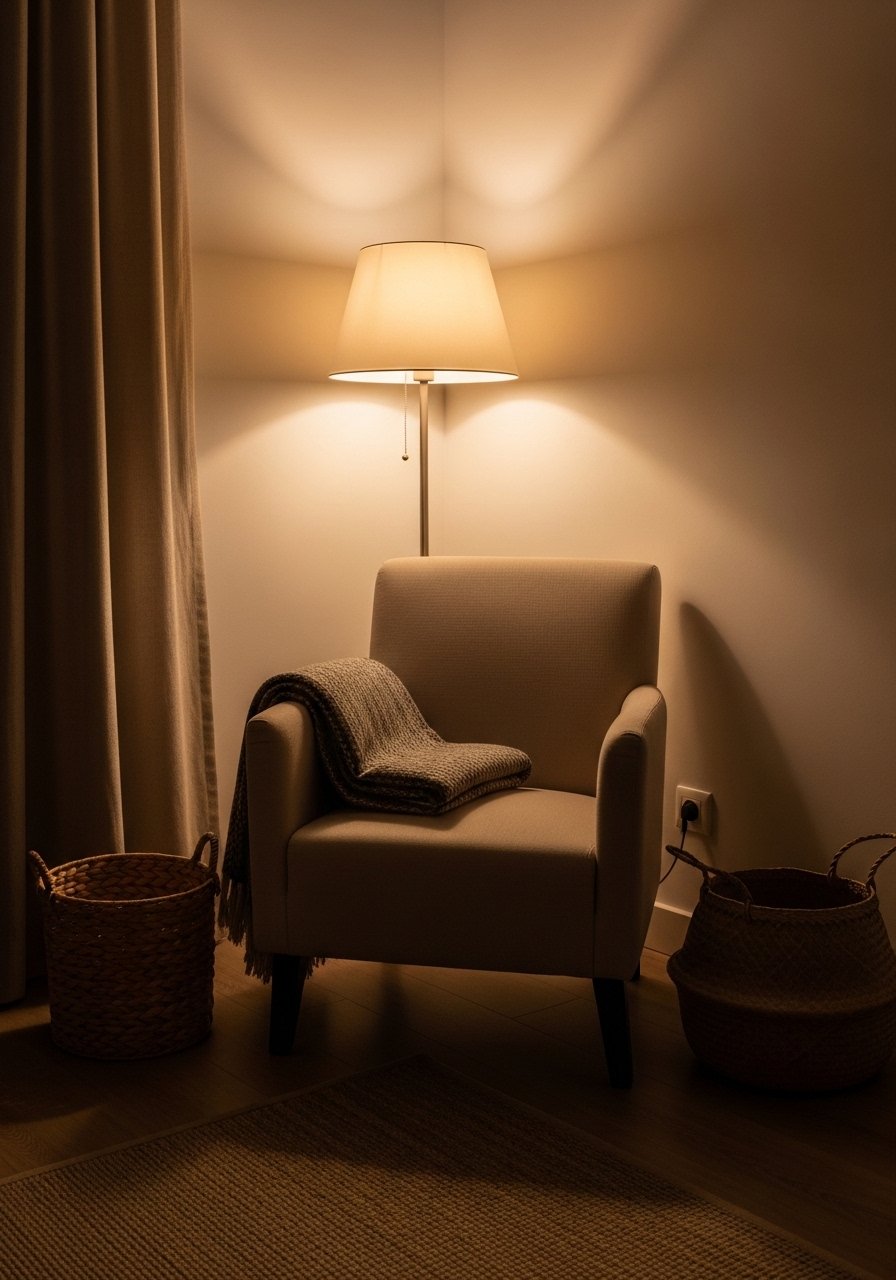
Balance the seating cluster by placing throws on opposite sides or in a basket. Fold a 50×60 throw over an arm so the tail drops about 12 inches to show the weave. A woven seagrass basket holds extra throws and feels sturdy to move. Add height with a ceramic vase set on a console or coffee table, 10 to 14 inches tall, to catch the eye upward.
I almost skipped buying a basket and then my roommate knocked a throw onto the floor twice. Keeping a dedicated spot for extra textiles keeps the room tidy and makes the layers feel deliberate instead of chaotic.
Step 5: Live with the layers, then edit like a photographer
After styling, step away and live with it for a few days. Textiles settle, cushions sink, and you notice what actually gets used. I edit by removing one pillow or swapping a heavy knit for a lighter cotton throw for warmer months. Think in odd numbers when grouping items, and aim for three to four textures in the main seating area.
This step used to frustrate me. I wanted the photo-ready version immediately. Now I accept small tweaks. The room feels more relaxed once you accept that the first arrangement is rarely the final one.
Everything You Need for a Layered Textiles Refresh
- Chunky knit throw in oatmeal, 50×60 ($40-65). Use on a chair in Step 4. It has real weight and texture.
- Linen pillow covers, 20×20, sage green ($20-35). Step 2 pairs these with a velvet lumbar.
- Velvet lumbar pillow, 12×20, rust ($18-30). Adds a cool-to-warm touch on the sofa in Step 2.
- Jute area rug, 8×10 natural ($90-160). Sets the base layer in Step 1. Similar options at Target.
- Ceramic vase set, matte white, 10-14 inches ($25-40). For Step 4 height on a console.
- Boucle accent pillow, 18×18 cream ($22-40). A nubby texture described in Step 3. Note, boucle traps crumbs.
- Woven seagrass basket, medium 15×12 ($20-35). Keeps extra throws where guests can grab them in Step 4.
- Cotton lightweight throw, 50×60, stone ($25-45). Swap this for the chunky knit in warmer months, mentioned in Step 5.
Why Your Layers Keep Looking Busy
If your layered look feels cluttered, you are probably repeating the same texture or pattern scale. Fix that by ensuring at least one solid, one small-scale pattern, and one textured neutral are present. Also watch color pressure. Too many bright tones in a small area reads chaotic. I used to pile bold cushions together thinking more color would help. It made the sofa feel loud. Pick one dominant color, a supporting tone, and a neutral to ground everything. Leave breathing room on the sofa, an empty square foot at the edge helps.
Making This Work in a Small Room
Small rooms need smaller elements. Use an 5×8 rug or leave 8 to 12 inches of exposed floor around the edges. Drop pillow sizes to 18×18 and 14×20 for lumbar. Limit textures to two or three so the space does not read busy. Put a single throw on a chair rather than multiple on the sofa. If storage is tight, a woven basket that tucks under a console holds a bulky knit without crowding the floor. These tweaks keep the layered look but keep the room breathing.
What the Room Looks Like After a Week with Real Life
After a few days your textiles will settle and show where people actually sit. You will notice a pillow that never gets used or a throw that always falls. I rotate the most used pillow to a lesser spot so wear evens out. For homes with pets, choose washable covers or durable weaves for frequently used spots. Expect to re-tuck and rotate weekly until you find the rhythm. My living room looks a bit slouchy now. It feels comfortable and used, which is the point.
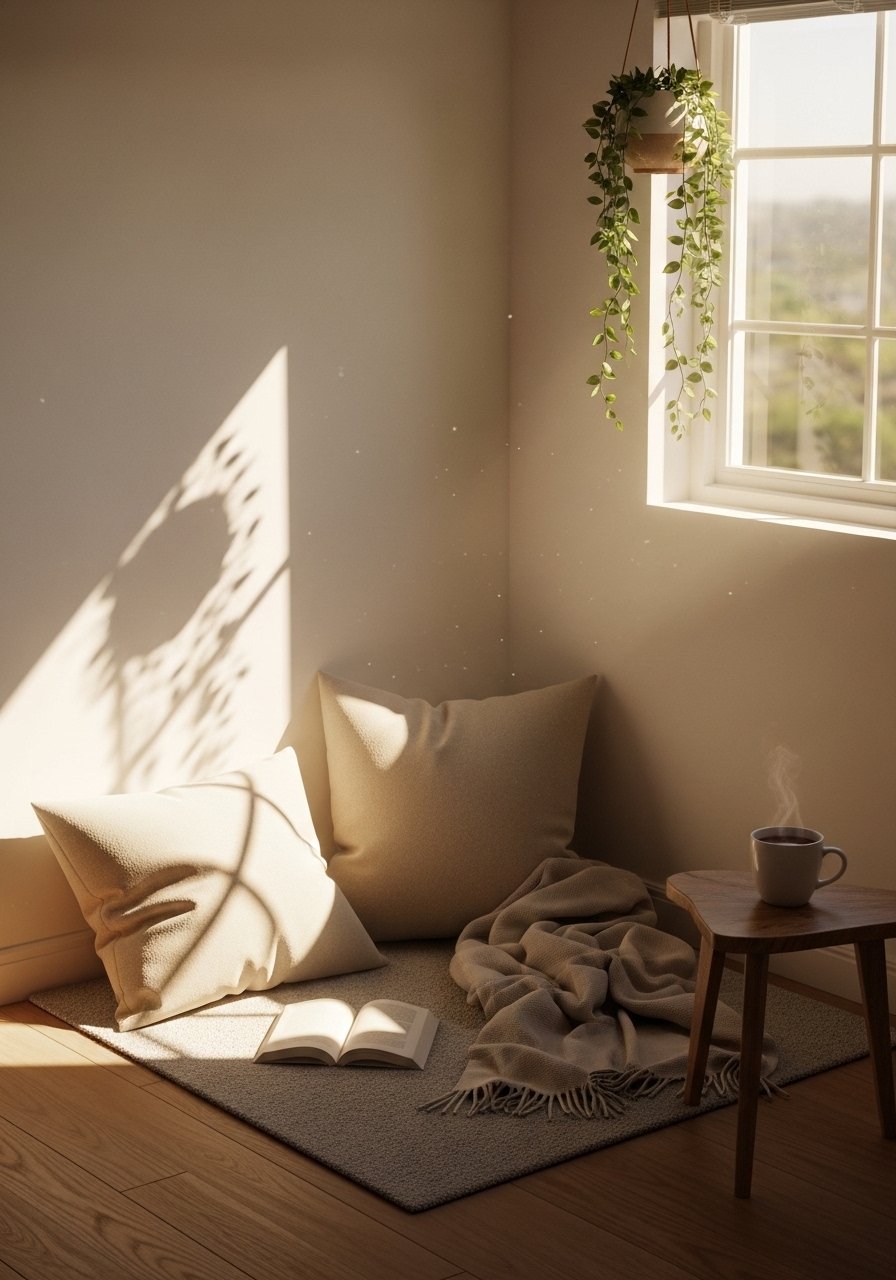
Start with One Corner
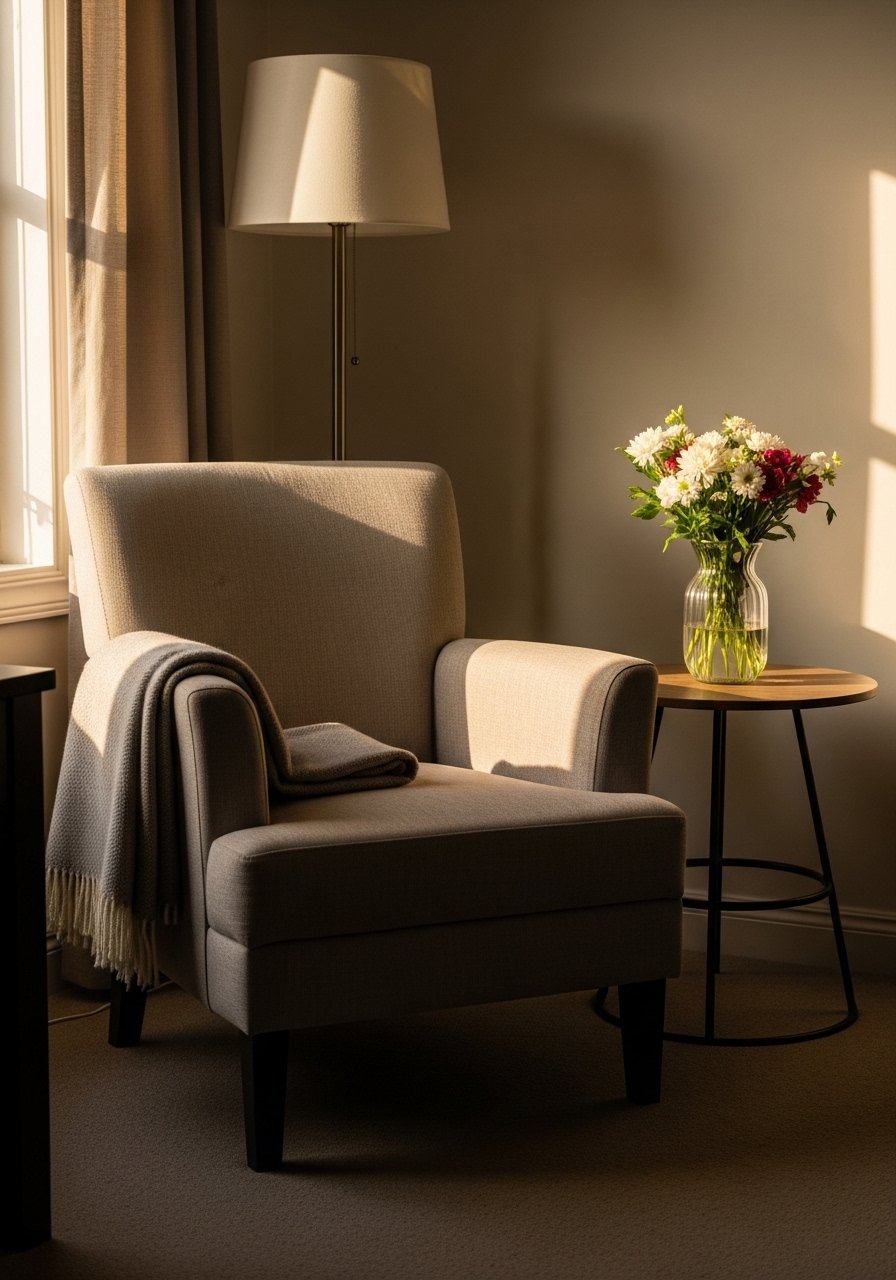
If this feels like a lot, pick one corner and layer there first. Add the 50×60 throw to a chair, one linen pillow and one lumbar, then step back. That single experiment will show the balance between texture, weight, and color and give you confidence to move around the room.
I started by changing one armchair and within a week tackled the whole seating area. Small edits like folding a throw differently or swapping a pillow are low commitment and tell you how the room wants to live. Trust that the right layer usually looks relaxed, not perfect.
