
I had a blank wall that made the whole room feel unfinished. I taped a few long strips of washi on the wall, stuck a couple of mismatched decals up, and lived with a weird, half-finished look for two weeks. Every attempt looked either too busy or too timid.
What finally clicked was measuring and treating the sticker like a piece of art, not an afterthought. Once I learned the right scale and how to handle the vinyl, the wall felt anchored. My first try had visible bubbles and one corner peeling after a week. I learned to prep, smooth, and then step back.
Step 1: Map the placement so the sticker reads like part of the room
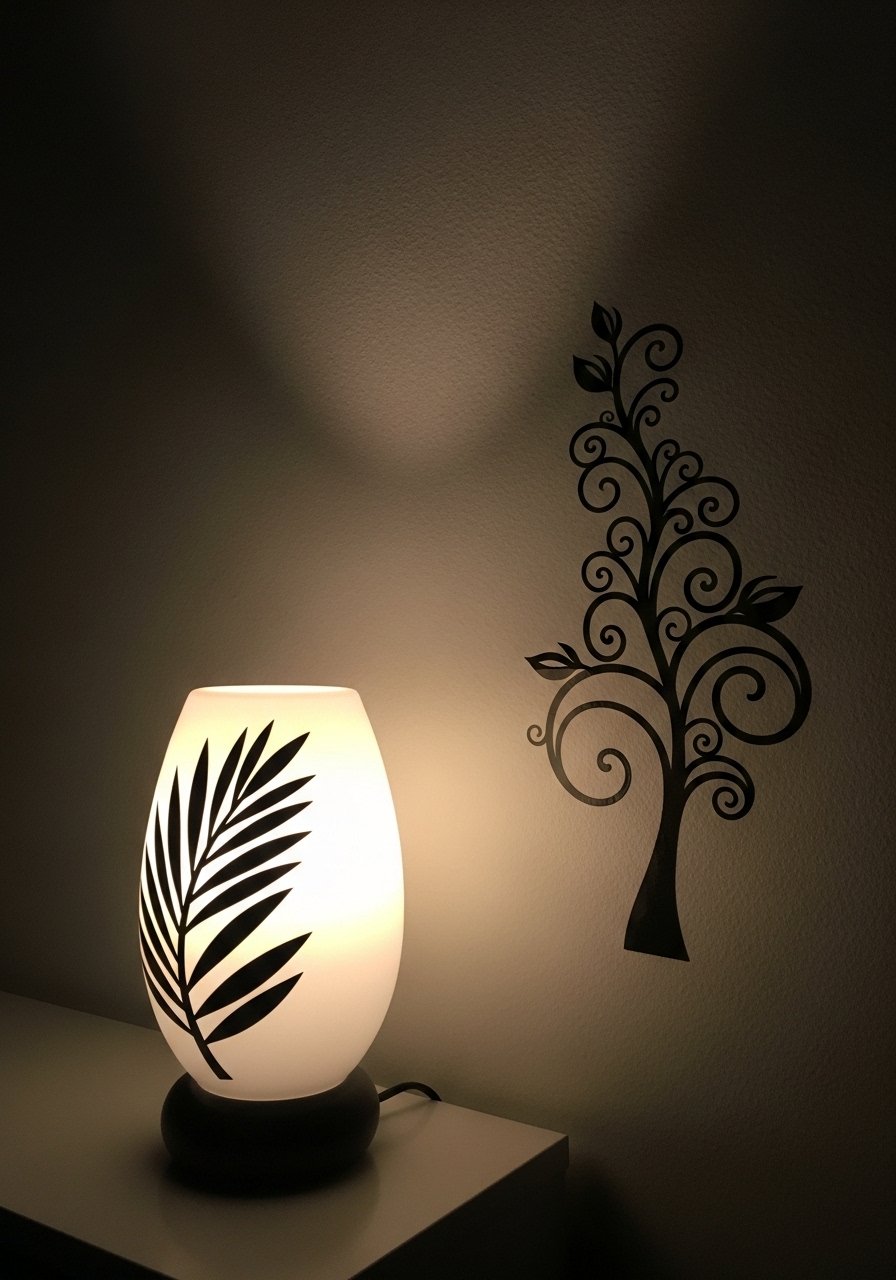
Start by measuring the furniture nearest the wall. If the sticker goes above a sofa or bed, make it roughly two thirds of the furniture width. For example, a 84-inch sofa pairs best with a decal about 56 inches wide. Mark the center point at about 57 to 60 inches from the floor for the sticker's main eye line. That one number made a huge difference for me. It stopped the wall from looking top-heavy or orphaned.
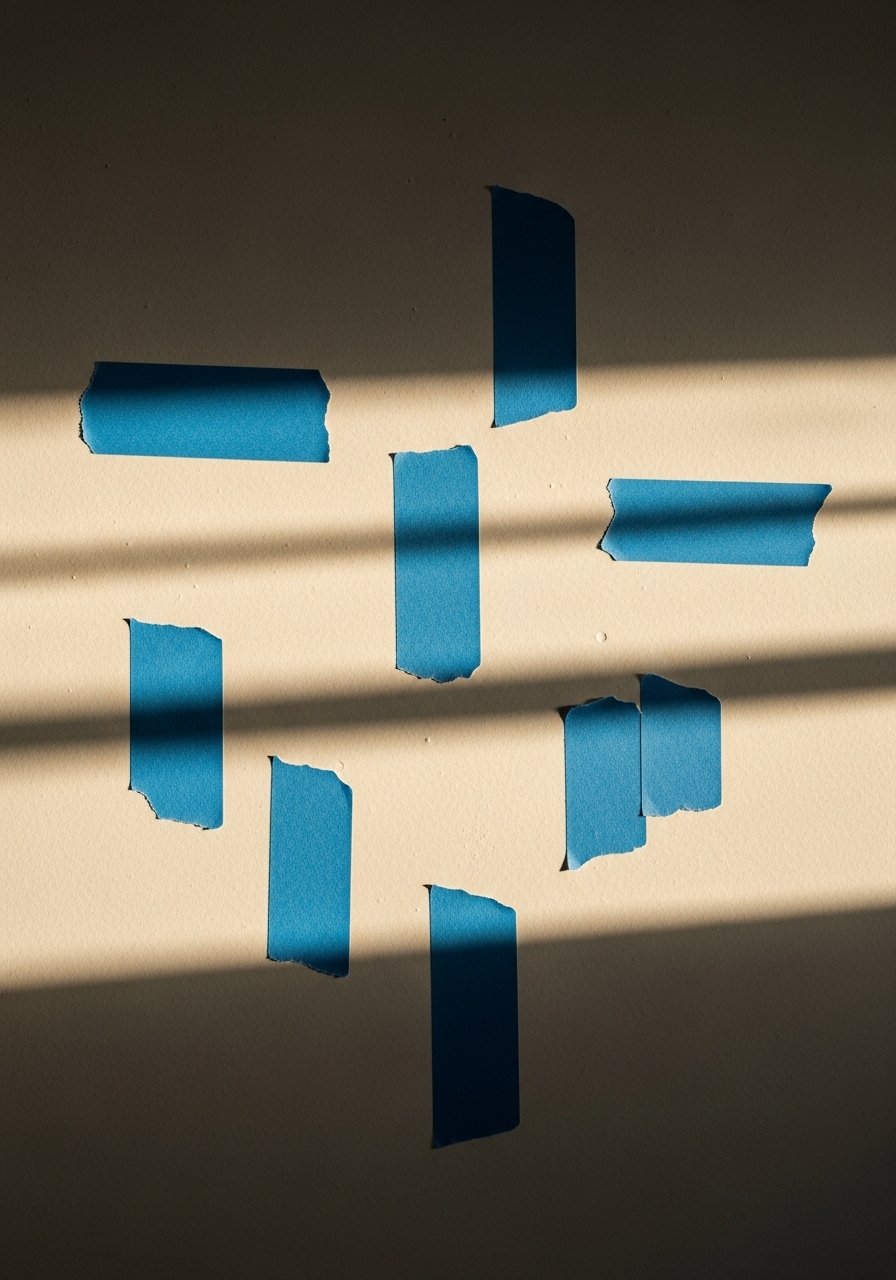
Use painter's tape to outline the sticker shape on the wall. The tape has a dry, papery edge that feels reassuring under your fingers. Walk around the room for ten minutes. You will see if the placement feels off.
Step 2: Prep the surface so the sticker sticks and stays
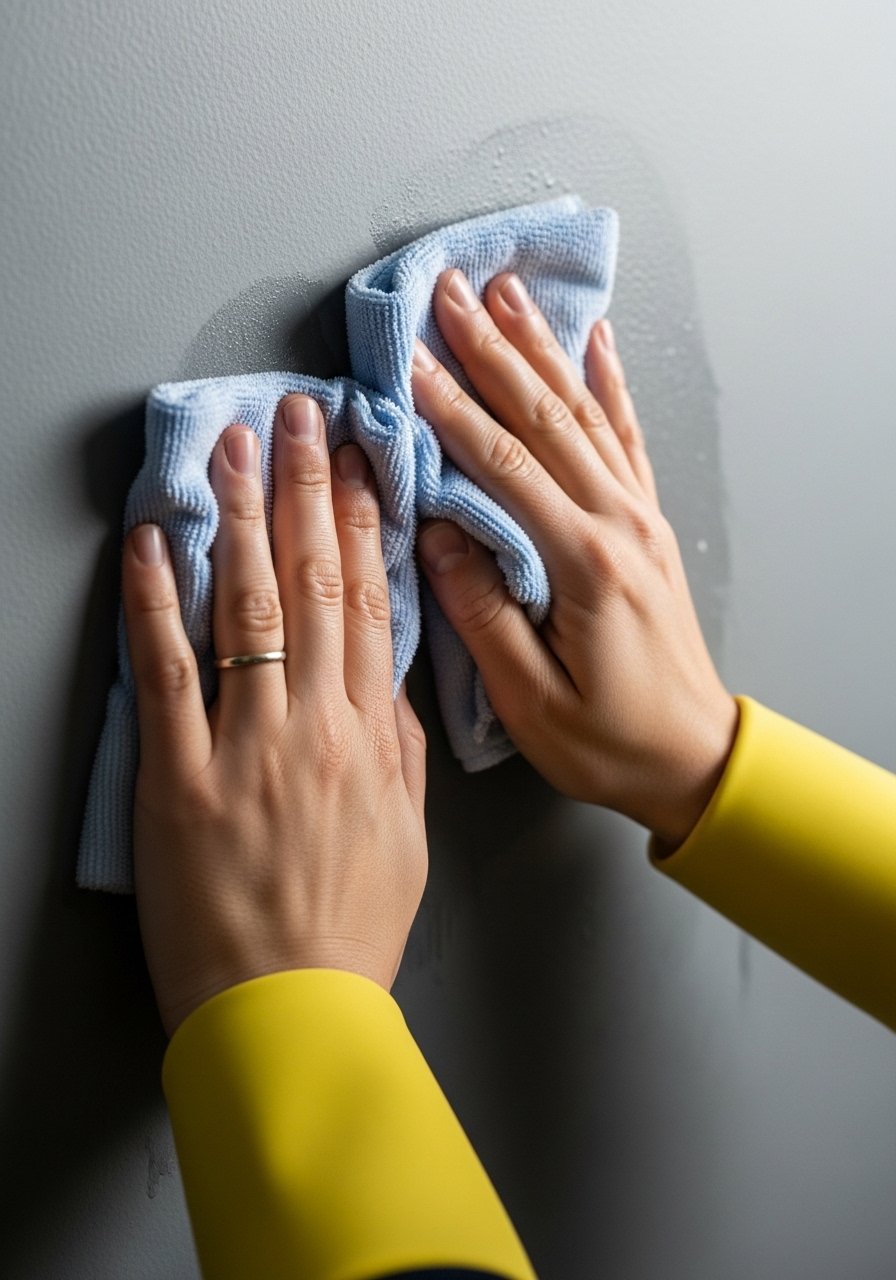
Clean the wall with rubbing alcohol and a lint-free cloth. Sticky residue, tiny dust particles, or oil from your hands will make edges lift after a few days. If your paint is flat or chalky, use a clear acrylic primer patch where the decal will go. I skipped this once and the corner began to peel within a week. Honest mistake, but it taught me to test a scrap first.
The vinyl feels cool and slightly rubbery when new. Press a small sample on and then remove it to check for paint lift. If your walls are textured, pick a higher-grade vinyl, not the paper-thin kind.
Step 3: Apply slowly, smoothing toward the edges
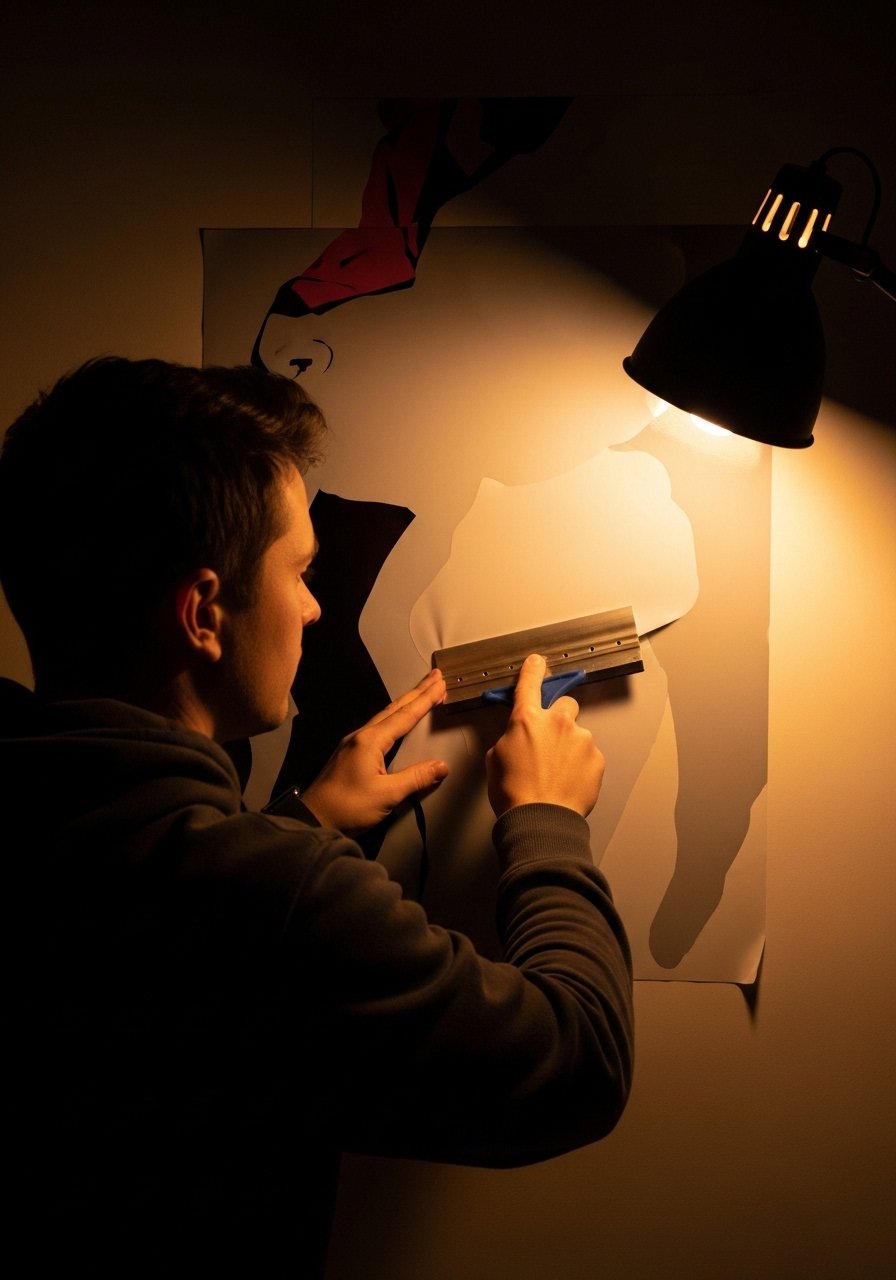
Peel the backing a little at a time and tack the decal to the top edge. Use a plastic squeegee to push air out toward the edges. I used to rush this step and trap thin pockets of air that never quite vanished. The squeegee should glide with gentle pressure. You will feel resistance when bubbles remain, then the surface becomes smooth and slightly warm under your palm.
If a stubborn bubble appears, lift the nearest corner and reapply, or prick it with a very small blade and smooth. The texture of a well-applied vinyl is smooth and satiny, not plasticky. Stand back and check from different angles.
Step 4: Balance the sticker with real objects around it
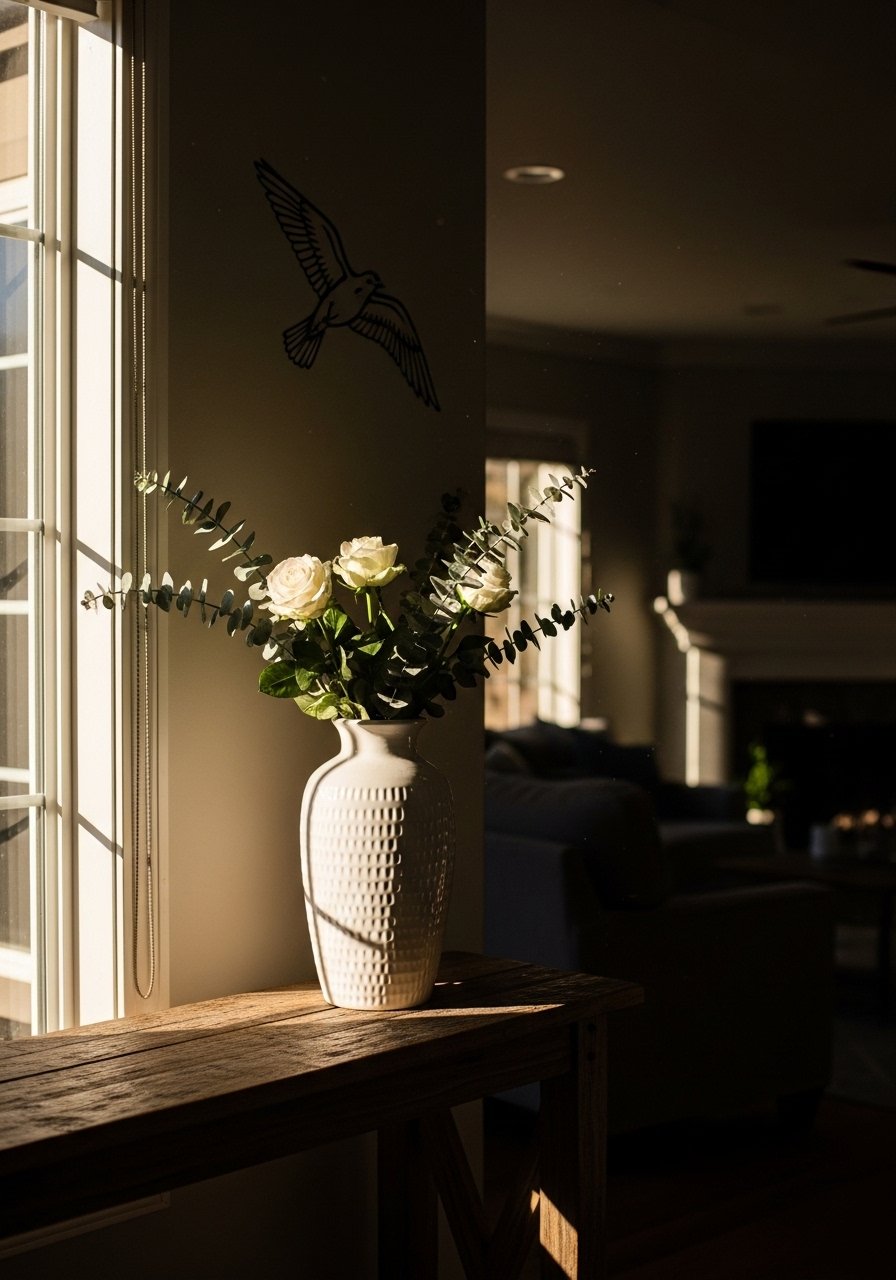
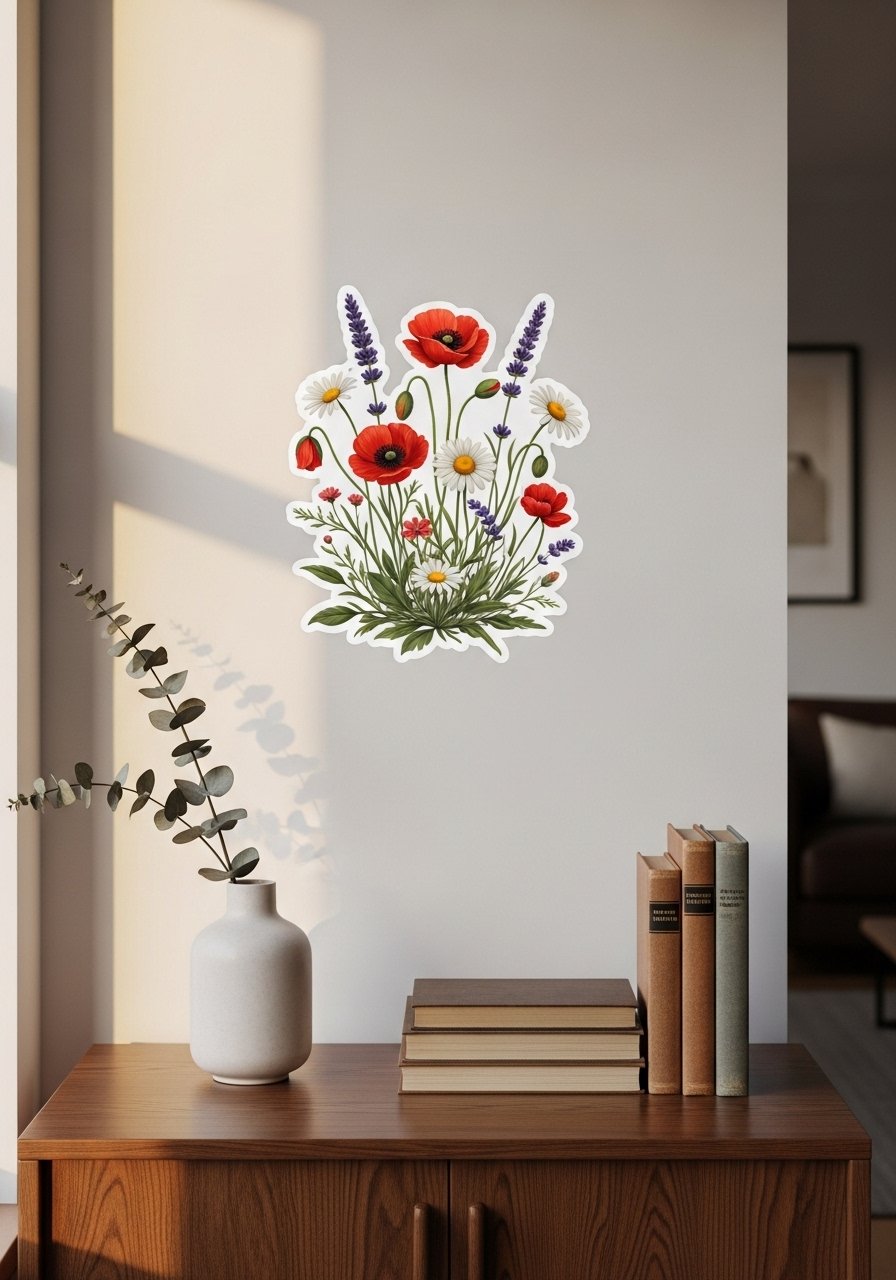
A sticker alone can feel flat. Anchor it with objects that have weight and texture. If the decal is above a console, add a ceramic vase or framed print to create depth. As a rule, leave 6 to 12 inches between the bottom of the decal and the top of furniture. For a decal cluster on an empty wall, keep the arrangement width around 60 to 70 percent of the wall section to avoid a cramped look.
I over-decorated my first time and the wall read as cluttered. I had to remove several small pieces and keep only one heavier object to give the decal presence. The ceramic vase feels cool and heavy and grounds the whole composition.
Step 5: Live with it, tweak small things after a week
After a few days of normal life you will notice what needs changing. Light will reveal edges, pets may nudge lower corners, and you will see if the scale still works. I always find one tiny tweak after a week, usually moving a frame down an inch or shifting a tabletop object. That small patience saves you from overcorrection on day one.
If kids or pets are around, consider sealing the lower edge with a narrow strip of clear adhesive or choose a more durable vinyl. Living with the decal is the last styling step. It is normal to be unsure at first.
What to Grab for Your Wall Sticker Refresh
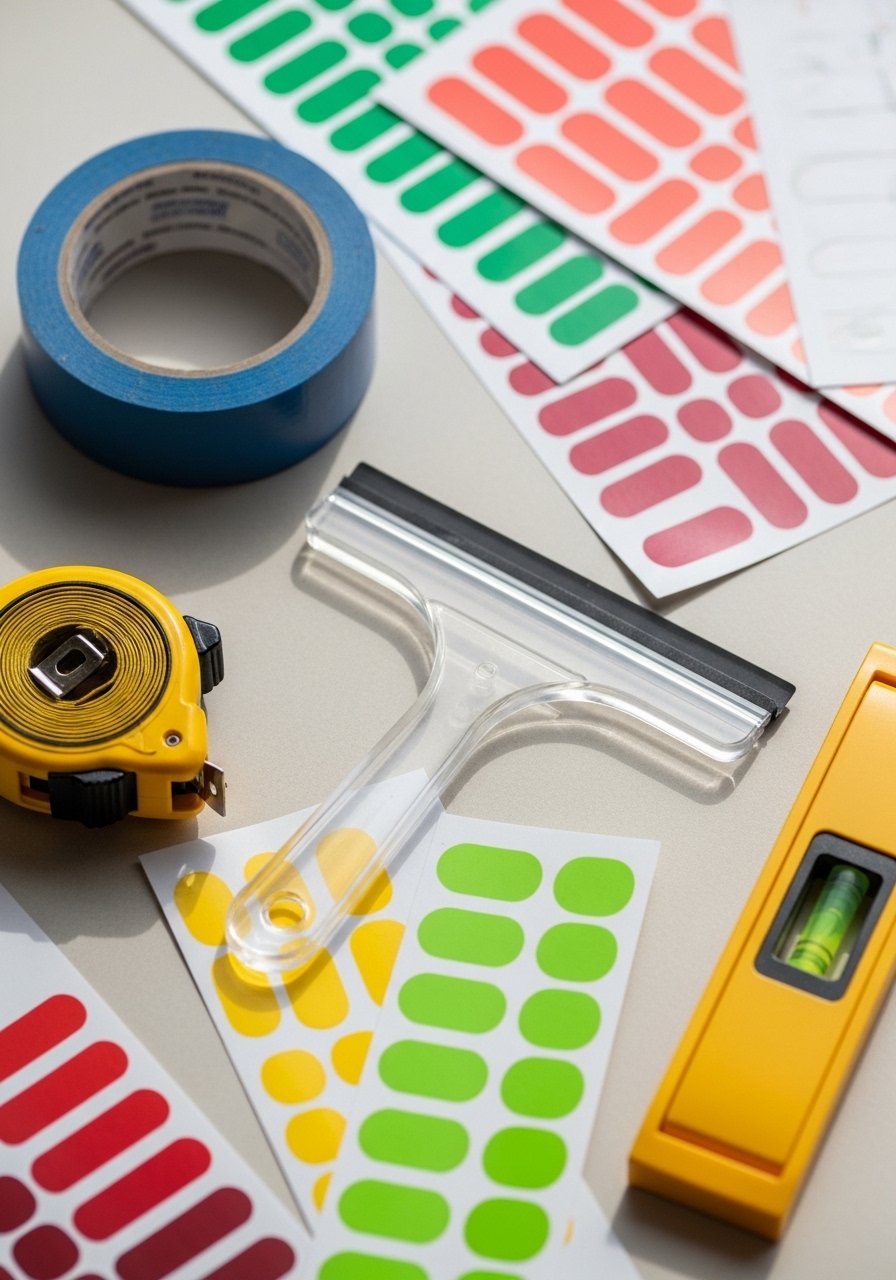
- Floral peel-and-stick decal set, 24×36 inches ($18-35). Use in Steps 1 and 3 above. Similar options at Target.
- Geometric vinyl decal pack, assorted sizes ($12-25). Great for Step 4 groupings.
- Clear plastic squeegee, 6-inch ($6-12). Essential for Step 3.
- 1-inch blue painter's tape roll ($5-9). For Step 1 mock-ups.
- 25-foot measuring tape, steel blade ($8-15). Step 1 depends on accurate measurements.
- 9-inch magnetic bubble level ($10-20). Helps align decals in Step 1.
- Matte white ceramic vase set, medium and small ($20-40). Use for anchoring in Step 4.
- Clear acrylic primer spray, small can ($8-14). For chalky paint in Step 2. Similar at HomeGoods.
Why Your Sticker Still Peels After a Week
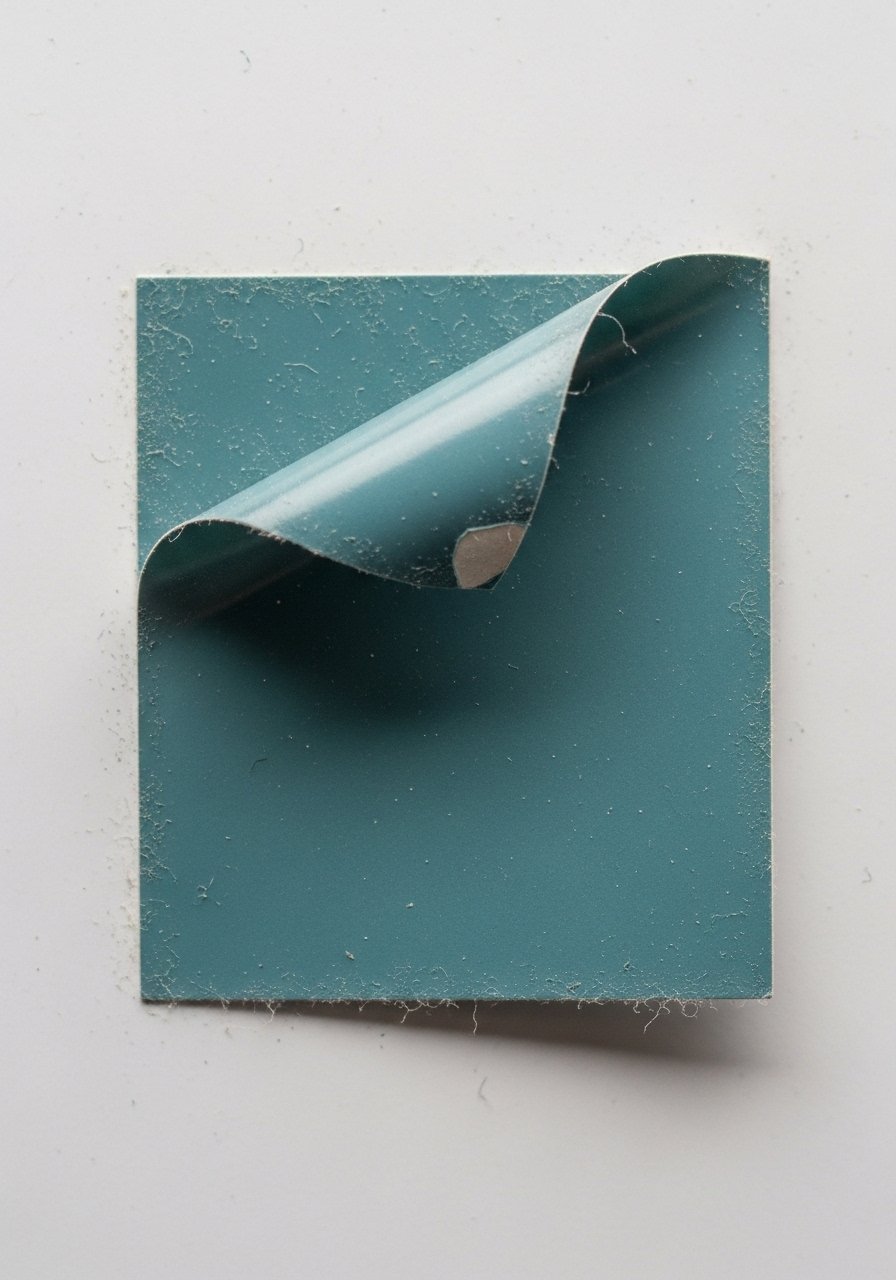
If edges lift, it is usually one of three things. The wall was dusty or oily, the paint was too flat, or the sticker was applied in a humid room. Wiping with rubbing alcohol and using a small primer patch fixes most adhesion issues. If you skip the primer on flat latex paint, expect problems.
Another common issue is temperature during application. Vinyl adheres best between 60 and 75 degrees Fahrenheit. I once applied a large decal in a cool garage and the seams never sealed right. Small tests before committing save you time and annoyance.
Making This Work in a Small Room
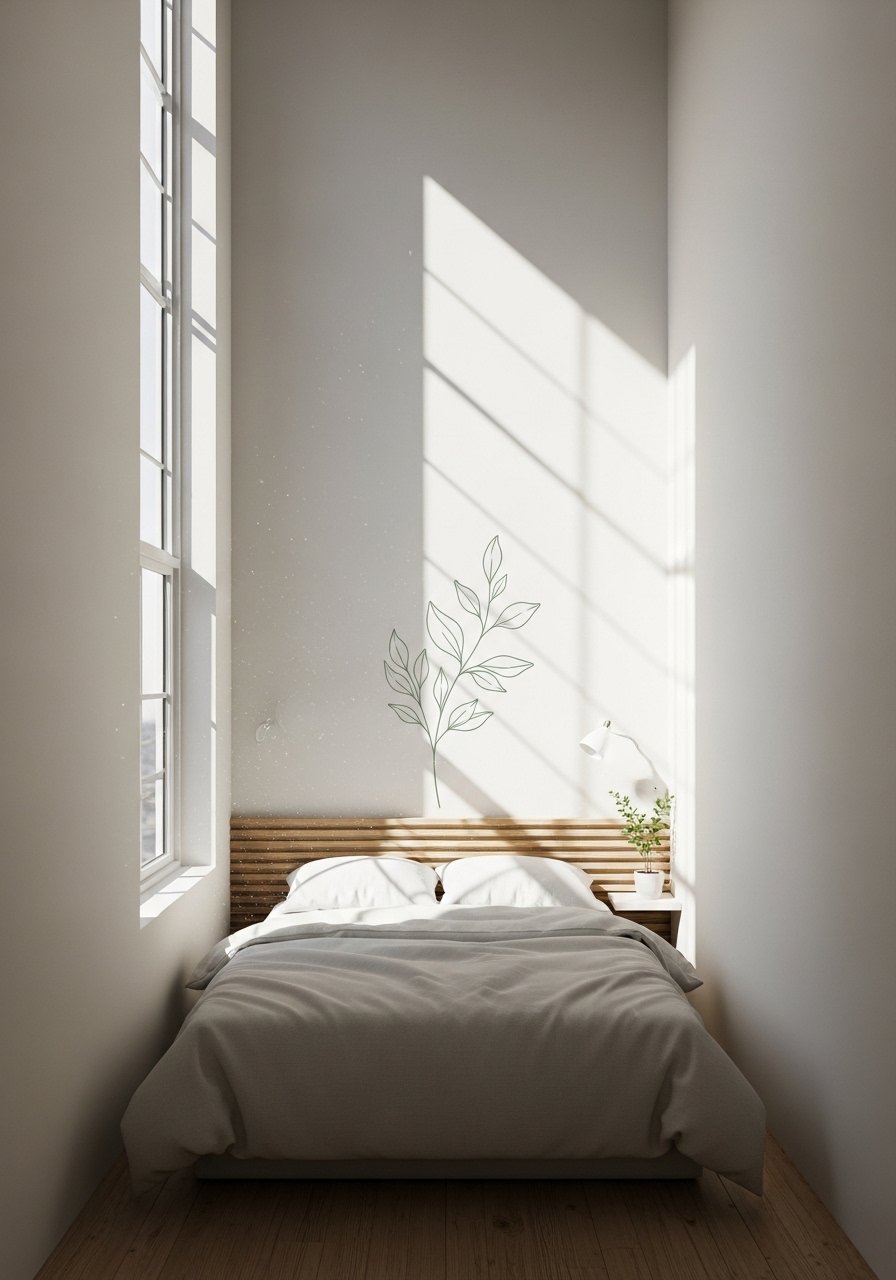
In tight spaces go smaller and vertical. A tall sticker that is 30 to 40 percent of the wall height helps the ceiling read taller. Keep the width to about two thirds of the furniture beneath it. Use matte finishes, they read softer and do not reflect light in a small room.
If you rent, avoid primers that claim permanency. Choose decals rated as removable and keep a scrap to test on a hidden patch. My landlord appreciated that I tested first, and my wall stayed intact.
What Happens After a Week with Kids and a Dog
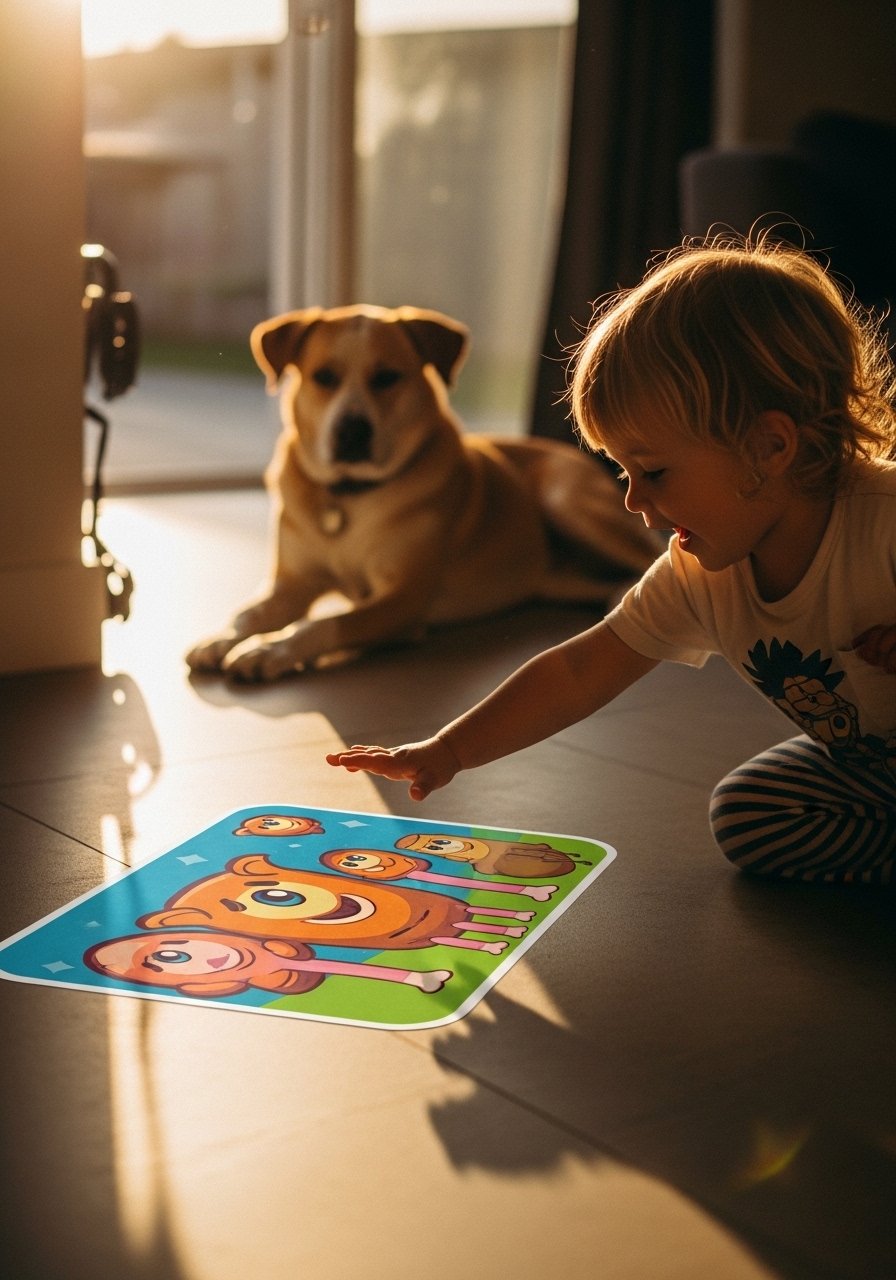
Reality check. Kids will test edges and dogs will bump lower decals. If the sticker is within reach, plan for reinforcement. Clear corner strips or selecting a thicker vinyl makes a big difference. Alternately, choose higher placement and use real objects, like a low shelf or rug, to add interest at child-eye level instead.
I learned to set expectations with housemates. My roommate kept nudging the bottom of a low decal and it loosened. Moving it up and adding a small console solved the problem.
Start with One Wall Sticker
Pick one small area to try this method, a blank wall or the space above a nightstand. Use painter's tape first, measure the center at 57 to 60 inches, and apply slowly with a squeegee. Start with a mid-priced peel-and-stick decal so you can learn without committing to a large mural.
After a week of living with it, you will know whether to add more, change scale, or keep it simple. I started with one floral decal and now that corner is the calm part of the room I actually use.
