
My living room had nice furniture and decent lighting but it still felt like a waiting room. Took me embarrassingly long to figure out it was missing texture. Everything was the same height and every wall was flat. Adding small printable crafts made the difference, one little piece at a time.
These ideas lean toward casual, slightly modern crafts with a hand-made feel. Most projects run under $50, a few hit $75 if you buy nicer paper or frames. Works for living rooms, tiny bedrooms, entryways, and any corner that needs personality. Most folks just hit print at home instead of stores. People drop about $30 on a good template pack.
Paper Flower Wreath for a Cozy Entryway
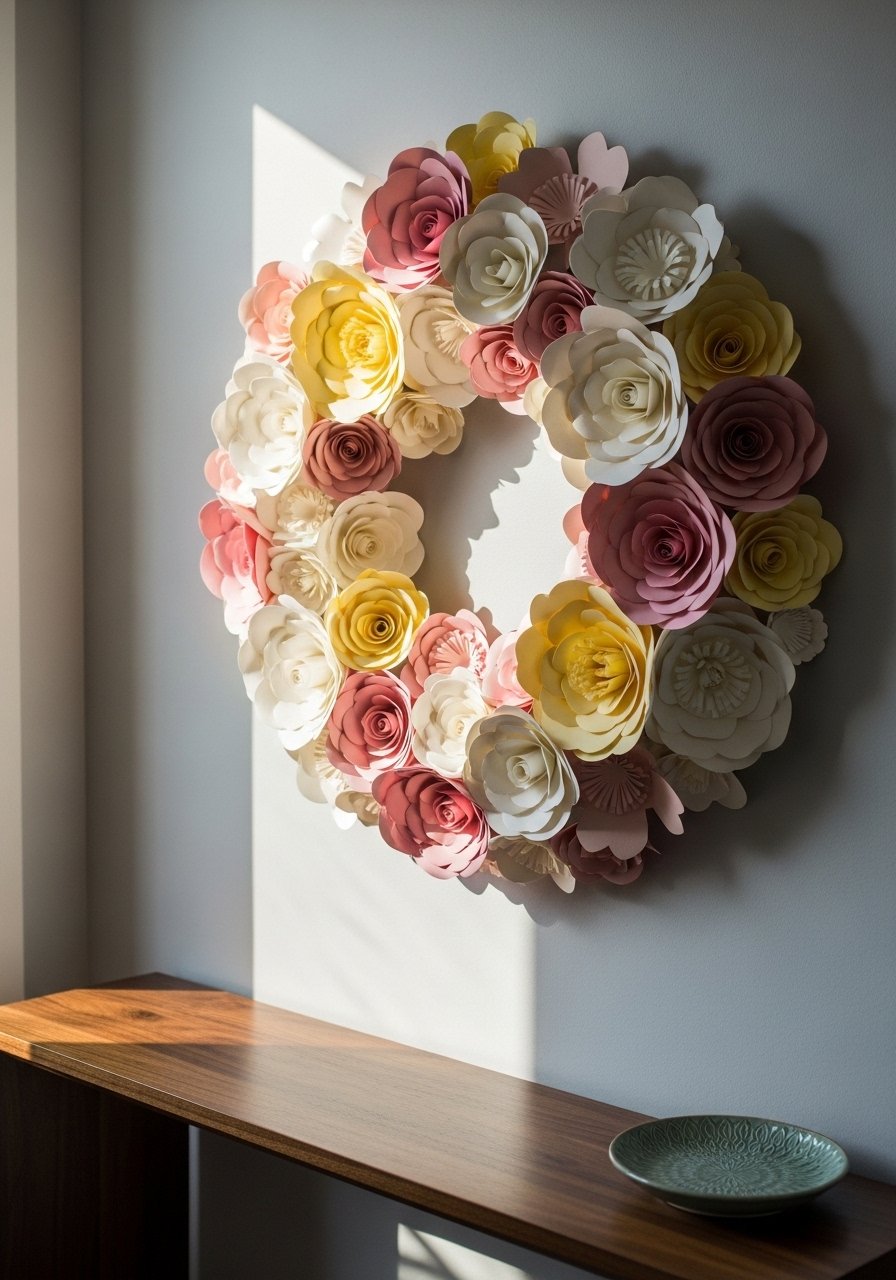
The moment I stacked five layers of cardstock and saw the depth, I stopped buying flimsy paper florals. Use 5 to 7 sheets of 110lb cardstock per bloom so petals hold their shape. It reads like a real wreath without the bulk, which is ideal for small entryways. You can print petal templates at 300 DPI to keep edges crisp. I glued the layers with a tacky glue and mounted on an 8-inch embroidery hoop. A common mistake is thin paper that flops. Try heavy cardstock packs and a small hot glue gun for quick assembly.
Origami Crane Mobile for a Minimalist Bedroom
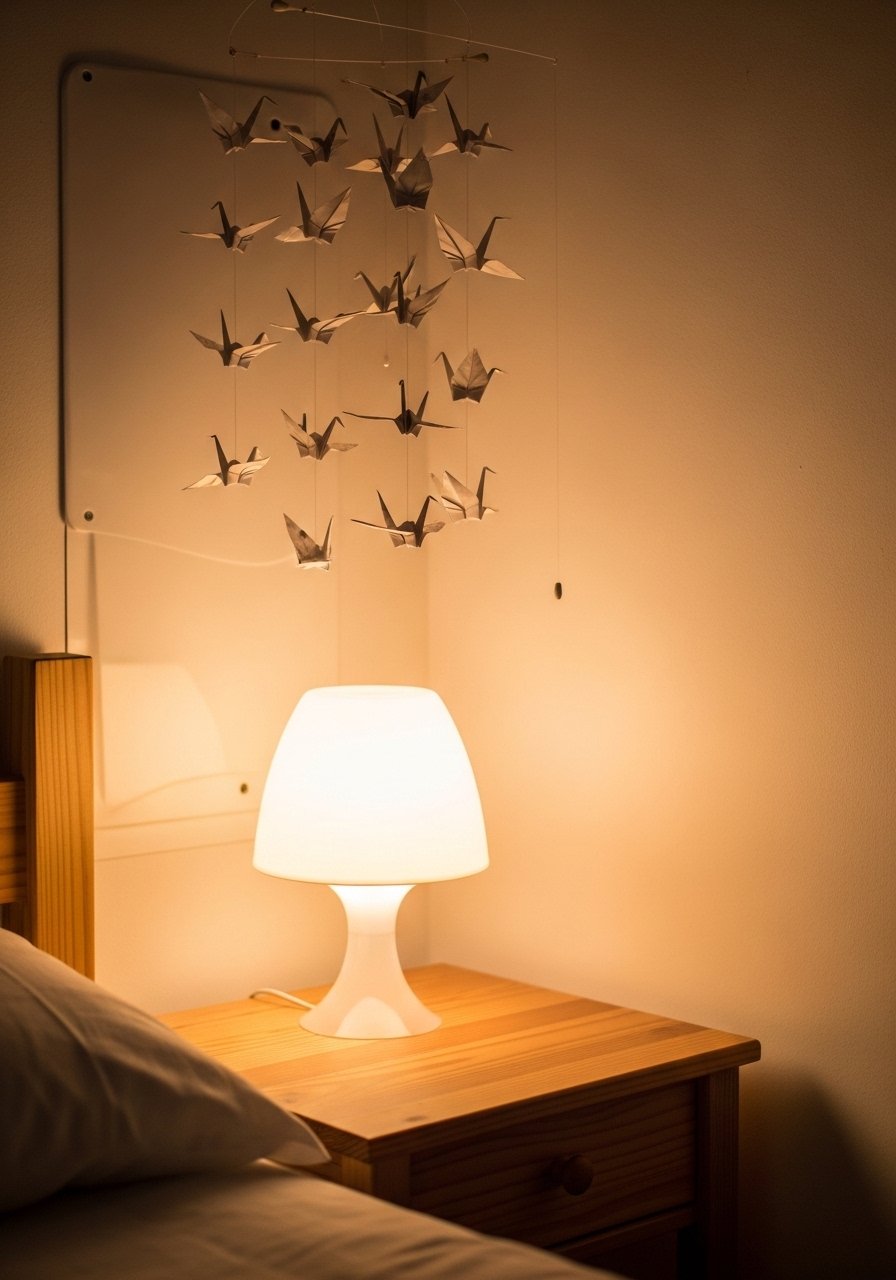
Folding a cluster of cranes is one of those projects that looks complex but is easy once you learn the crease. Print 3-inch square templates at 300 DPI and mix three small, two medium, one large cranes using the 3 small, 2 medium, 1 large ratio to balance the mobile. Use fishing line and a 12-inch wooden dowel so it gently sways. Most folks just hit print at home instead of stores. For hanging hardware grab clear fishing line and a small wooden dowel rod. People rip instructions when frustrated, so fold in 10-minute batches.
Faux Succulent Wall Pocket Prints for a Boho Kitchen Nook

I used watercolor succulent downloads instead of real plants and never watered them by mistake. Print on matte paper, trim to 4×6 and tuck into thrifted shallow frames for a pocket effect. This fixes blank walls without the risk of dying plants in low light. A common mistake is glossy paper that reflects under lamps. Stick to matte paper and use matte 4×6 frames for a clean finish. Scale to an 18×24 wall when you want a larger statement in tiny rooms.
Layered Quote Shadow Box for a Quiet Shelf
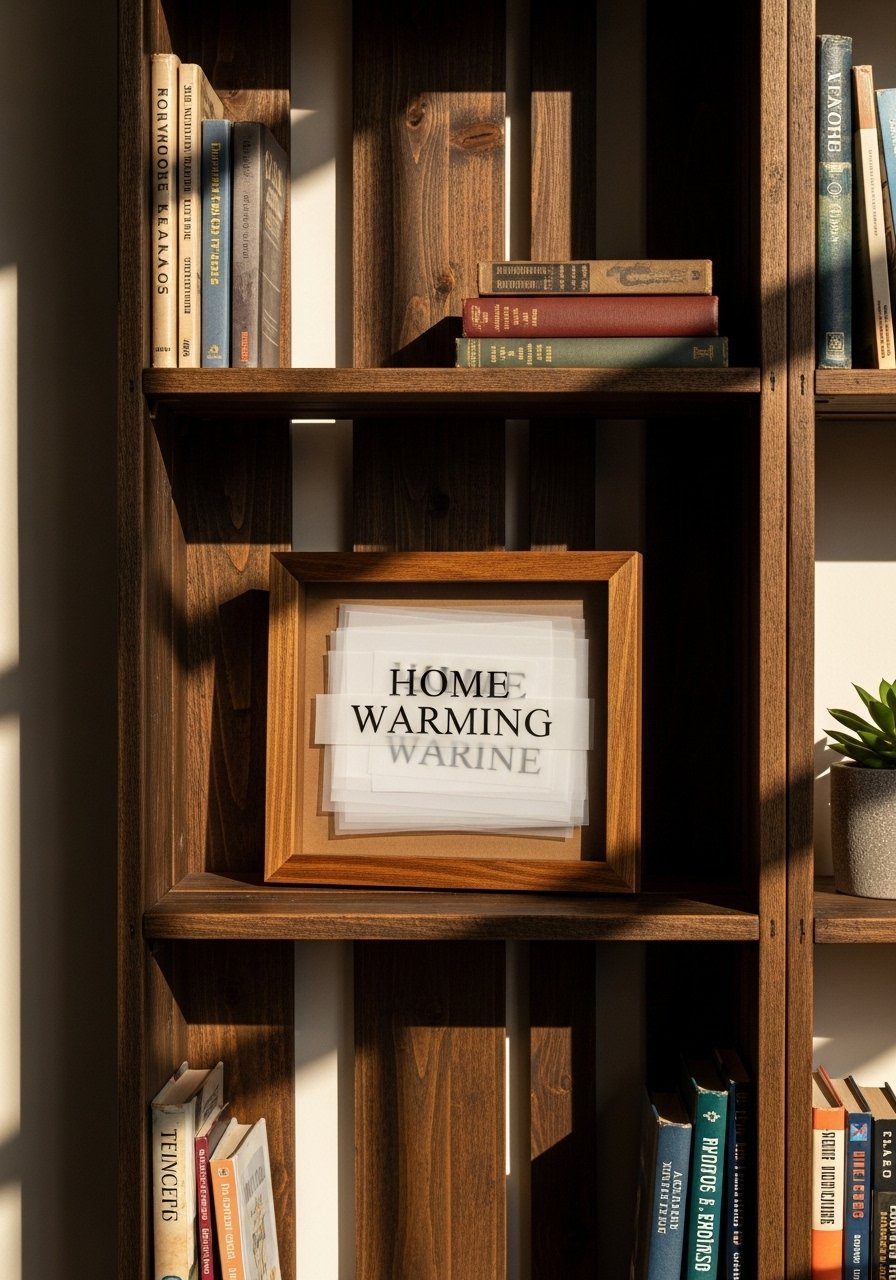
A shadow box changes everything compared with a flat print. I printed my favorite quote on vellum and layered it over kraft paper so the words float. Use undated quote templates at 300 DPI and a 5×7 shadow box to keep the effect subtle. The trick is spacing, leave 80 percent white space on the vellum so the quote breathes. For renters, hang the box on a picture ledge to avoid new holes. I use vellum paper rolls and a simple 5×7 shadow box frame.
Mini Paper Fan Backdrop for a Party or Photo Corner
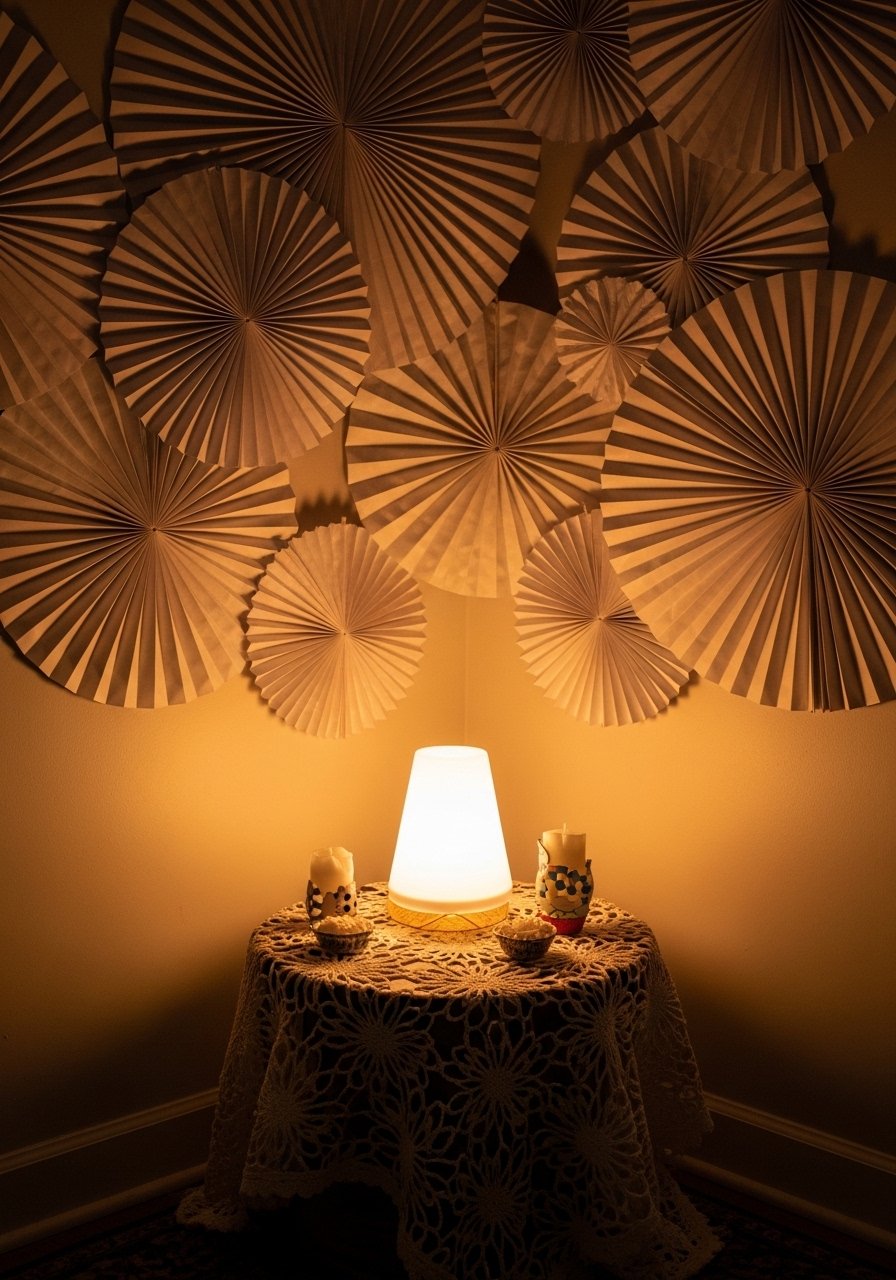
I made a tiny photo corner with 8- and 12-inch paper fans and it tricked guests into thinking my wall was larger. Print fan templates on cardstock, fold, and staple to twine. Use the ratio of three small fans, two medium, one large across a 24-inch span for balance. People drop about $30 on a good template pack so look for bundles with multiple sizes. For an easy supply pick up a package of paper fans and some twine. Avoid overcrowding the wall or you lose the light flow.
Marble Texture Coasters for the Coffee Table
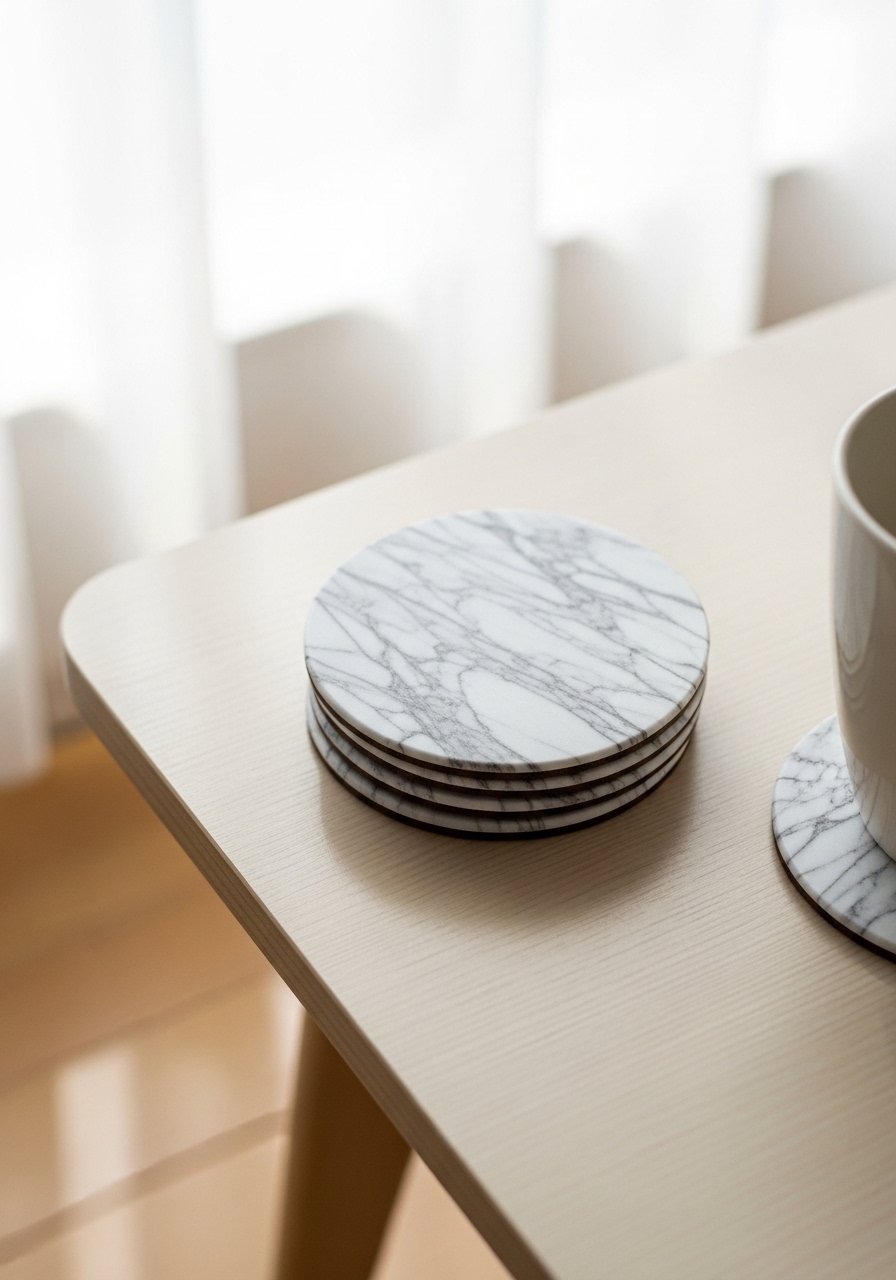
My table felt cheap until I added DIY marble coasters. Print marble textures onto heavy paper and cut 3-inch circles; 8.5×11 inch paper yields 12 coasters per sheet when you use 3-inch circles. Laminate with clear contact paper so they survive glasses and dog sniffs. A common mistake is printing at low resolution so edges blur. Use 300 DPI and a matte laminate. I keep a stack in a small tray. Buy a self-adhesive laminate roll and a circle paper punch.
Pressed Flower Frames for a Vintage Bathroom

I scanned wildflowers and printed them as high-res botanical plates that live in my tiny bathroom. Press the flowers first, then scan at 300 DPI to keep color. Use deep shadow frames so the petals do not press flat against glass. The detail people skip is mat sizing; leave a 1.5-inch mat around an 8×10 image for breathing room. For durability, printed images on linen-look paper read richer than glossy stock. Try linen-textured paper and an 8×10 deep shadow frame.
Geometric Paper Lantern Cluster for an Industrial Corner
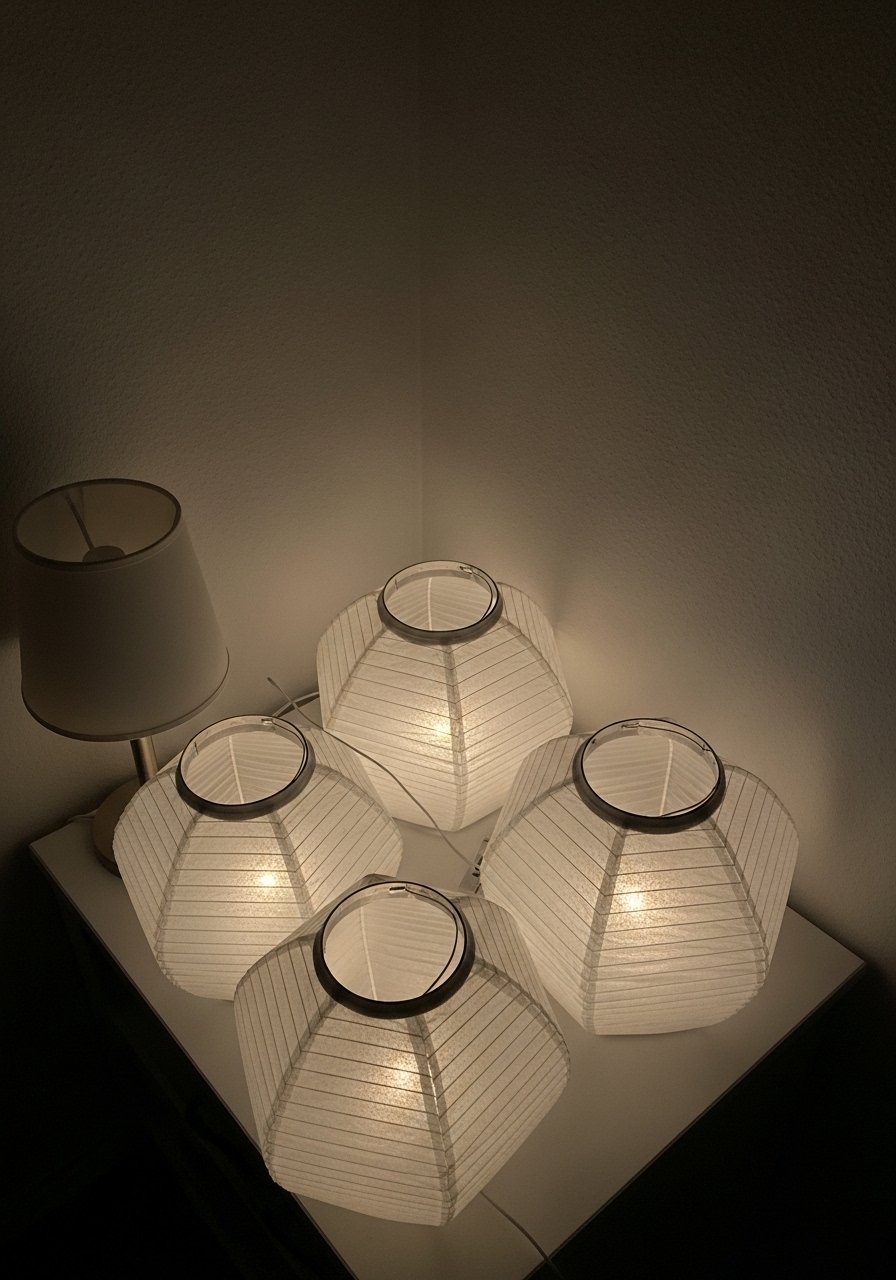
Lanterns add light and interest without rewiring. I folded hexagon nets printed on heavier paper and tucked LED tea lights inside. Use matte paper to avoid hotspots and tape edges cleanly. A useful rule is to mix sizes so one large and two small hang together, that prevents a lopsided look in small rooms. For renters, secure with removable hooks. I used battery LED tea lights and a package of removable hooks. Avoid paper that wrinkles in humidity.
Custom Monogram Door Hanger for a Small Entry Door
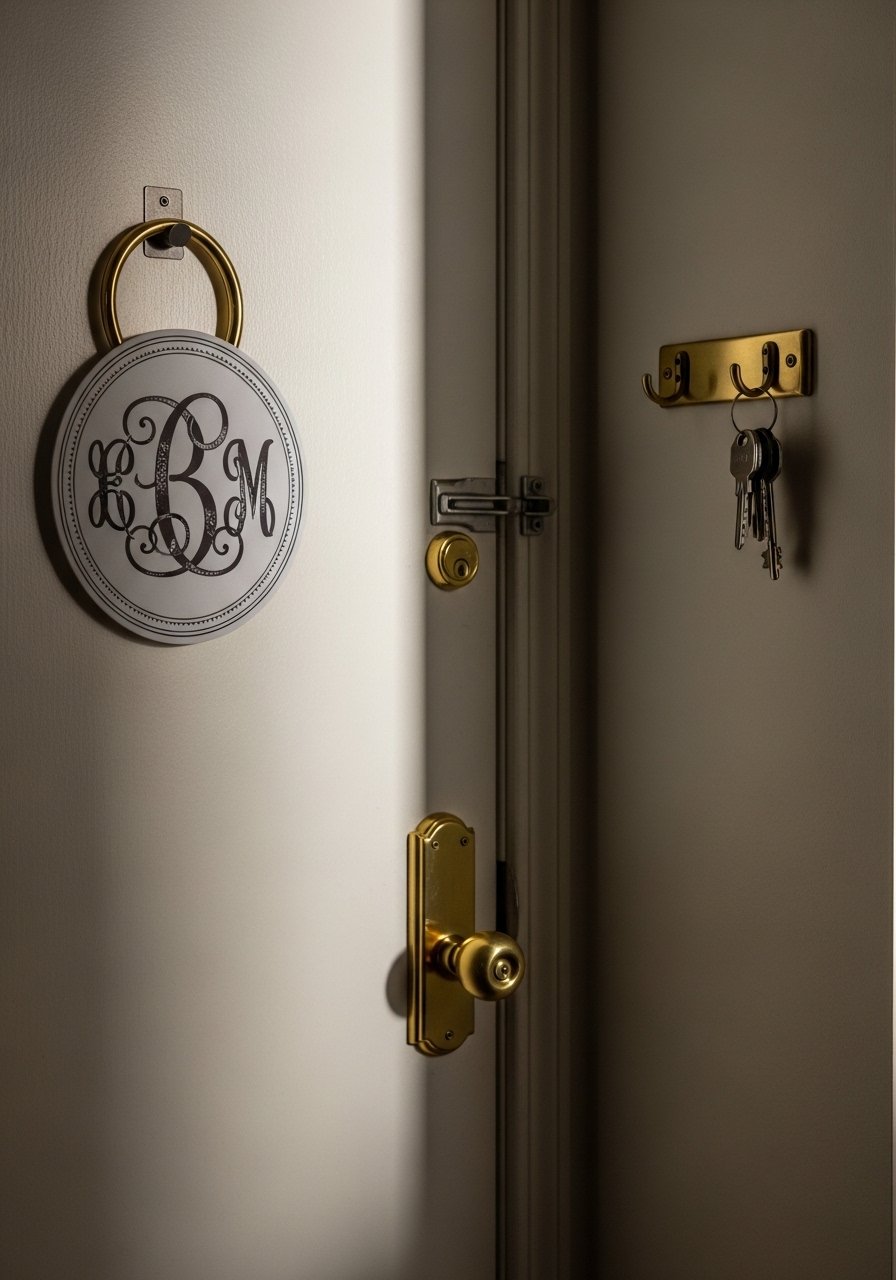
I made a monogram that fits a narrow door and suddenly the entry reads personal. Print a Cricut-ready monogram on thick poster board and cut with a craft knife. If you do not have a machine, print and trace the shape for hand cutting. Use poster board at least 18 inches across for a substantial feel on small doors. For renters, hang with an over-the-door hook so no nails are needed. I use poster board packs and over-the-door hooks. The mistake is skimping on size, tiny monograms disappear.
Watercolor Wall Calendar for a Small Home Office
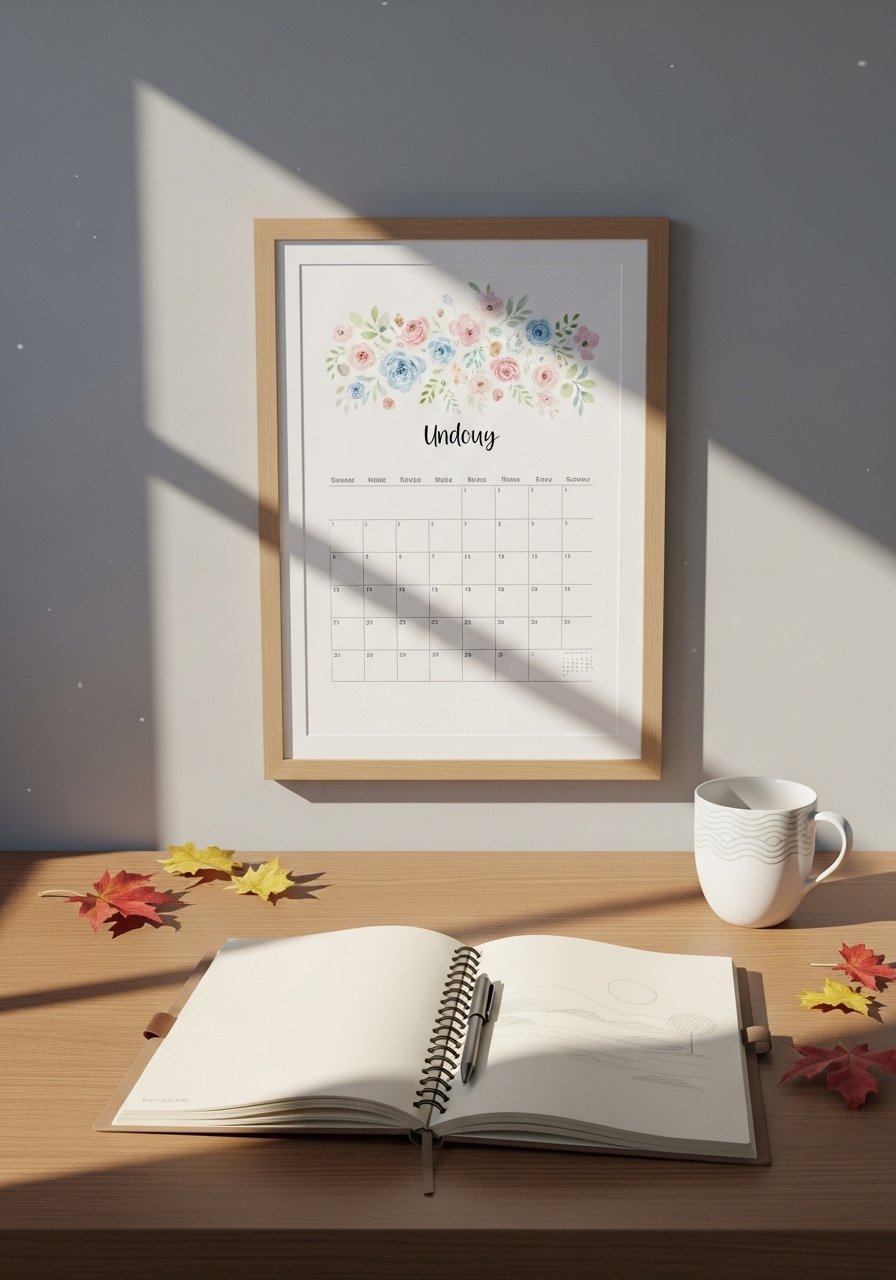
Printing an undated watercolor calendar kept my tiny desk from becoming chaotic. I printed the calendar on textured paper, slipped it into a simple frame, and updated it monthly. Use watercolor grid templates at 300 DPI and print on 8.5×11 matte paper. A mistake is matching too many colors to the room. Pick one accent color from the paints and let the rest be neutral. Frame in a small 8×10 frame and use a simple wooden clipboard for quick swaps.
Tissue Pom-Pom Garland for a Corner Nook

I used tissue pom-poms to soften a harsh corner and it made that chair suddenly read like a deliberate spot. Use 8-inch pom templates and fluff three sizes to avoid flatness. The 3 small, 2 medium, 1 large arrangement works well here too. If kids or pets are present, laminate the joining knots or move the garland higher. For a renter-friendly hook use removable adhesive hooks. A common mistake is overstuffing tissue so pompoms look heavy and droop.
Seed Packet Art Collage for a Tiny Kitchen
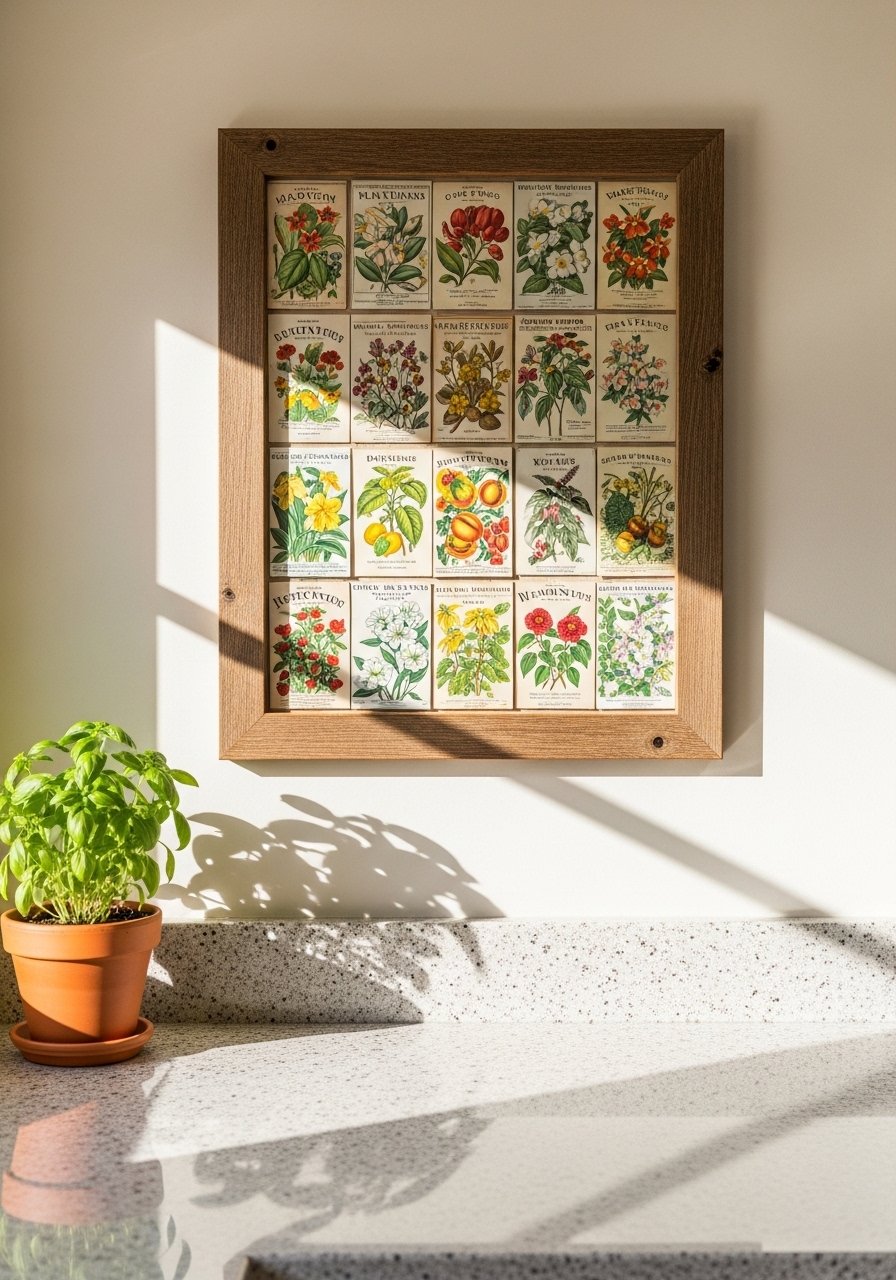
I framed old seed packet scans to add a playful kitchen nod without cluttering shelves. Print packets at 4×6, arrange overlapping in a shallow tray frame. The trick many miss is keeping scale under control for small walls. Cap the overall collage at 18×24 so it never reads too busy. Use matte paper and a 1-inch mat border. I used a tray frame and a pack of vintage seed print downloads. Avoid glossy finishes in the kitchen where steam reflections make it look cheap.
Die-Cut Pantry Labels for a Tidy Pantry Door
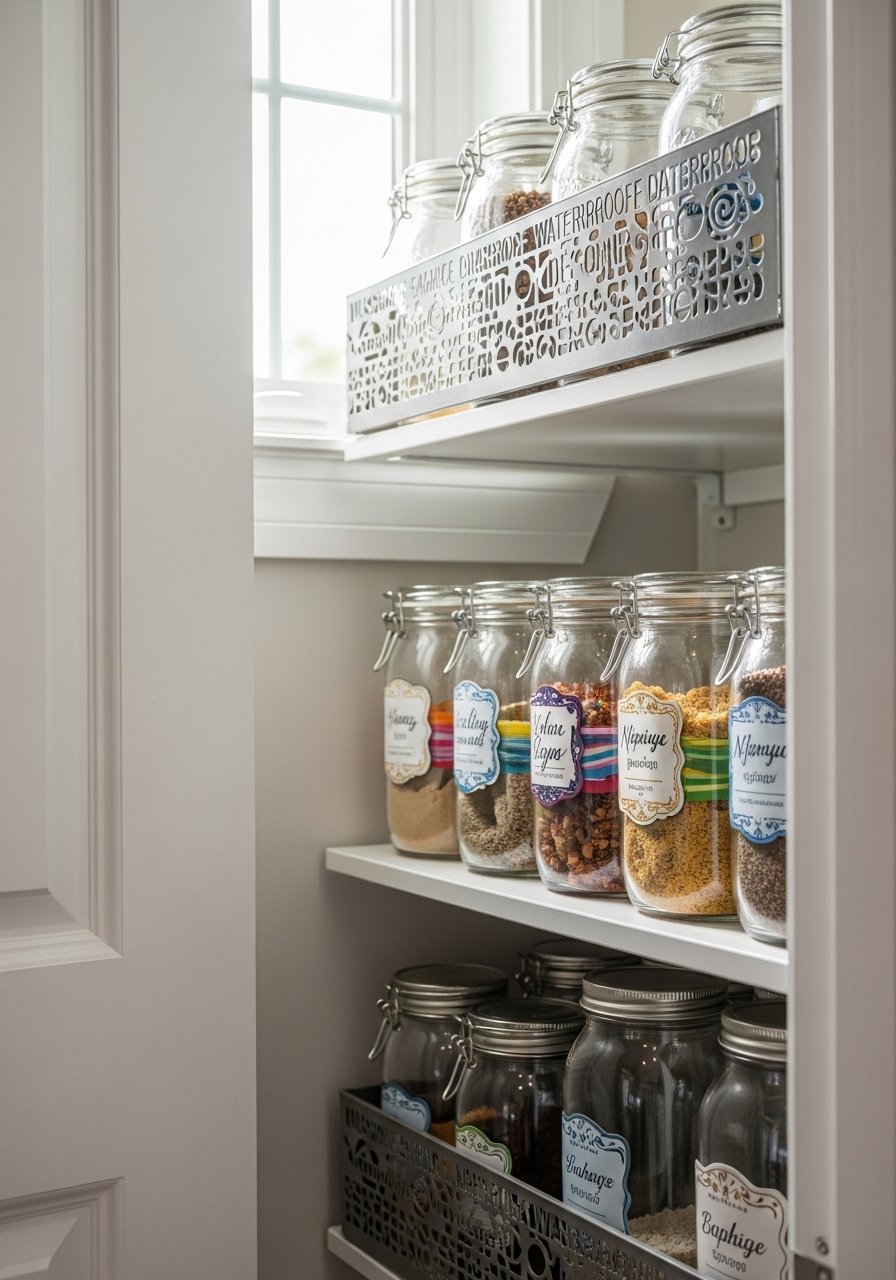
I swapped mismatched pantry stickers for layered die-cut labels and the shelf looked edited immediately. Print on waterproof sticker sheets and laminate before cutting. A practical detail most articles skip is cutting labels to fit 18-ounce jars, the most common pantry size. Use clear matte laminate to avoid fingerprints and list ingredients in a small sans-serif font so the label reads at a glance. Try waterproof sticker paper and a laminator pouch pack.
Accordion Fold Bookmarks Trio for a Small Desk
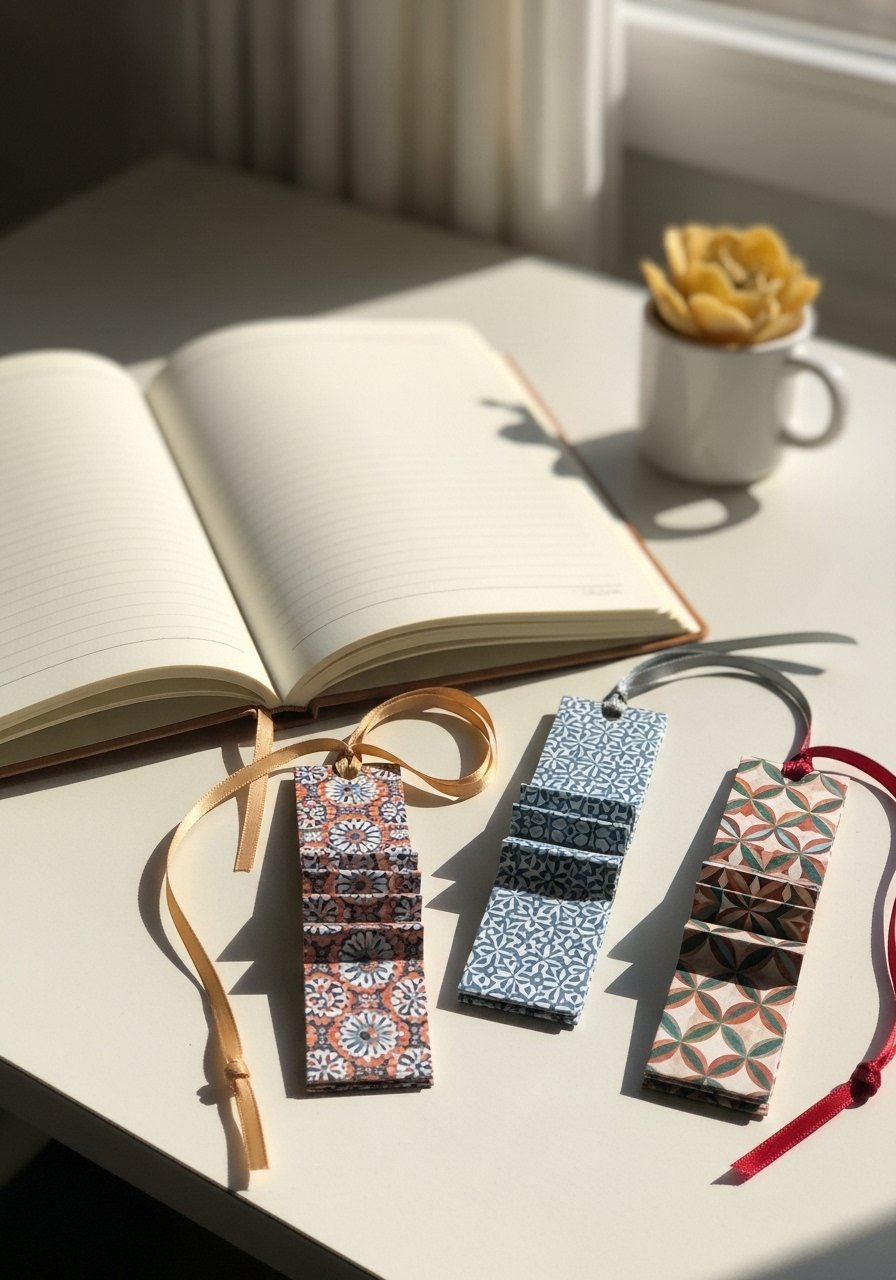
These make tiny desks feel curated and stop me from losing place in planners. Print patterned paper, fold into accordions, and tie with ribbon. Use 110lb paper so the folds stay crisp. The tiny trick I learned is to include a 1/4-inch extra on the end so the ribbons do not hide the pattern. A common frustration is bookmarks that tear when pulled. Laminate the ends or use heavier stock. I like patterned printable sheets and a small ribbon bundle.
Mini Shadow Boxes to Display Tiny Collections in a Hallway
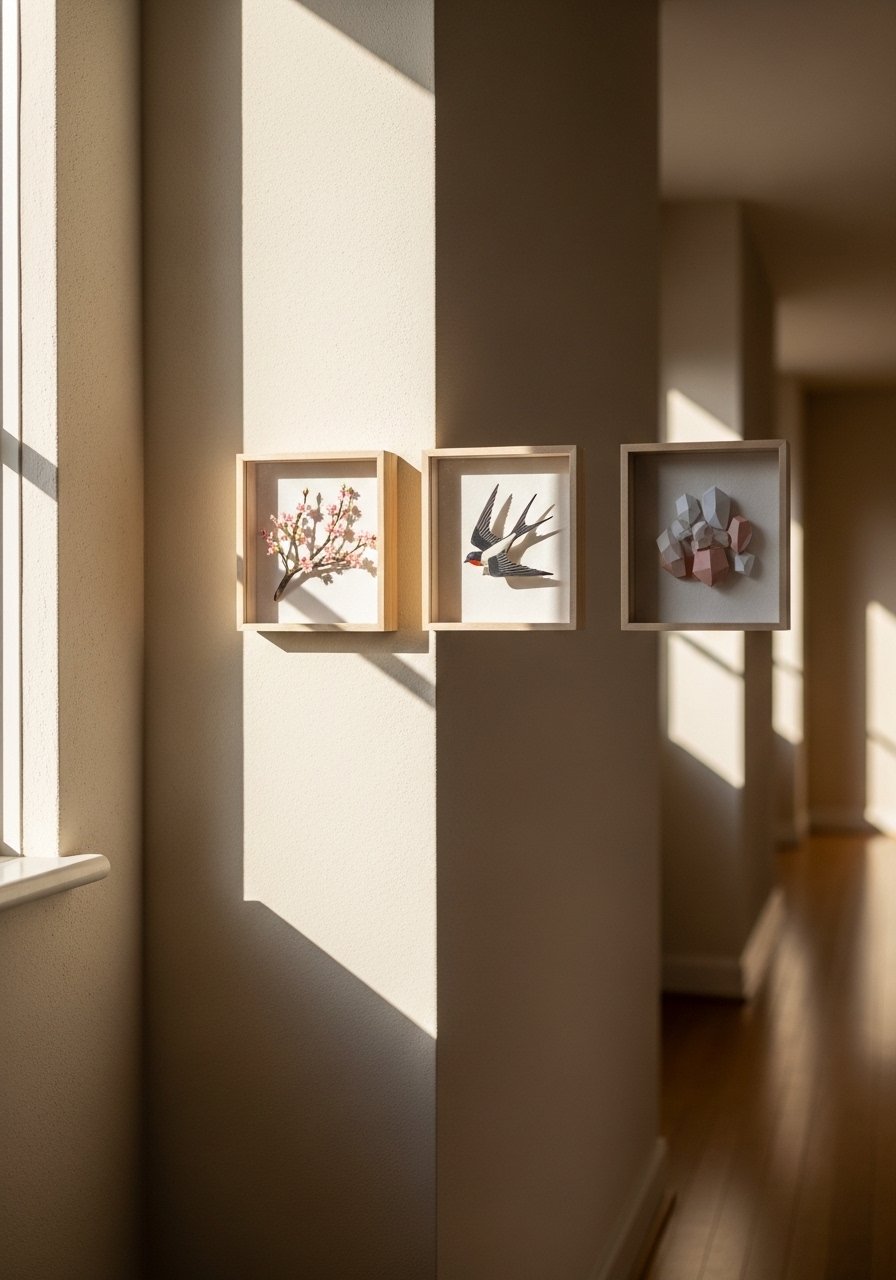
Switching flat prints for deeper shadow boxes made my hallway feel curated rather than crowded. Use 3-inch cubes and place odd numbers across the wall for rhythm. Hang centers at 57 inches eye level and keep 24 inches between boxes so the grouping breathes. A mistake is hanging too low in a narrow hallway where it reads cluttered. Use lightweight shadow boxes and picture hanging strips if you rent. I like mixing one paper sculpture with two keepsakes for contrast.
Printable Rug Pattern Stencil for a Tiny Entry Mat
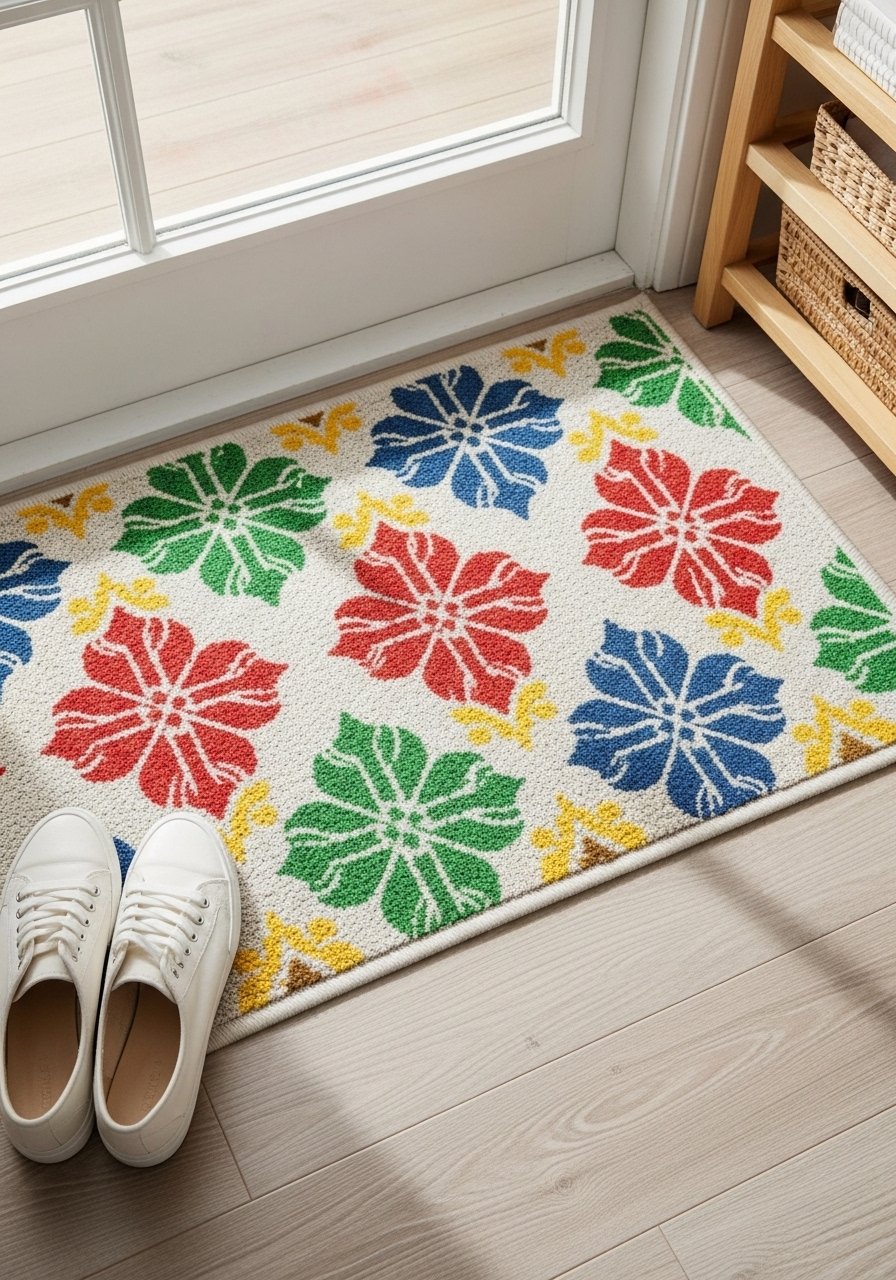
I painted a runner pattern on a thrifted flatweave to make a tiny entry read custom. Print stencil sheets, transfer to clear adhesive stencil film, and paint with a small foam roller. The detail most skip is starting with a 12-inch repeat tile for 18-inch wide rugs so the pattern matches seam to seam. For apartment floors use low-VOC acrylic paint and seal with a matte protectant. Grab adhesive stencil film and a small foam roller set. Allow 24 hours curing before foot traffic.
Printable Linen-Look Pillow Covers for a Small Sofa
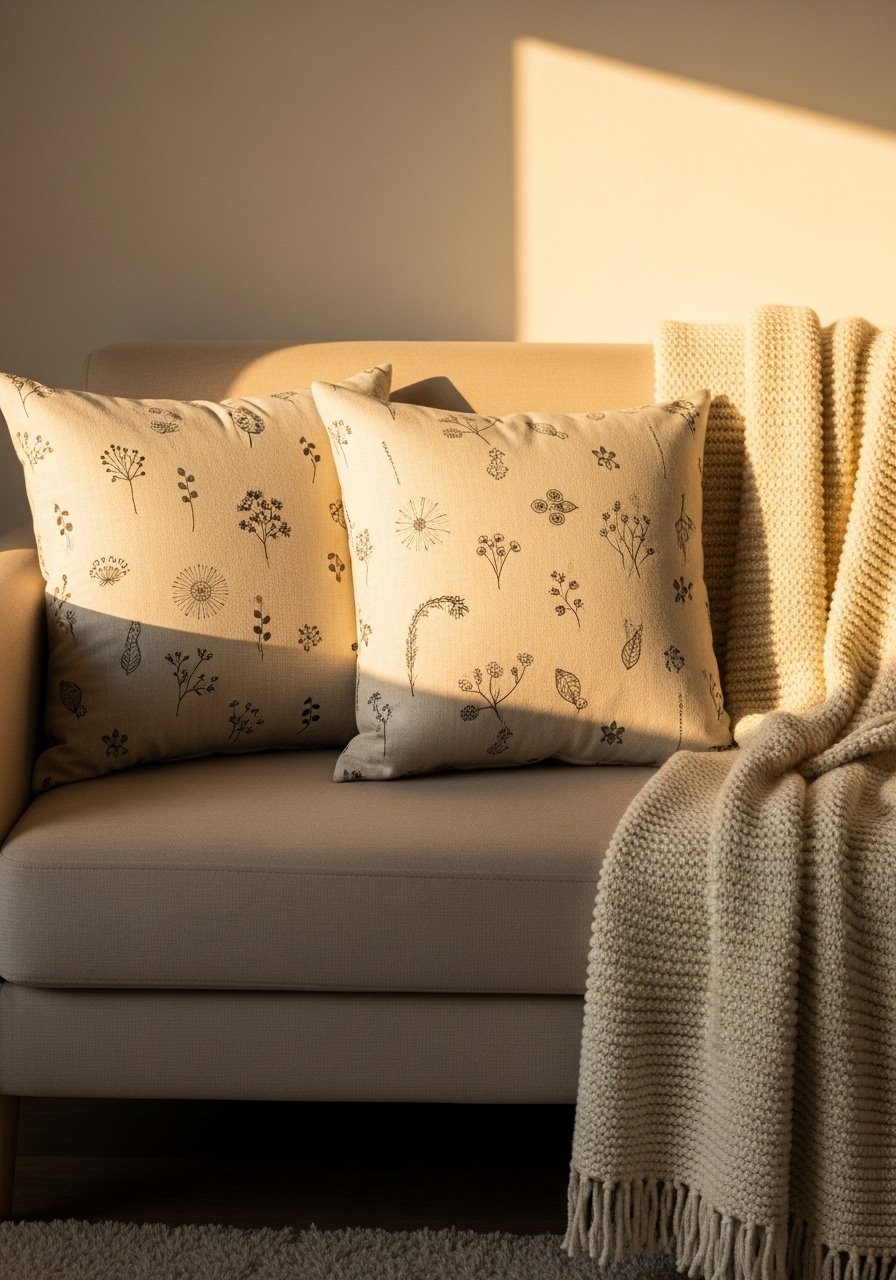
I printed linen-look fabric panels and ironed on adhesive for makeshift pillow covers. Use iron-on adhesive sheets sized to 18×18 inches for mid-century and small sofas. The trick is to print on linen-textured transfer paper and pre-spray with starch so the fabric behaves, especially boucle which wrinkles fast in humid rooms. If you want durability, sew the edges. I used linen-look transfer sheets and 18×18 pillow inserts. A common mistake is printing low-res patterns that read pixelated on fabric.
Privacy Window Film Decals for an Apartment Bedroom
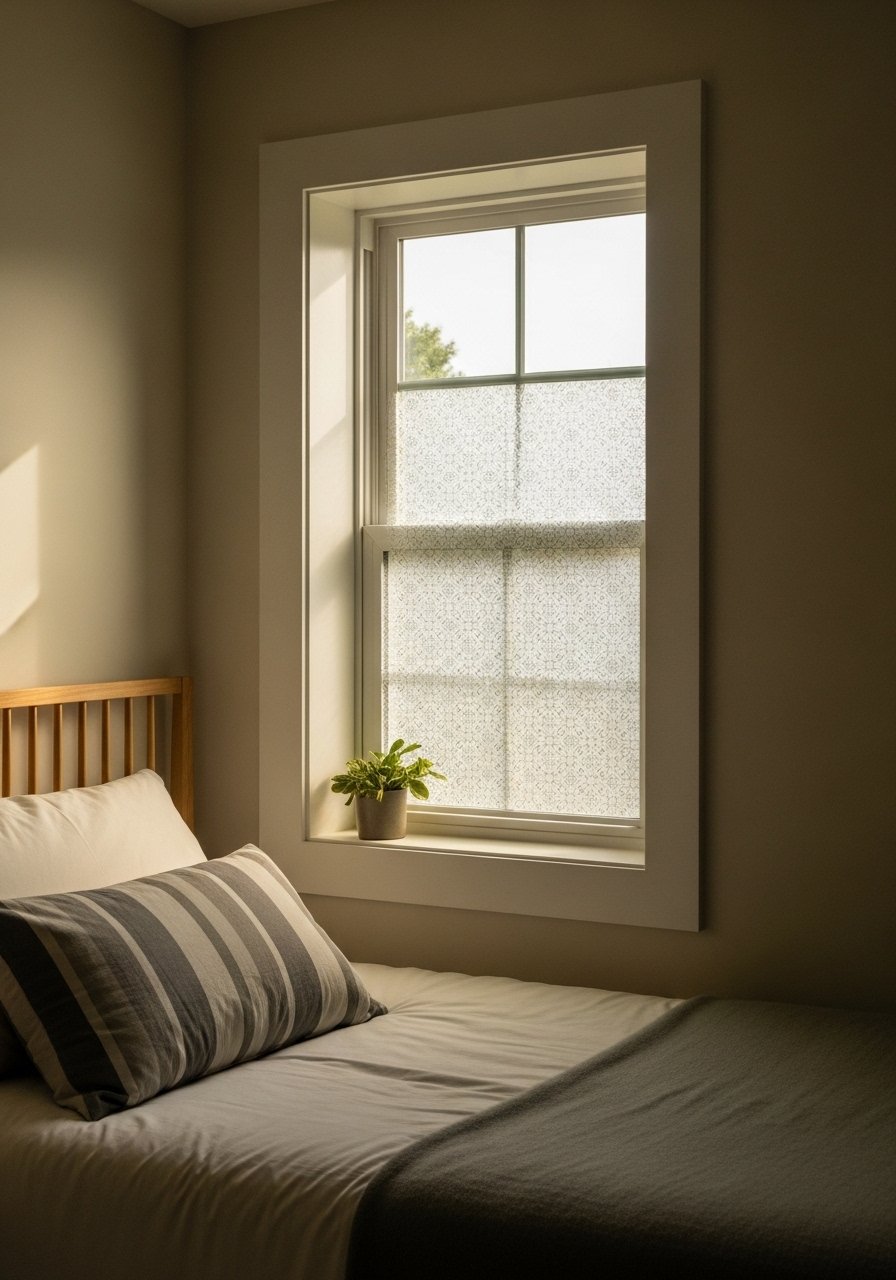
My street-facing bedroom suddenly felt private without curtains when I applied printed window film. Print decals at 300 DPI and cut to window panes. Use frosted matte film for a softer look and to avoid glare. One overlooked detail is leaving 1/8 inch gap around panes to avoid bubbling. Install with a spray bottle of soapy water and a squeegee. I used frosted window film and a small squeegee. Avoid glossy films that reflect streetlights harshly.
Magnetic Fridge Art and Weekly List Pads for a Small Kitchen
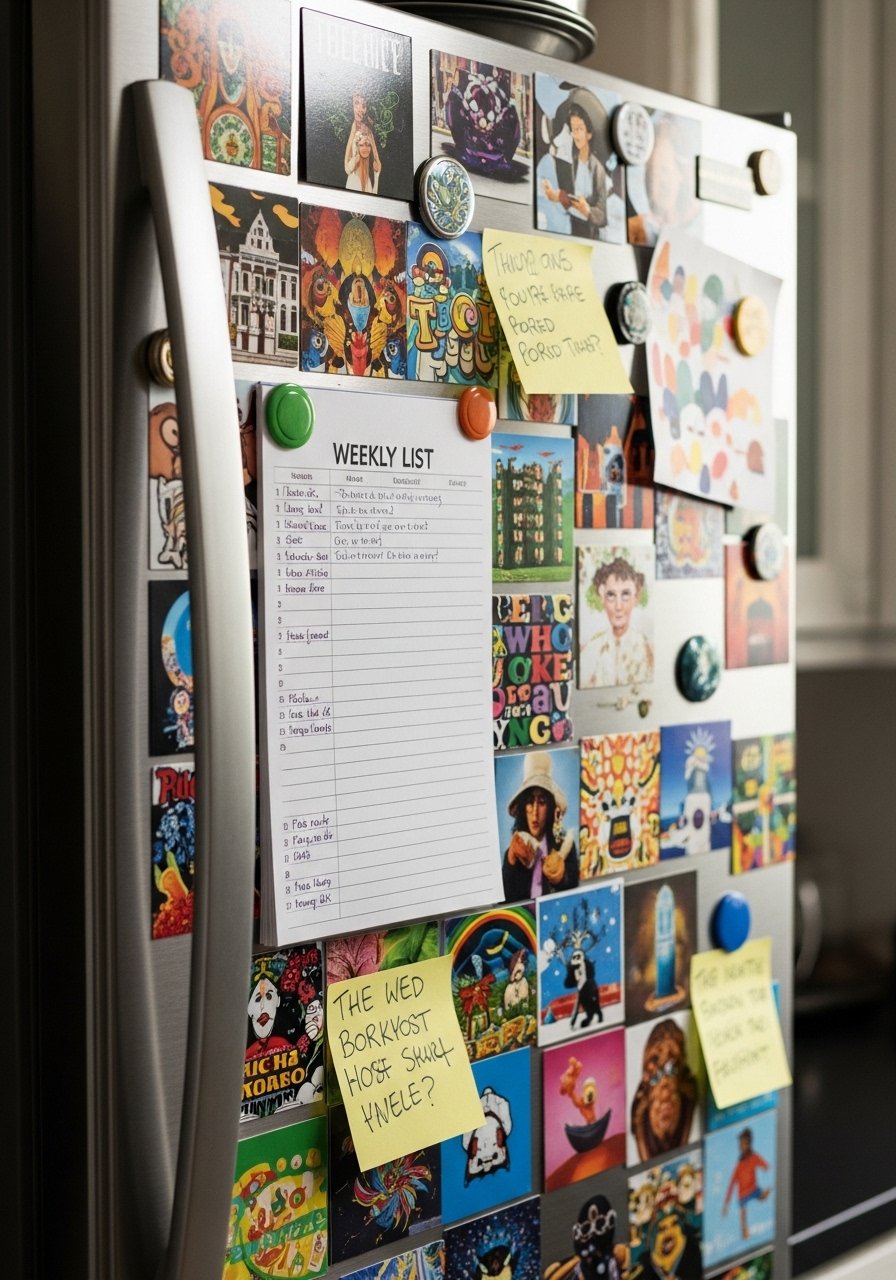
I printed a set of magnetic squares for the fridge to hold notes and small art. Print on magnet-backed sheets and cut into 3×3 squares. For lists use a tear-off notepad printed with meal slots and stick to the side. The specific cheat most miss is aligning magnets in a 3 by 4 grid so they read tidy rather than scattering. Buy magnet-backed sheets and a notepad binding pad. Keep one spare set laminated for durability around kids.
Pet-Proof Laminated Coaster and Placemat Set for Small Homes with Pets

My dog loves to knock things over so I started laminating prints for durability. Laminate coasters and placemats, use matte laminate to avoid slipperiness. For coasters cut 3-inch circles; 8.5×11 yields 12 per sheet. Use thicker 10 mil laminate for placemats so they do not curl. A pet-proof strategy people miss is wiping edges with clear matte sealant to stop peels. I used 10 mil laminator pouches and a small tabletop laminator. Keep sets stacked in a shallow tray.
Your Decor Shopping List
Textiles
- Honestly the best $40 I have spent. Chunky knit throw blanket in cream (~$35-55). Drape over the sofa arm for instant warmth
- 22-inch down-filled linen pillow inserts in neutral tones
Wall Decor
- For shadow boxes use 5×7 shadow box frames (~$12-25) with kraft backing
- 8×10 deep shadow frame for pressed botanicals
Lighting
Paper & Craft Supplies
- 110lb heavy cardstock pack for flowers and fans
- Self-adhesive laminate roll for coasters and labels
- 3-inch circle punch
Budget Finds
- Matte 4×6 frames, set similar at Target or HomeGoods
Extras
- Picture hanging strips, pack for renter-friendly installs
- Clear fishing line and wooden dowel rods
Shopping Tips
White oak beats dark wood in 2026. Design feeds have shifted completely. These white oak floating shelves look current, not dated.
Grab linen-look transfer sheets for pillow experiments. Swap covers seasonally and your small sofa will read new without buying new cushions.
Curtains should puddle or kiss the floor, never hang halfway up. These 96-inch linen panels are right for standard 9-foot ceilings.
Lead with one statement art piece, then add small siblings. This 18×24 framed print gives scale in tiny rooms and makes mixing smaller printables feel intentional.
Everyone buys five small succulents. One single 6-foot fiddle leaf fig has ten times the visual impact.
If you are renting, keep a pack of removable hooks handy. They solve the "I cannot nail here" problem fast.
Frequently Asked Questions
Q: How crisp do my printables need to be?
A: Print at 300 DPI minimum. Anything lower looks pixelated when you cut and frame. Test one sheet first to avoid wasted paper.
Q: My prints curl when I cut them, what fixes that?
A: Use heavier stock like 110lb cardstock. Spray the back lightly with starch on boucle or textured sheets before cutting. Laminating edges also stops curl and makes pieces kid and pet-proof.
Q: Can I hang printable art in a rental without nails?
A: Yes. Use picture hanging strips or removable hooks for items under about five pounds. For heavier shadow boxes put them on a ledge so no hardware is needed.
Q: What size should I print for a small wall?
A: Keep the largest piece no bigger than 18×24 for tiny rooms. For mix-and-match use the rule of odds and hang at a 57-inch center height with about 24 inches spacing between mid-sized prints.
Q: Do I need a Cricut for die-cut projects?
A: Nearly half skip tools altogether. Many templates are hand-cut friendly. For repeated shapes a simple circle punch or a craft knife and ruler works fine.
Q: How do I make printables last around pets and kids?
A: Laminate coasters and placemats with 10 mil pouches and seal edges. Use matte laminate to reduce gloss and stick magnet-backed sheets for high-touch surfaces.
Q: Are printable fabrics worth it for pillows?
A: They can be if you print at 300 DPI on linen-look transfer sheets and pre-treat fabrics with starch. Use 18×18 iron-on adhesive sheets and sew seams when possible to avoid peeling.
