
My living room had nice furniture but it still felt like a waiting room. Took me forever to realize the walls were shouting blank. I cut simple shapes on my Cricut, stuck them up, and suddenly the room behaved like it belonged to someone. These decals are fast, removable, and cheap, and they are the kind of small tweak that actually changes the vibe.
These ideas lean modern cottage and casual boho. Most projects are under $30, with a few tools around $50 if you do a lot of cutting. Great for tiny living rooms, narrow hallways, small bedrooms, and rental walls where you cannot paint.
Playful Geometric Cluster for Small Living Rooms
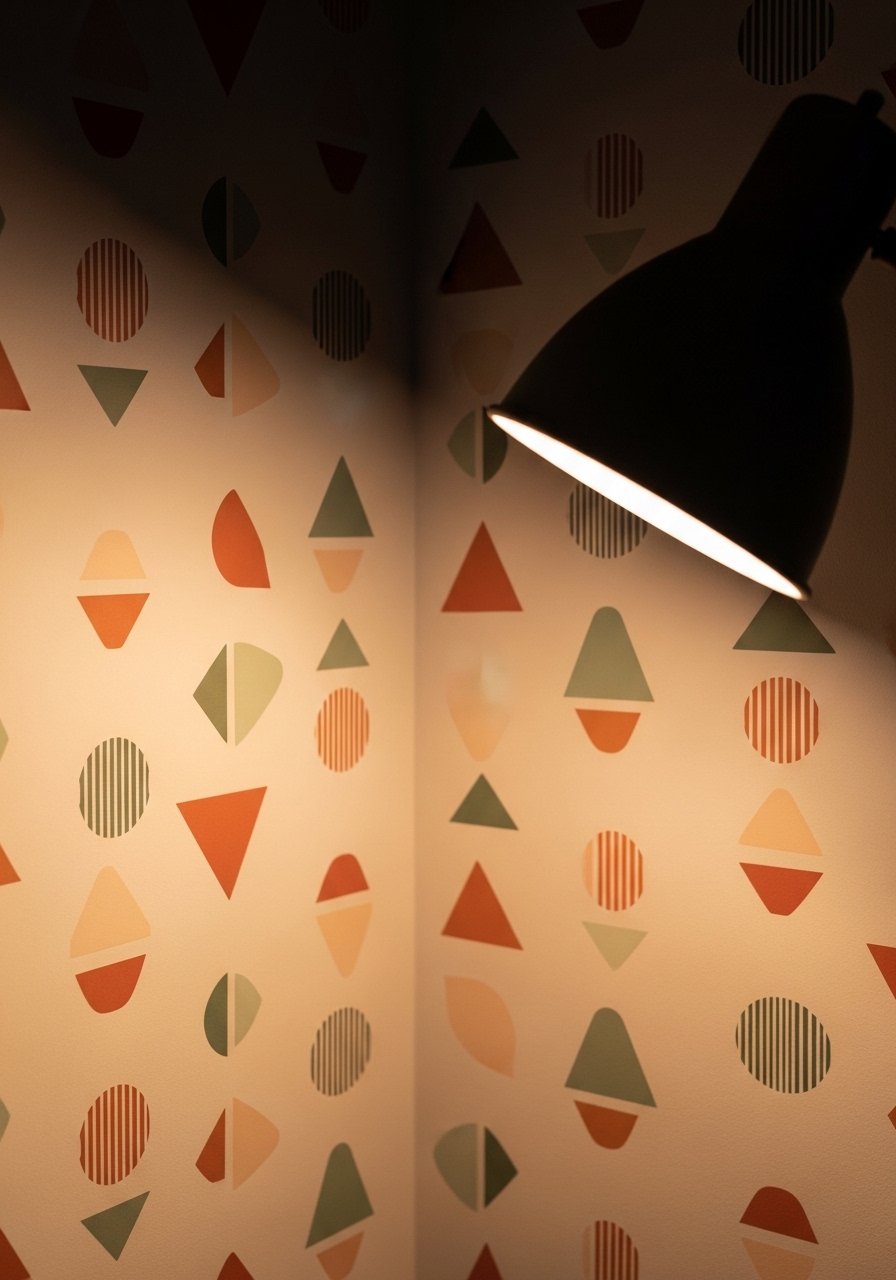
The geometric cluster works because it gives shape without heavy frames. I cut 2-inch and 4-inch triangles and circles and arranged them in a loose cluster that fills roughly 40 percent of the wall above the sofa. It reads intentional, not crowded. Use removable adhesive vinyl so it peels away cleanly if you change furniture. I grabbed a pack of removable adhesive vinyl sheets for under $12 and a cheap transfer tape roll to place them precisely. Common mistake, make shapes too uniform. I mixed sizes and rotated some pieces by 15 to 30 degrees and it feels lively.
Minimalist Line Art for Narrow Hallways
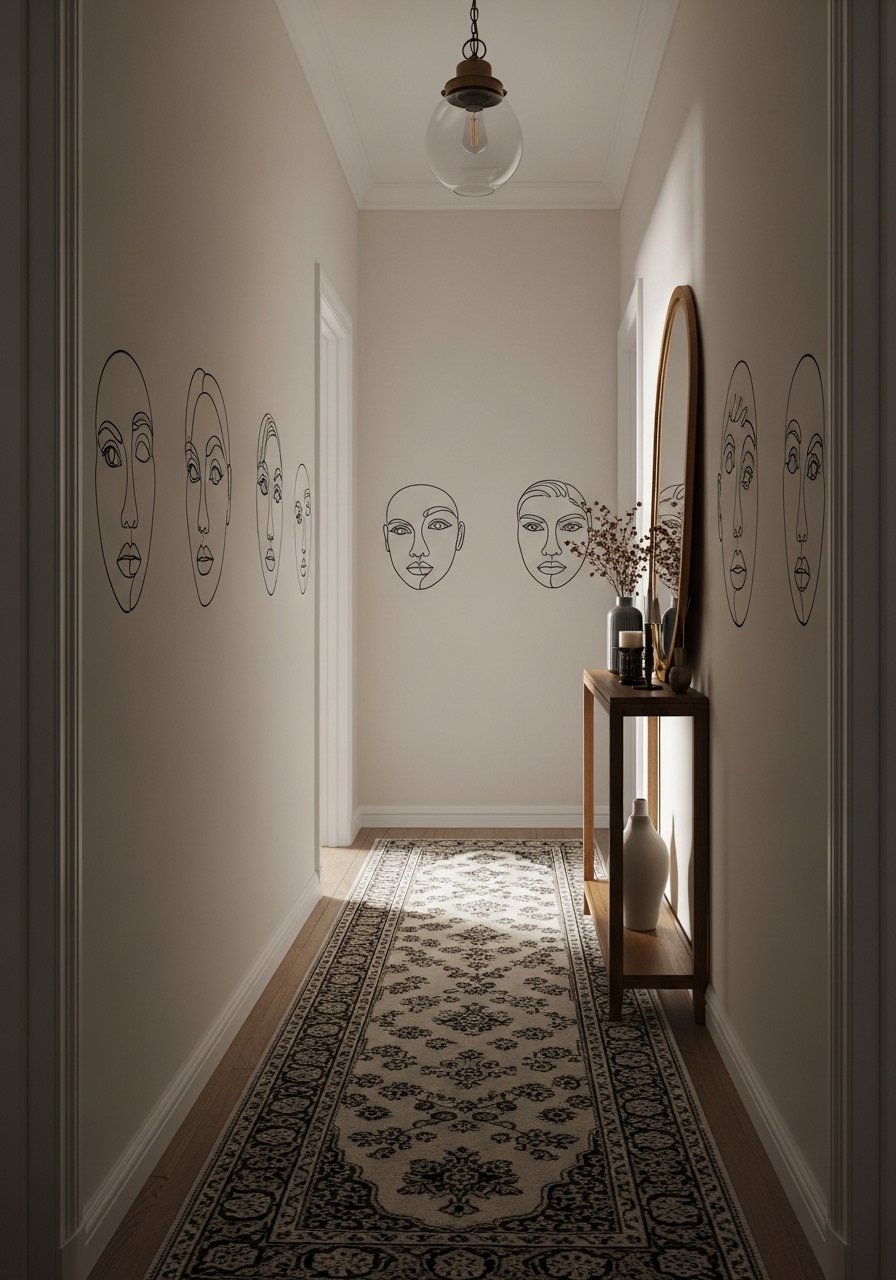
Thin line-art decals make a hallway feel curated without taking up floor space. I tracked eye level at 60 inches from the floor and kept each face decal about 8 inches wide. That measurement stops the gallery from creeping into shoulder space. For small spaces keep the color low contrast, I used matte black. I used permanent printable vinyl sheets because the vinyl handled thin lines better. Mistake to avoid, don’t place them too high. If they hover above eye line they feel disconnected from the furniture and look off.
Botanical Silhouettes for Tiny Bedrooms
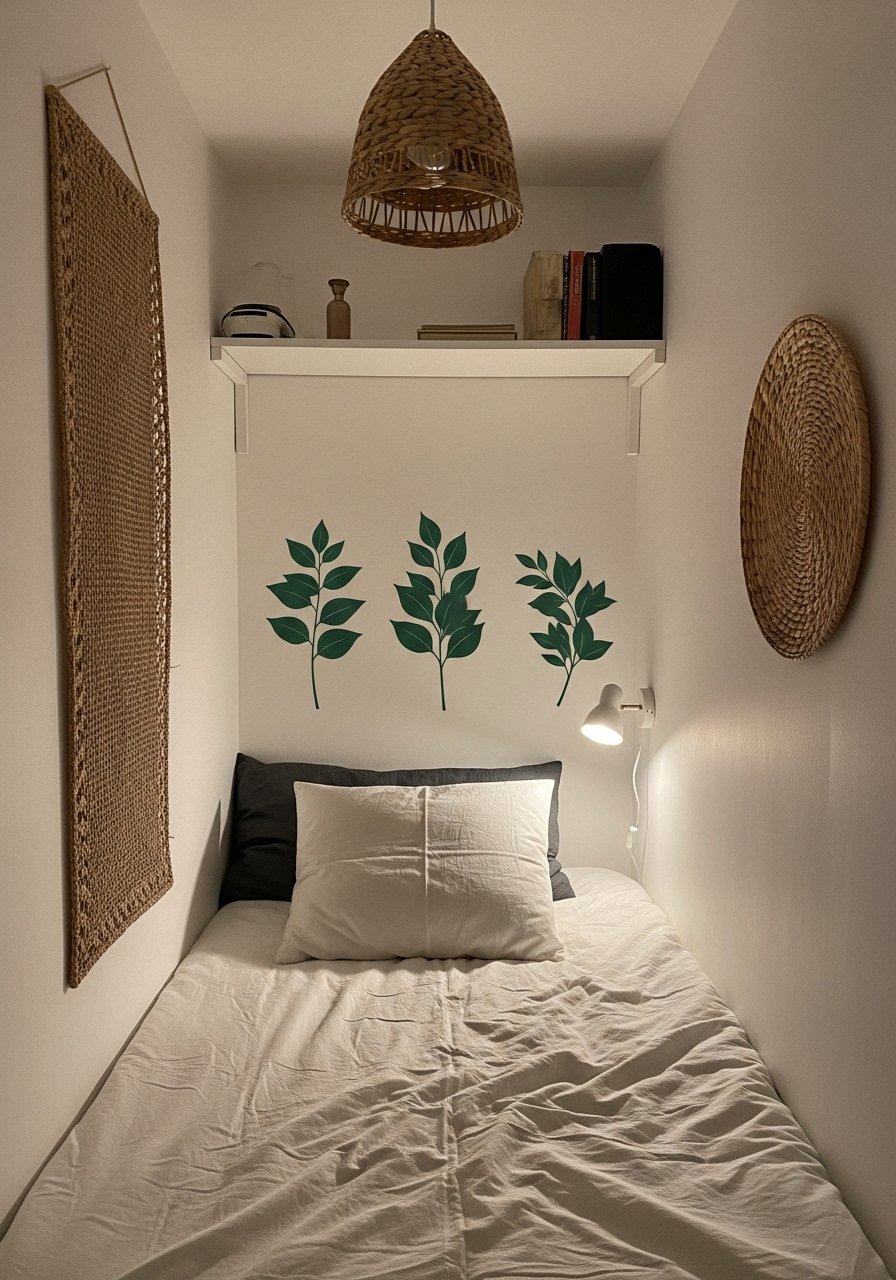
A few leaf silhouettes add scale without bulk. For a twin bed I cut two 12-inch leaves and one 18-inch palm. They flank the headboard and make the bed feel anchored. I recommend using adhesive that you can reposition, because you will tinker with spacing. I used matte green removable vinyl in bulk and a small squeegee tool to avoid air bubbles. Newcomers often make the error of scaling decals to the size of the wall rather than the furniture. Keep decals about 60 to 75 percent of the furniture width they sit above.
Faux Wainscoting Strips for Rental Living Rooms
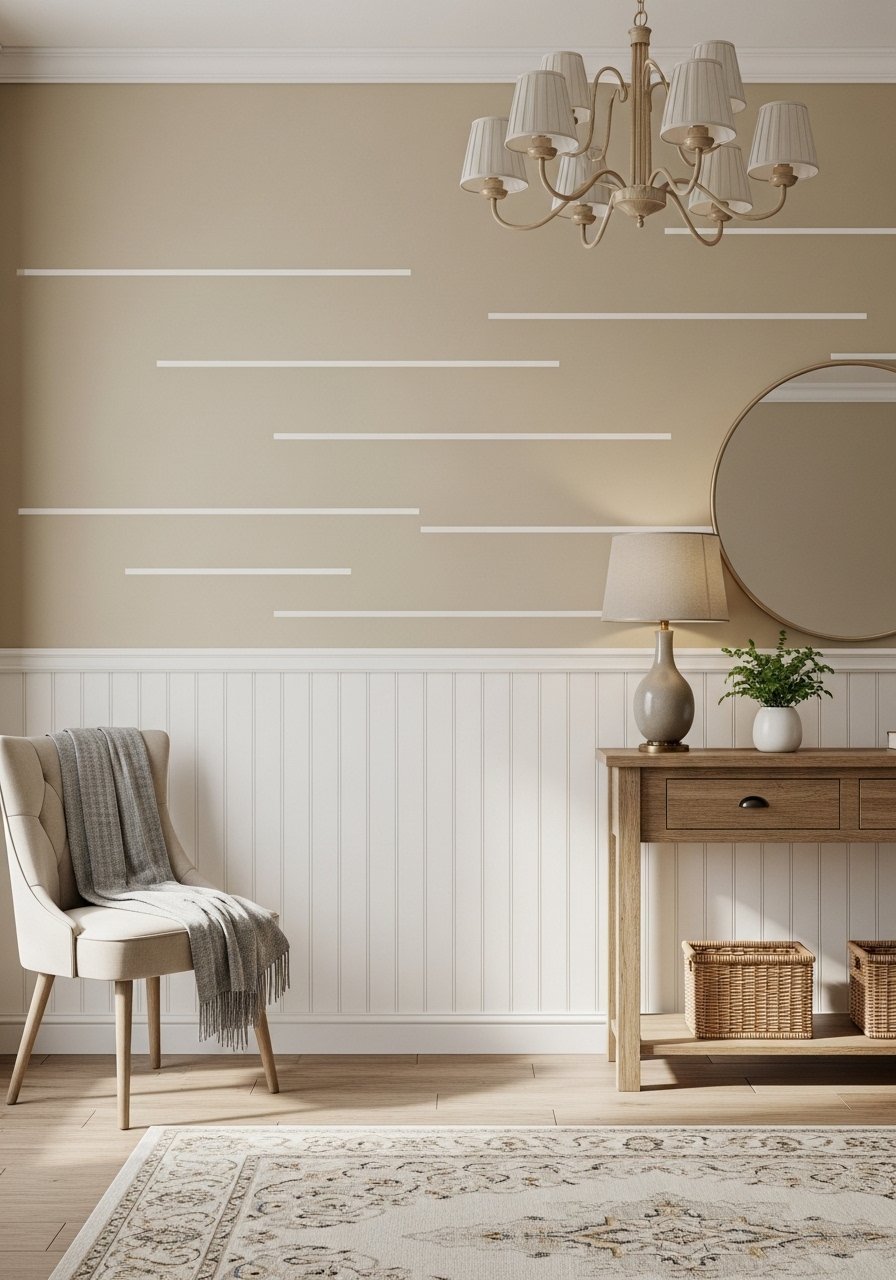
I could not paint the rental, so I cut 3-inch strips to mimic wainscoting and ran them around the room at 36 inches up the wall. The strips add dimension and work with any sofa. Use high-bond removable vinyl for edges and a level to keep lines straight. I bought white adhesive vinyl rolls and a laser level for $20 that saved so much time. People often place the molding too high. The 36-inch rule ties visually to furniture and makes rooms feel grounded.
Oversized Quote in Slim Serif for Entryways
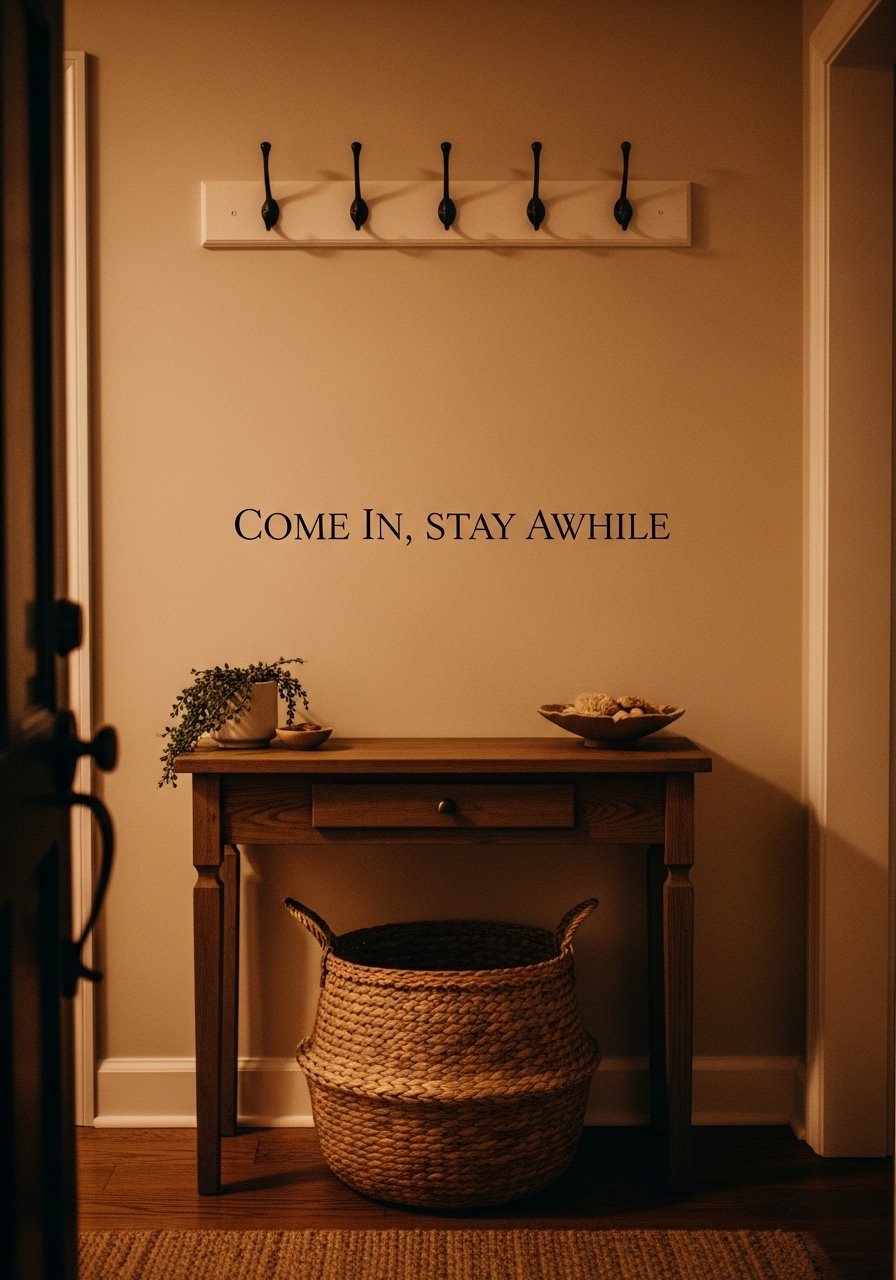
One large wordy decal can replace multiple frames in a small entryway. I chose a narrow serif font and set the phrase to 36-inch width so it reads from the sidewalk through the front door. Narrow fonts keep the text from feeling loud. I cut it from black removable vinyl and used application fluid technique to shift into perfect position. Common mistake, too much flair in the font. Stick to simple serifs for legibility at a distance.
Tiny Map Decals for Home Office Nooks
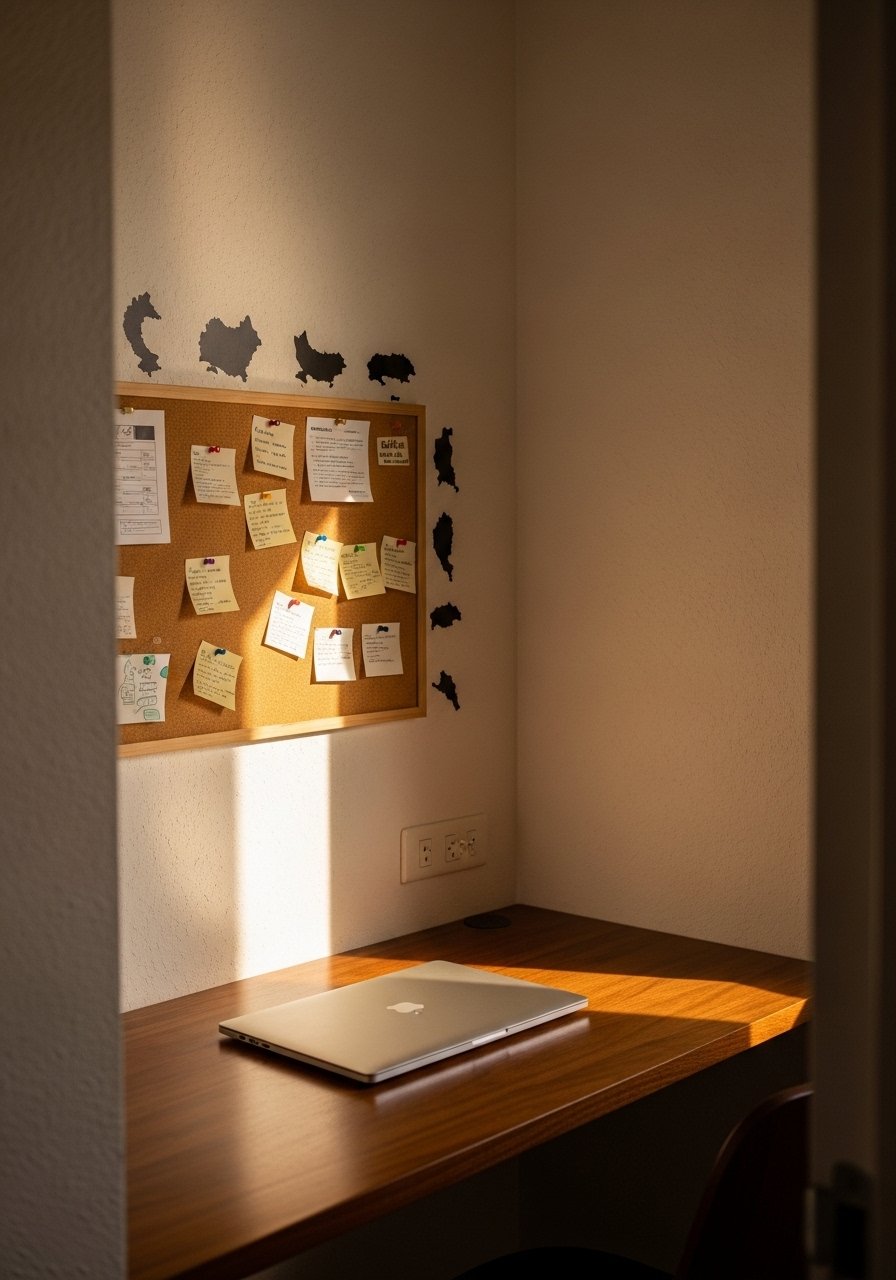
Maps are great when you do them small and sparse. I cut 3- to 5-inch country shapes and placed them like pinpoints near where I traveled. It takes about ten decals to make a statement without overwhelming a tiny office. Use printable vinyl if you want multi-color regions. I used a set of printable vinyl sheets and a fine-point blade. Rookie mistake, using too many colors. Limit yourself to two colors to keep the look cohesive.
Floating Shelf Outline for Studio Apartments

When you cannot add shelves this outline decal gives the perception of storage and style. I cut a 24-inch shelf silhouette and added small book and plant decals above the real narrow shelf. It creates depth and tricks the eye. I recommend using matte brown vinyl and aligning the bottom of the decal with the shelf top exactly. Many people forget to line up edges, which breaks the illusion. Pair this with the botanical silhouette idea for a cohesive corner.
Half-Wall Mural for Tiny Dining Corners
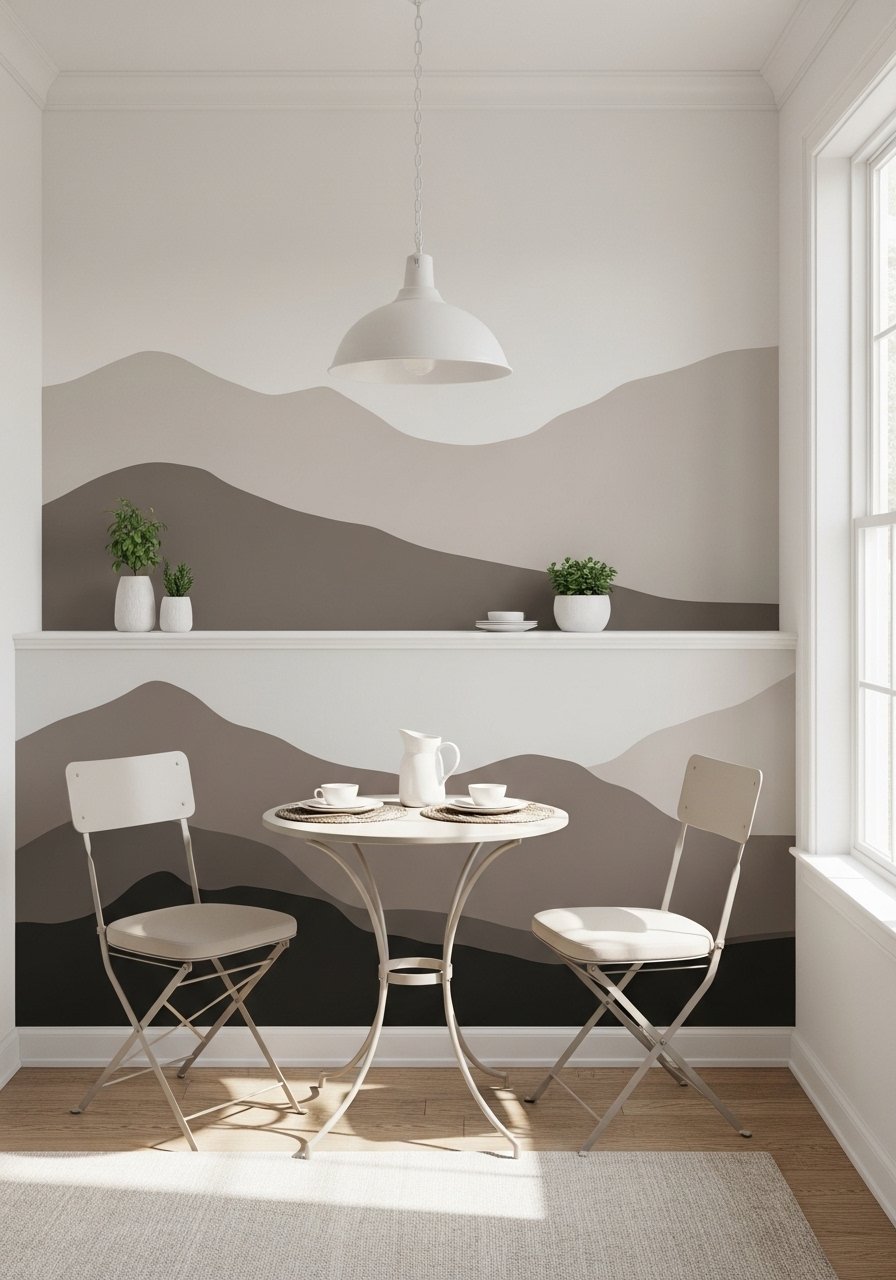
A half-wall mural covers only the lower third of the wall and makes a small dining corner feel intentional. I used three tones in a horizontal hill pattern, each band about 8 inches tall, and kept the total height at 24 inches. That proportion holds with standard chair back heights. Removable adhesive vinyl works best because you might change the pattern later. I ordered multi-color vinyl rolls. Mistake to avoid, let the mural bleed into the chair space. Stop at chair-back height to avoid visual clutter.
Coordinated Window Film for Privacy in Small Rooms
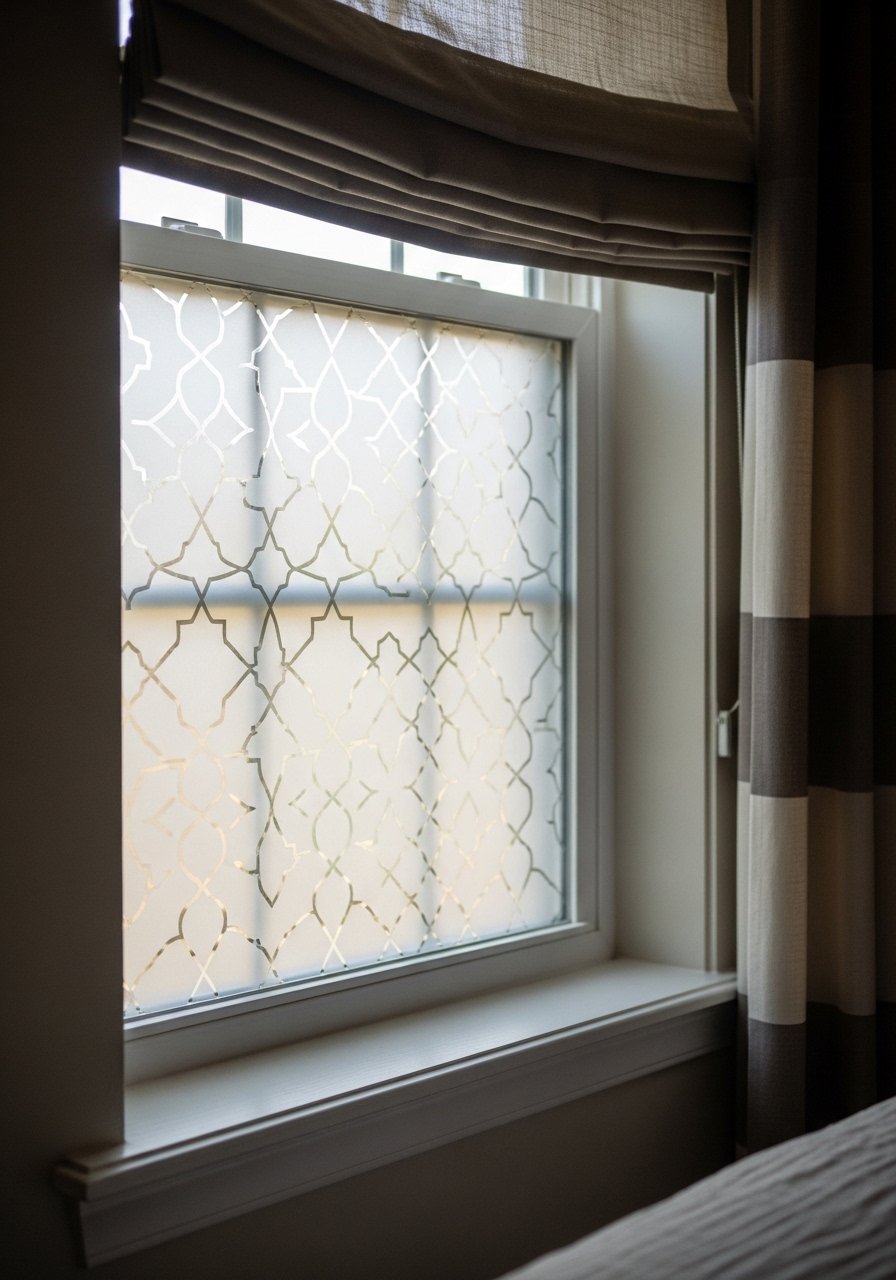
Frosted window vinyl gives privacy and style without heavy drapery. I cut repeating geometric panels and applied them to the lower half of the window. That keeps light coming in through the top while adding pattern. For 30-inch wide windows a 15-inch tall band looks balanced. I used frosted removable window film and a small squeegee tool to smooth bubbles. A common error is overlapping sections too much. Keep seams tight and use water for repositioning.
Pet Silhouettes for Narrow Stair Walls
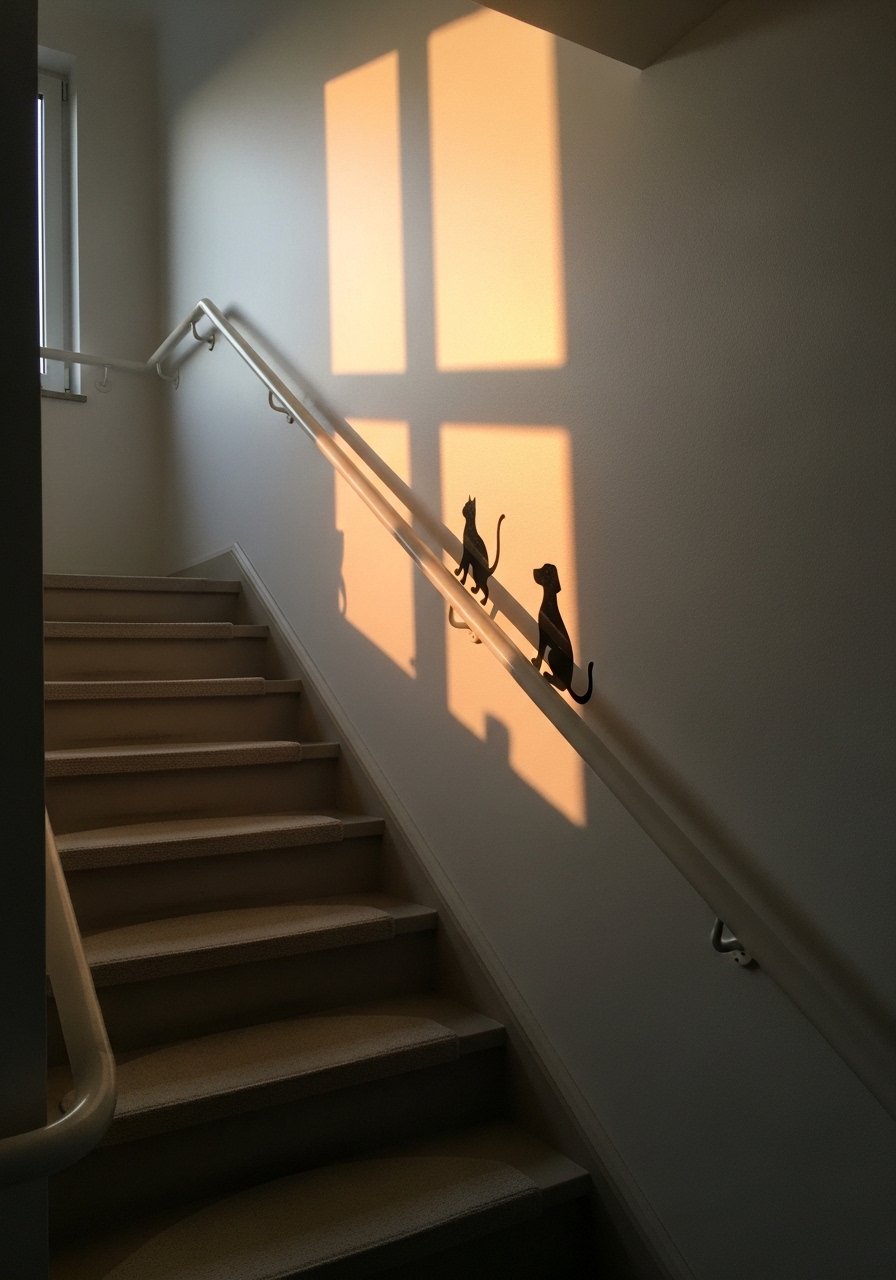
If stairs feel cold, a row of small pet silhouettes adds personality and motion. I spaced five silhouettes at 10-inch intervals matching the stair riser height. That spacing reads like a visual step and feels playful. Use durable removable vinyl for high-traffic areas. I used durable outdoor-grade removable vinyl since hands sometimes brush these walls. People often center the row on the wall instead of aligning with the stair nosing. Align with the nosing and it will look integrated.
Tiny Patterned Borders for Kitchen Backsplash
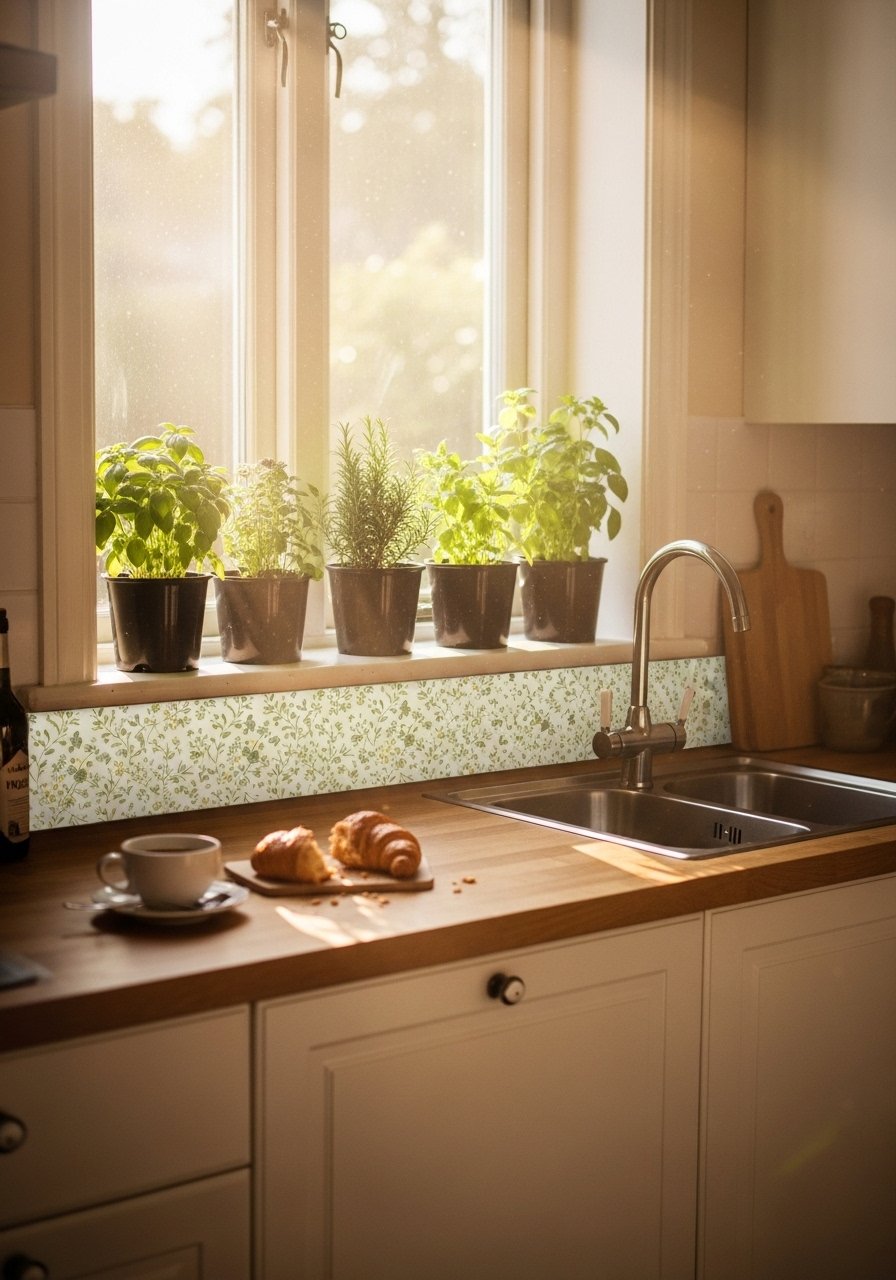
If you do not want to replace tile, a thin patterned border across the backsplash adds color and keeps the kitchen light. I cut 2-inch patterned strips and ran them the length of the counter. For standard counters the strip looks right at 2 inches. I used water-resistant adhesive vinyl and wiped with a damp cloth. Don’t place it behind the stove without checking heat tolerance. A quick real-life note, oil spatters are more obvious on light patterns.
Layered Monochrome Shapes for Small Bathrooms
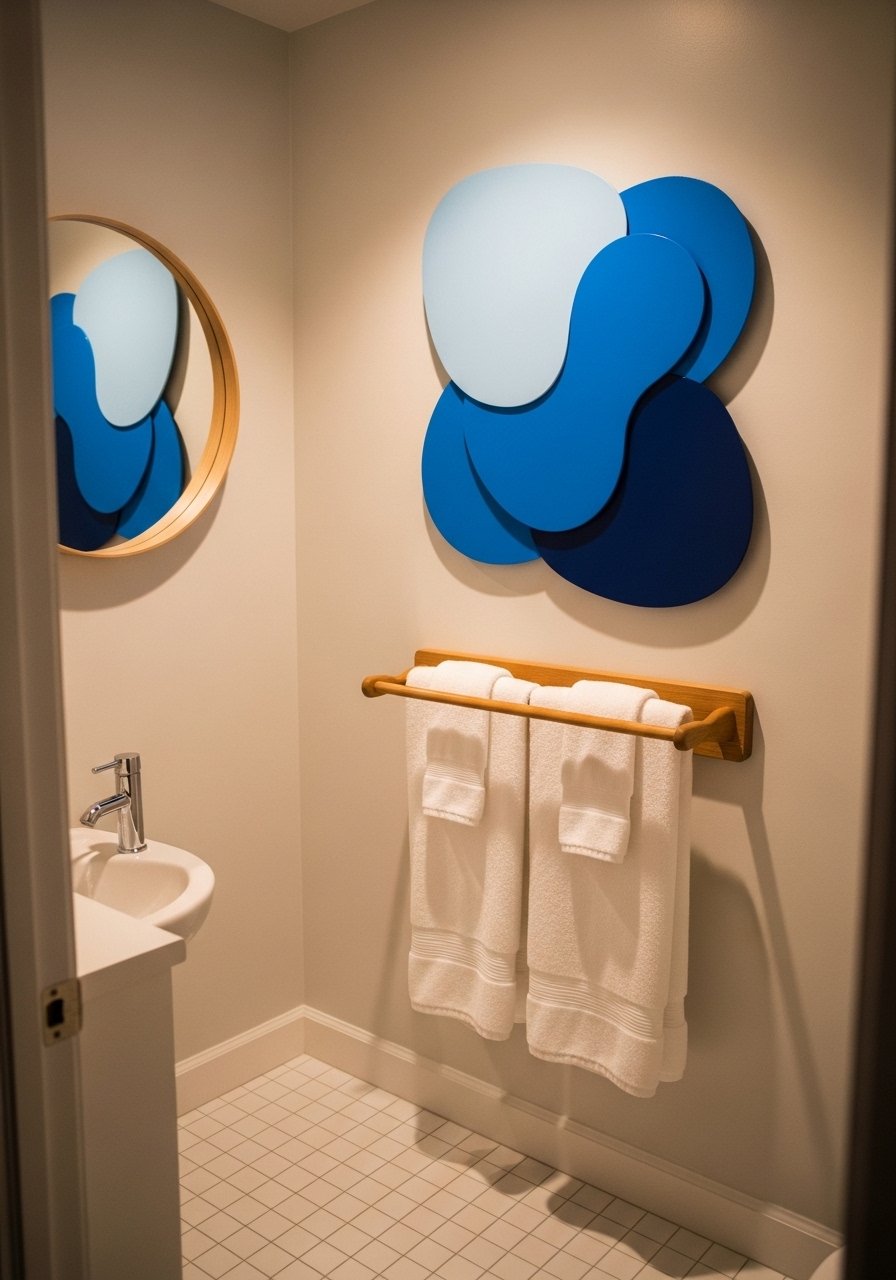
Bathrooms are tiny but forgiving for bold shapes because they have few competing surfaces. I layered three shades of the same color in oval shapes, each 6 to 10 inches, and kept the group compact above the towel rack. The result is spa-like but calm. Use matte vinyl to avoid glare under bathroom lighting. I used matte-blue vinyl sheets. Mistake, using glossy finishes near mirrors. It creates glare and cheapens the look.
Pet-Height Play Area for Kid-Friendly Corners
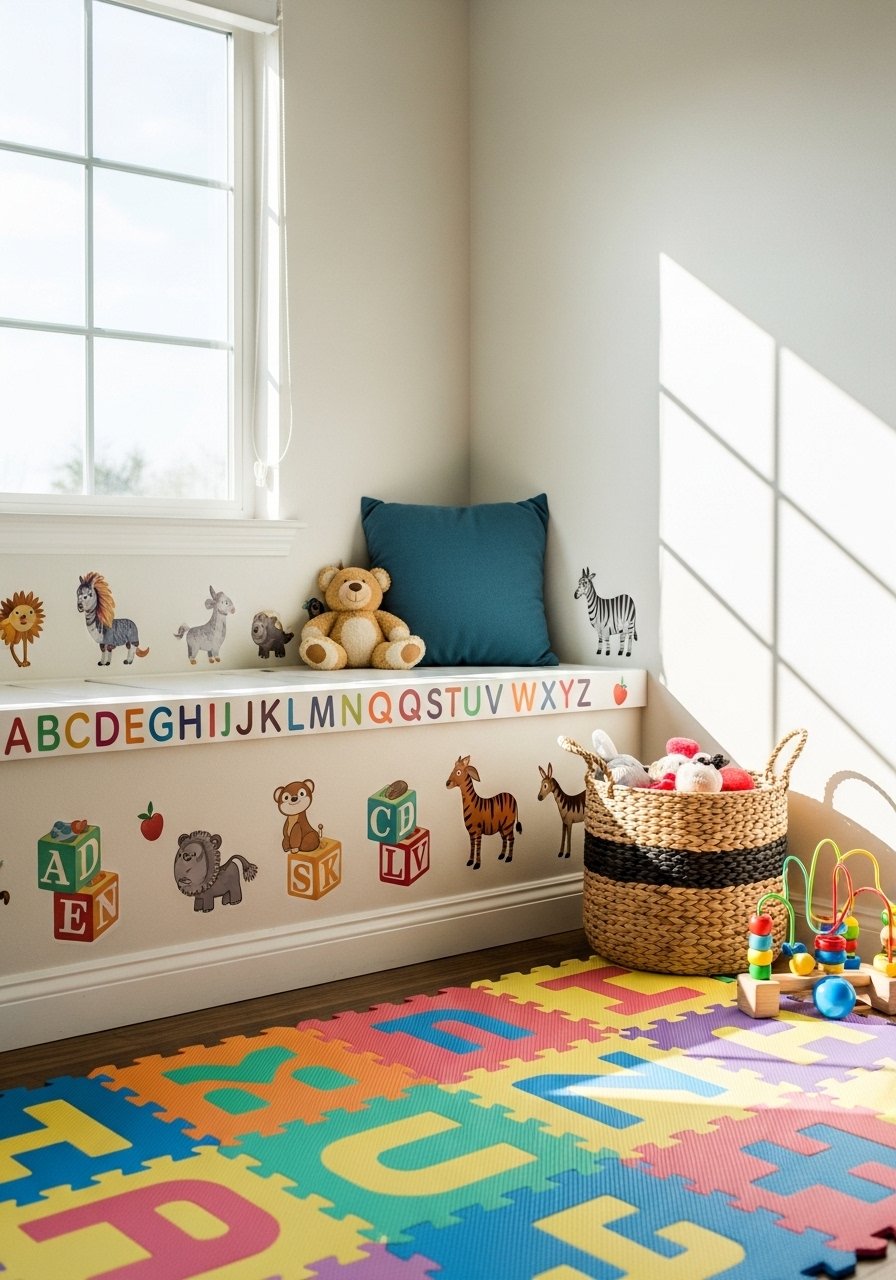
Decals at kid height make a play area feel designed. I kept letters at 6 inches and images under 10 inches so toddlers can touch them without overwhelming the wall. Vinyl is easy to clean with a damp cloth. I bought wipeable removable vinyl sheets. Common oversight, placing art too high for kids. If the point is interaction, put it where they can reach.
Corkboard Outline for Rental Offices
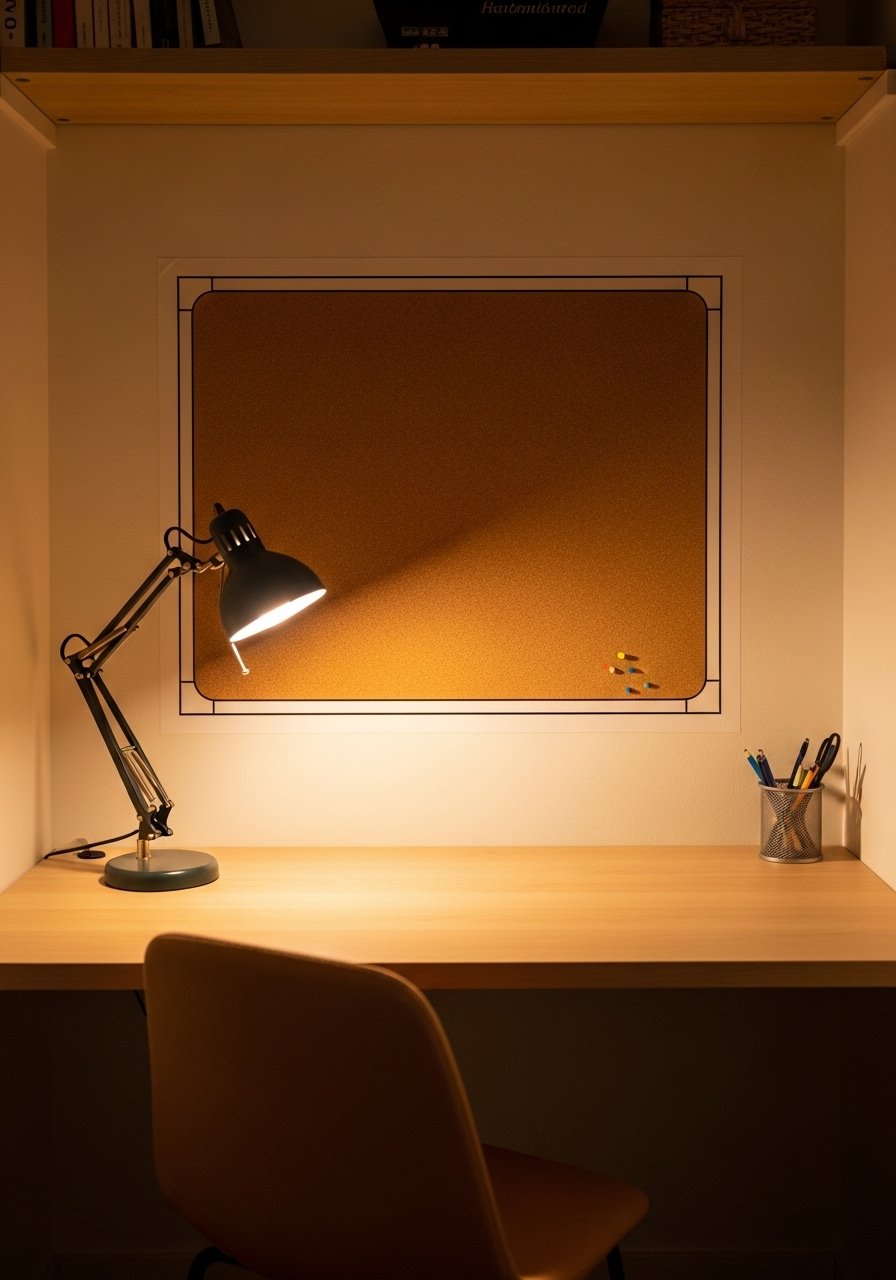
If a full corkboard is not allowed, outline one with vinyl and place a small real cork inside. I cut a 24-by-18-inch outline and a 6-inch cork square centered inside. The combo reads like a single feature and is renter-safe. I used tan removable vinyl for the frame and a small cork square. Beginners forget to center the cork. Measure twice, stick once.
Tiny Abstract Faces for Bordered Nook
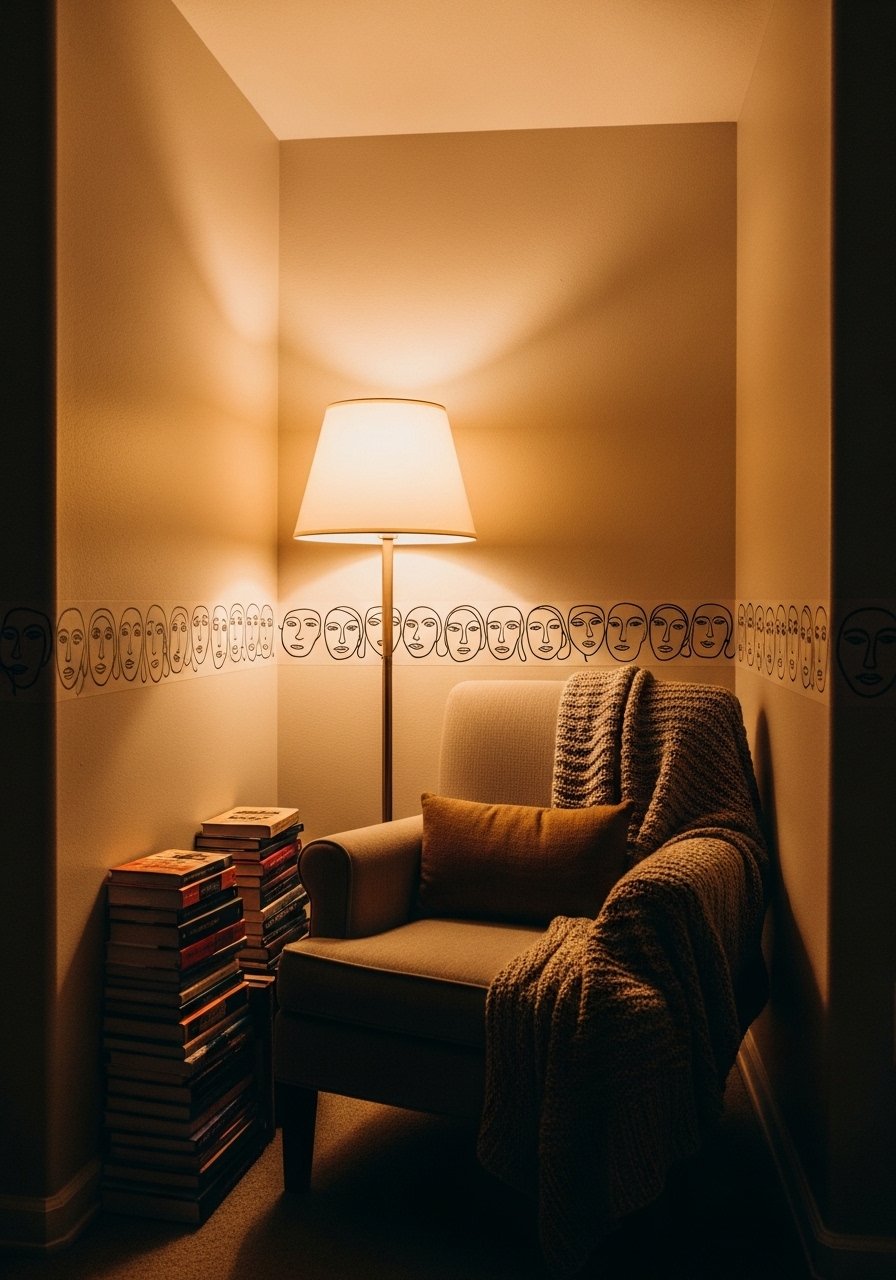
A border of abstract faces around a reading nook makes the space feel curated and playful. I used faces about 5 inches tall spaced 6 inches apart and kept the border 12 inches from the chair back. That keeps a personal scale for one person without crowding. I cut from black removable vinyl. A common mistake, repeating the same face. Vary the expressions and angles for rhythm.
Calendar Decal for a Small Command Center
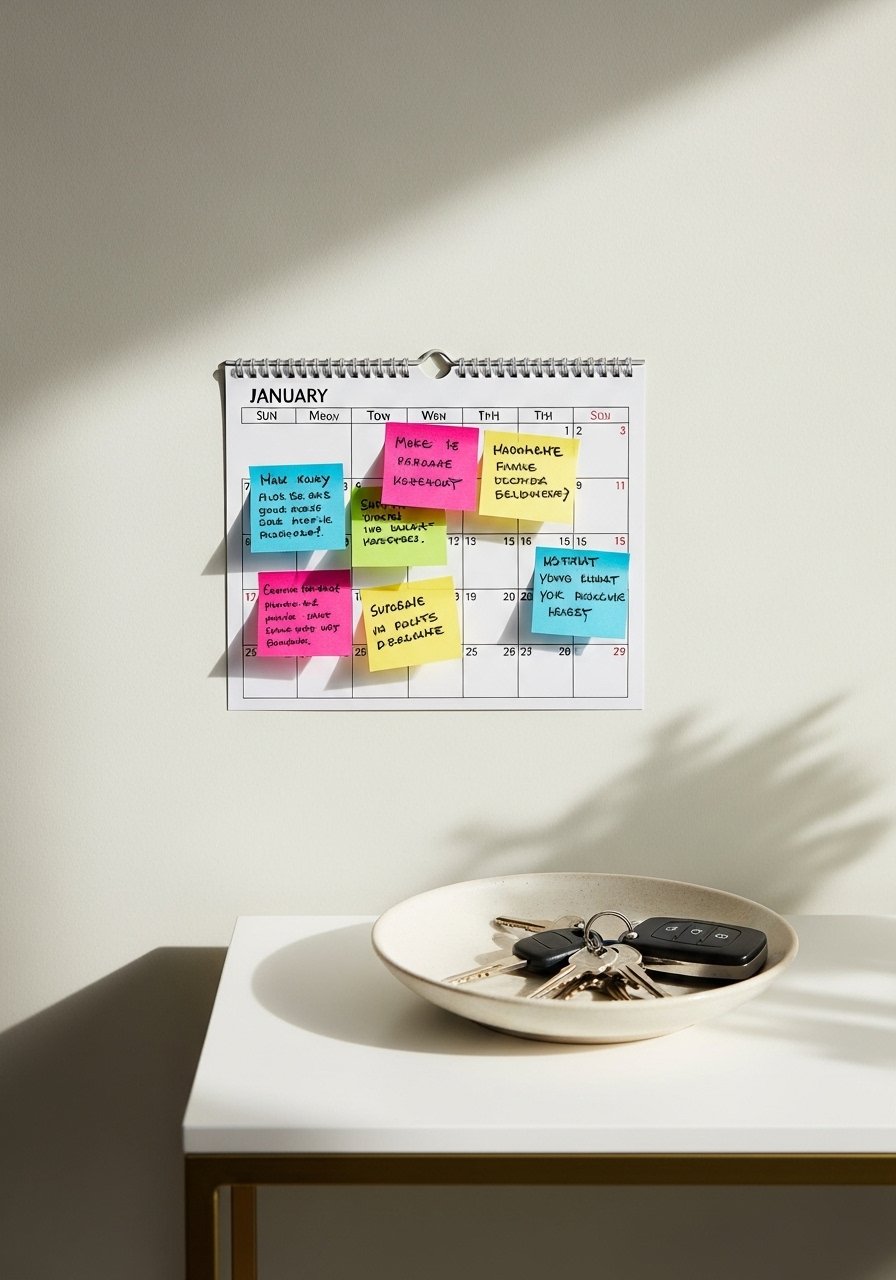
A vinyl calendar grid is tidy and saves wall space. I cut a 24-by-16-inch grid and used a dry-erase marker to write dates. The trick is to leave a one-inch margin on all sides so it doesn’t feel cramped. I used dry-erase-friendly removable vinyl. People often make the grid too small for handwriting. If you want actual notes, each cell needs at least 1.5 inches.
Small Accent Ceiling Decals for Low Rooms
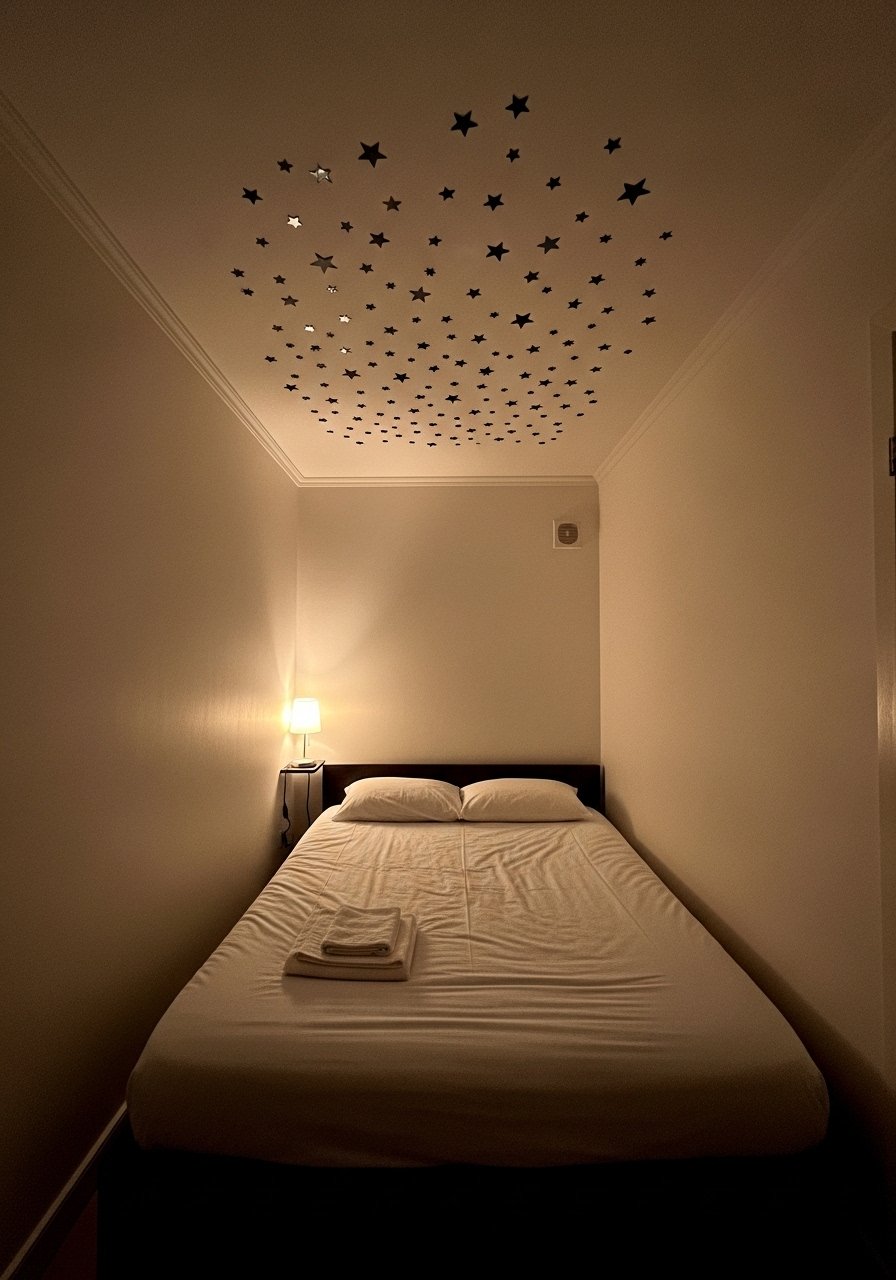
When walls are tight, look up. A scattering of ceiling decals gives height perception and makes low ceilings feel intentional. I stuck small star decals in an 18-by-24-inch area above the bed. Using small elements keeps the ceiling from feeling fussy. I used removable glow-in-the-dark vinyl stars. A mistake is covering the entire ceiling. Keep it concentrated so it reads like a designed detail.
Repeat Pattern Accent for Closet Doors
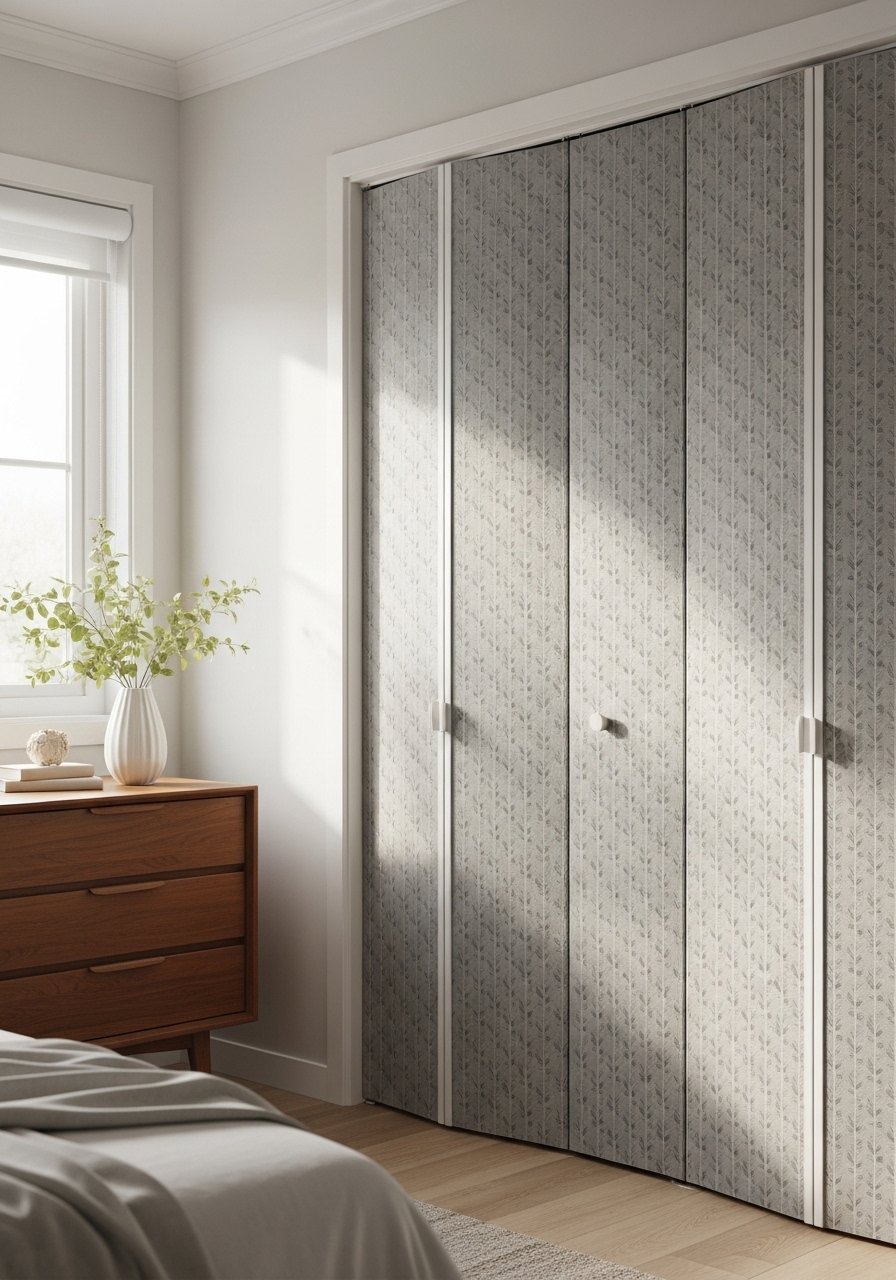
Closet doors often scream bland. A repeated small motif across the panels adds sophistication. I used a 6-inch leaf repeated every 8 inches and matched pattern alignment across folds. The pattern helped the doors read as a single piece. I used peel-and-stick patterned vinyl. Mistake, ignoring the door seams. Match the repeat across panels and it will look intentional.
Stencil-Style Border for Small Bathroom Mirrors
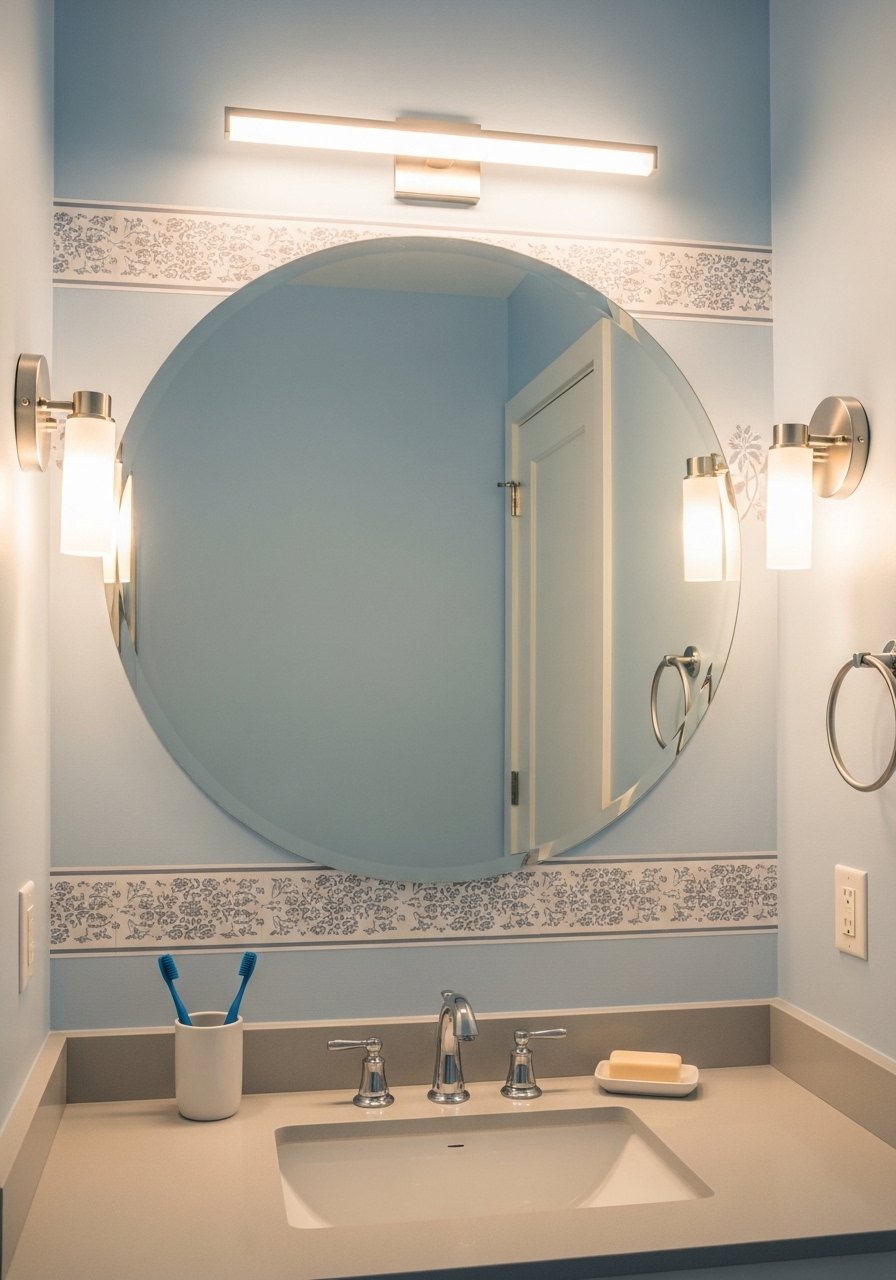
A stencil-style frame around a mirror acts like jewelry for a small bathroom. I cut a 1.5-inch wide ornamental border to fit a 24-inch mirror and applied it flush to the mirror edge. It reads custom without the cost. I used metallic-look removable vinyl for subtle shine. Avoid thick borders which compete with fixtures. A narrow frame keeps the reflection open.
Gallery Line for Above-Doors in Tiny Rentals
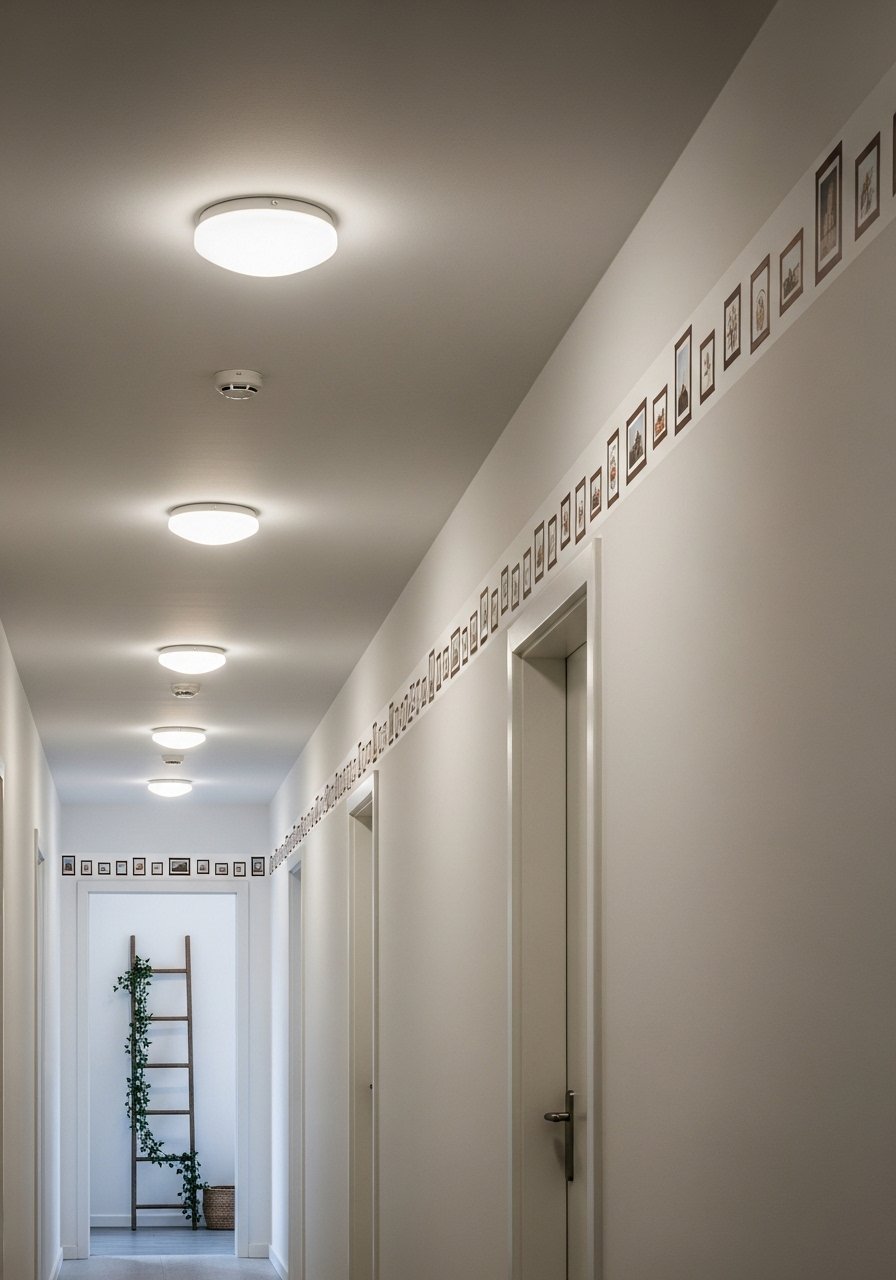
Above-door spaces are wasted real estate in tiny homes. I created a slim gallery line of 6-by-8-inch mini-frame decals spaced 6 inches apart. The row leads the eye and makes ceilings feel taller. I used black removable vinyl frames and printed small photos on printable vinyl for inserts. Common mistake, making frames too large. Keep them narrow so the line remains elegant.
Your Decor Shopping List
- Honestly the best little investment. Removable adhesive vinyl sheets, assorted colors in 8.5×11 size for small cuts
- For clean transfers. Transfer tape roll (~$8) to avoid bubbles when applying decals
- For thin cuts and crisp detail. Fine-point replacement blade for Cricut (~$12)
- Wipe-clean surfaces. Dry-erase-friendly removable vinyl for calendars and notes
- For straight lines. Laser level with tripod (~$20), saves alignment mistakes
- Tool kit. Vinyl weeding tool set with squeegee and tweezers
- Subtle shine. Metallic-look removable vinyl in gold and brass tones
- Window privacy. Frosted removable window film for lower-glass privacy bands
- For kitchen use. Water-resistant adhesive vinyl rolls for backsplashes and high-moisture areas
Similar items often show up at Target or HomeGoods if you prefer to shop in person.
Shopping Tips
White oak beats dark wood in 2026. White oak floating shelves look current and pair nicely with neutral vinyl accents.
Grab removable adhesive vinyl sheets for $12 a pack. Use them for testing layout before committing to a roll.
Curtains should kiss the floor or puddle, never hang halfway up. 96-inch linen panels are right for 9-foot ceilings and help decals above windows read as intentional.
If you only want one plant, go big. Artificial fiddle leaf fig 6-foot gives height without maintenance.
Keep a laser level with tripod in your toolkit. It prevents the most common decal error, crooked lines.
Swap glossy for matte near mirrors and shiny fixtures. Matte vinyl sheets avoid glare under harsh lights.
Frequently Asked Questions
Q: Can I remove Cricut vinyl from painted rental walls without damage?
A: Yes if you use removable vinyl. Test a small corner first. Peel slowly at an angle and use a hair dryer to warm stubborn edges. I have removed large decals from rental walls with no paint lifting when I did that.
Q: What blade should I use for thin line art decals?
A: Use a fine-point blade and a standard grip mat. Cut settings vary by machine, but thin lines need slow speed and multiple passes if your blade is older. Replace the blade if cuts pull instead of slicing cleanly.
Q: How large should decals be in relation to furniture?
A: Aim for decals to cover about 60 to 75 percent of the furniture width they sit above. It keeps the scale balanced. For example, above a 72-inch sofa pick a cluster no wider than 54 inches.
Q: Are there vinyl options safe for kitchen and bathroom areas?
A: Yes, water-resistant and outdoor-grade removable vinyl handle moisture better. Avoid placing any vinyl directly behind an active stove burner unless the product specifically lists heat tolerance.
Q: Can I print multicolor designs at home for decals?
A: You can, using printable vinyl and an inkjet printer. Use a protective laminate or transfer film if the decal will see handling. I learned the hard way that plain printed vinyl smudges without a seal.
Q: How do I avoid bubbles when applying large decals?
A: Use transfer tape and a squeegee, and apply from one side while smoothing across. For very large pieces use application fluid to slide into place. A cheap squeegee prevents the most visible mistakes.
Q: What are small mistakes people make that ruin the final look?
A: Two big ones, wrong scale and misalignment. Make sure decals relate to furniture size and use a level. Also try a mock layout on paper or on your phone camera before cutting. That saves buying extra vinyl.
