
My living room had nice furniture and decent lighting but it still felt like a waiting room. Took me embarrassingly long to figure out it was missing texture. Every surface was smooth, every color was flat, and nothing invited you to actually sit down. Making a handful of small clay trays fixed so many tiny problems at once and cost less than a night out.
These ideas lean modern farmhouse with a soft boho tilt. Most projects use air dry clay and stay under $50, with a few tools that push toward $100 if you want better finishes. Great for vanities, entry consoles, bathroom counters, and tiny apartment nightstands. Most trays sell for under $20 handmade. Air dry clay hits over half of quick decor searches now.
Pressed Lavender Tray For Bathroom Vanity
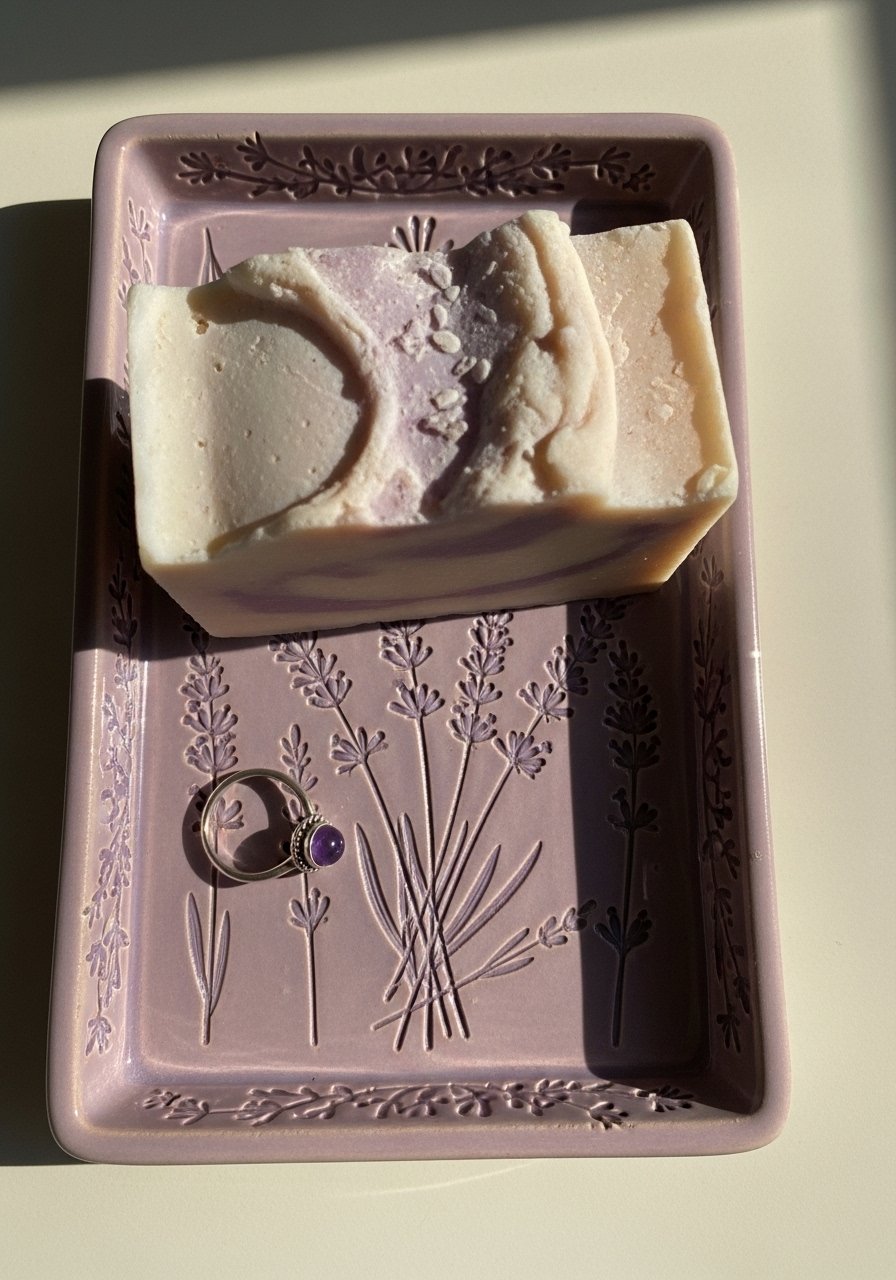
This one works because real lavender presses into the clay and looks like a tiny garden on your counter. Roll air dry clay to exactly 1/4 inch thick, press sprigs gently, and dry the slab over a plastic-clad bowl so it curves slightly and holds jewelry. I paint just the flower tips with a tiny brush for contrast, then seal with polycrylic to handle damp bathroom counters. A common mistake is pressing too hard and tearing petals. Use wax paper under the clay to stop sticking. If you want the supply I use, grab an air dry clay block and a small bottle of polycrylic sealer.
Anthropologie-Style Trinket Dish For Nightstands
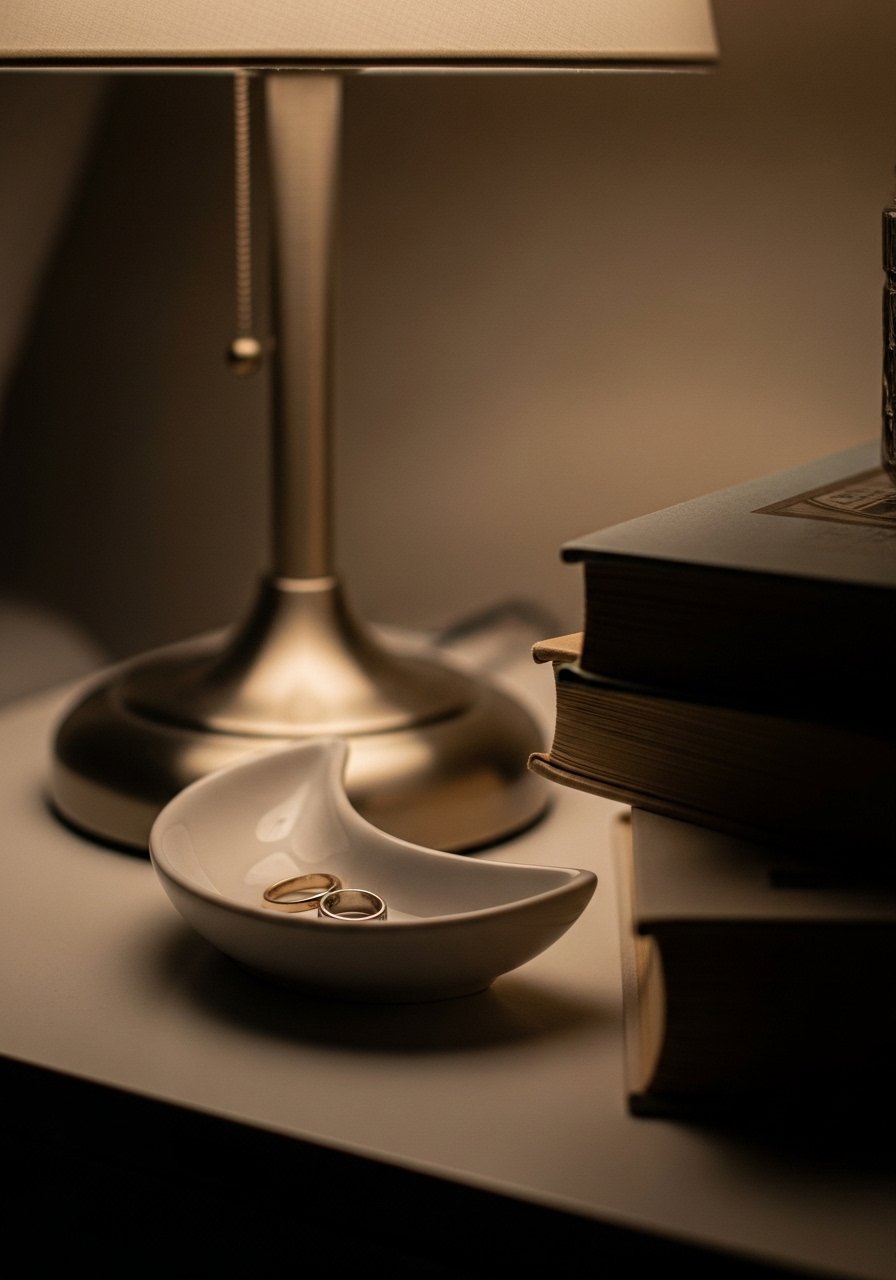
I made this dupe by covering a small ceramic bowl with cling wrap, pressing a 1/4 inch clay slab over it, and trimming the rim after drying. The curve actually keeps rings from slipping off, and four in ten grab curved trays that actually hold stuff. After sanding edges with fine-grit sandpaper, I buffed the rim with gold Rub n Buff for a luxe edge. Biggest mistake is making the clay too thin. Keep it at 1/4 inch so it does not crack while drying. For products, I like this small ceramic bowl for molds and a tube of gold Rub n Buff.
Marbled Clay Tray For Vanity Or Coffee Table
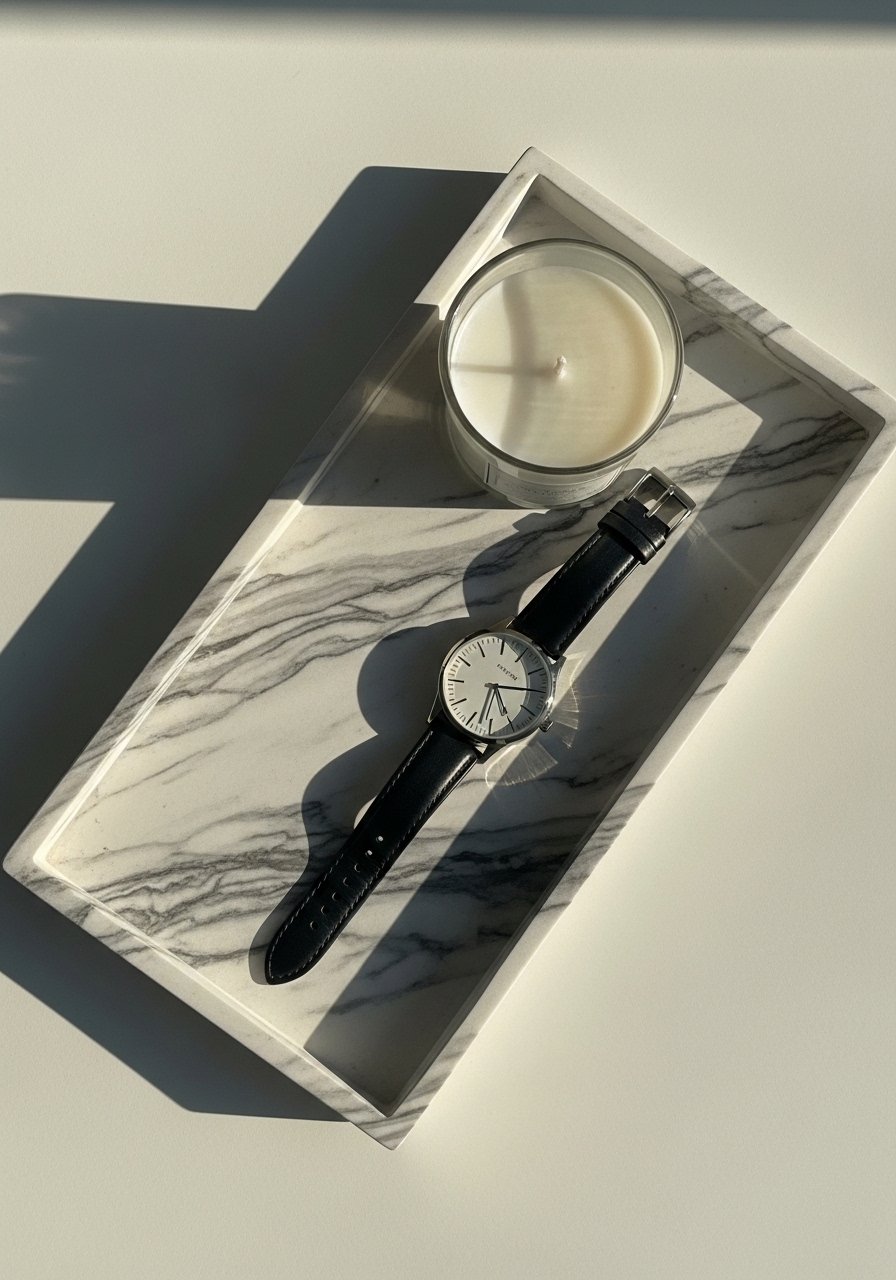
Marbling hides fingerprints and looks high end without a lot of skill. Tear two or three small pieces of different colored air dry clay, twist them gently three times, then roll to 1/4 inch. Too much twisting makes muddied colors. I always dry marbled pieces flat on wax paper, then sand the edges smooth. For intermediate makers, mix a thin strip of metallic into the swirl for subtle sheen. A mistake is overworking the clay until it warms and loses pattern. You will want a proper knife and a set of gray and white clay blocks for clean marbling, plus a reliable craft knife.
Minimalist White Tray For Dresser Or Entry
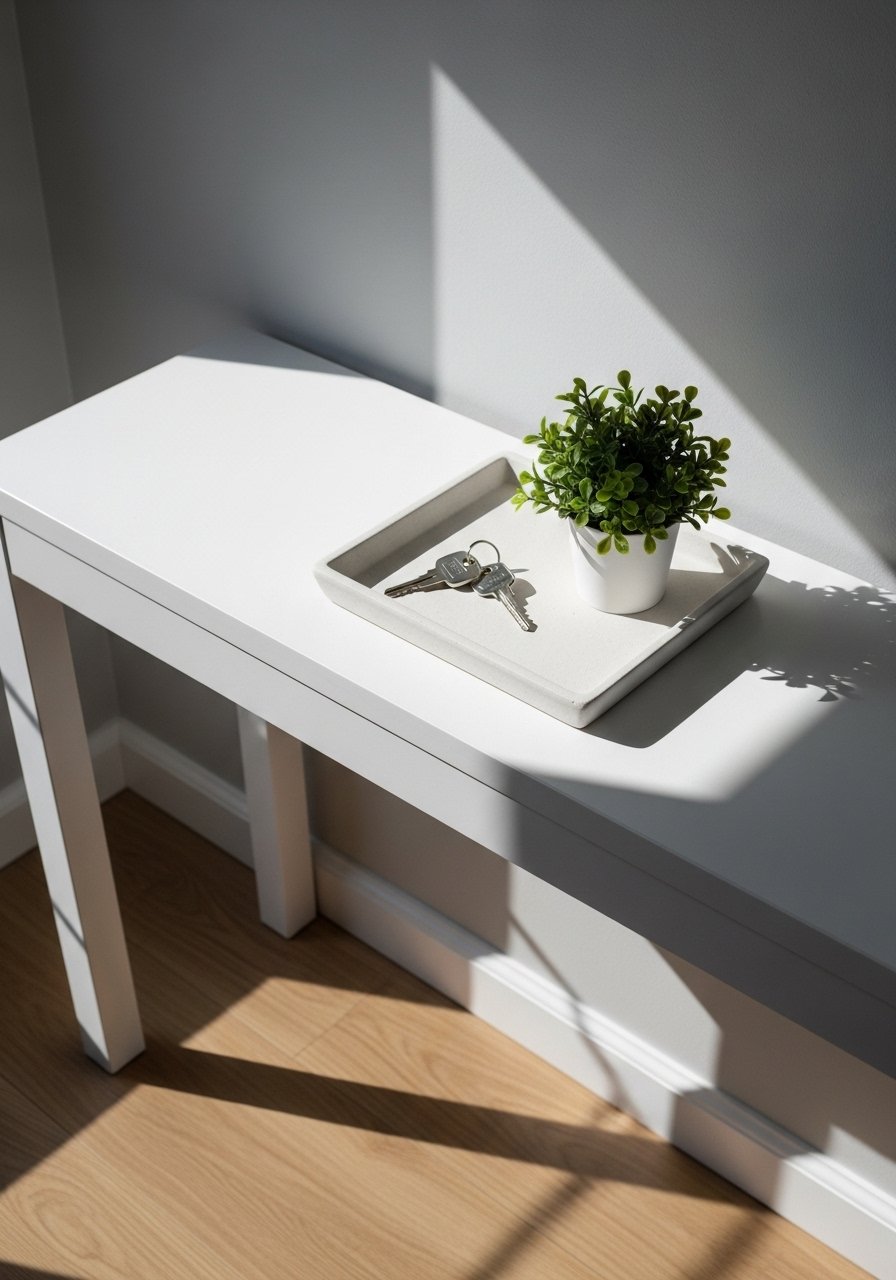
Plain white clay trays let your things look intentional. I roll a 1/4 inch slab over a square bowl so the edges lift slightly. Sanding is the trick here. Use fine-grit sandpaper after drying to avoid rings snagging on rough edges. Seal with a single coat of polycrylic so water rings from wet keys do not ruin the finish. People often make these too big for small consoles. Measure the bowl first so the tray fits your space. For supplies try an air dry clay pack in white and a pack of fine-grit sandpaper sheets.
Pastel Painted Tray For Kid-Friendly Counters
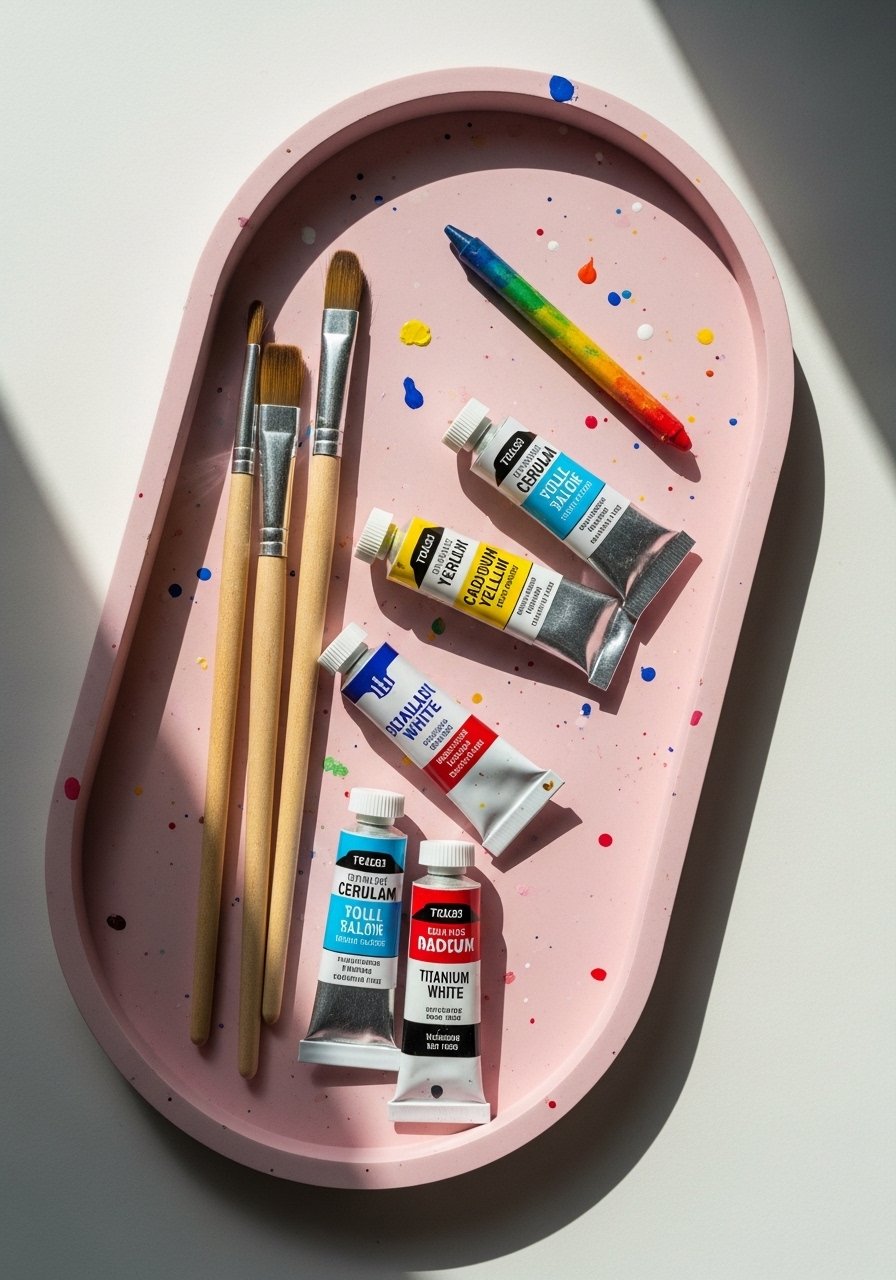
Soft pastels warm sterile counters without shouting. Press a few leaf imprints for texture, paint dents thinly with craft paints, and finish with polycrylic. Thin layers are key so paint does not bleed in detailed imprints. If kids will handle these, make the base thicker than 1/4 inch to survive drops. Family-friendly tip I learned the hard way was sealing fully, since raw clay chips with daily use. For paints and sealers look at this craft paint set in pastels and a water-based polycrylic.
Geometric Hex Tray For Modern Entry
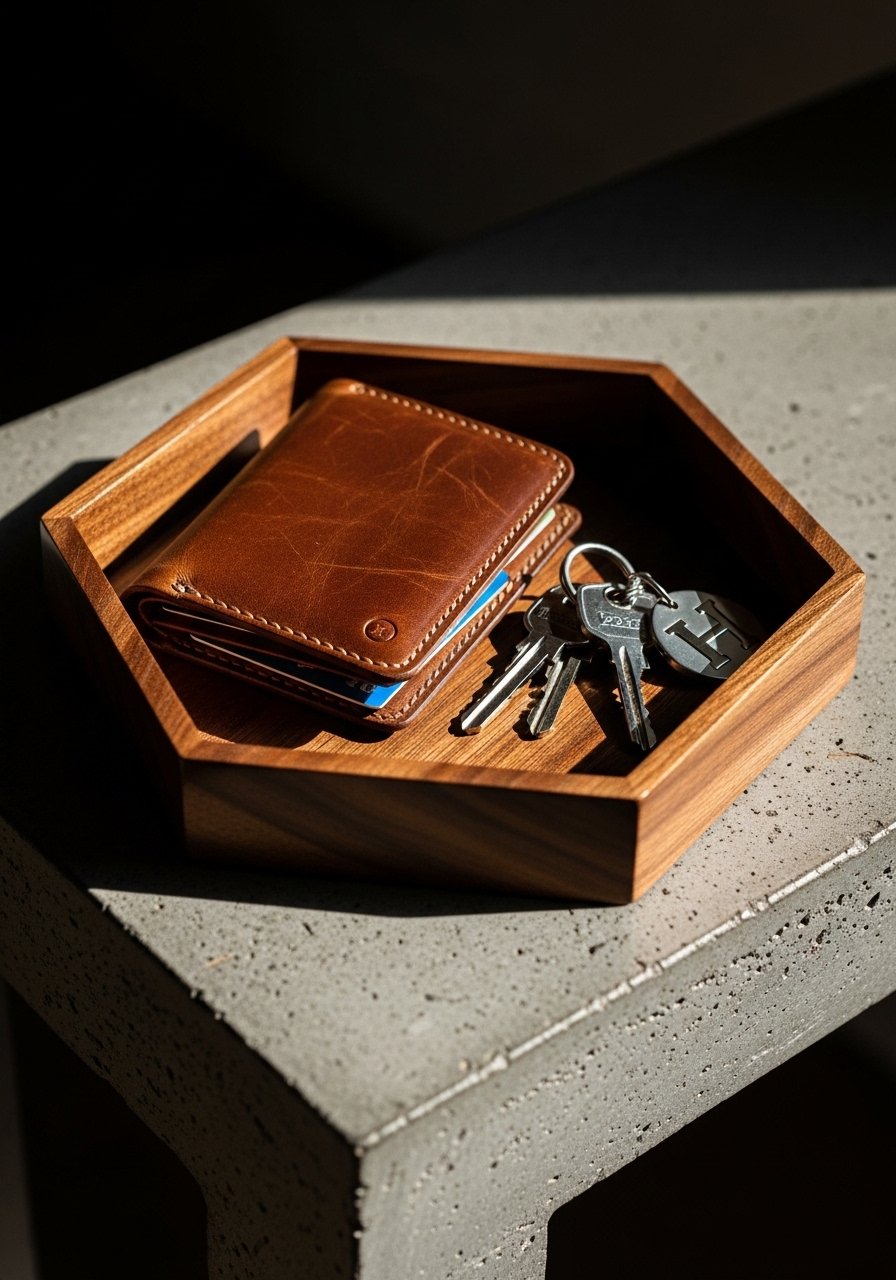
Cutting sharp shapes makes a chunky, modern statement. Roll clay to 1/4 inch and use a ruler and precision knife to cut hexagons. Let them dry flat on wax paper, then sand edges so they feel intentional not rough. If you want a curved version, dry the piece over an upside-down bowl. A common mistake is trimming while leather-hard which causes chipping. One detail most tutorials miss is matching tray size to the bowl or countertop size. For tools try a precision straight edge knife and a set of small metal rulers.
Napkin Decoupage Tray For Pattern Lovers
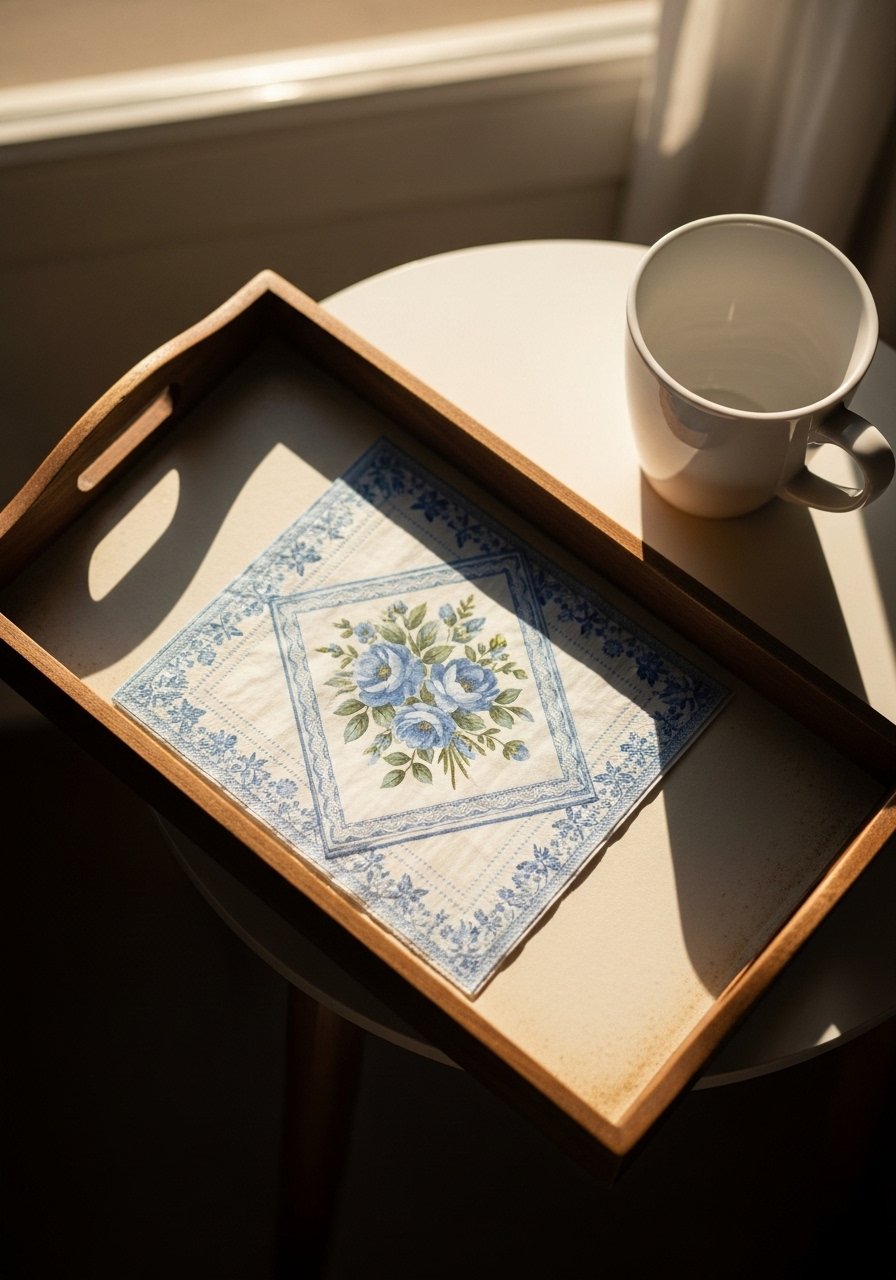
Napkin transfer lets you get any pattern without mastering painting. After the clay dries and you sand the surface, brush Mod Podge onto the napkin and smooth it on, then seal with a top coat. Use single-ply napkins or separate layers for cleaner transfers. People often use too thick a glue layer and end up with bubbles. I like mixing fluted edges with printed centers for contrast. A detail others skip is letting the Mod Podge cure fully for 24 hours before light use. Try a Mod Podge decoupage medium and a pack of floral cocktail napkins.
Gold-Edged Jewelry Dish For Dressing Tables
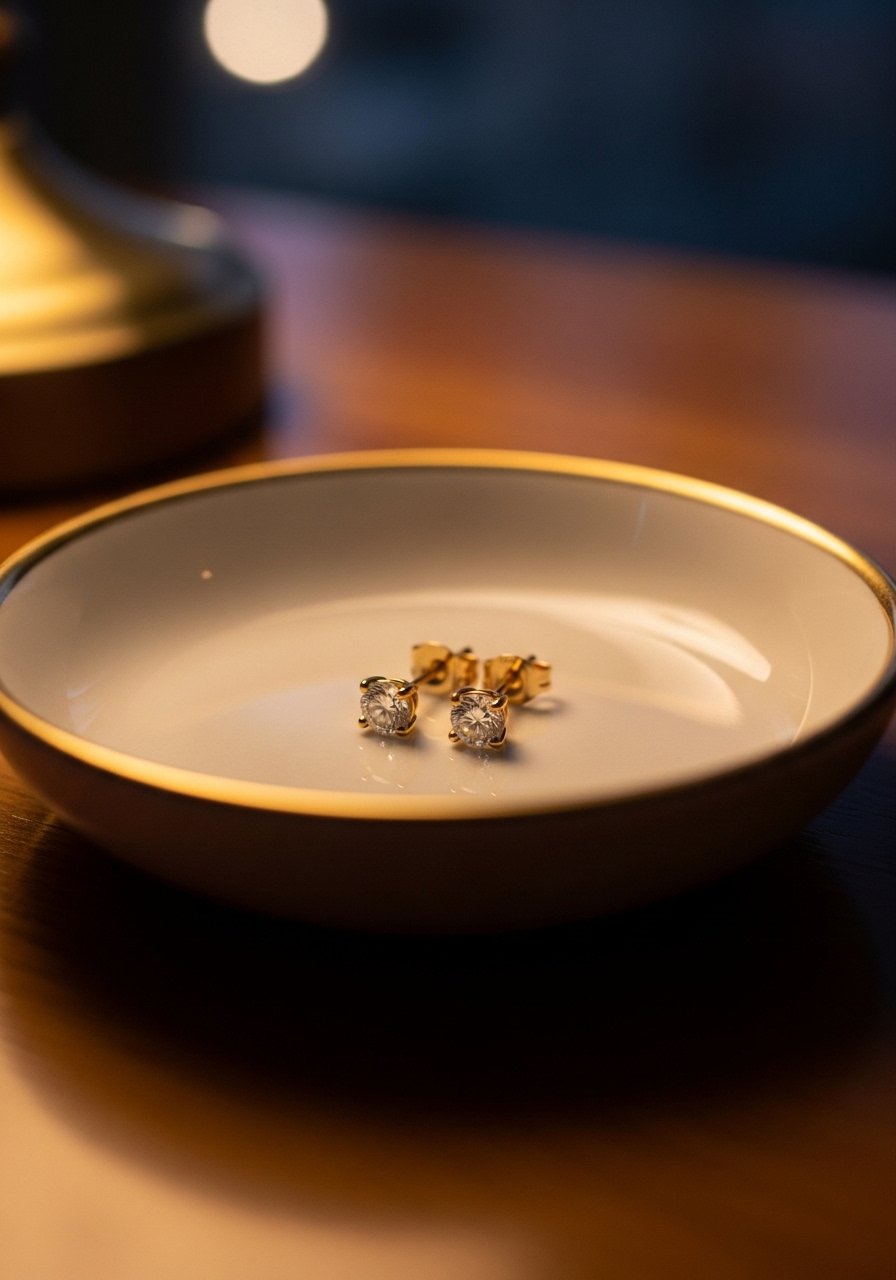
Gold edging makes a cheap clay dish read store-bought. After sanding, gently rub a metallic wax or paint along the rim. Rub n Buff works, but a tiny brush and a steady hand also do the trick. The one mistake is overloading the edge with metallic which looks heavy. Wipe excess and layer until you get a thin bright line. This pairs beautifully with a minimalist white base from earlier. If pets are around, seal thoroughly so slobber and noses do not dull the finish. For supplies pick up some metallic wax polish and a set of fine detail brushes.
Textured Leaf Imprint Tray For Kitchen Counters
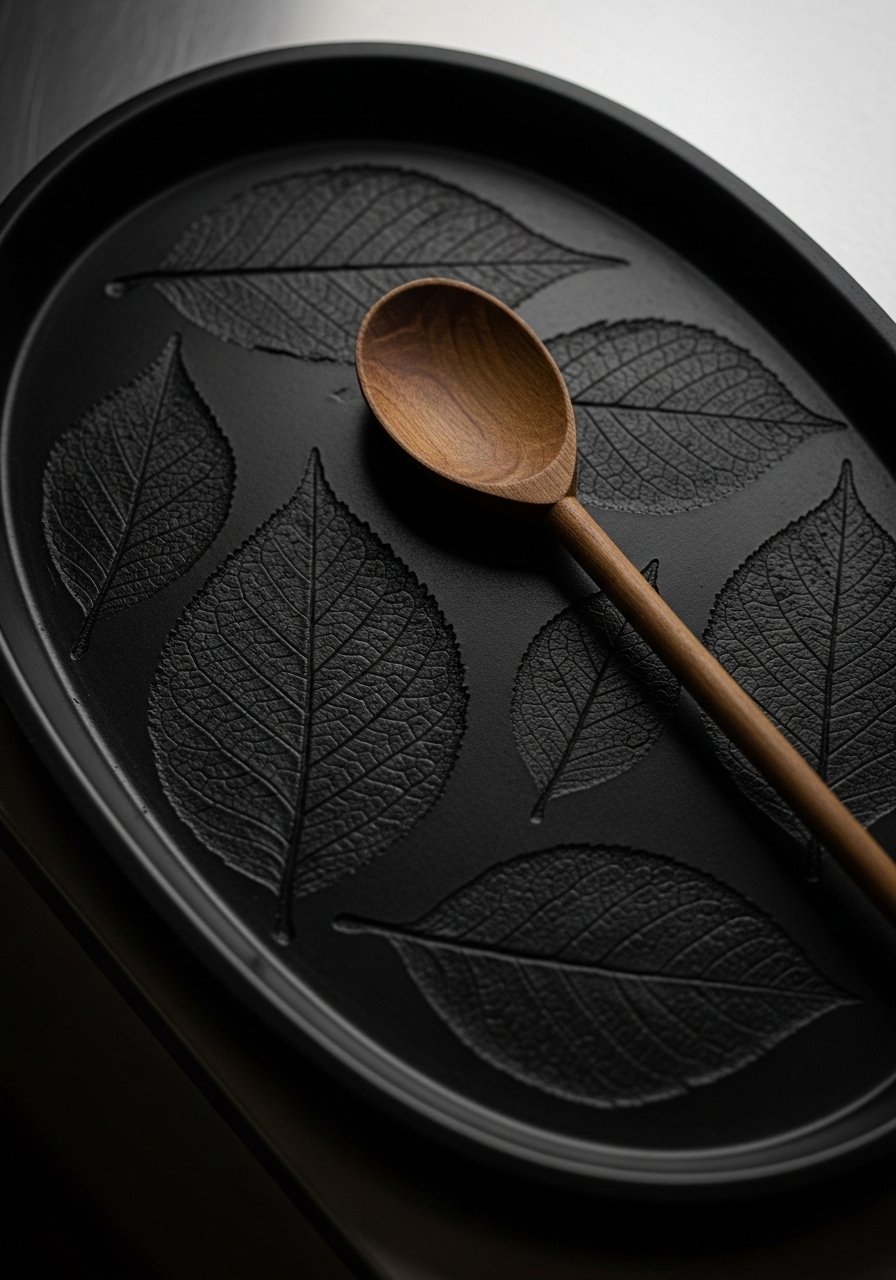
Nature textures ground busy counters. Press fresh leaves and roll a 1/4 inch slab over them for crisp veins, then paint only the veins with a thin wash of green. Let the tray dry over a curved surface if you want it to hold utensils. People often use old supermarket leaves that lack detail. Use garden leaves with clear midribs for the best results. If you worry about yellowing in dim rooms, pick warmer whites for paint since true white can look dingy over time. Supplies I like are assorted leaf pressers and a small craft paint set.
Hand-Shaped Rustic Tray For Living Room Coffee Table
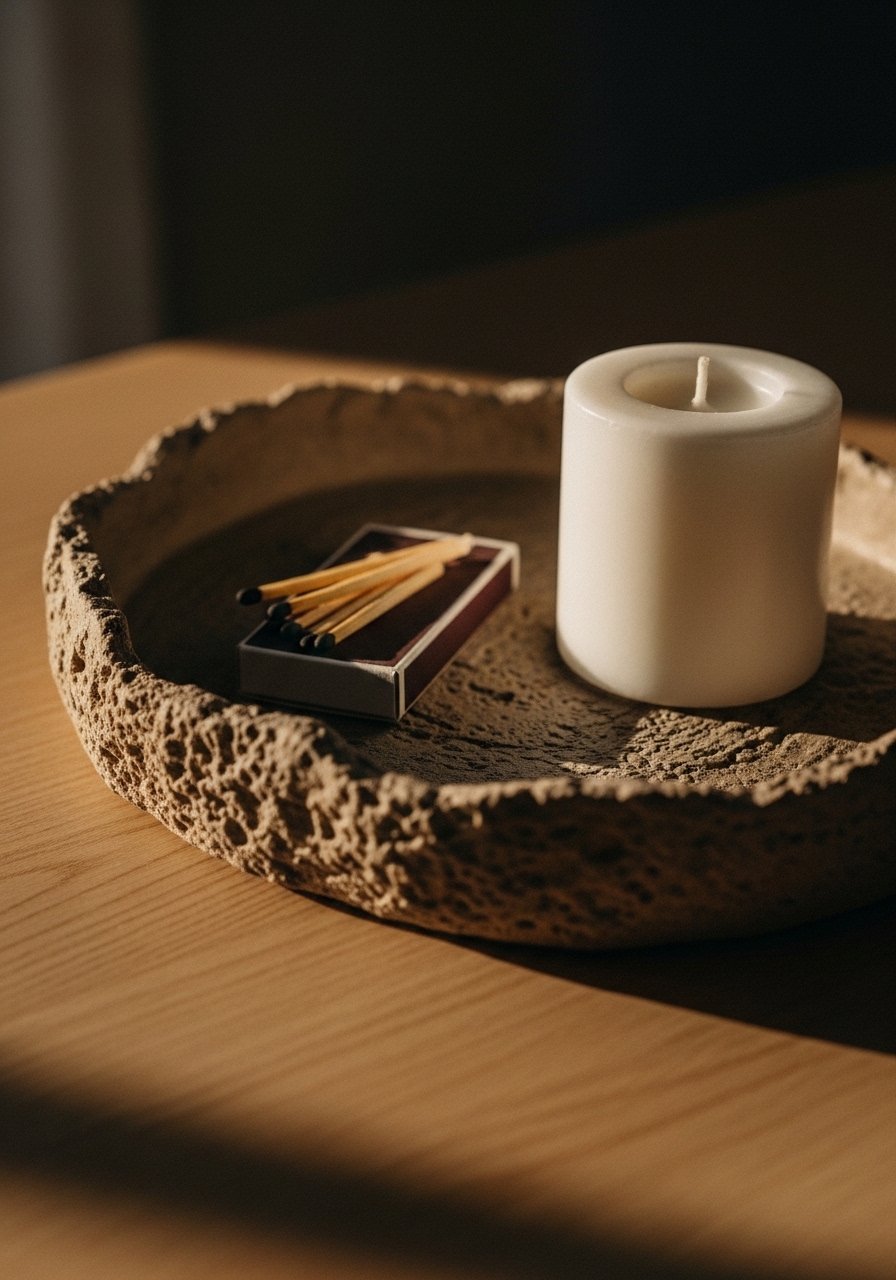
I stopped trying to make perfect rims and started loving rough edges. Roll clay to about 1/4 inch, lift the slab with your hands and pinch the edges lightly for an artisanal look. Sand sparingly so edges keep their character but lose sharp bits. This is forgiving and great for quick gifts. People often smooth too much and lose that handmade charm. If you have kids, increase the base thickness and seal three coats so it survives drops. Small space trick, competitors skip, is making 4-inch versions for tiny apartment vanities. For basic supplies check a set of clay sculpting tools and an assorted sandpaper pack.
Your Decor Shopping List
Textiles
- Honestly the best $40 I have spent. Chunky knit throw in cream (~$35-55). Drape over a chair near a tray for balance
Tools & Clay
- For most trays you need the basics. Air dry clay block in white or gray (1 lb)
- Found these while looking for something else. Precision craft knife (~$8-15) for clean cuts
Finishes
- Water-based polycrylic sealer (~$8-15) for protection against water spots
- Gold metallic wax (~$6-12) for a luxe rim
Mixed Supplies
- Mod Podge decoupage medium and a stack of floral napkins
Similar at Target or HomeGoods for most tools and budget finds
Shopping Tips
White clay is forgiving, buy a pack of two. I always keep a backup. Two-pack of white air dry clay saves time.
Grab this small polycrylic sealer for bathroom trays. Seal everything so water does not ruin painted dents.
Measure your bowl before you shape. For bowl molds use small ceramic bowls. Size matters more than you think for fit.
Buy a multi-pack of fine-grit sandpaper. Sanding is the difference between a hobby piece and one you actually want on your counter.
If you have pets, pick a tougher finish. Durable clear coat sealer handles slips and slobber better.
Frequently Asked Questions
Q: How thick should I roll clay for a tray?
A: Roll to exactly 1/4 inch. That thickness keeps the tray sturdy without cracking while drying. Thicker can crack and thinner will bend or break.
Q: Can I press fresh flowers and leave them visible on the tray?
A: Yes. Press flowers give a real garden look, but press gently and use wax paper under the clay so petals do not stick. Paint the edges and seal with polycrylic for durability.
Q: My tray cracked in the middle while drying, what did I do wrong?
A: Crack usually means the piece was uneven or too thick in the center. Dry slabs over a bowl so they curve naturally, and flip them during the first day to dry evenly.
Q: Are sealed clay trays safe for jewelry and rings?
A: They are if you sand the edges smooth and seal the surface. Sand with fine-grit paper so rings do not snag, then apply a polycrylic top coat. That stops water spots and daily wear.
Q: Can kids help make these without breaking them instantly?
A: Yes, with adjustments. Make the base thicker than 1/4 inch and skip thin delicate shapes. Seal thoroughly so they survive drops. A family-friendly clay kit is a good starting point.
Q: I live in a studio, are mini trays worth making?
A: Absolutely. Mini 4-inch trays are a small space hack most competitors miss. They hold rings, a key, and a lip balm without taking counter real estate.
