
My living room had nice furniture and decent lighting but it still felt like a waiting room. Took me embarrassingly long to figure out it was missing texture. Every surface was smooth, every color was flat, and nothing invited you to actually sit down. Making tiny clay pieces gave me an easy way to add texture that felt personal and not expensive.
These ideas lean modern cottage with a hint of boho. Most projects are under $30, with three that can hit $50 if you splurge on nicer tools. Perfect for entryways, kitchen counters, bedside tables, and small apartment shelves.
Pressed Flower Clay Tray For Keys, Rings, And Spring Vibes
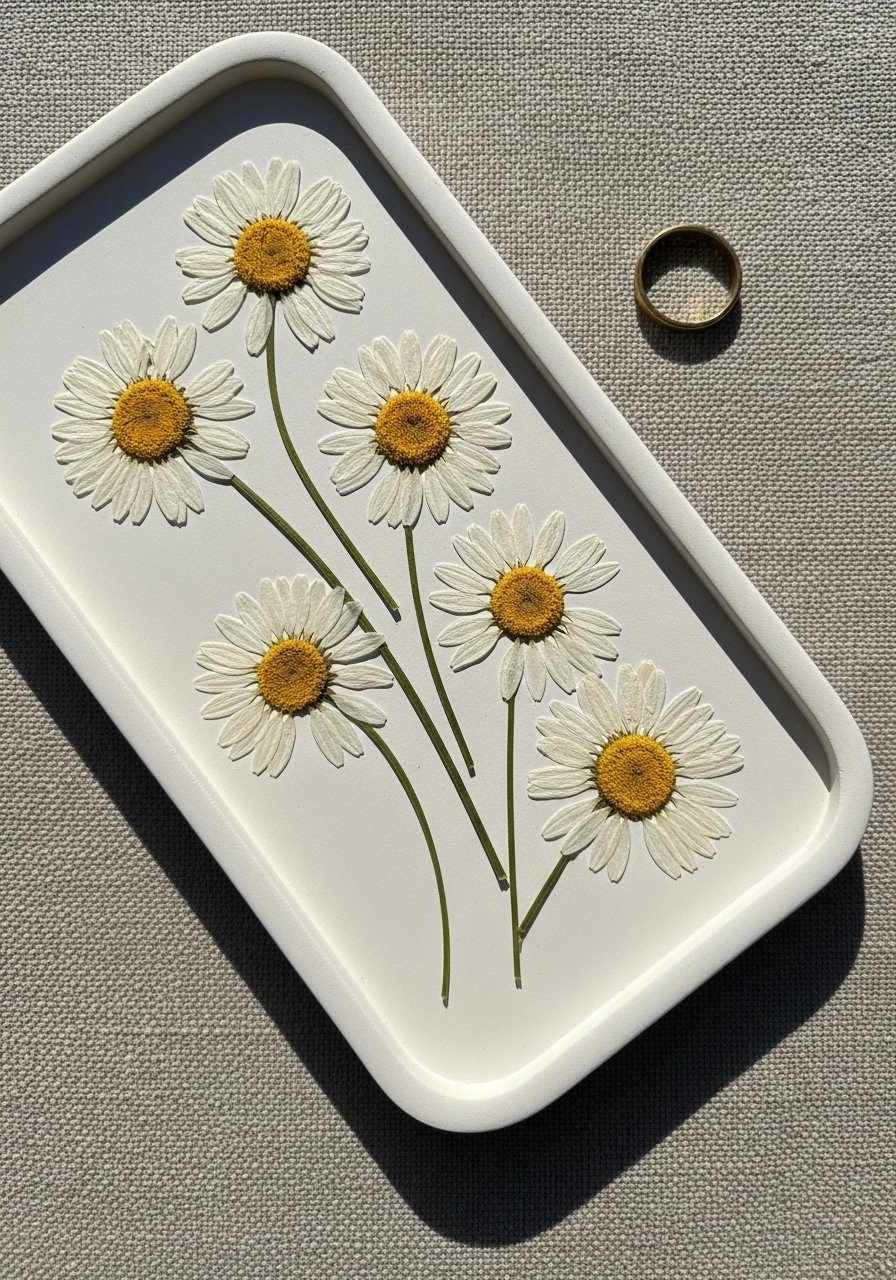
I made a jewelry tray by rolling clay to about 1/4-inch thickness, laying out fresh pansy petals, then forming around a small glass bowl for straight edges. What makes it work is the contrast between the soft pressed petals and the clean rim. Budget for materials was $10 to $25, mostly clay and flowers. Beginners always hit trays first, smart move. Common mistake is rushing the dry time. Let it rest on a flat board for 24 to 48 hours and cover loosely with plastic the first 12 hours to avoid cracks. I sealed mine with two coats of PVA glue mix for shine. Use Crayola Air Dry Clay for bright white base.
Rope-Wrapped Clay Bowl For Rustic Counters Or Entry Tables
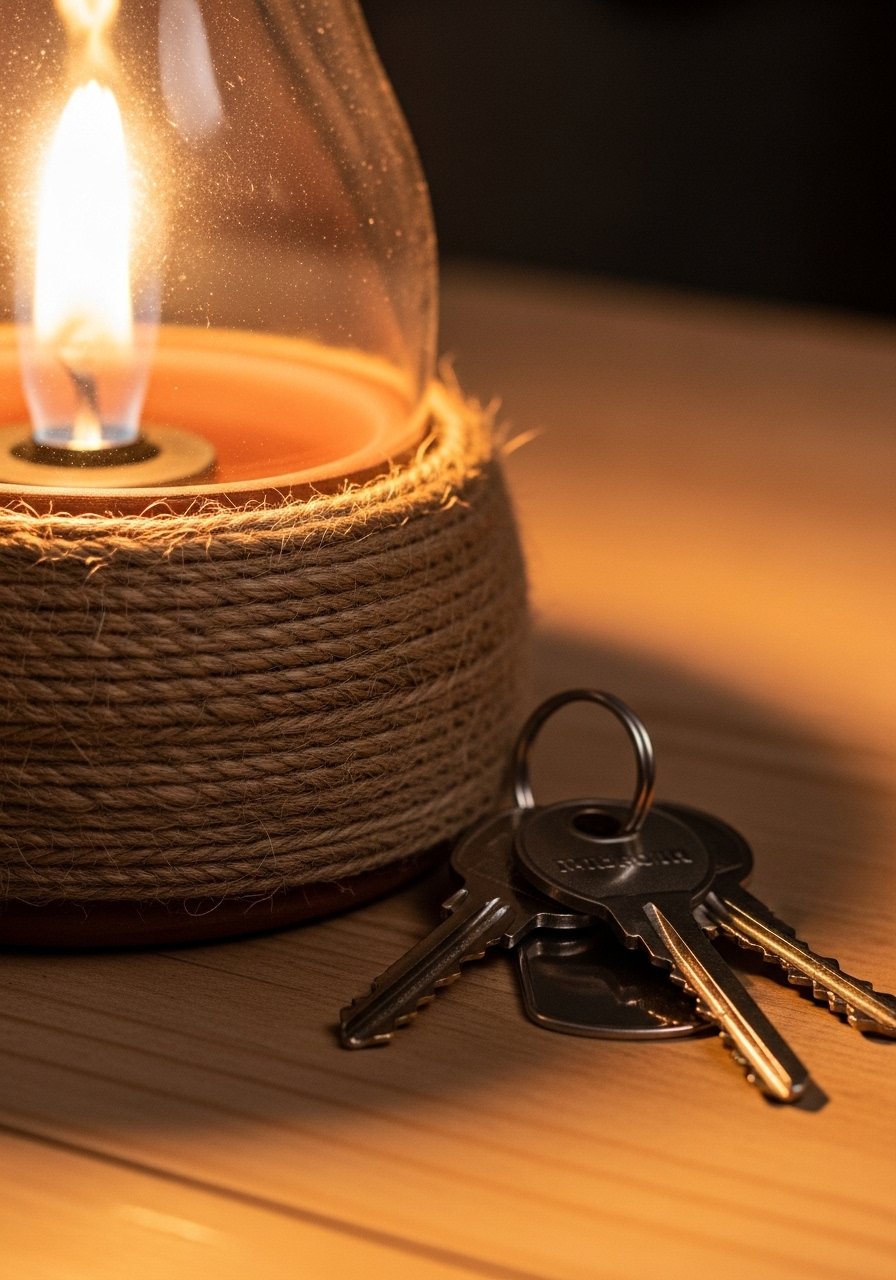
I wrapped jute around a clay bowl to fake that expensive Etsy look. Roll the base 1/4 inch thick and press around a small mixing bowl so the curve holds while drying. The rope hides messy edges and gives grip for fruit or keys. Expect $15 to $30 depending on rope. A common mistake is making walls too thin. Keep bowls at least 1/4 to 3/8 inch thick or they feel fragile. If you have pets, add two coats of acrylic varnish to resist noses and damp paws. I used DAS Air Dry Clay and simple jute from the craft aisle.
Citrus Slice Magnets To Cheer Up The Fridge

These are the kind of quick wins kids and adults both enjoy. Cut rounds, press a toothpick to make segments, then attach small magnet backs after dry. Budget is usually under $10 for a pack of clay and magnets. Most people paint while the clay is not fully dry, which causes smudging. Wait until the piece is completely hard and sand lightly if the surface is chalky. Air dry clay is flying off shelves for quick decor wins. Use small refrigerator magnets so the slices actually hold paper.
Clay Cactus Candle Holders For A Little Desert Mood
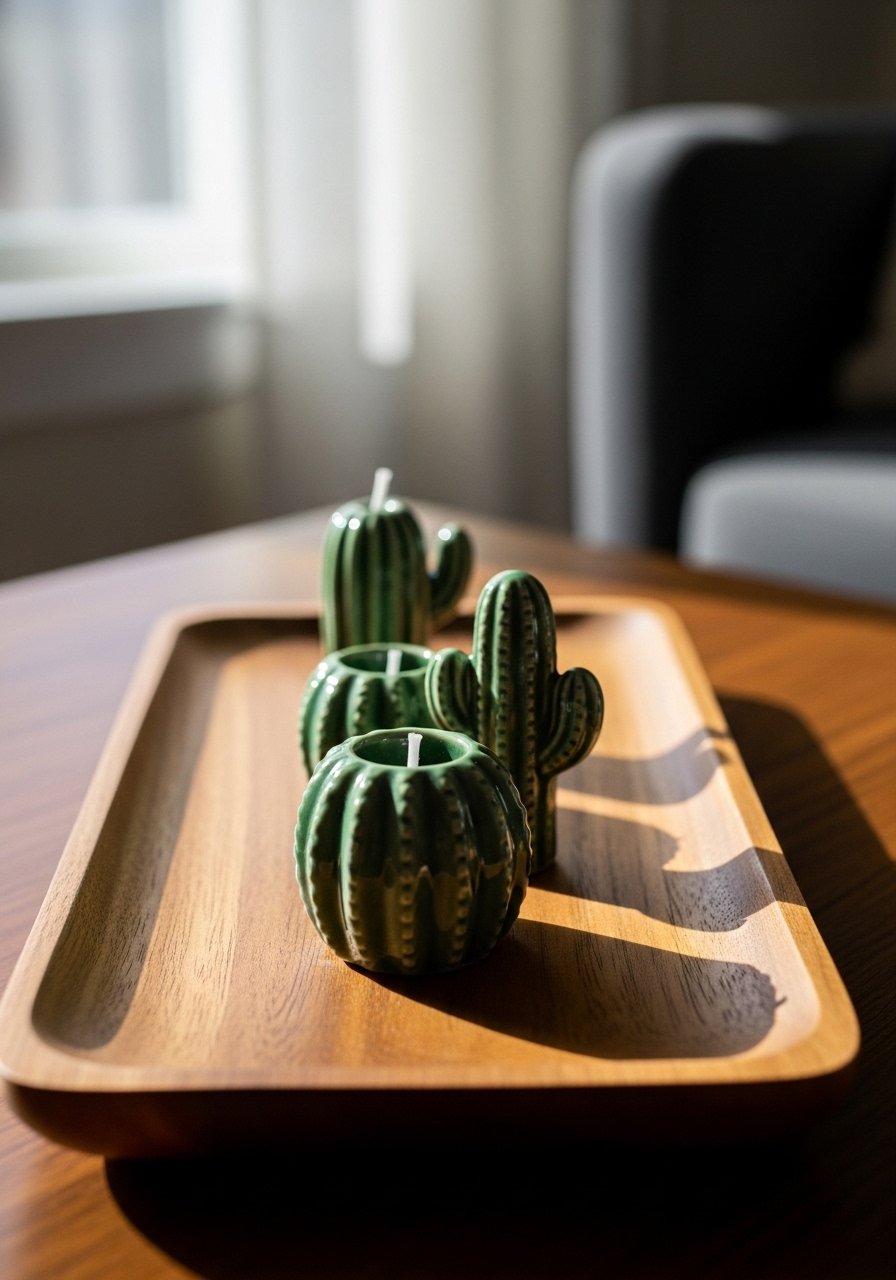
I sculpted tiny cacti with holes to fit tea lights. The shapes are forgiving and look deliberate even when imperfect. Style leans modern boho and they sit great on dining tables. Budget $10 to $20. A mistake is hollowing the base too much. Keep bottoms at least 1/4 inch thick so they do not crack when drying. Press flower froth or stamp a texture for interest before it sets. For a faster finish, use Acrylic Craft Paints.
Embossed Clay Stars For A Minimal Bedroom Accent
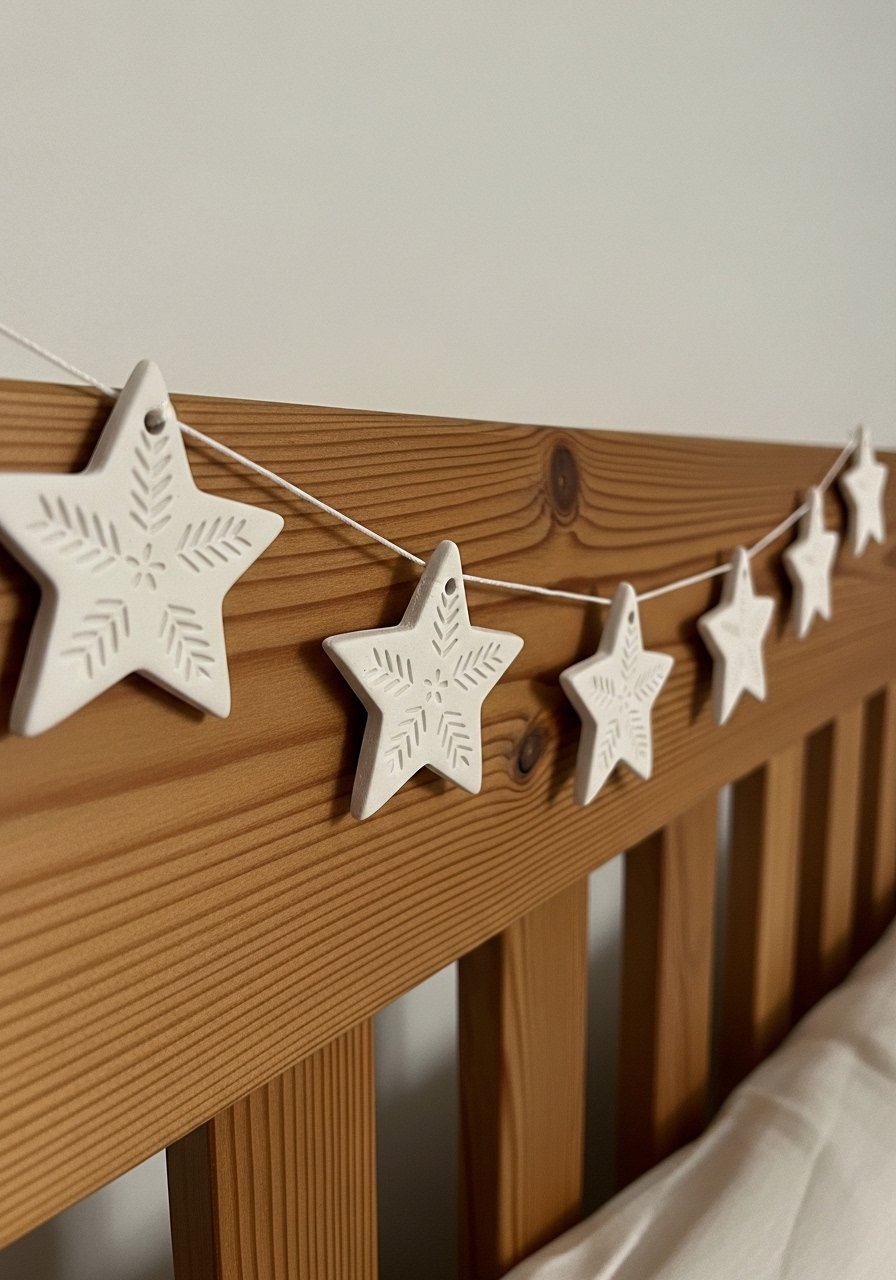
Stamped stars are great above a nightstand or over a desk. I love how small textures read as detail from across the room. Style is Scandinavian minimalist, budget $8 to $18. Avoid pushing stamps into clay that is too wet or too dry. Press when it feels like soft putty. A pro detail I use is smoothing edges with a damp sponge before full dry for a clean look most tutorials skip. Hang with thin twine and pair with the pressed trays idea for a cohesive shelf vignette. Grab rubber craft stamps for patterns.
Chunky Colorful Bookends For Shelves That Stay Put
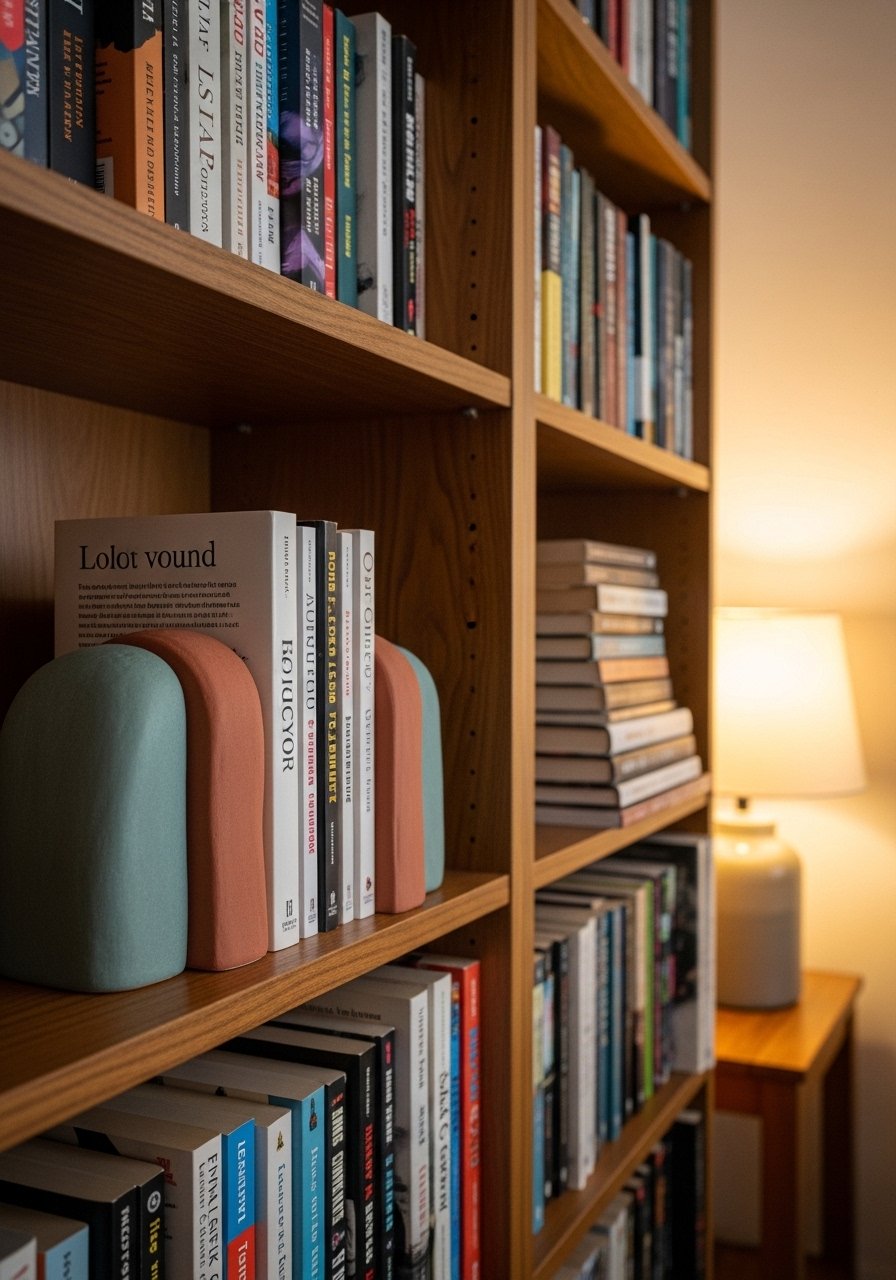
I built bookends by stacking slabs and carving a negative curve. They add a playful pop and actually hold heavy books when kept thick. Style feels colorful eclectic and the shelf looks finished. Expect $20 to $40. People often make them too thin so they tip. Aim for 1/2 inch thickness and weigh the bottom by embedding a small wooden block before drying. Paint in two contrasting colors for depth. These pair well with the embossed stars idea above. I used heavy-duty craft paint.
Beaded Trinket Dishes For Nightstands And Desks
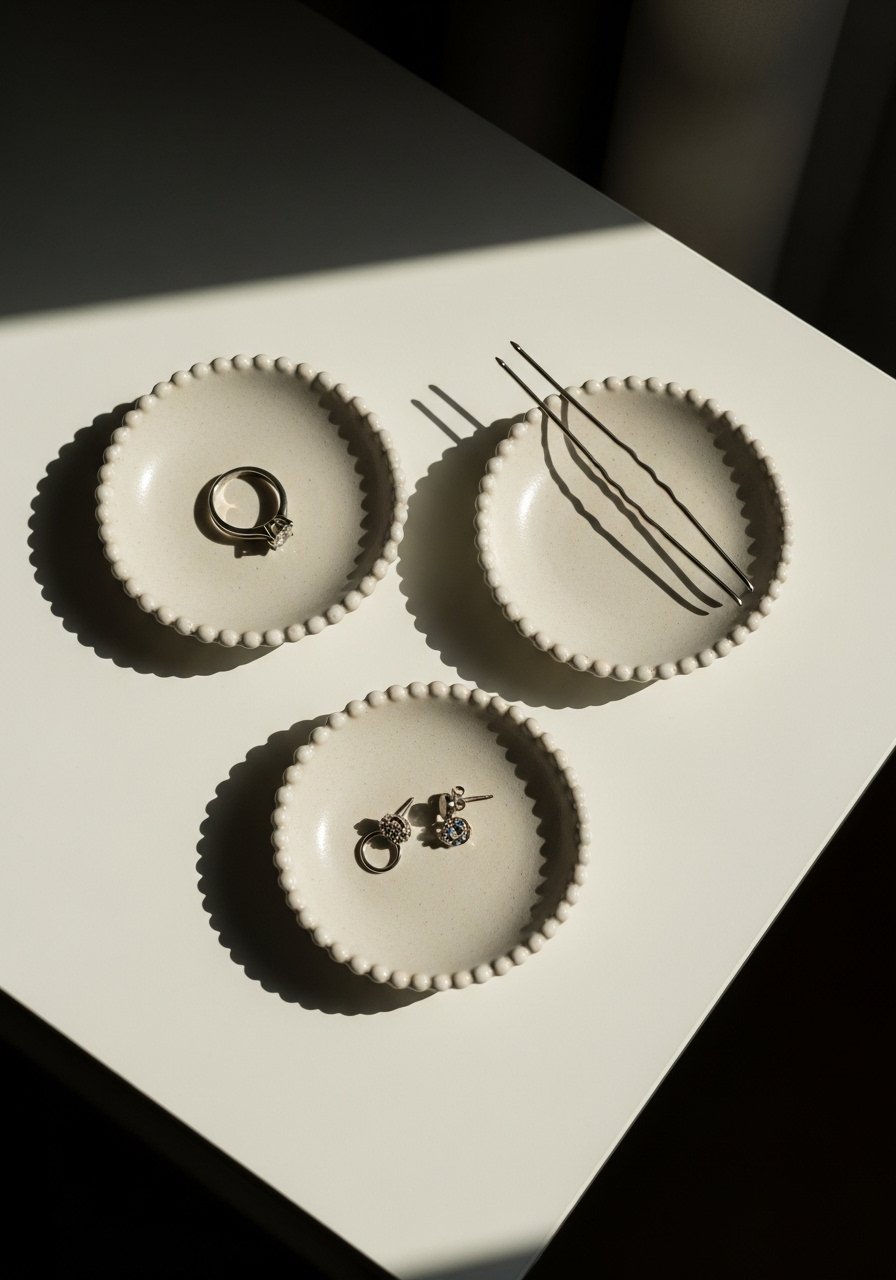
Tiny trinket dishes are instant mood boosters. Press a row of tiny beads into the rim for texture, then smooth the inside with a damp finger before drying. Budget $12 to $25. A frequent mistake is making them flat and shallow. I keep mine at least 3/4 inch deep so rings do not slide off. These are kid-friendly crafts and I let kids press beads while I handle the glazing. For sealing, I use two to three coats of a PVA glue mix to get a ceramic-like shine. Try glass-bead mix for impressions.
Seashell Watercolor Palette For Beachy Studios

I pressed a shell into a clay oval to create wells for paint. It makes painting feel more like a vacation. Style is coastal creative and the palette is under $15. Beginners sometimes make wells uneven. Use a spoon bowl to press consistent sized wells. This is a small space friendly tool, under 6 inches long, so it fits tiny desks. Most folks stick to air dry because who has time for ovens anymore. After dry, sand the rim for comfort. Use small artist brushes with it.
Bubbled Texture Coasters For Playful Coffee Tables
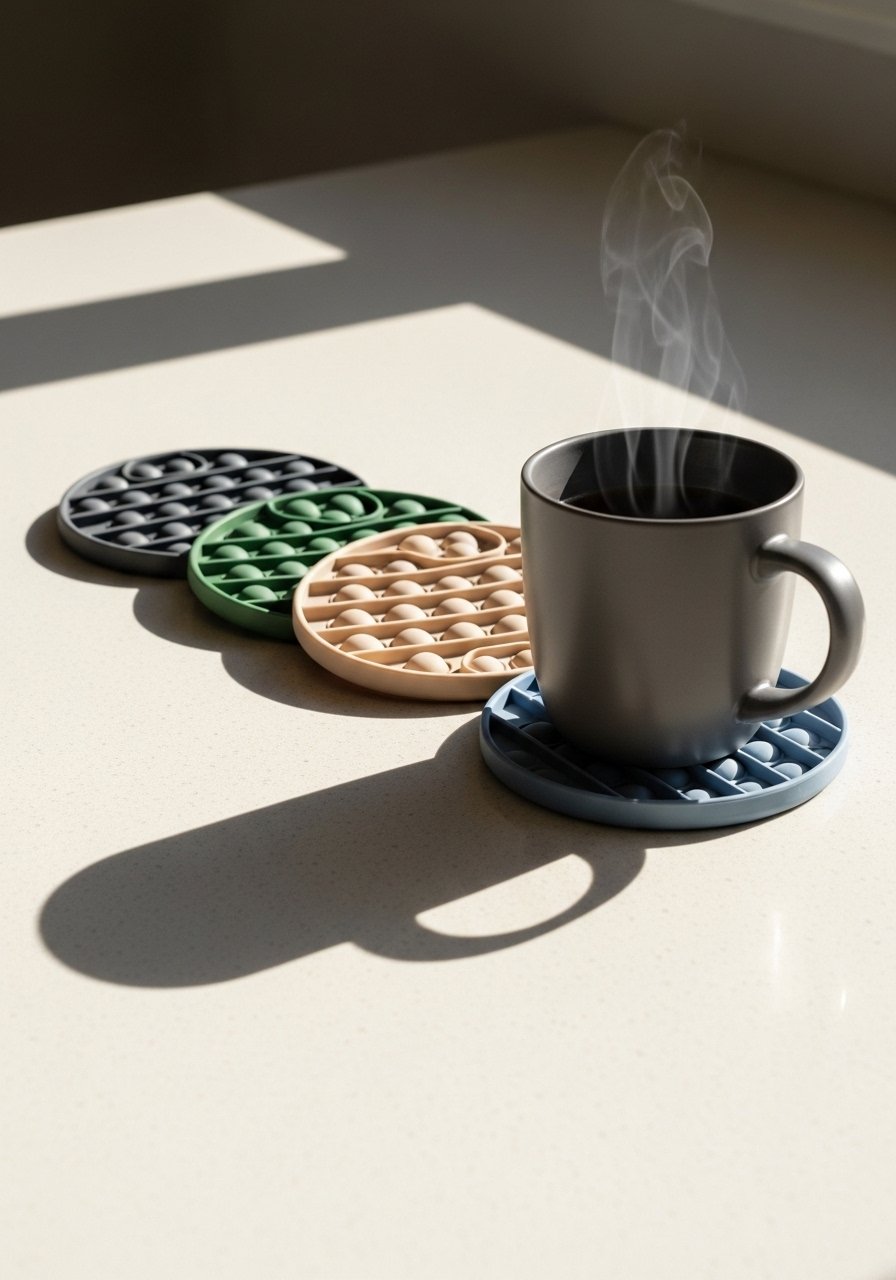
My kids made bubbly coasters with fingertip impressions and they ended up being my favorite set. Roll slabs to 1/4 inch thickness and press bubble patterns before drying. Budget is $10 to $20 for a set. A common problem is warping during drying. Lay them on a flat board and flip once after 24 hours. For a stronger finish, seal with two coats of varnish. These sit perfectly beside the rope-wrapped bowl on a coffee table. Try cork coaster pads glued to the bottoms.
Clay Flower Frog For Florals That Stay Put In Jars
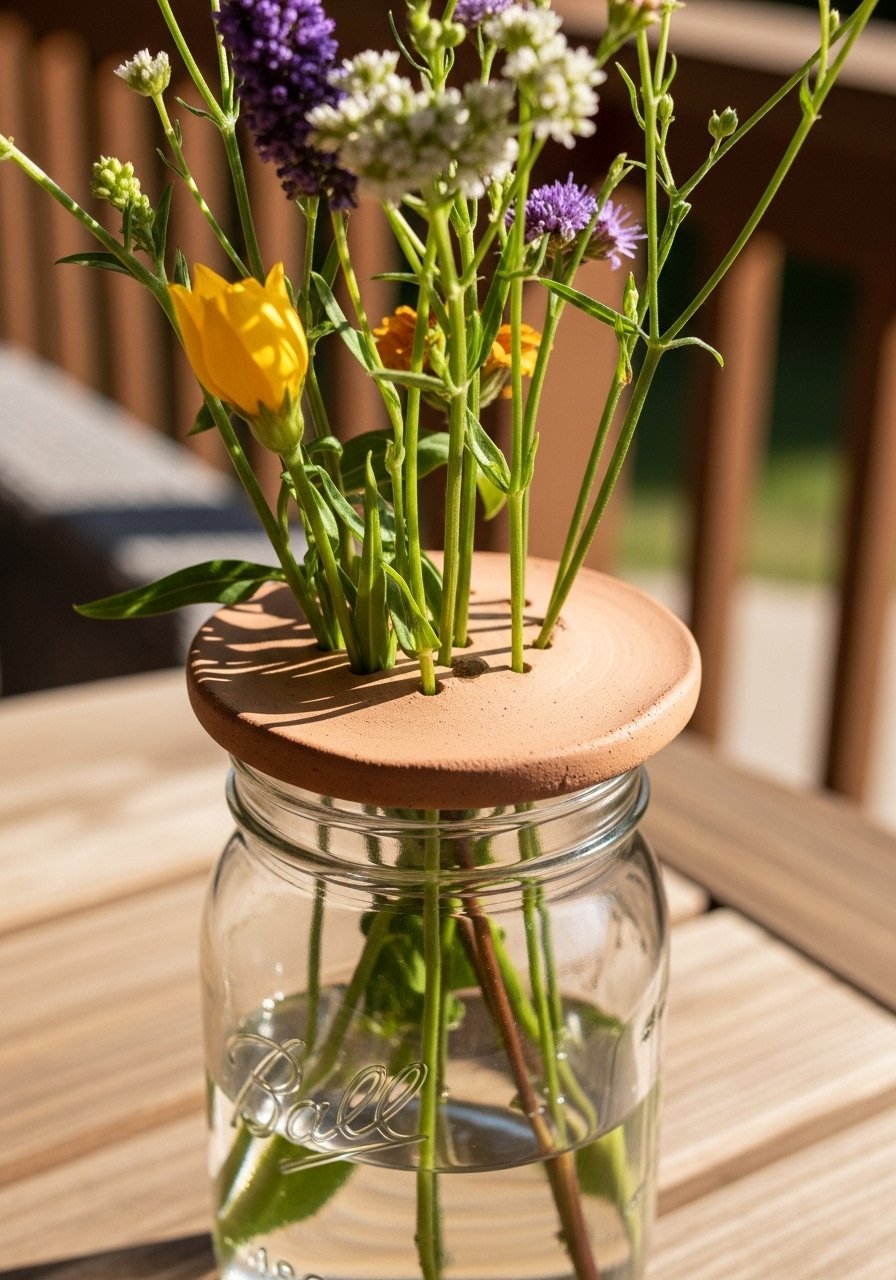
I make flower frogs by poking holes in a flat clay disk to anchor stems in jars. It fixes limp arrangements and saves time arranging. Style reads vintage floral and costs under $10 to make a set. Never make holes too close together. A spacing rule I follow is about 1/2 inch between holes for medium stems. Let the disk dry completely before placing in water, then seal the top with varnish to avoid crumbling. This pairs well with the pressed flower tray if you want a matching set. Use mason jar lids as guides.
Stamped Pen Pots For A Tidy Desk Corner
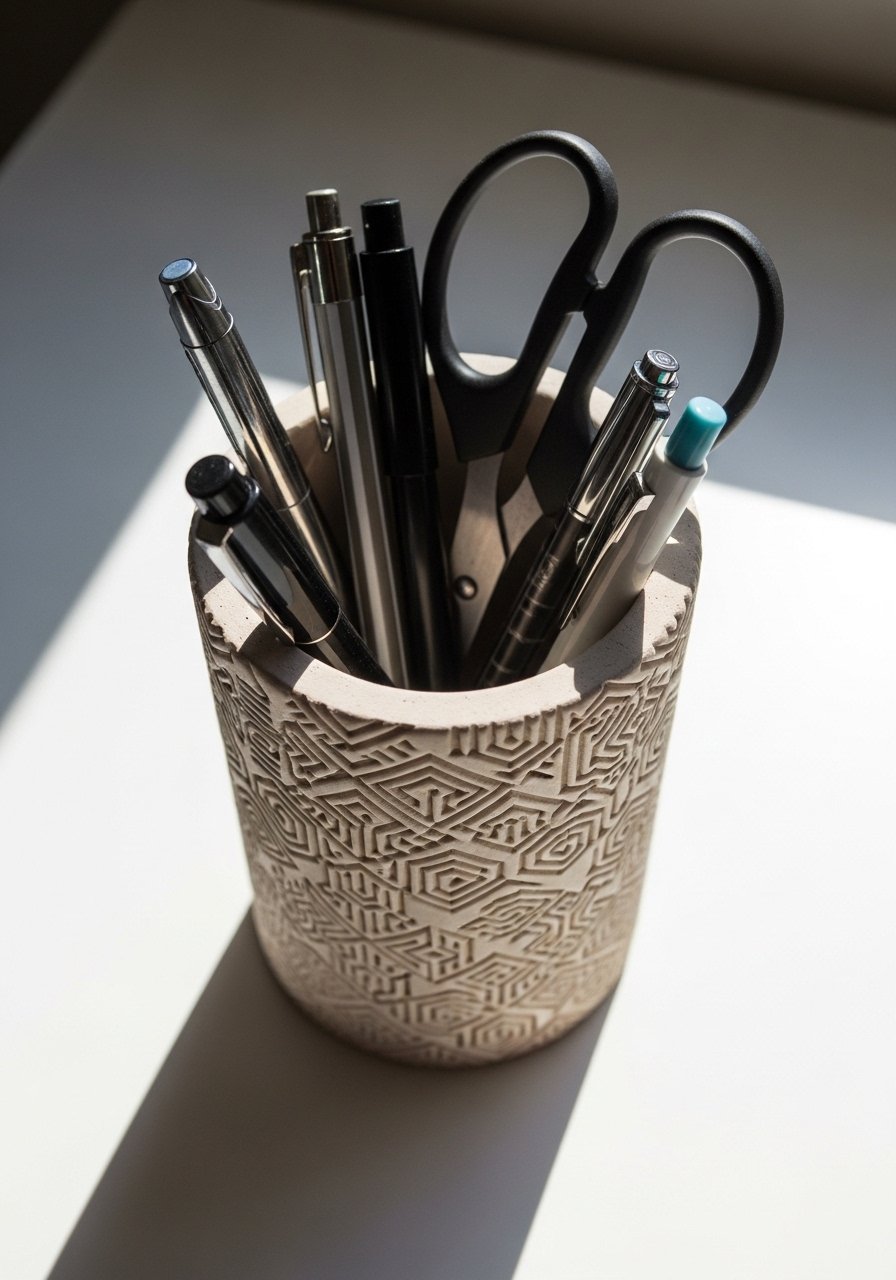
A stamped pen pot makes an office corner feel intentional. I press eraser ends and coin edges for textures before trimming top even with a template. Style is industrial simple and budget $12 to $25. People often try to freehand cylinders. Use a jar as a mold and drape the slab for a perfect round. Keep walls at 1/4 inch thickness so the pot does not crack. Add a felt base to protect desks. I painted mine with a matte finish using matte acrylic varnish.
Alphabet Ornaments For Personal Gift Tags Or Kid Rooms
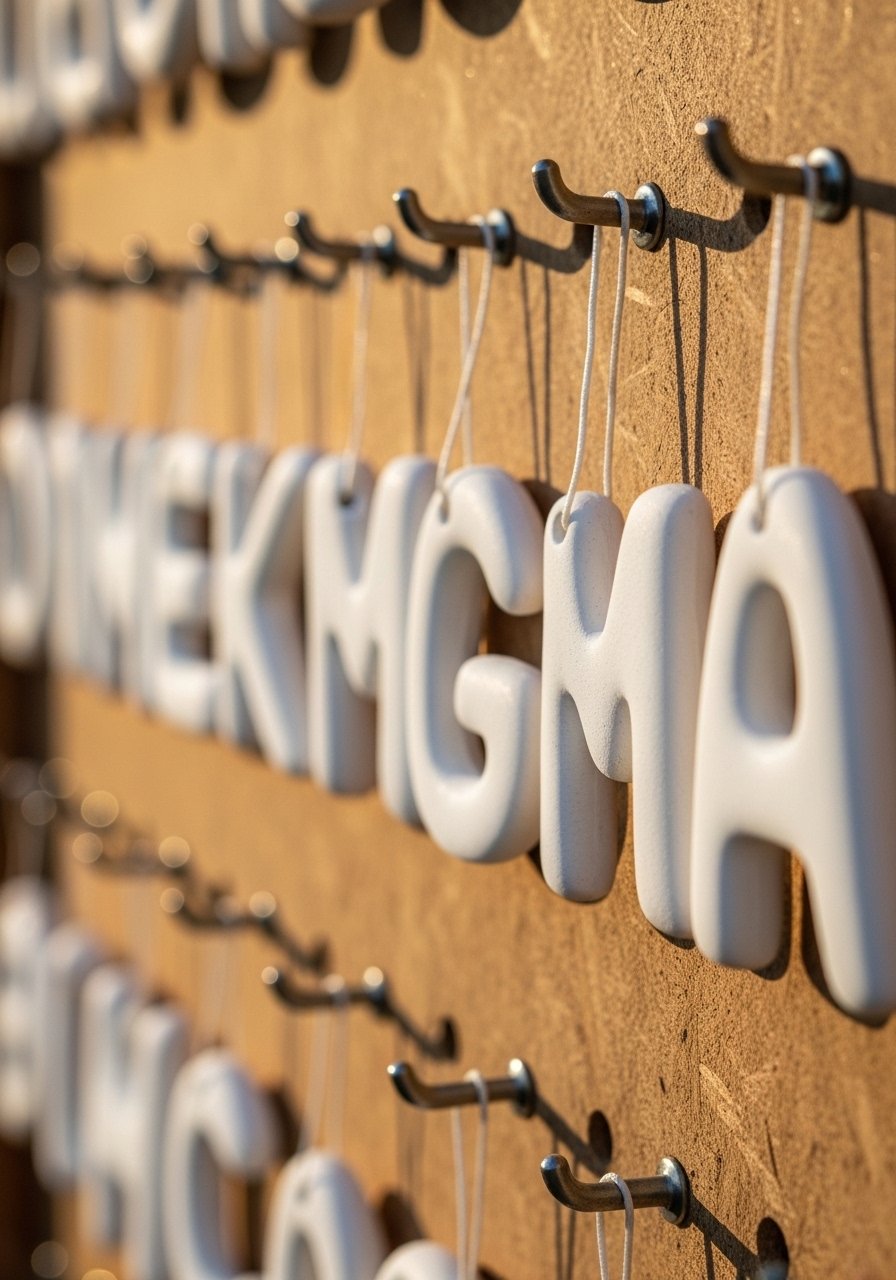
I press alphabet cutters into flat clay to make ornaments and gift tags. They add a personal touch to packages and kid room walls. Budget $10 to $20. One mistake is ignoring drying times after cutting small letters. Let them rest flat 48 hours. A small detail I add is threading ribbon through a 1/8 inch hole before full dry so it sets in place. These ship well as gifts because they do not require baking. Use alphabet cutter set.
Mini Clay Planters For Tiny Succulents And Shelf Styling
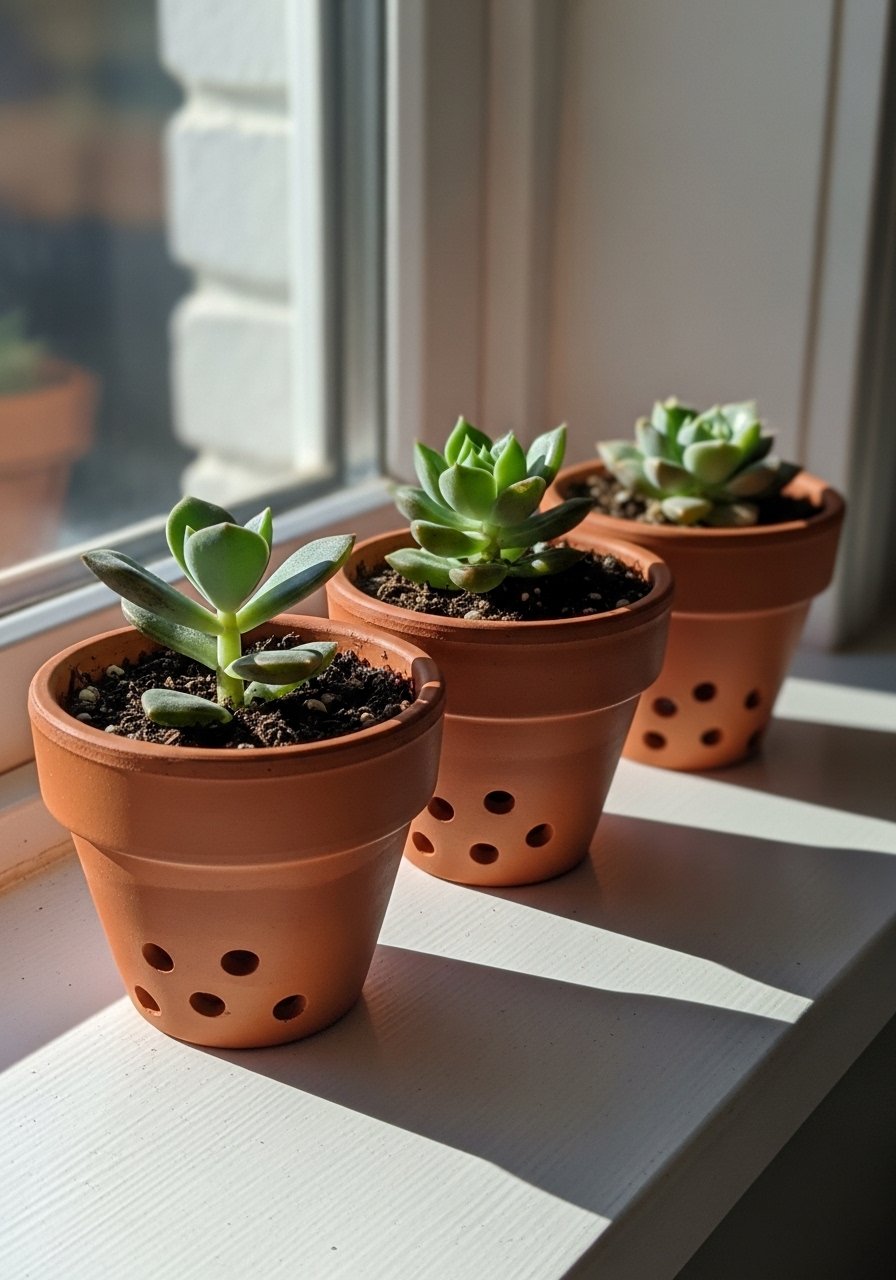
I wrapped slabs around a small cup to make these mini planters. They give life to shelves without buying big pottery. Style leans modern farmhouse, budget $12 to $25. A common mistake is skipping drainage. I carve a small hole and add a layer of gravel before planting. If you have pets, use a sealed interior glaze so soil stays put and curious noses do not chip paint. Dry slowly away from direct hot sun to avoid cracking. Try succulent starter soil.
Domino Game Set For Handmade Family Nights
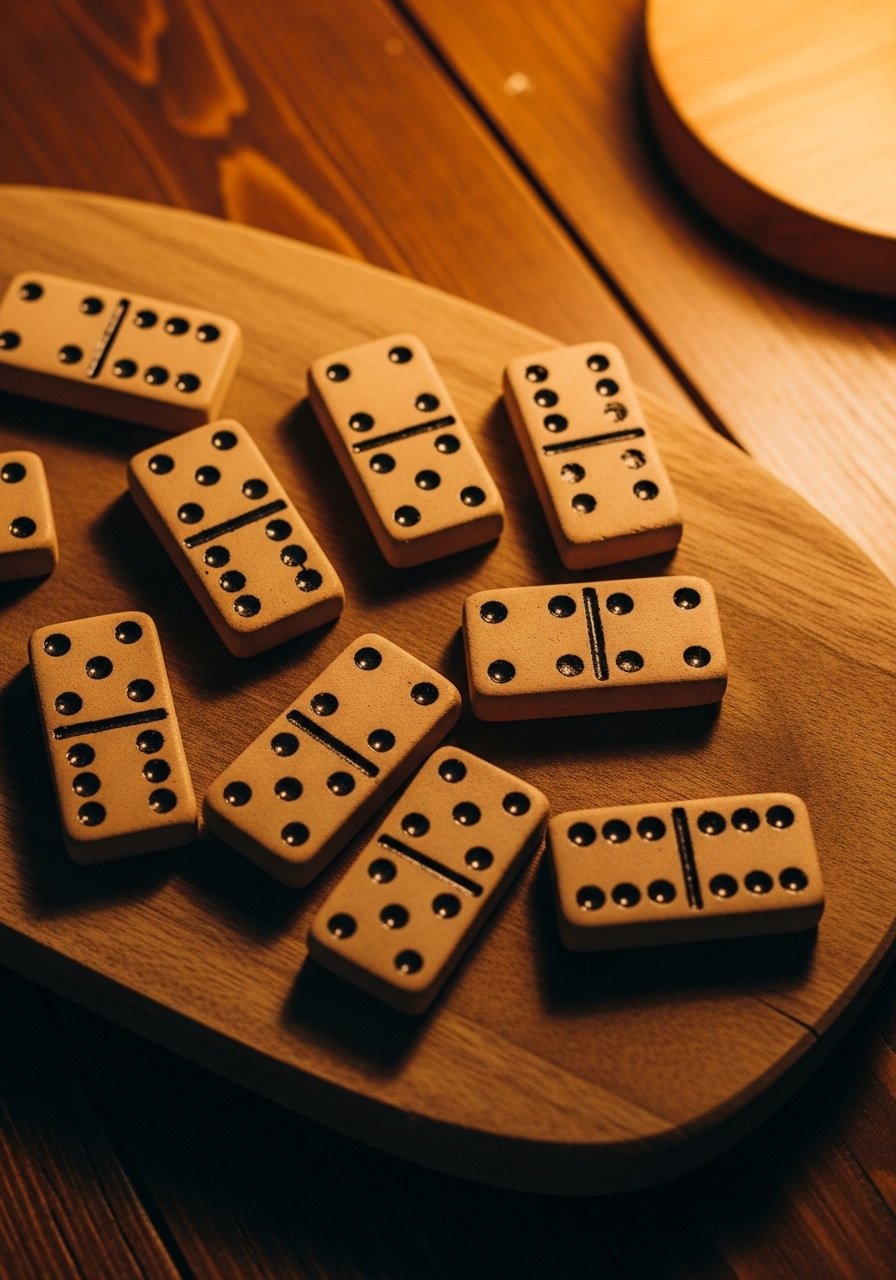
I carved domino dots into clay slabs then cut them to size for a retro set. It is a weekend project and makes a nice gift. Expect $20 to $35 for a full set. Beginners often try to make too many pieces at once and warping happens. Do smaller batches and dry on flat trays, flipping halfway. For long term play, seal with two coats of varnish. Pair with the color bookends idea for a living room game shelf. I painted with fine detail paintbrushes.
Layered Trinket Wall Hooks For Small Entryways
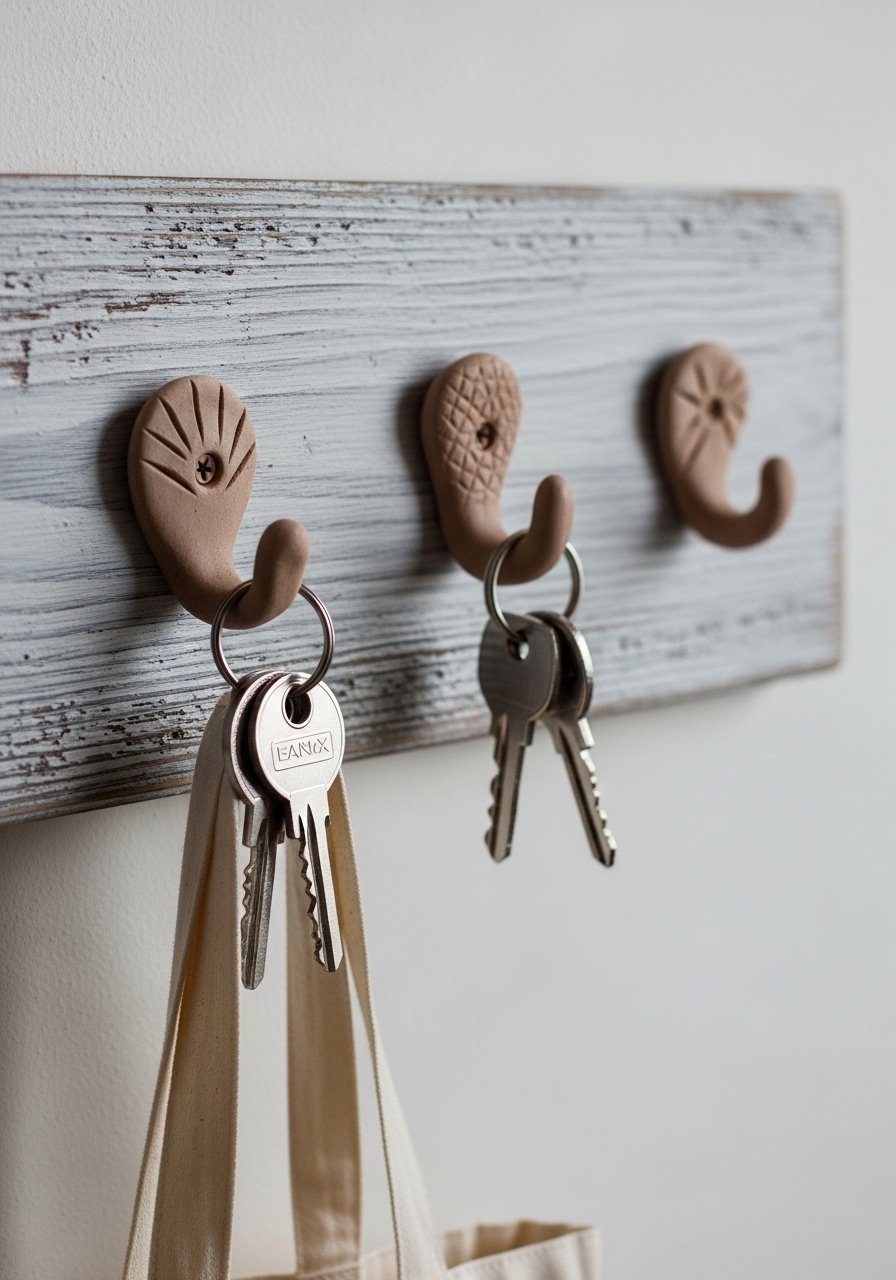
I made layered clay hooks by stacking small disks and attaching wall hardware after drying. They freed up my entryway from loose keys and scarves. Style is minimalist practical and the set cost about $15. The biggest mistake is attaching the hook hardware to clay that is not fully cured. Wait 48 hours and use a small wood screw into an embedded wooden washer for strength. This is a small space friendly hack because each hook occupies only two inches. Use picture hanging hardware.
Your Decor Shopping List
Textiles
- Honestly the best $40 I have spent. Chunky knit throw in cream in a neutral tone to layer on sofas
Tools
- For shaping and rolling, wooden rolling pin for crafts (~$12). Use cornstarch to dust instead of flour.
Finishes
- Matte acrylic varnish (~$8) for sealing pieces that will see daily use
Molds and Guides
- Glass mixing bowls set (~$25) to press perfect curves
Textures and Stamps
- Rubber craft stamps (~$14) for quick embossed patterns
Finishing Supplies
- Fine detail paintbrush set (~$9) for dots and tiny designs
Functional Accents
- Small round magnets (~$6) for fridge projects
Glue and Glaze
- PVA craft glue (~$7) to make the 2-3 coat glaze mix I mentioned earlier
Planter Extras
- Succulent soil mix (~$10) if you plan tiny plantings
Hardware
- Picture hanging hardware set (~$8) for mounting hooks and wall ornaments
Shopping Tips
White oak beats dark wood in 2026. Design feeds have shifted completely. These white oak floating shelves look current, not dated.
Grab Crayola Air Dry Clay for $8. It is easy to work with and the price keeps you crafting more often.
Curtains should puddle or kiss the floor, never hang halfway up. These linen-like 96-inch panels are the right size for standard high ceilings.
Lead with a single large plant over five small ones. This faux fiddle leaf fig 6-foot gives presence without maintenance.
If you keep clay projects in a small apartment, buy flat storage trays. Stackable plastic craft trays make slow drying and flipping easy.
Frequently Asked Questions
Q: How long do air dry clay pieces actually need to dry for household use?
A: Give most pieces 24 to 48 hours on a flat surface. Slow drying in a cool spot reduces cracks and warping. Cover loosely with plastic the first 12 hours, then uncover to finish drying.
Q: My clay cracked down the middle. What did I do wrong?
A: Cracking usually means it dried too fast or was too thin. Roll slabs to about 1/4 inch for trays and coasters. If you must make thin pieces, dry them under a lightly tented plastic and flip them after a day.
Q: Can I put water in homemade clay planters?
A: I do not recommend direct water in most air dry clay unless you use a waterproof interior glaze. Seal the inside with two coats of varnish or use a planted liner with gravel.
Q: What basic tools should I buy first for these projects?
A: Start with a rolling pin, a sharp craft knife, a few cookie cutters, and a small set of rubber stamps. These let you make trays, bowls, magnets, and stamped pots without fancy gear.
Q: Will paint smear or fade on air dry clay?
A: Paint can smear if applied too early. Always wait until the piece is fully dry and sand lightly if it looks chalky. Finish with acrylic varnish or PVA glue for protection.
Q: Can I make these projects pet-proof for a home with dogs or cats?
A: Yes. Thicker walls, a good seal, and embedding small wooden washers for hanging hardware help with durability. Also keep small pieces like magnets out of reach and use two coats of acrylic varnish on surfaces that pets might nudge.
