
I had one too many tiny votives and a giant empty console for months. Every time I tried to "fill" the space it either looked cramped or half-hearted. I finally noticed the problem was not the candle style. It was how I spaced them and what I paired them with.
I tried symmetrical rows, same-height tapers, and piling everything on a tray. The first two versions looked predictable. The third felt messy. After a few false starts I landed on a simple cluster method that actually made the room feel warmer and more intentional.
Step 1: Clear the surface and pick a place to anchor the candles
Pull everything off the surface and stand back. Pick one anchor point, like the left third of the console or the center of a coffee table. Anchoring to a third of the length helps the arrangement read as deliberate, not cluttered. I learned this after my first try where candles were scattered and the eye had nowhere to rest.
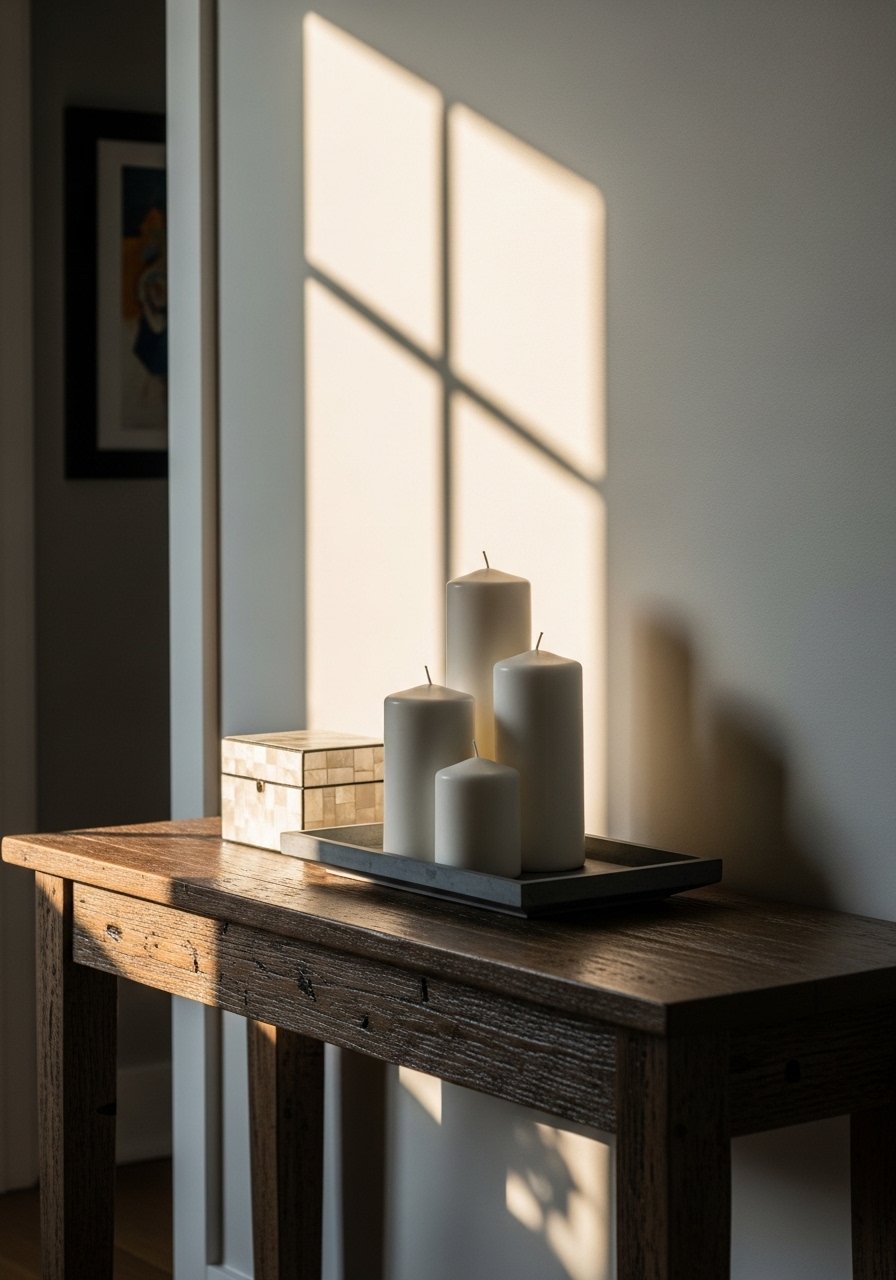
Lay down a base that has a different texture from the surface, for example a matte ceramic tray or a woven coaster. The tray should be about 12 to 18 inches across for a small cluster, or 18 to 24 inches for a larger console. The tray gives the candles a home and prevents heat marks. A brassy tray can feel heavy to the touch, glass keeps things cool and smooth.
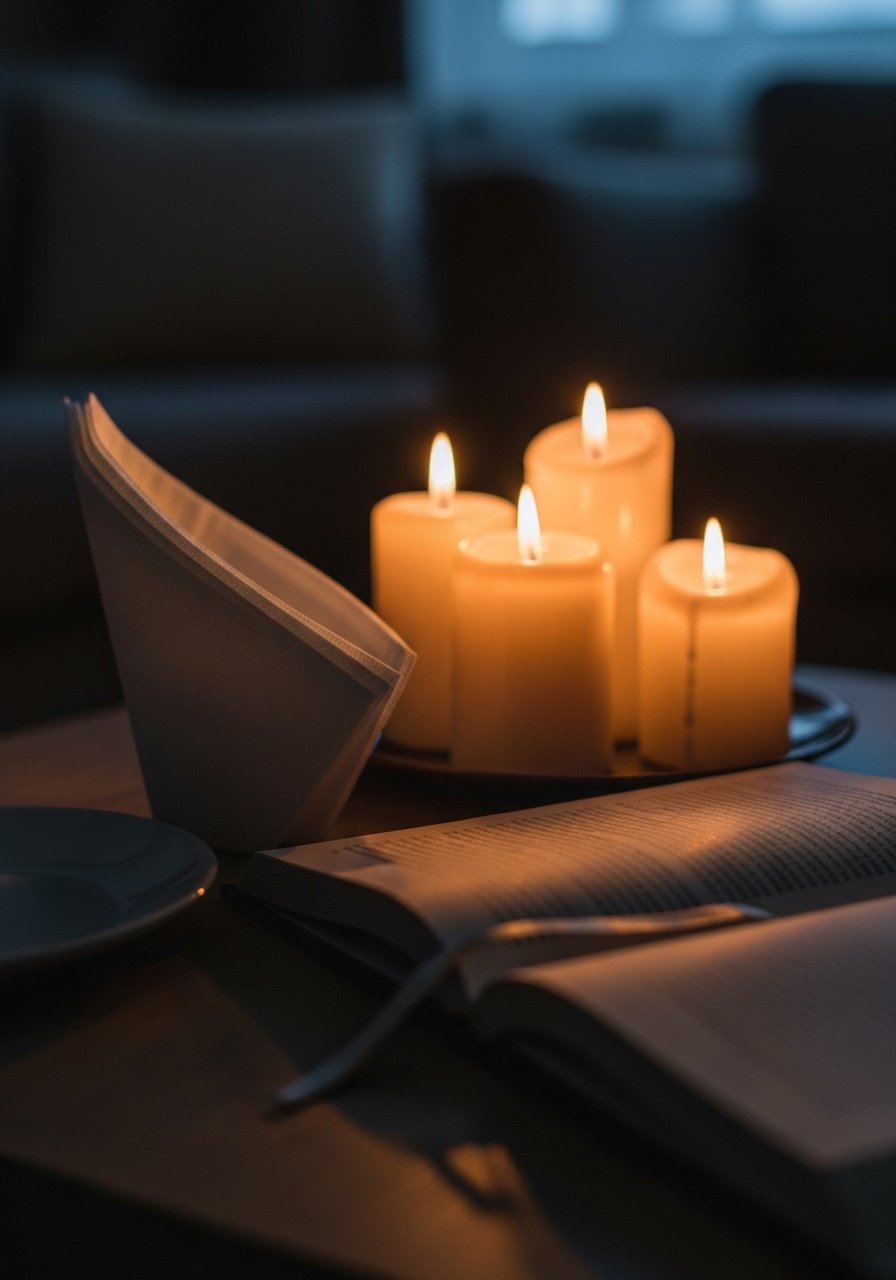
Step 2: Build height with three tiers, not matching pairs
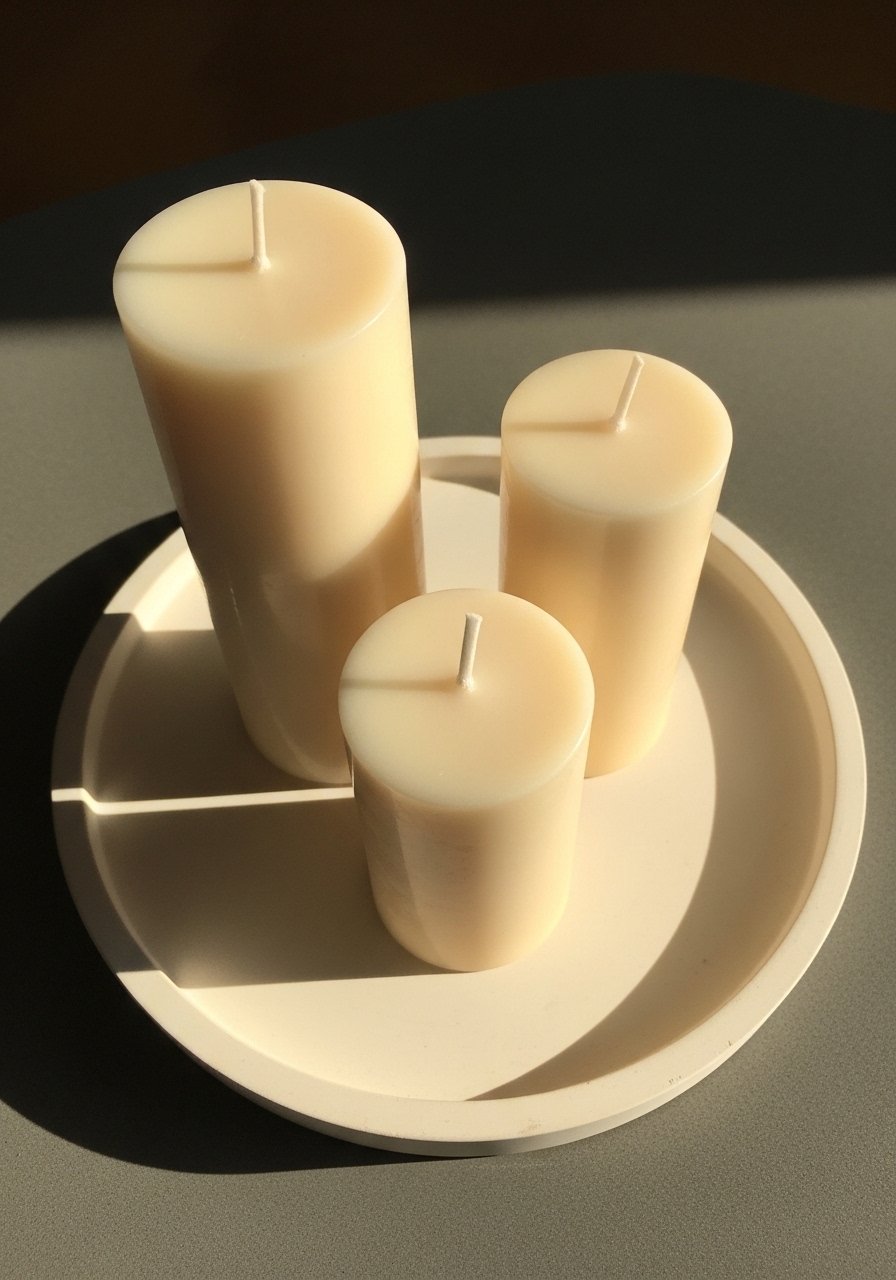
Most people reach for matching tapers. I did that too the first time and everything looked flat. Instead, use a three-tier height approach: one tall (10–12 inches), one medium (6–8 inches), one short (2–4 inches). Odd numbers anchor the eye and feel natural. Place the tallest toward the back or the side that meets the room visually.
If you have a tall ceramic vase, swap it in for the tallest candle occasionally. The idea is to create a gentle slope, not a staircase. You will see immediate depth added to the surface. The tallest piece should feel substantial and cool in your hand, the smallest should be a soft, low point.
Step 3: Add texture and balance with non-candle objects

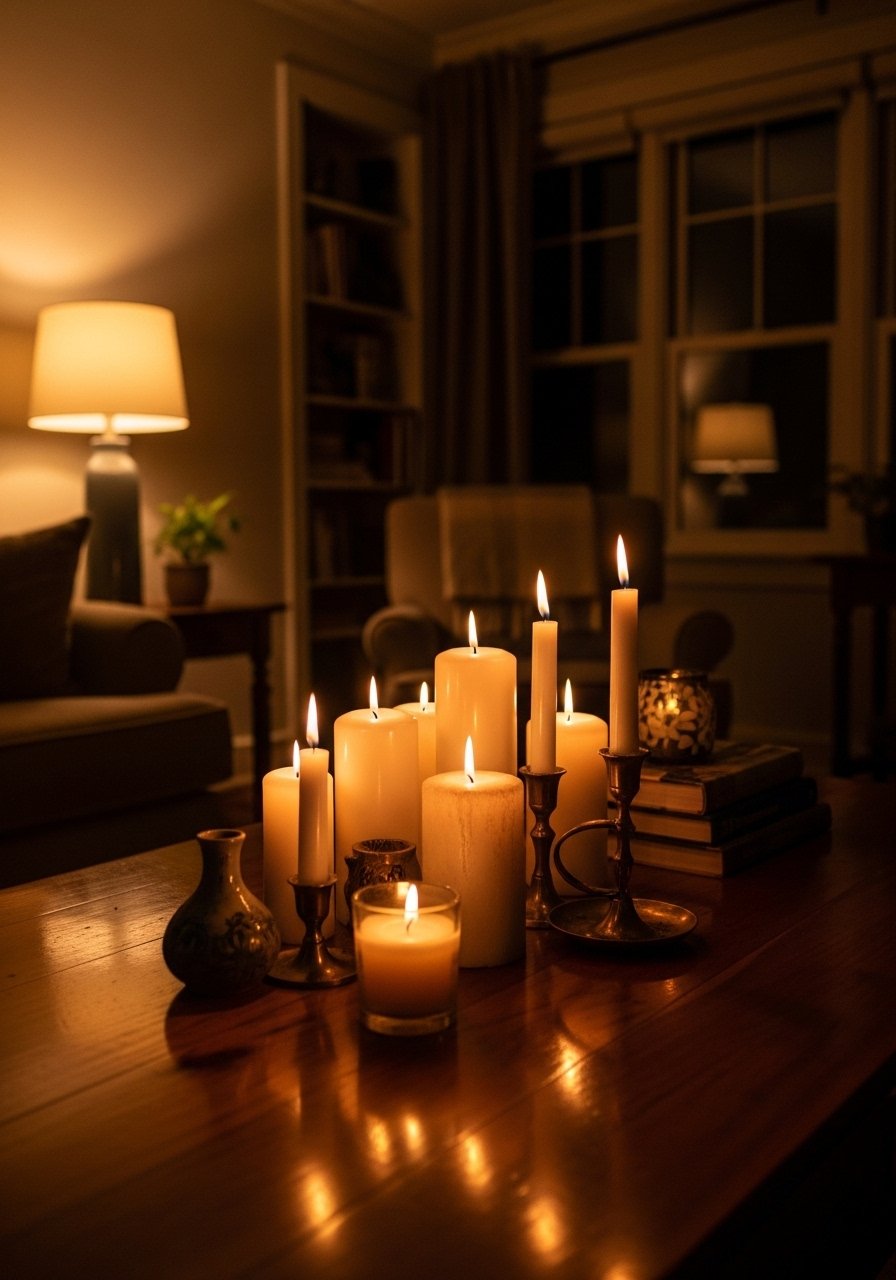
Candles alone can look stagey. I started pairing candles with one heavy object and one soft object. Try a ceramic bud vase, a stack of two small books, or a folded linen napkin. The heavy object grounds the cluster. The soft object adds a lived-in feel, like a curl of dried eucalyptus that smells faintly green.
A common mistake is over-accessorizing. I learned this the hard way after one version looked like a shop window. Limit yourself to two non-candle items. Leave breathing room equal to roughly half the tray width between the cluster and the next object on the surface.
Step 4: Think about sight lines and safety
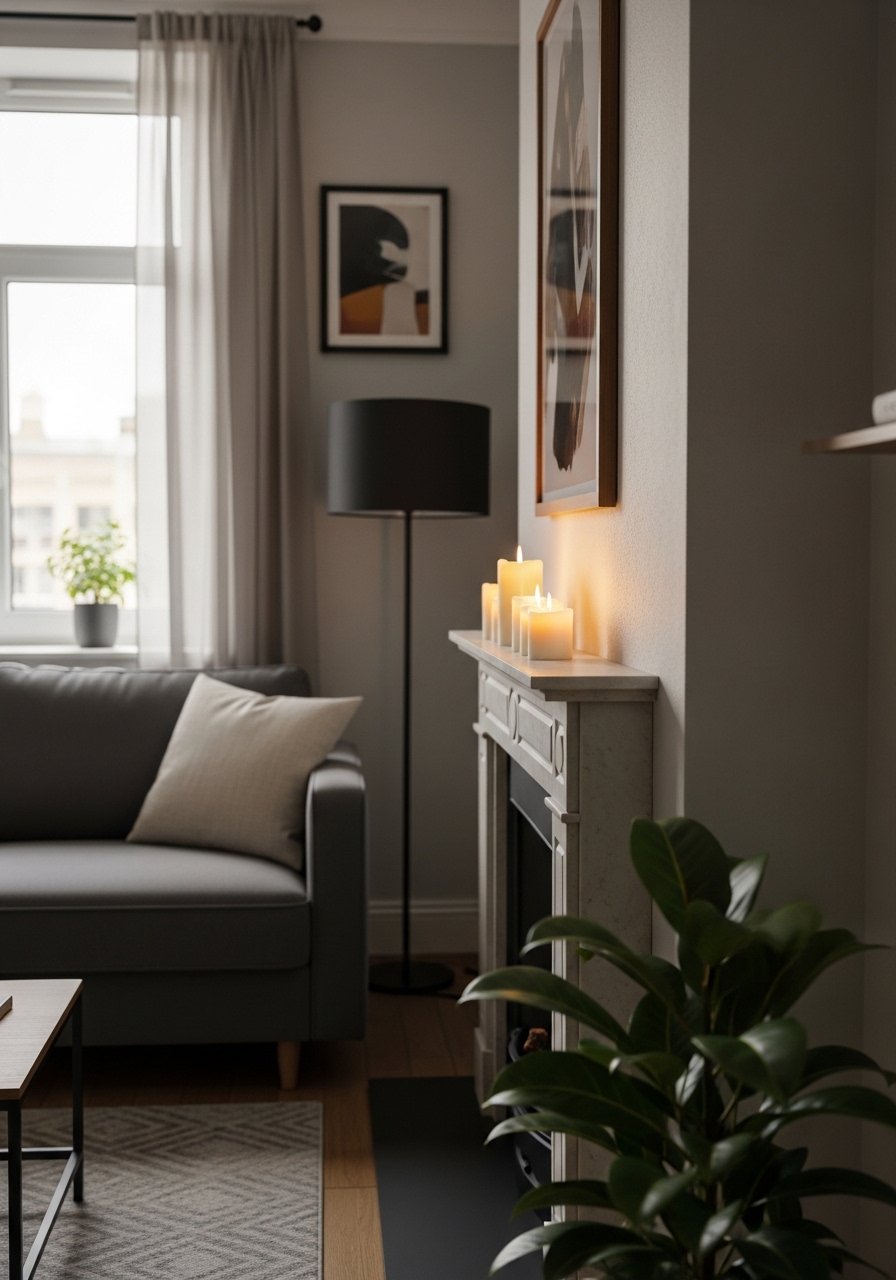
Step back and view the candles from seating height. If they block the TV sight line or hit eye level when seated, move them. I almost burned a lampshade once by placing a tall taper too close to a low hanging shade. Keep at least 6 inches from flammable fabrics and never place open flame near a curtain.
Mirrors and glass can multiply the light, so position candles near a mirror or a reflective object when you want more glow without more flame. For rentals or busy houses, swap real flames for LED candles in the same shapes. The flicker will feel softer and the material will feel pleasantly warm rather than hot.
Step 5: Live with it for a week and tweak
Leave the arrangement alone for a few days. I moved things every night for two weeks before I learned to stop. Walk past the room at different times of day. Does the grouping read empty in daylight but balanced in the evening? If so, add a taller item or a mirror behind the cluster. If it feels too crowded, remove the smallest item first.
A quick rule I use is the 1/3 rule. If the candle cluster occupies about one third of the surface visually, it usually reads right. After a week you will know if the scale and texture work with real life, not just a photo.
Your Candle Styling Shopping List
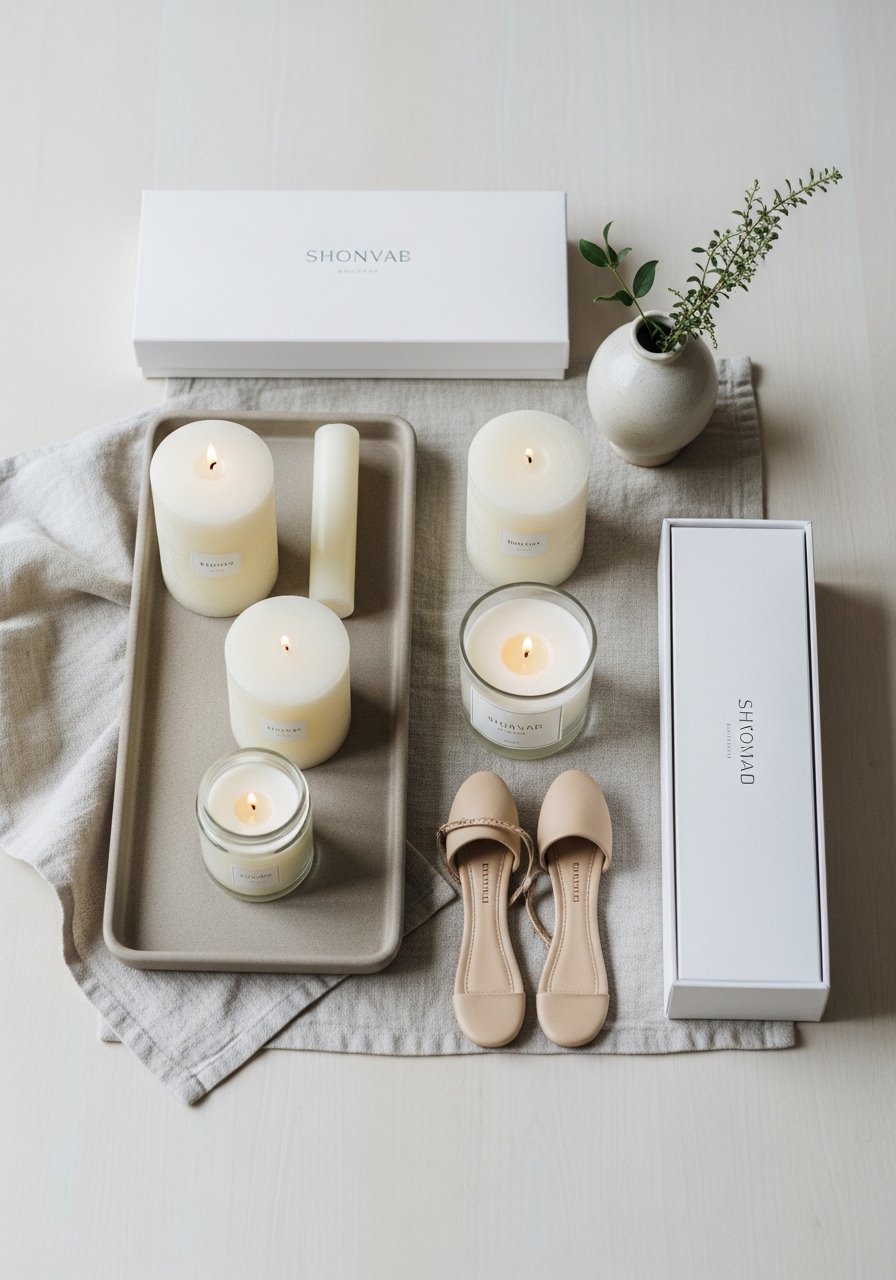
- Matte ceramic tray, 14-inch ($22-35). Use this in Step 1 to anchor clusters. I have one in dark clay and it feels pleasantly heavy in the hand.
- Pillar candle set, heights 10-8-3 inches, unscented ($30-45). These are the three heights I mention in Step 2.
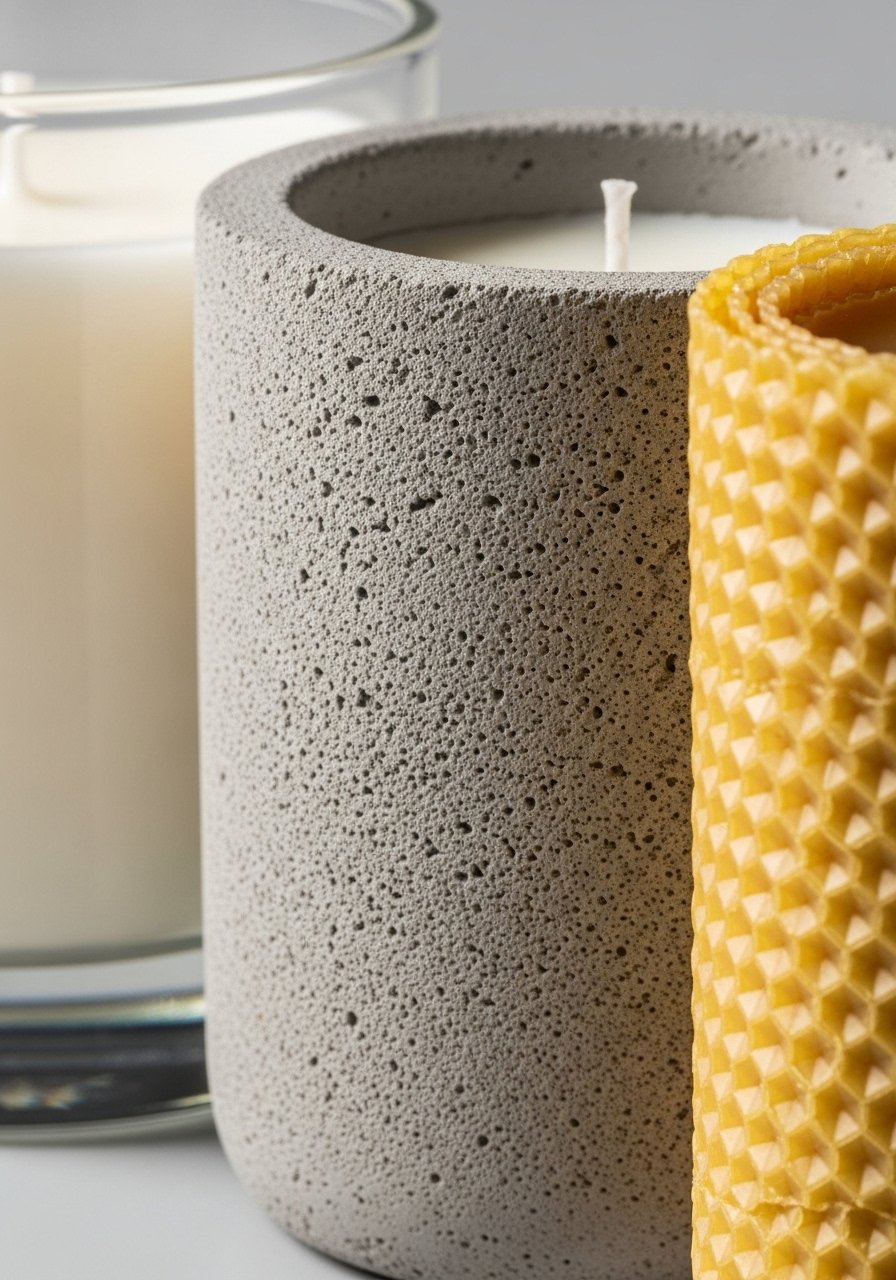
- Concrete taper holders, set of 2 ($18-28). A rough texture to contrast smooth glass, useful in Step 3.
- Battery-operated LED wax candle, 4-inch, warm flicker ($12-20). Swap these in high-traffic areas noted in Step 4.
- Matte white bud vase, 6-inch ($15-25). The vase in Step 3 adds height without heat.
- Linen napkin square, natural ($8-14). I tuck one under the tray sometimes for softness in Step 3.
- Beeswax taper candles, set of 6, natural ($16-26). Warm scent and a clean burn for evening use in Steps 2 and 5.
- Small hand mirror, 8×6 inch, brass edge ($14-22). Use near clusters to multiply glow as suggested in Step 4.
Why Your Candles Still Look Like a Display
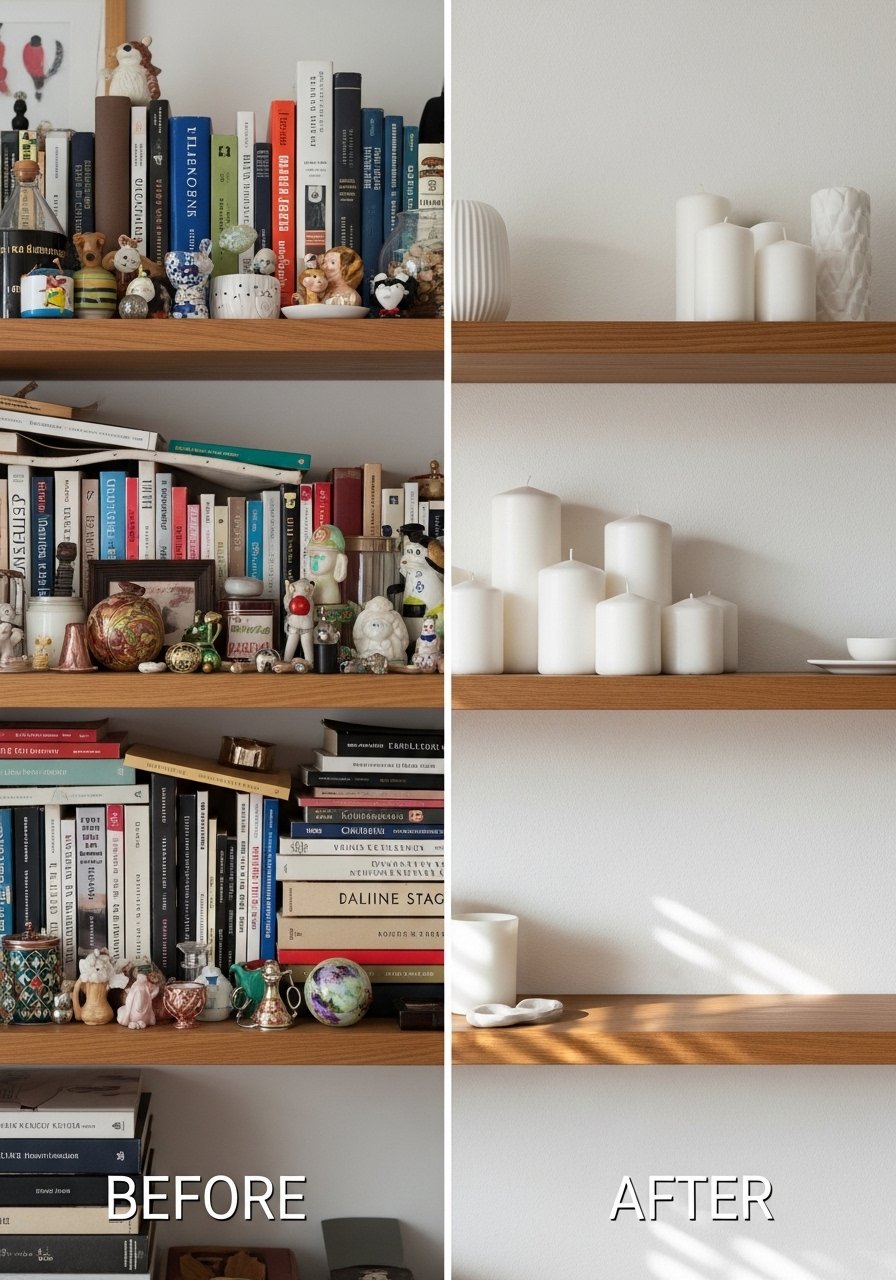
A lot of people overcompensate with matching items or too many tiny votives. The overstuffed look comes from fear of empty space. Fix it by removing rather than adding. I once filled a console with six identical votives thinking that would read cozy. It read like a store. Replace two votives with one taller pillar and one small object and you will feel the space breathe.
Also pay attention to texture contrast. Candles that sit on the same smooth surface need a rough or soft companion. Try one concrete holder and one linen fold. That small change makes the arrangement feel real, not manufactured.
Making This Work in a Small Room
In a small space, scale down the tray to 8–12 inches and stick to two heights instead of three. Place the cluster on a shelf at eye level or lower so the light spills across the room. Use LED wax candles if you have pets or kids, they feel warm to the touch and do not risk tipping.
If you have low ceilings, avoid tall tapers. A short pillar with a mirror behind it will give the same sense of glow without occupying vertical space. I tested this in my tiny studio and the reflected light made the room feel wider.
What This Looks Like After a Week with Real Life
Expect things to shift. My roommate knocked a candle off the tray twice and then stopped reaching for that shelf. After a week, a well-styled cluster will feel integrated. If it does not, ask whether one item looks performative. Remove that item first.
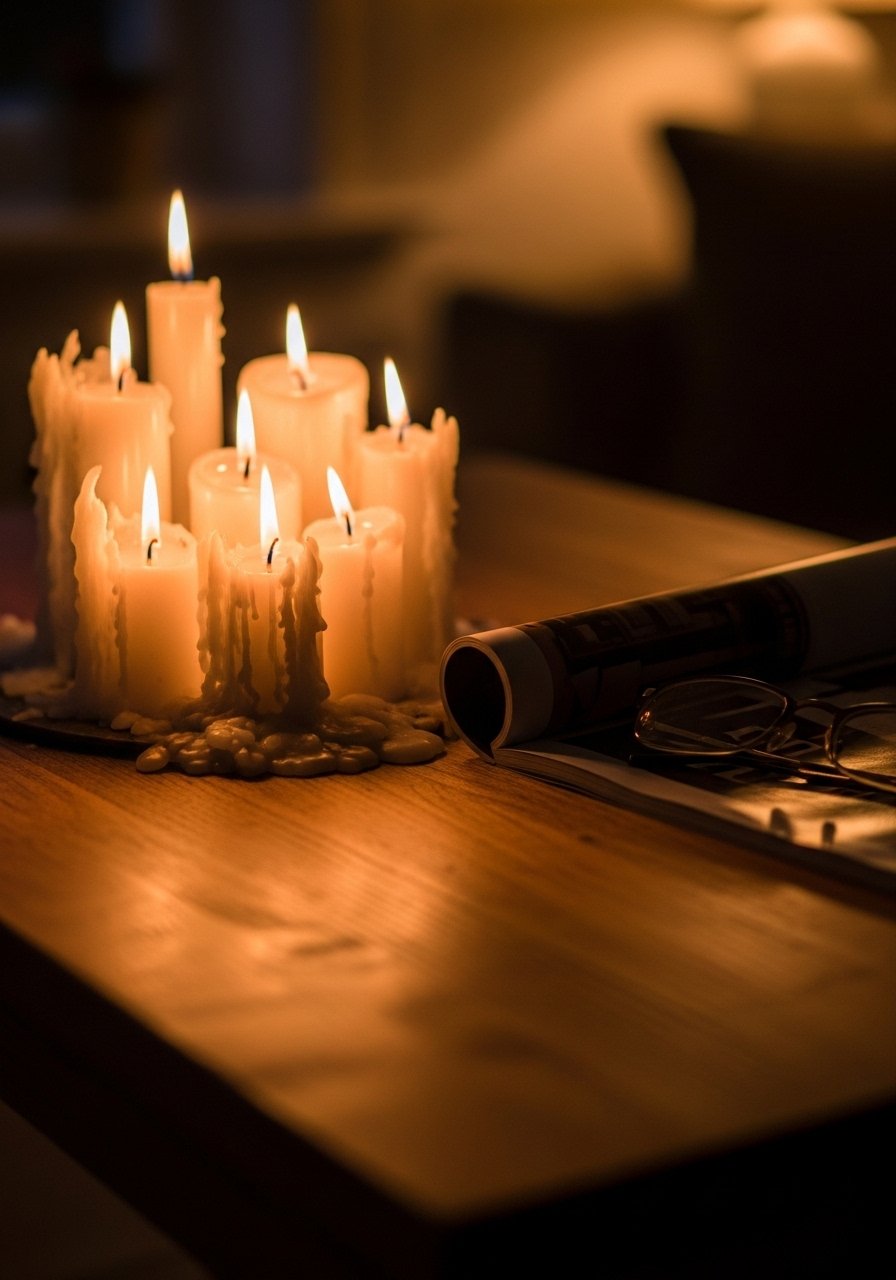
Small habits help keep it real. Trim wicks every few uses so the flame stays calm. Replace a votive with an LED candle in high-traffic zones. After everyday living, the cluster should look like part of the room, not a prop.
Start With One Candle Cluster
Pick a small surface, grab a 14-inch tray and one set of three pillar heights, and try the anchor method from Step 1. You do not need everything at once. Start with one cluster, live with it for a week, then add a vase or a mirror if it still feels sparse.
When you come back to the room at night and the light looks softer, you will know you did it right. My console still gets adjusted occasionally, but now the candle cluster is the part I leave alone.
