
My living room had nice furniture and decent lighting but it still felt like a waiting room. Took me embarrassingly long to realize small handmade details make a space feel lived in. These clay projects are easy, cheap, and forgiving. I started with simple shapes and ended up filling shelves and gifting friends things they actually used.
These ideas lean cozy modern with a touch of playful cottagecore. Most projects cost $5 to $30 in materials, with a couple of small tool purchases around $15-25. They work for kitchens, entryways, bedrooms, and small living-room vignettes.
Tiny Succulent Pots for a Sunny Windowsill

The moment I made three little pots in graduated sizes, my windowsill stopped looking bare. Make them 2.5 to 3.5 inches across and about 1.75 to 2 inches deep so standard succulent soil fits without spilling. Use a simple silicone mold or hand-roll slab walls to 3 to 4 mm thickness, or they crack later. I like grouping three for the rule of three, spacing each about 3 inches apart. Seal the inside with a clear non-toxic sealer so they survive watering. Avoid making the walls paper-thin is the common mistake people make. I used a basic air-dry clay starter kit and a small clear sealer.
Playful Kitchen Animal Magnets
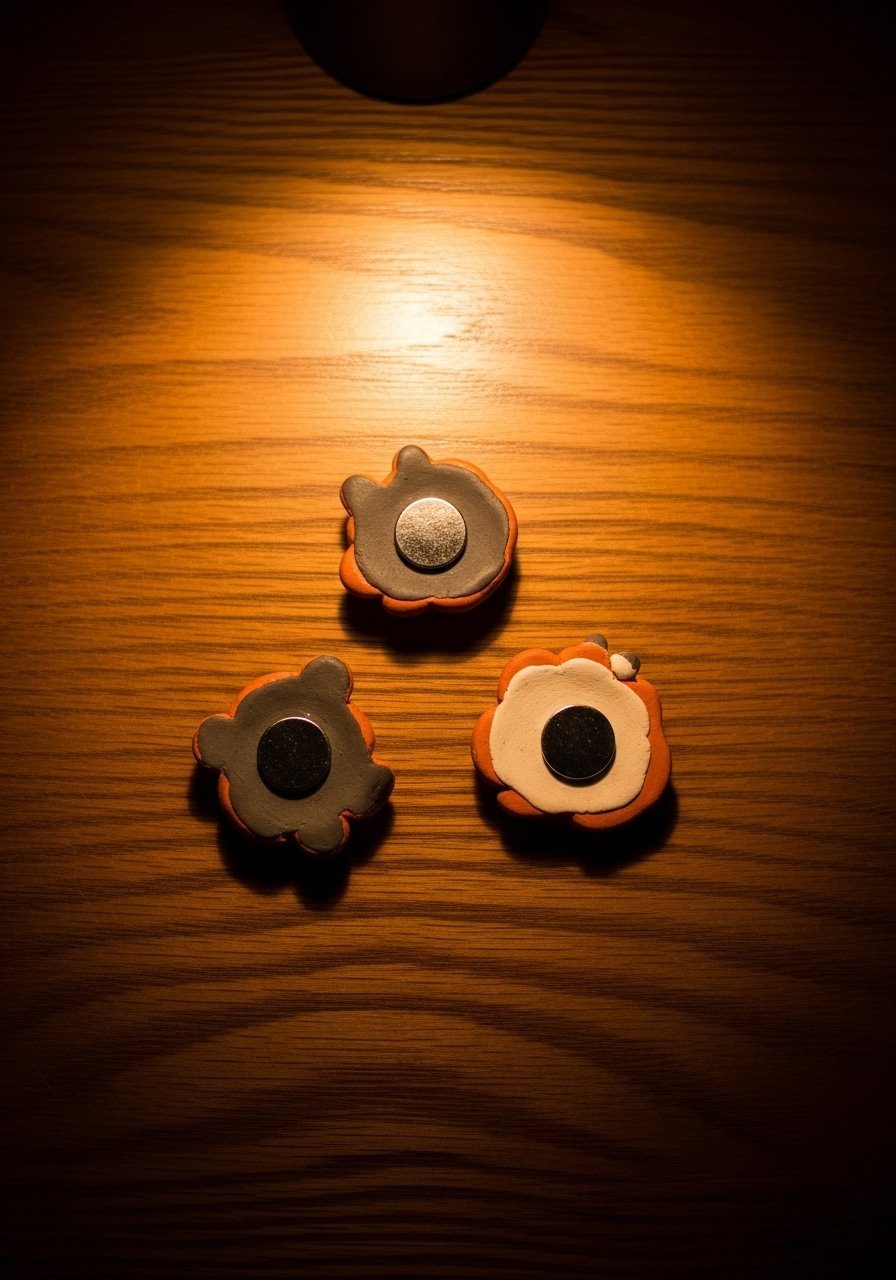
If your fridge is a jumble of receipts, this is the fix. Sculpt 1 to 1.5-inch animals, press a 6 mm strong magnet into the back while the clay is damp so it sticks once dry. Keep forms chunky, not delicate, or they break when the magnet pulls. A mistake I made once was using thin magnets that left ceramic chips. Use 4 mm thick disc magnets and a dab of glue after drying. These are cheap to make and great stocking stuffers. Try a tiny set of three in coordinating colors to honor the 80/20 color ratio, where 80 percent neutral and 20 percent pop. Grab strong disc magnets and a basic sculpting tool set.
Minimal Jewelry Catchall for Nightstands
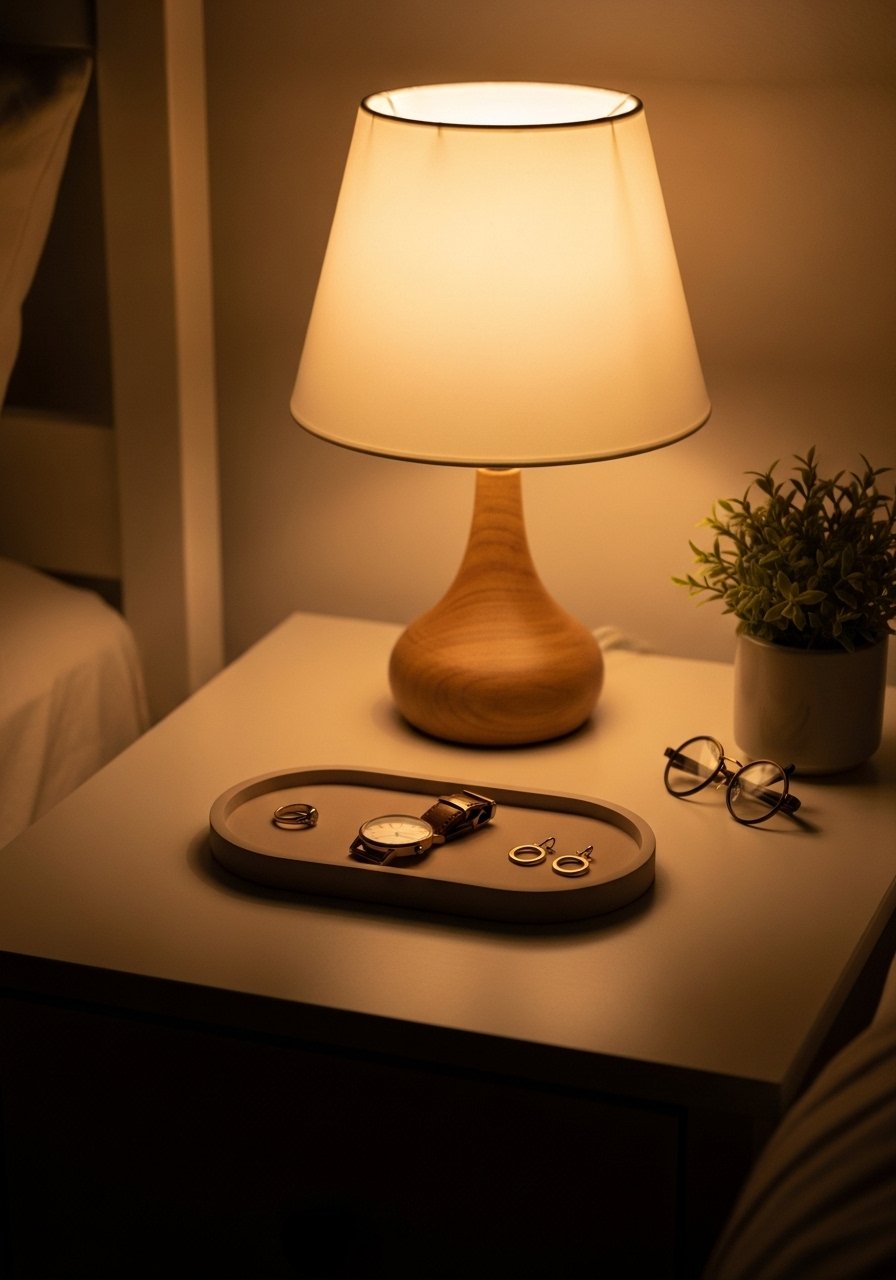
My bedside became less junky when I added a low clay dish. Aim for a 4 by 6 inch tray with a 1/4 inch lip so rings don’t roll off. I press a linen texture into the base before it dries for interest. The visual result is calm, not fussy, which suits modern bedrooms. Budget is tiny, under $10 in clay and finish. A common mistake is making the lip too tall, which turns it into a bowl. I like pairing this with a reading nook pillow stack because there is something about a reading nook with layered pillows that makes you want to cancel your plans. Use a small sanding sponge and a satin clear sealer.
Textured Wall Tiles for a Boho Accent
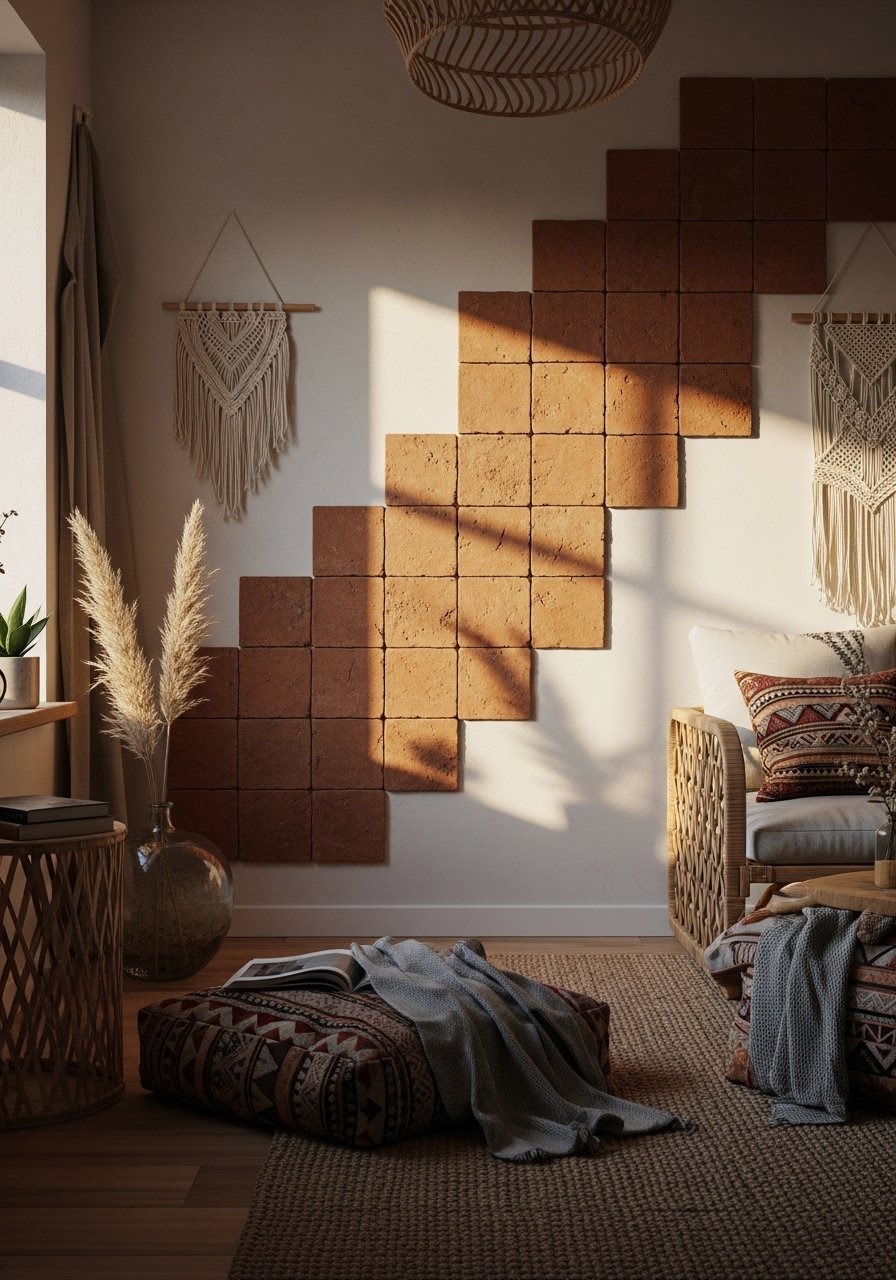
Make a small art installation with 4 by 4 inch tiles textured with leaves, stamps, or thumbprints. Keep grout lines at 1/4 inch when mounting to avoid an overly busy look. I use an 80/20 color ratio on this piece, painting 80 percent in warm clay neutrals and 20 percent in a teal accent tile. Resist lining them up in a rigid grid is the usual mistake. Stagger for movement. Mounting pads and a bit of construction adhesive do the trick. Measure the whole spread first so you avoid awkward edge cuts. I used mounting pads and a small tube of construction adhesive.
Thumbprint Tea-Light Holders for Cozy Dinners
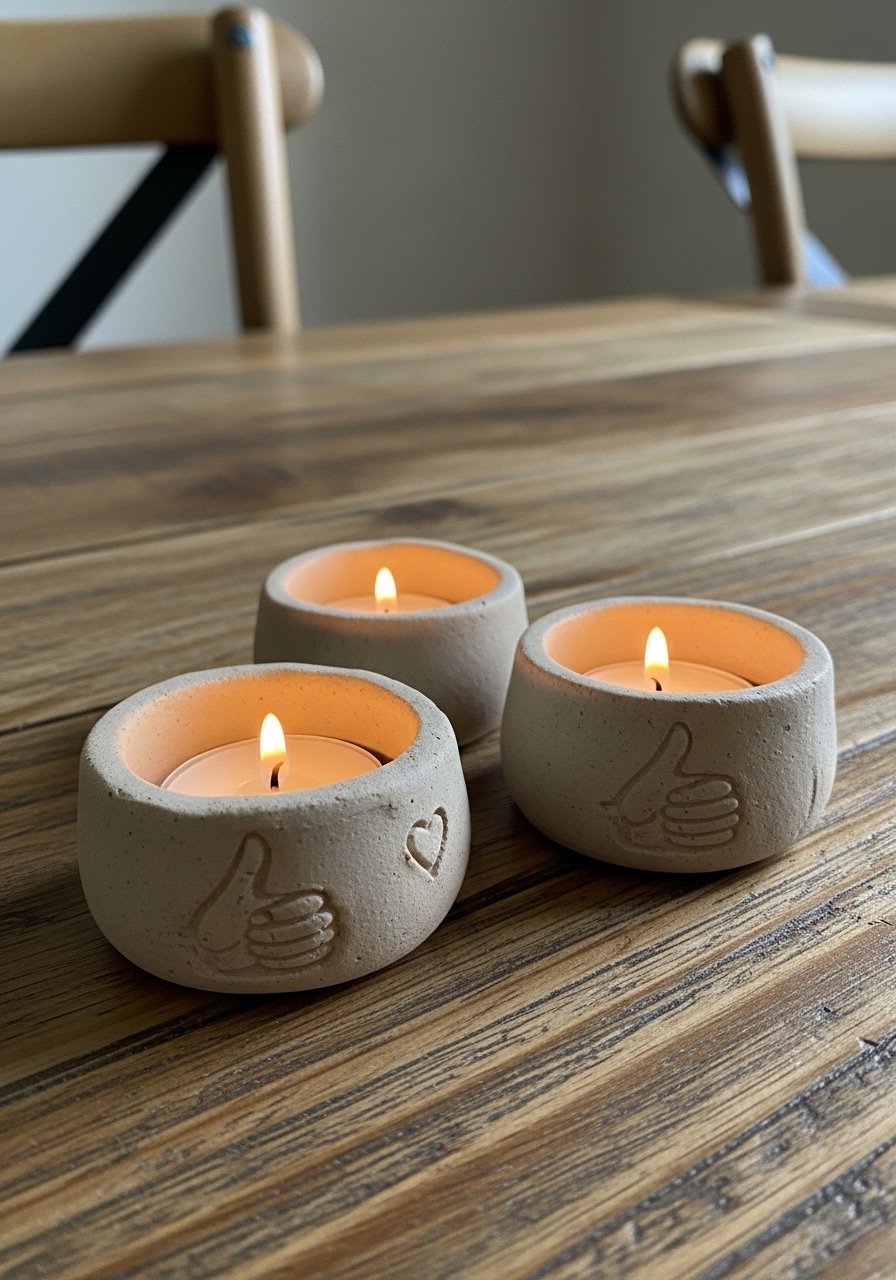
These are fast and forgiving. Roll a ball about 2 inches wide, press a thumb to form the cup, and smooth the rim. They should be about 2.25 to 2.5 inches wide so a standard tealight sits flush. I love how clustered tea-lights create low, inviting light over dinner. The common mistake is making them too tall which hides the flame. Pair a trio of holders with the marble coasters idea for a dinner vignette. I used unscented tea-lights and a small sealant.
Little Face Planters for Pothos and Pups
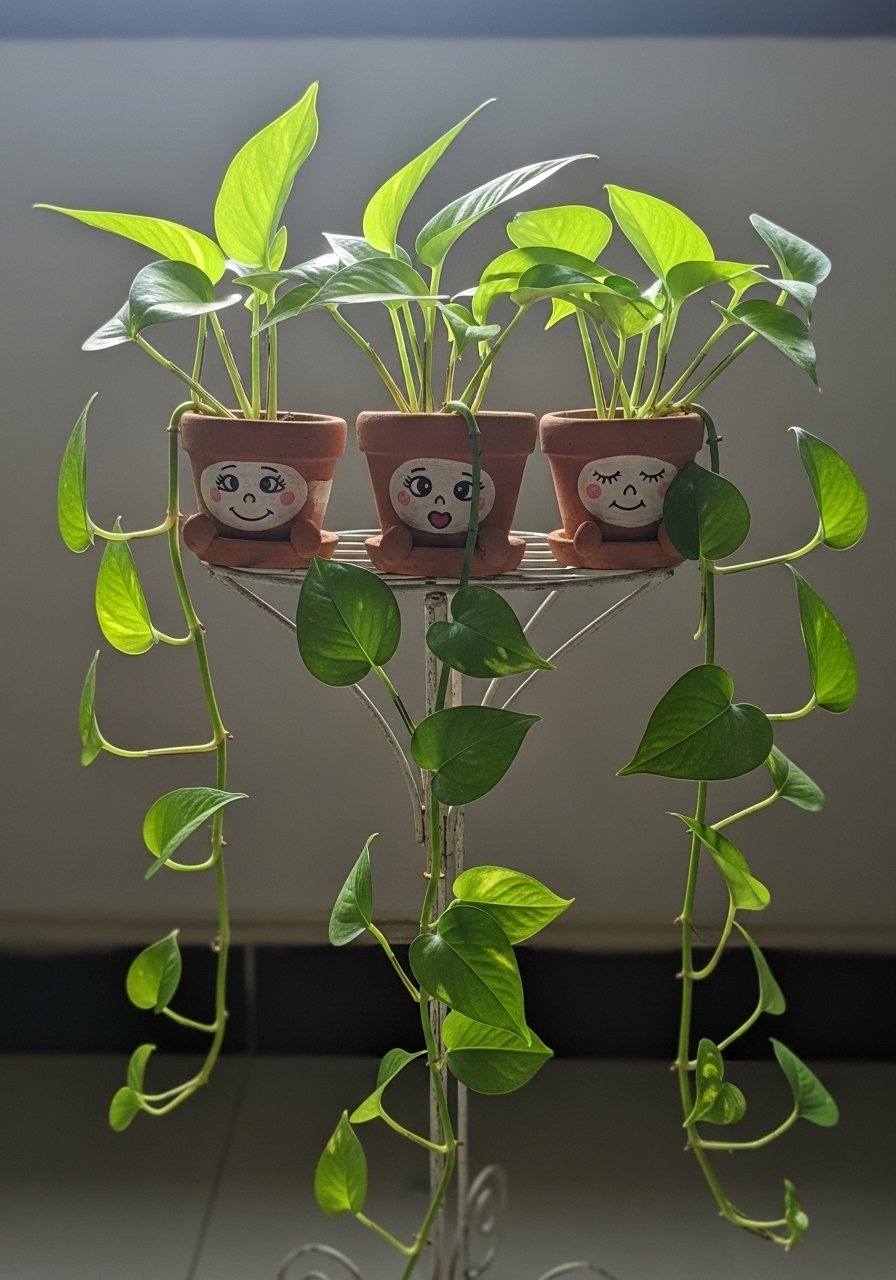
Faces are oddly calming in a room. Make pots about 3.5 to 4 inches across with a flat back if they sit against a wall. Paint simple features with underglaze or acrylic after the clay is dry, then seal. A mistake is painting while the clay is still damp which smudges lines. These work great for bedside plants or stacked on a bookshelf. Use a single taller pot next to a faux fiddle leaf in a corner for scale contrast. I used a small underglaze set and a plant saucer pack.
Personalized Entryway Key Dishes
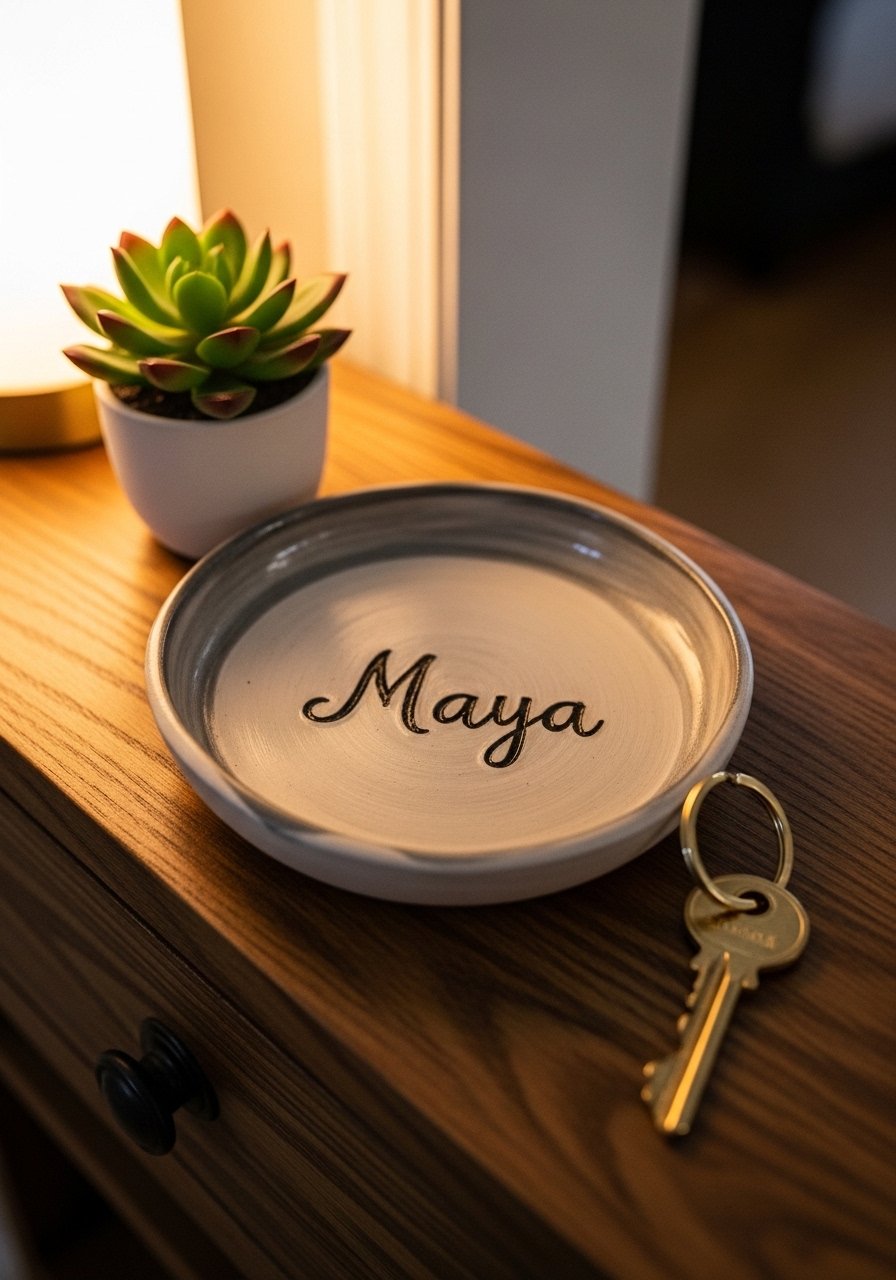
One shallow 6-inch dish keeps keys, wallets, and loose change from becoming a pile. Press names or initials with alphabet stamps while the clay is soft and fill letters with gold leaf or a dark wash for readability. The common mistake is using too many letters which makes the impression unreadable. Keep names to one word or initials. Budget is under $15 including stamps. Use a slim dish when your console is narrow, and consider a non-slip pad underneath. I used alphabet stamp set and gold-leaf flakes.
Chunky Clay Bead Garland for Rustic Mantels
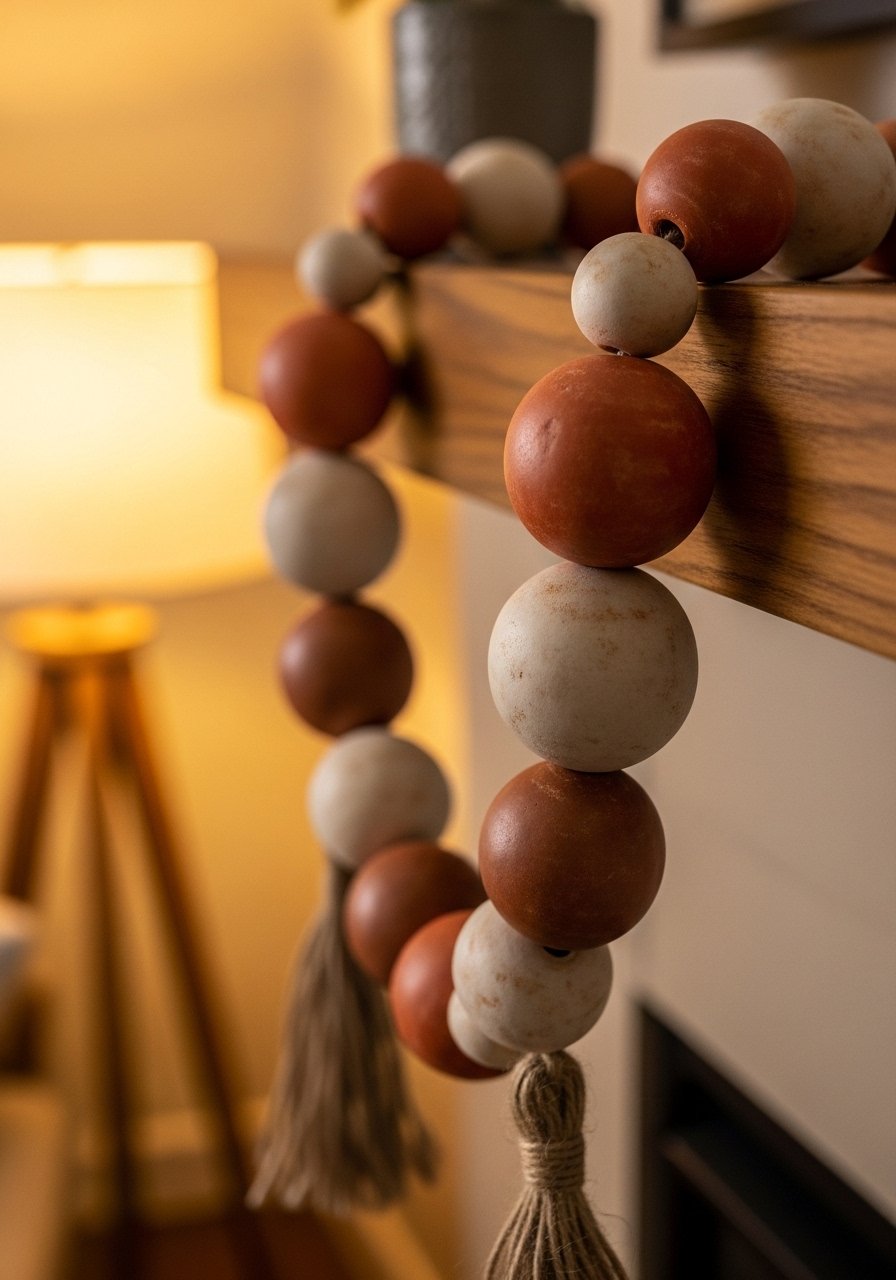
Clay bead garlands are cheap way to add texture. Make beads 1 inch, three-quarter inch, and half inch to create pleasing scale. Drill a 3 mm hole through the center while slightly damp so a cord slides easily. Group garlands in threes across a mantel for weight and rhythm. A mistake people make is spacing beads too close which loses the tactile look. Leave 2 to 3 inches between bigger beads. I strung mine on waxed linen cord and knotted the ends. Use waxed linen cord and a small hand drill.
Marble Effect Coasters That Still Feel Casual
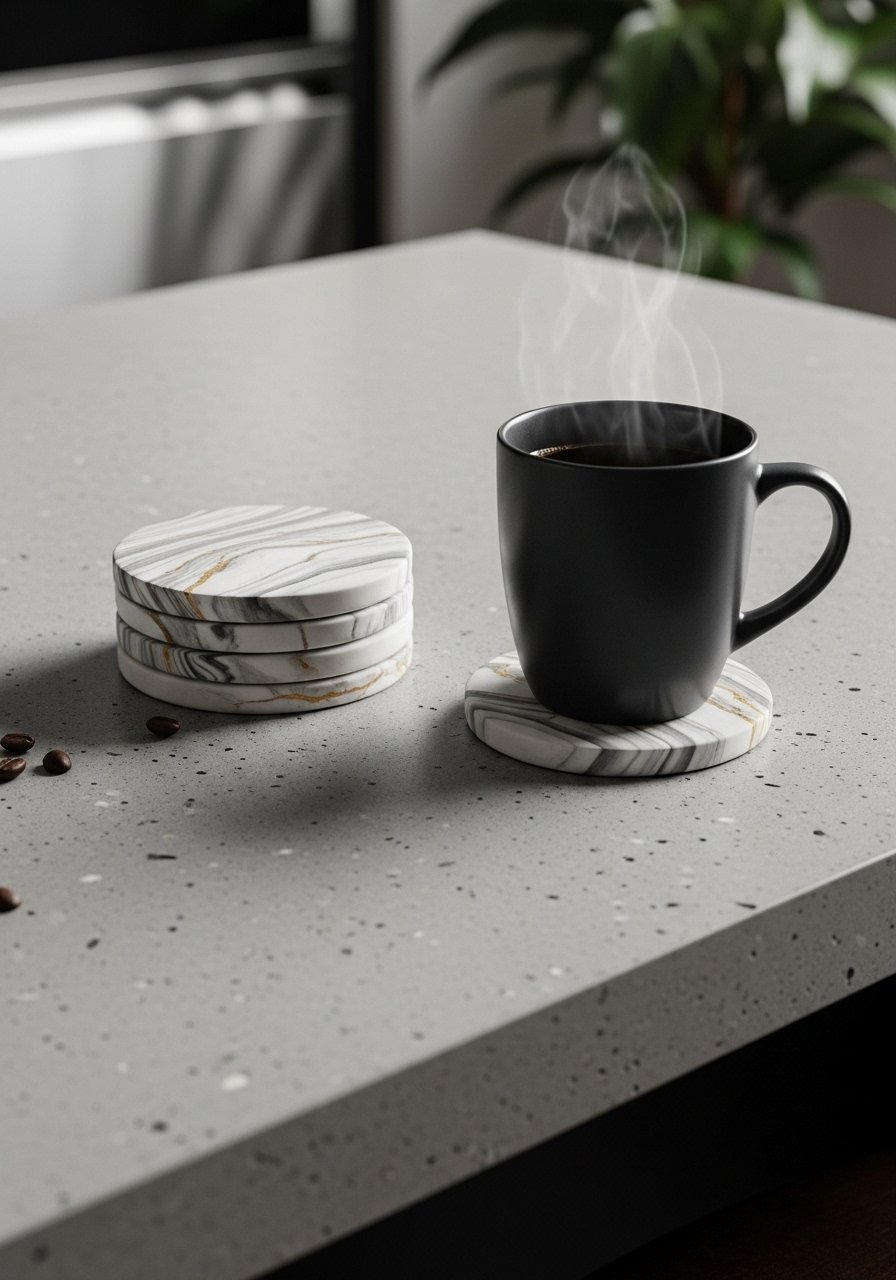
You can get that marble look without skilled marbling. Swirl two neutral clays gently and roll to 4 inches diameter and 1/4 inch thick. Keep one color dominant for a calm result. Thin coasters warp while drying. I learned to let them dry flat on a sheet for 48 hours with a light weight in the center. Too much sanding removes the pattern is a common mistake. Seal the top with a food-safe finish if mugs sit directly on them. I used alcohol inks for accents and a food-safe sealer.
Scandinavian Minimal Face Planter for Corners
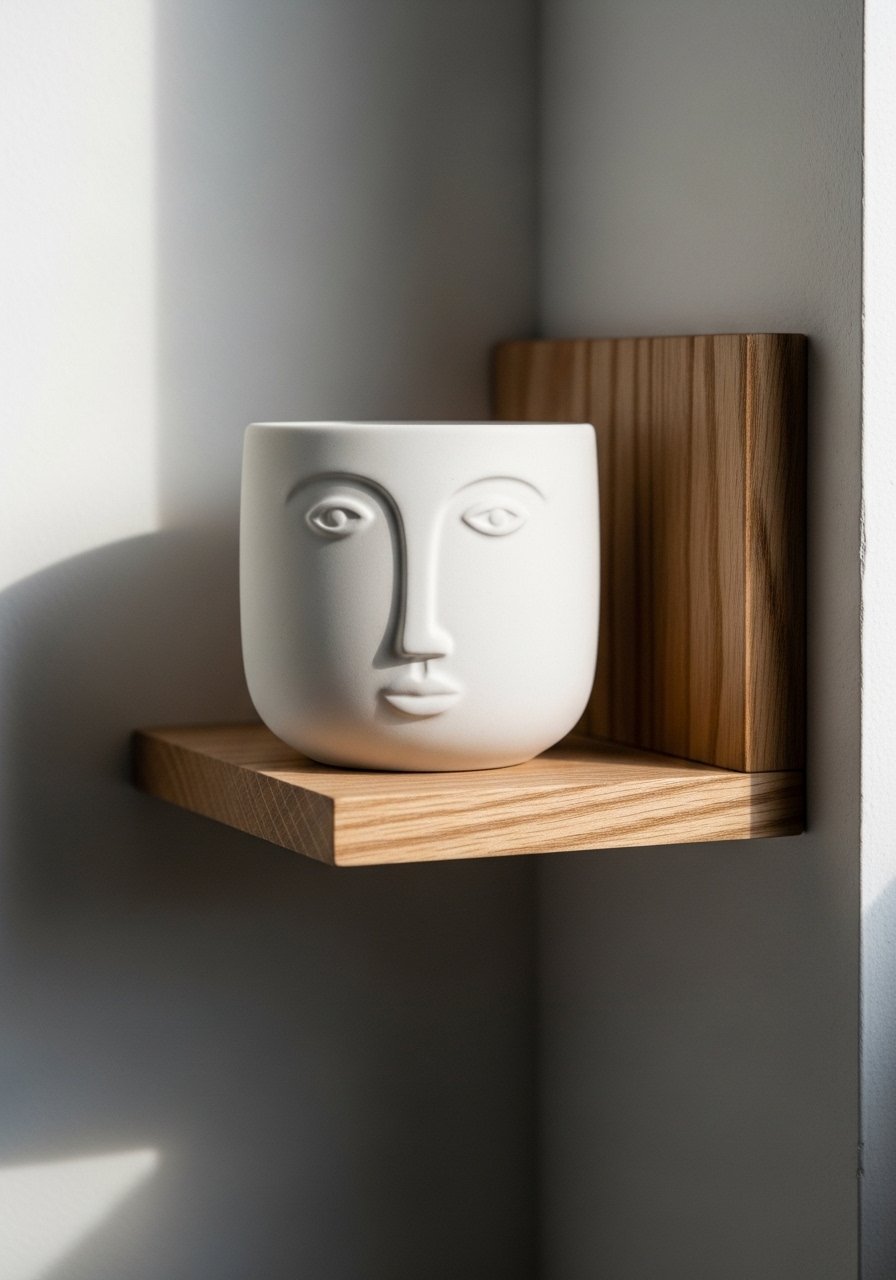
Simple face planters in matte white read modern Scandinavian. Make these about 5 inches across for an easy shelf or side-table fit. Keep features minimal: two dots and a line look intentional. The mistake is trying to over-decorate the face with tiny details that read messy from afar. Use matte sprays to get a ceramic look and pair with an artificial plant if you lack sunlight. A single taller plant nearby balances the short planter. I used matte white spray paint and a small faux plant.
Statement Wall Hook with Clay Knob
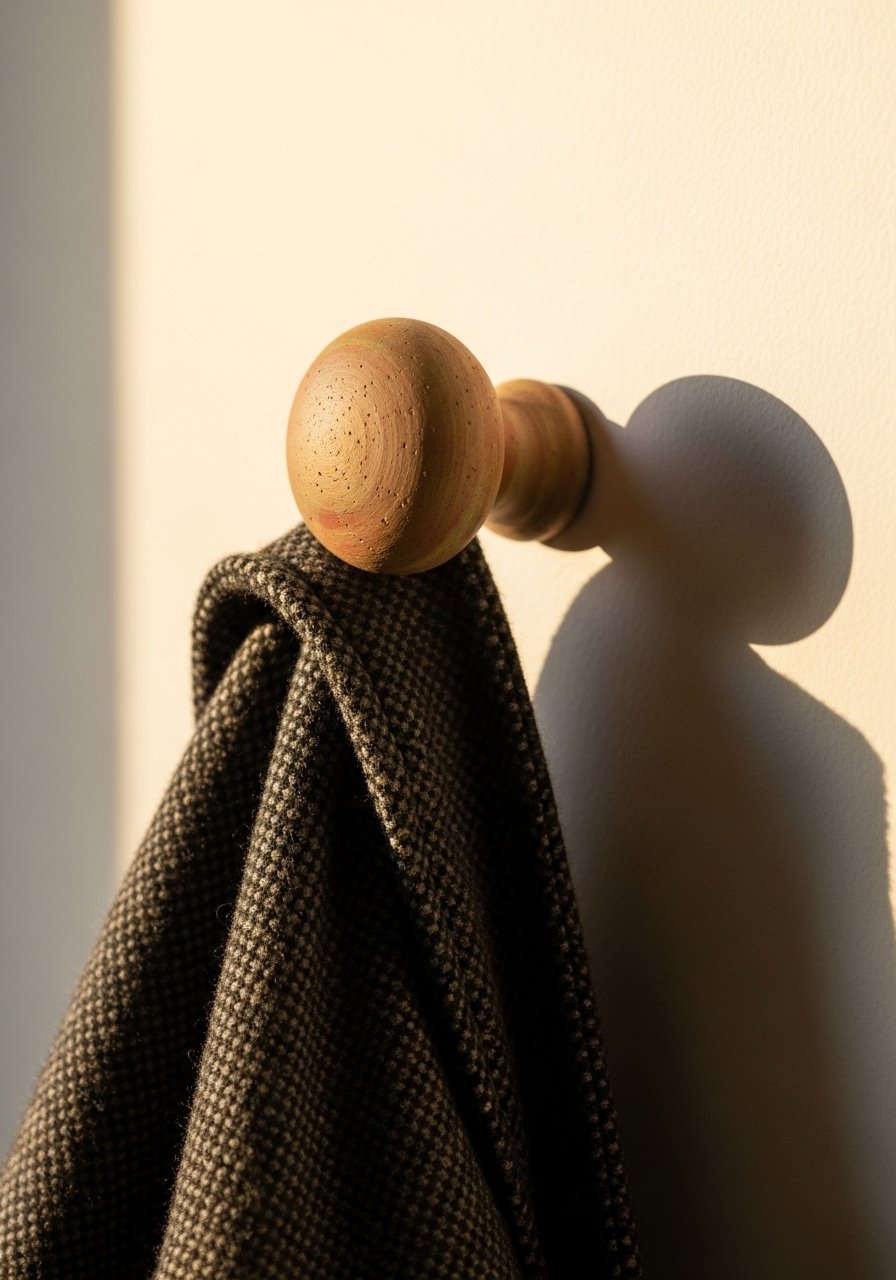
Swap boring hardware for a handmade knob. Sculpt a 2-inch diameter knob, insert a screw while damp so it anchors into a metal plate or wooden backer. This idea works great in entryways and mudrooms. The common mistake is using short screws which pop out under weight. Test with a heavy coat before hanging keys. Finish with a wax or clear coat to reduce grime buildup. A set of three matching knobs creates a tidy visual and follows the rule of three. I used flat-back screws and small metal hook plates.
Lightweight Clay Earrings for Gifts
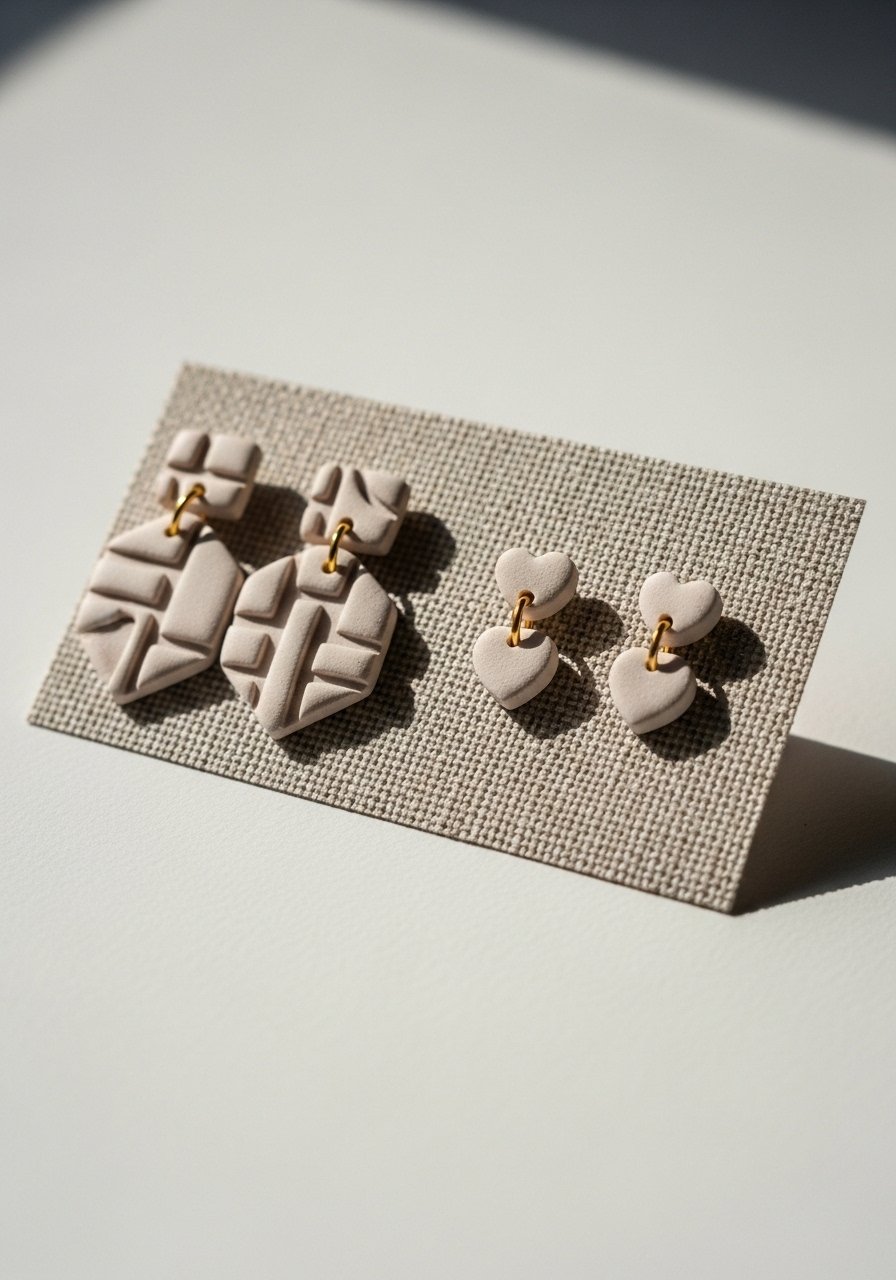
Thin, baked clay earrings are light to wear and fast to make. Roll to 2 to 3 mm thickness so they are durable but not heavy. Attach stainless steel posts with E6000 or a jewelry adhesive after drying. The mistake is making pieces too thick which pulls on lobes. Keep edges sanded smooth and finish with a satin varnish. These are excellent last-minute gifts and you can batch-make shapes to keep on hand. I used a jewelry adhesive and stainless-steel earring posts.
Mini Fruit Bowls for Open Shelving Styling
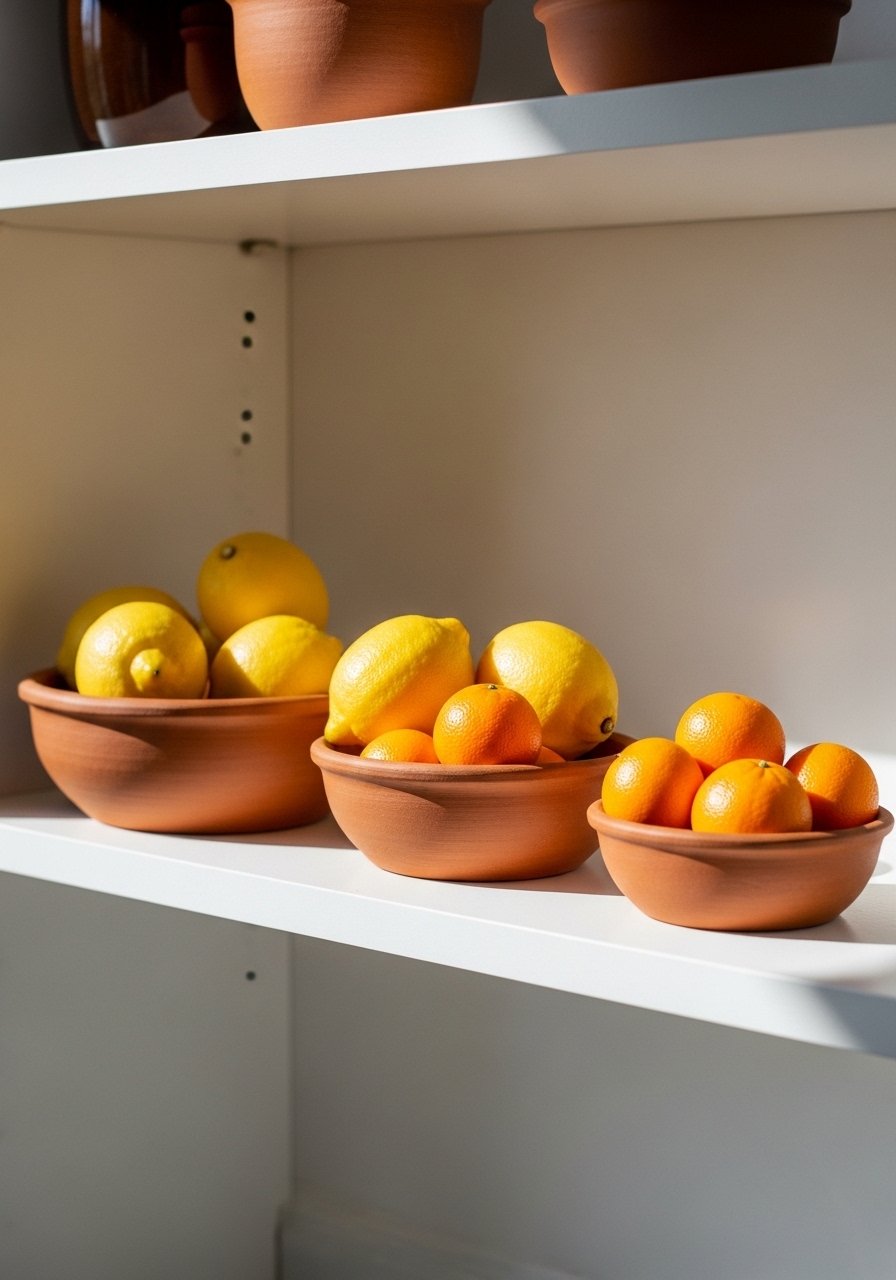
A set of three nested bowls in 3, 4, and 5 inch diameters looks deliberate on open shelves. Use a shallow curve so fruit sits visibly. The visual result is both useful and decorative. People often make bowls too deep which hides the contents. Keep spacing on the shelf to allow negative space, roughly one bowl diameter between stacks. These bowls are budget-friendly and perfect for seasonal swaps. I used a small clay rolling pin and a soft finishing brush set.
Custom Drawer Pulls to Update Cabinets
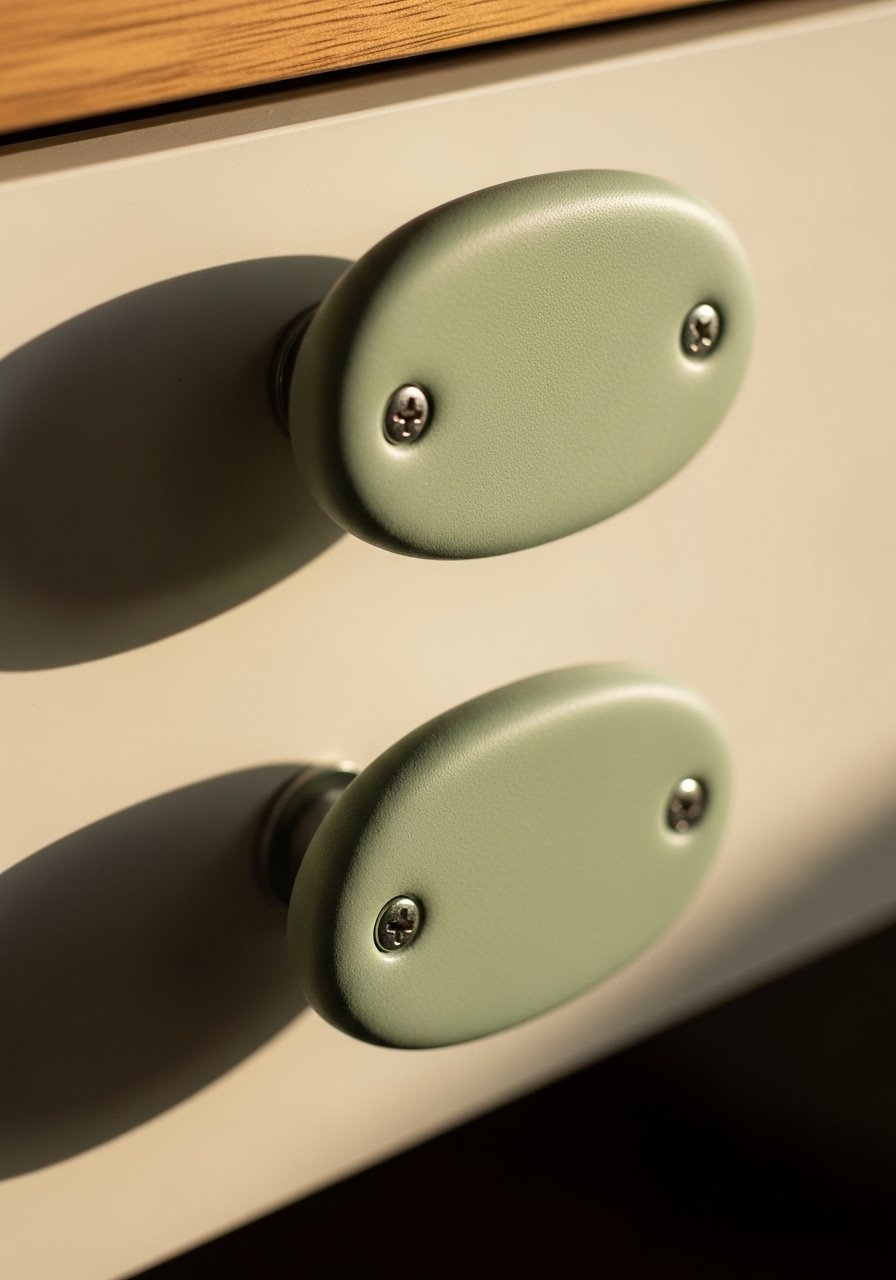
Replacing pulls is an easy myth-busting upgrade. Make oval pulls about 1.5 to 2 inches wide and use 1/2 to 5/8 inch screws depending on drawer thickness. The most common mistake is not test-fitting screw length which leads to stripped drawers. Sand the back flat so it rests flush on hardware. These are a great renter-friendly way to change mood without repainting cabinets. I used a pack of cabinet screws and a slim driver set.
Seasonal Stamped Ornaments for Year-Round Decor
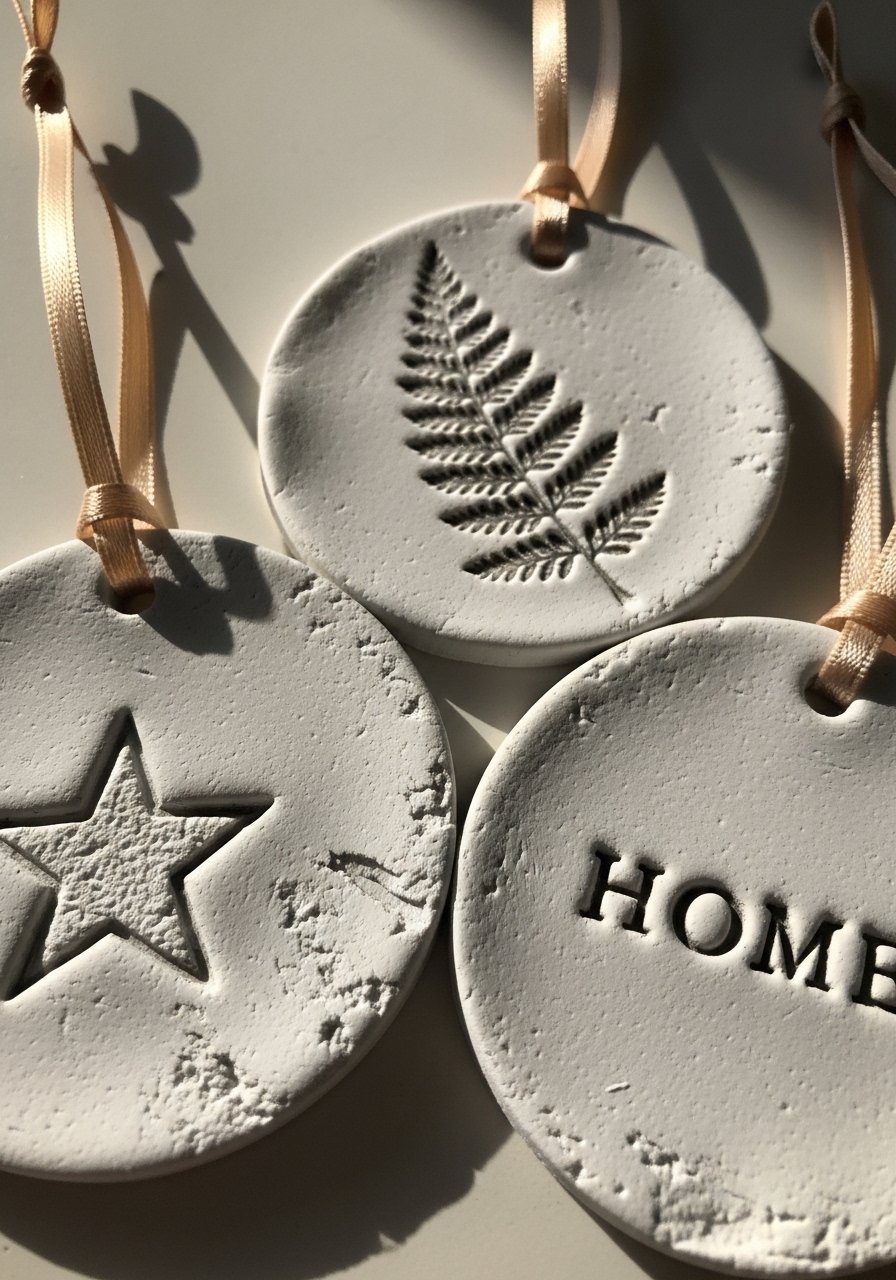
Make a batch of 2.75 inch ornaments with stamped patterns to hang on a peg board, garland, or a seasonal tree. Punch the ribbon hole before the clay dries and allow 48 hours of flat drying. A frequent mistake is not sanding edges which makes ribbon fray. Keep stamps simple and bold so the impression reads from a distance. These are tiny enough to mail and are great gifts. I used craft ribbons and alphabet-stamp-set.
Your Decor Shopping List
Textiles
- Honestly the best $40 I have spent. Chunky knit throw in cream, 50 x 60 inches. Drape over the sofa arm for instant warmth
- Velvet pillow covers, set of 4 in 18 x 18 inches for layered texture, mix two colors
Wall Decor
- 4×4 ceramic-look clay tiles pack (~$25) for the textured wall idea
- Mixed metal picture ledges (~$18) to lean small framed art nearby
Lighting
- Unscented tea-lights, 100 pack for the thumbprint holders
- Matte white spray paint for Scandi finishes
Tools & Clay
- Air-dry clay starter kit including 2 lbs of clay and basic tools
- Clay sculpting tool set
- Fine sanding sponges for edges and smooth finishes
Budget Finds
- Similar at Target or HomeGoods: small planters, simple trays, and decor bowls if you want to skip the DIY entirely for a quick setup
Shopping Tips
Design feeds have shifted completely. White oak floating shelves look current and make clay pieces read like curated finds.
Grab these air-dry clay starter kits for $15. Stock up on a few colors and you can batch projects and keep the momentum.
Curtains should puddle or kiss the floor, never hang halfway up. 96-inch linen panels are the right length for standard 9-foot ceilings and instantly make shelves and clay vignettes feel anchored.
Lead with one big plant, not five small ones. A single 6-foot faux fiddle leaf fig gives scale and makes your clay pieces pop on lower surfaces.
If you dislike sanding, buy a small pack of pre-mixed clay colors. It removes the need for paint and seals faster.
Frequently Asked Questions
Q: How long does air dry clay take to fully harden for these projects?
A: Most pieces need 24 to 48 hours flat drying for small items like magnets or earrings, and up to 72 hours for thicker bowls and knobs. If a piece is over 1/2 inch thick, plan for longer. I always leave trays and bowls a full week before sealing to be sure.
Q: Can I use these clay knobs on kitchen cabinet doors that get used a lot?
A: Yes, if you anchor them to a metal backplate or screw them through a wooden backing. Use 1/2 to 5/8 inch screws depending on drawer thickness and sand the back flat so contact is solid. Test with weight before trusting them on heavy drawers.
Q: What finishes are safe for items that touch food, like coasters or fruit bowls?
A: Use a food-safe sealer on any surface that touches food directly. For coasters that hold mugs, a non-toxic food-safe finish is fine. For bowls holding produce, wipeable finishes that are food-safe are best. If in doubt, use a plate inside the bowl.
Q: How do I avoid my clay pieces cracking while they dry?
A: Keep wall thickness consistent around 3 to 4 mm for small pots and beads. Dry pieces flat and avoid rapid heat. Thin pieces like earrings should be 2 to 3 mm. The common mistake is random thick and thin areas which stress differently.
Q: Can I make durable outdoor pieces with air dry clay?
A: Air dry clay is not ideal for long-term outdoor exposure. Use sealed pieces in covered patios or swap them seasonally. For outdoor hooks, consider using them under eaves only and re-seal annually with an outdoor-grade sealant.
Q: What project is best for absolute beginners who want quick results?
A: Start with thumbprint tea-light holders or animal magnets. They are forgiving, require minimal shaping, and dry fast. Use a starter kit like the air-dry clay kit and one sculpting tool set and you will have finished pieces in a weekend.
