
My living room had nice furniture and decent lighting but it still felt like a waiting room. Took me embarrassingly long to figure out it was missing texture. Everything was the same height. Adding a few concrete planters, some low and some tall, made it feel lived in without spending a fortune.
These planters lean modern and slightly industrial with warm accents. Most projects run $10 to $60, with one or two splurges around $100. Perfect for living rooms, bedrooms, windowsills, and any small room that needs height or a bit of organic weight.
Tall Geometric Planter For Corners, Modern Minimalist
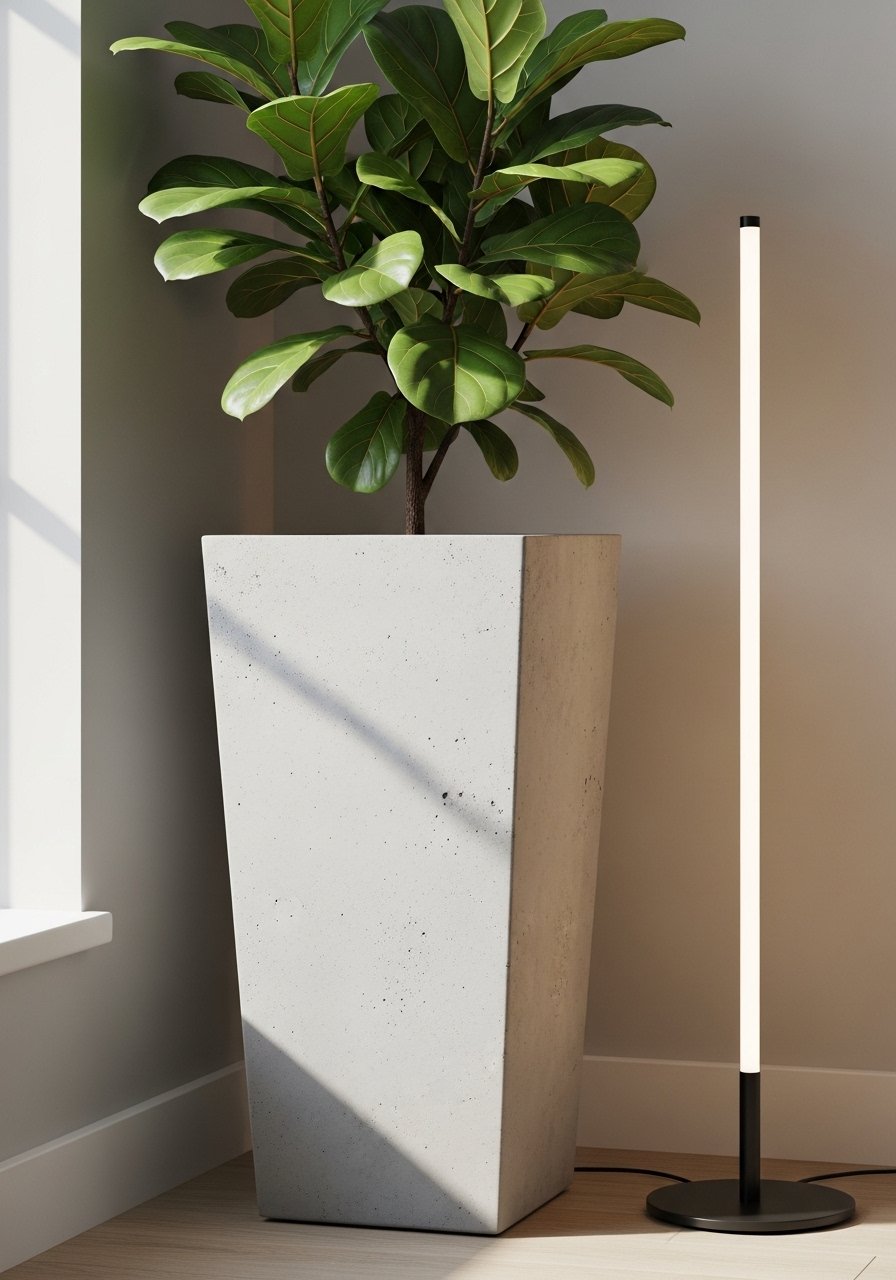
A tall geometric planter fills an awkward corner without stealing floor space, and it pulls the eye up so a small room finally feels intentional. For structure use a PVC pipe as the inner mold and a rectangular storage tote as the outer mold. I used a high-strength concrete mix like high-strength-concrete-mix and kept the walls at least 3 inches thick because anything taller needs that thickness to avoid splitting. One mistake is pouring too runny a mix. Stick to a 1:2 cement to sand ratio and test on a spoon until it holds shape. Seal after 48 hours for fewer water stains.
Stacked Box Cluster For Entryways, Industrial Chic
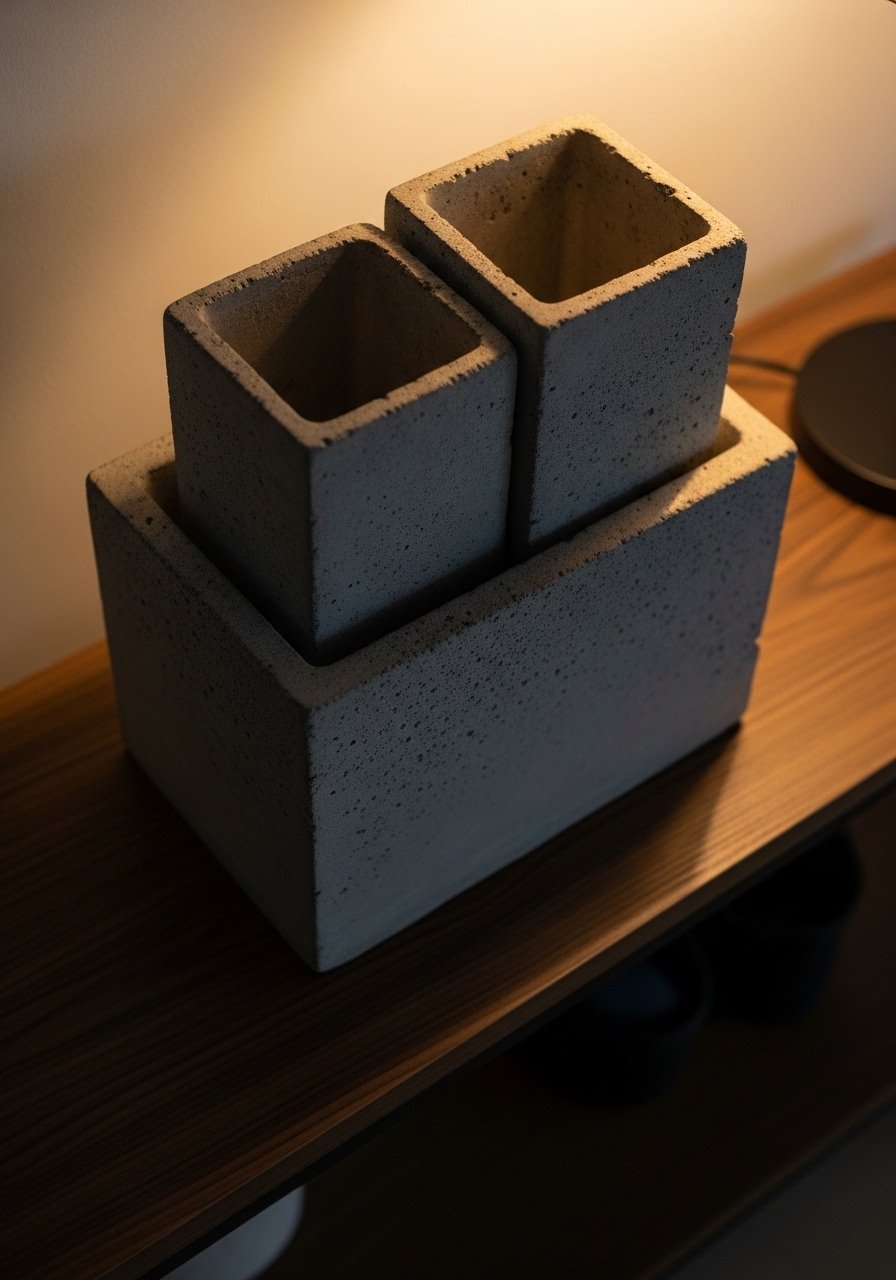
Stacking boxes gives a bespoke storebought look that is actually cheap and surprisingly light if you swap some sand for perlite. Two parts cement and one part perlite cuts weight and keeps the stack stable. I varied sizes from 6×6 to 12×12 inches and used reused plastic trays as molds. The usual rookie move is gluing boxes together without a stable base, which makes the whole thing tip. Embed a small plywood base or a 1/4-inch rebar rod through the stack for stability. These clusters read industrial and work great in an entry or narrow hallway.
Hanging Sphere For Balconies, Boho Vibe
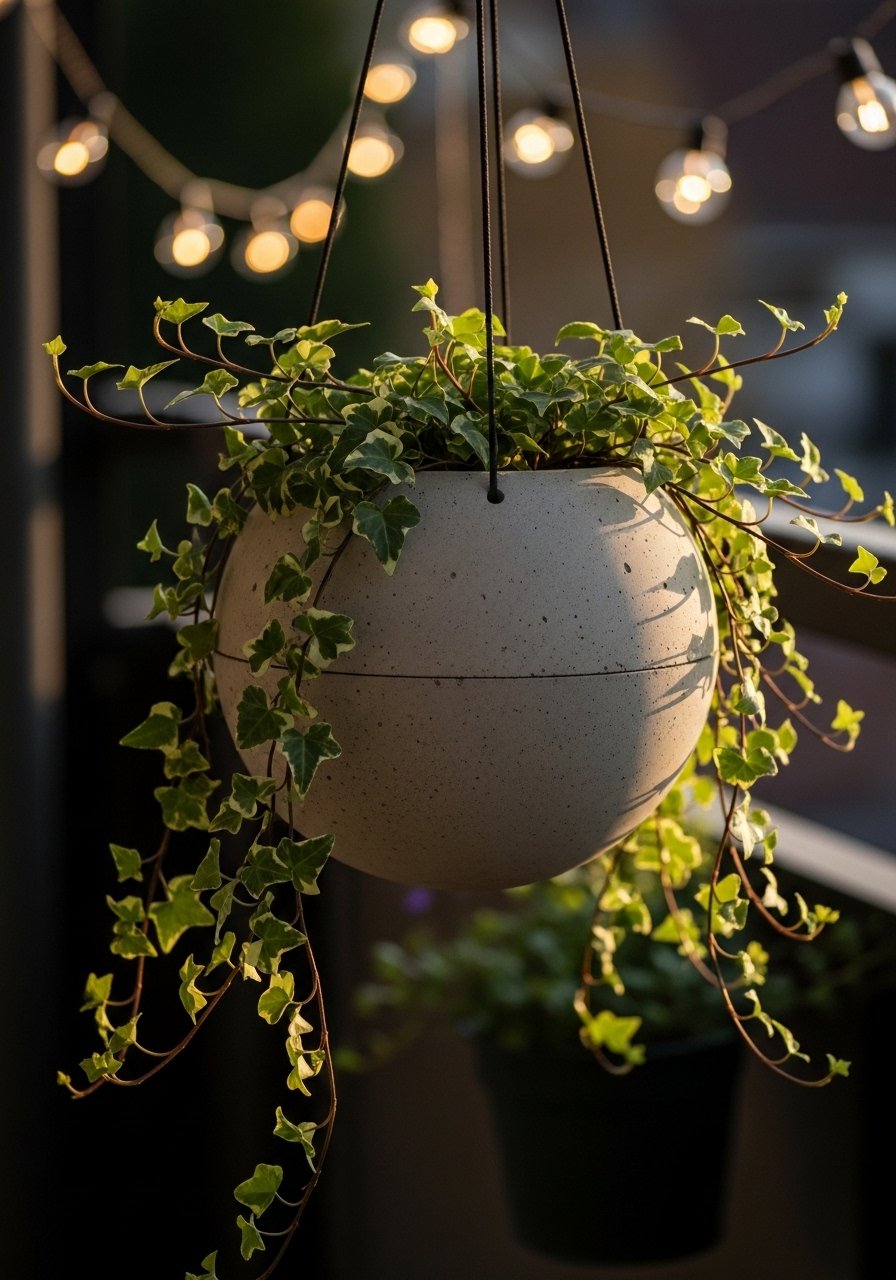
If you need floor space, hang a sphere. I used a 10-inch balloon as the mold and sprayed inside with mold release so it popped free without grief. The mix should be a little lighter for suspension. Try a perlite blend of two parts cement and one part perlite. One trap is making it too heavy. Run a test with a small batch first. Use a sturdy S-hook and anchor to a beam or a tension rod for renters. Hanging spheres sit beautifully near a small balcony table or a bedroom window where trailing plants do well.
Textured Footed Planter Beside Sofa, Scandinavian Calm
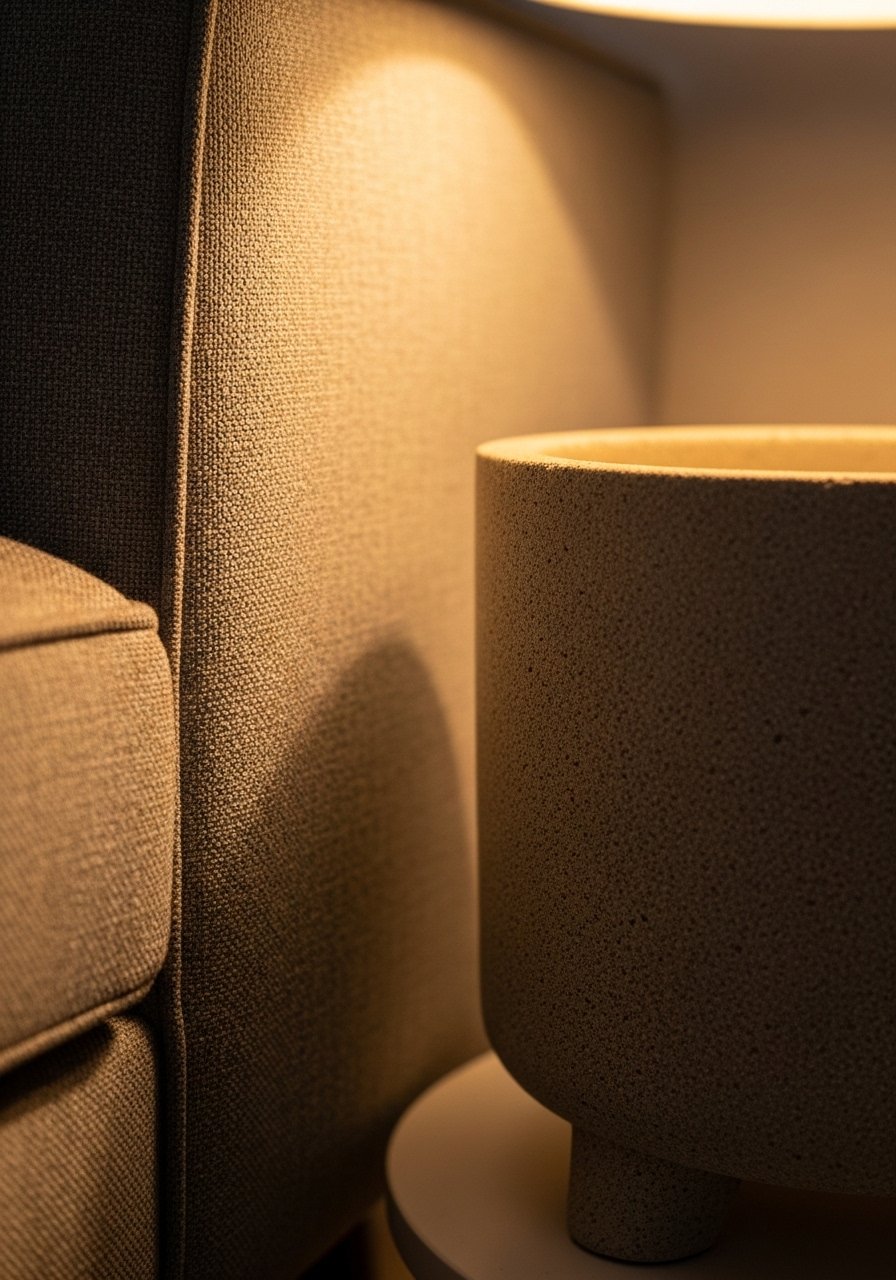
Raising a plant a few inches off the floor makes it feel like furniture, which is why I built a footed planter to sit next to my sofa. Yogurt cups make great inner molds to form the feet. I mixed sand into the outer layer to get that subtle Scandinavian texture and painted the base with concrete-paint-matte for a finished look. A common mistake is thin feet that chip. Keep feet chunky and round the edges with sandpaper after cure. Pair it with the mini pod set for a coordinated shelf display.
Long Trough For Tabletop Succulents, Modern Farmhouse
A trough fits the center of a small table where round pots would crowd the surface. I used an aluminum gutter as the outer mold lined with foil and poured a 1:2 cement to sand mix. Drill a few hidden drainage holes or plan on a gravel layer to avoid rot. People often make the trough too shallow for even root systems. Aim for at least 4 inches of depth for succulent mixes. This runs cheap and gives you a mini herb station for a kitchen windowsill.
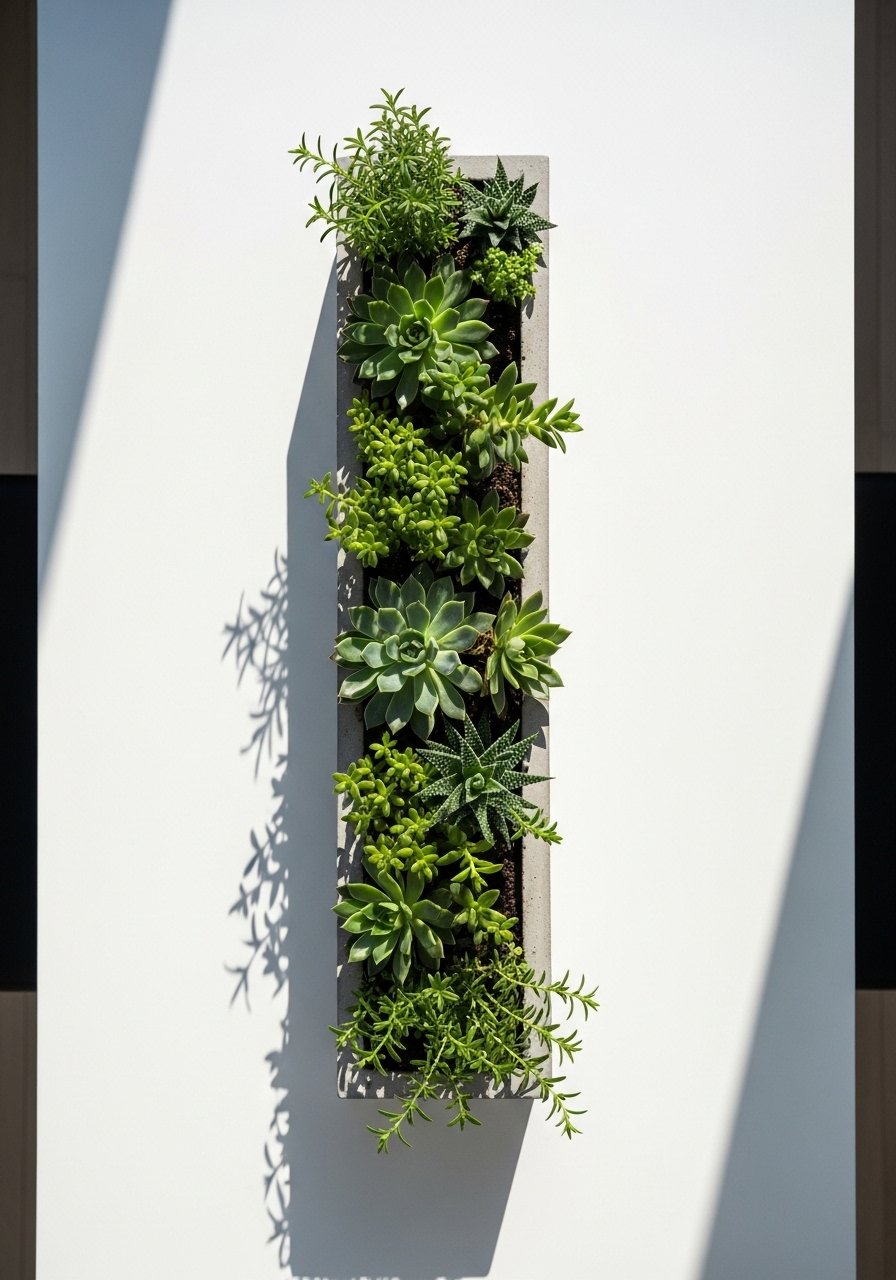
Matte Black Hexagon Cluster For Shelves, Contemporary Edge
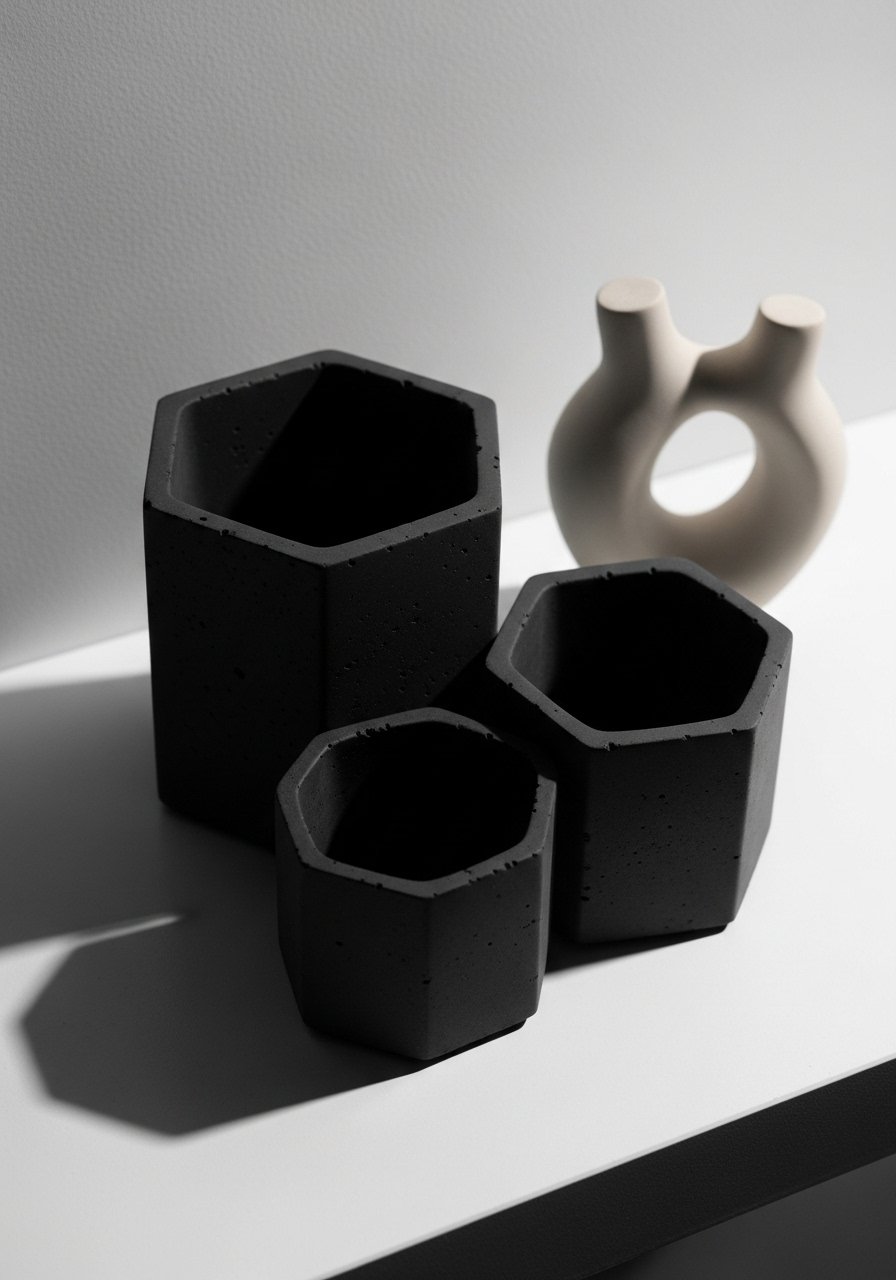
Hexagons read modern and make an odd-numbered cluster that looks deliberate. I cut honeycomb cake boards for molds and sprayed with matte black spray paint after curing. One thing I did differently was a lightweight perlite blend so the shelf could hold more pots without sagging. Mistake to avoid is mismatched heights that flatten the cluster. Vary heights by 2 to 4 inches and use the rule of three for balance. These are perfect for a narrow bookshelf or wall ledge.
Chipped Edge Boho Vase For Bedside, Rustic Charm
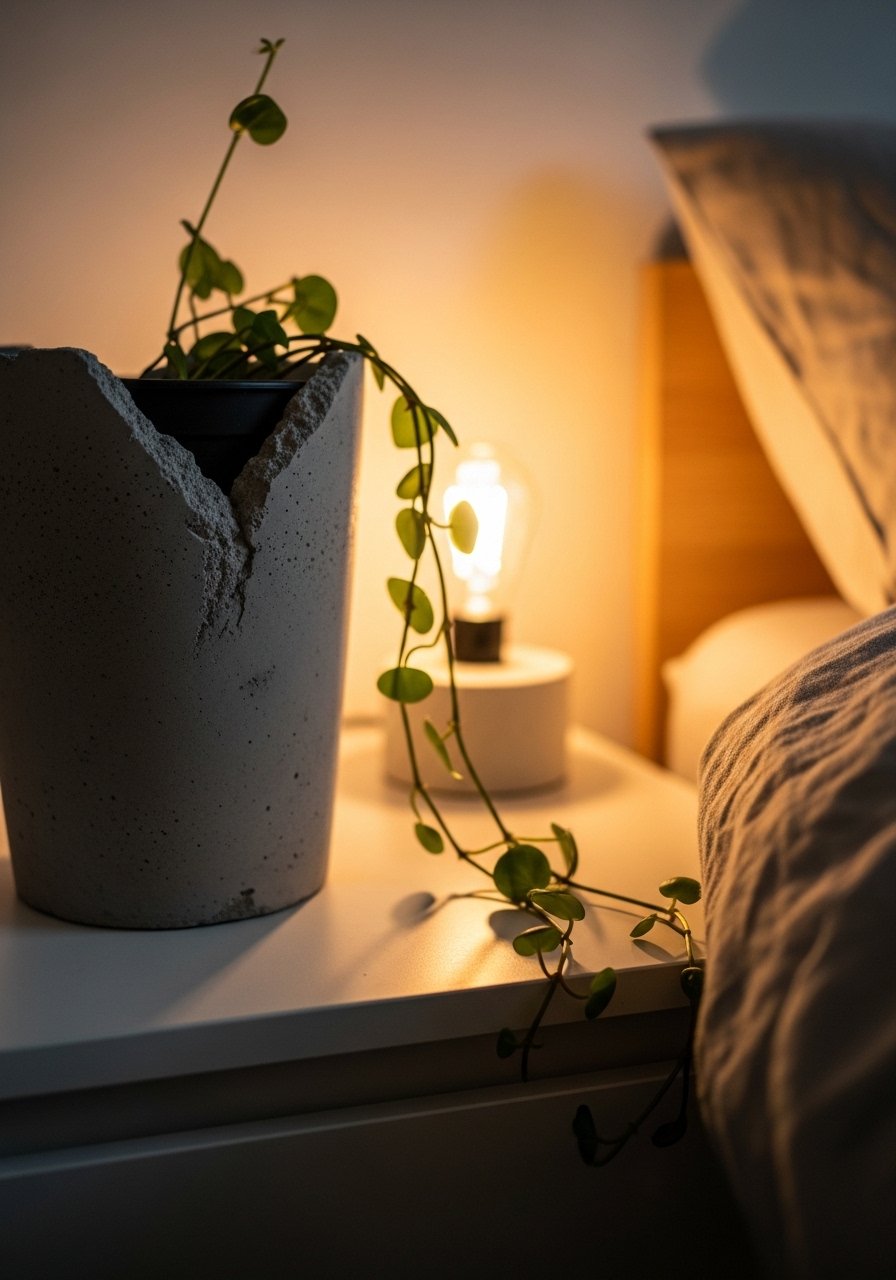
I love a planter that looks like it has history. After the pot cures, I used pliers to chip tiny sections and then sanded them until they felt intentional. That rough edge pairs nicely with macrame and rattan bedside pieces. The usual mistake is chipping too aggressively. Start small and test on a scrap. I whitewashed the surface lightly to keep it from looking heavy. Budget friendly and instant personality for a bedside table.
Whitewashed Short Cylinder For Windowsills, Coastal Light
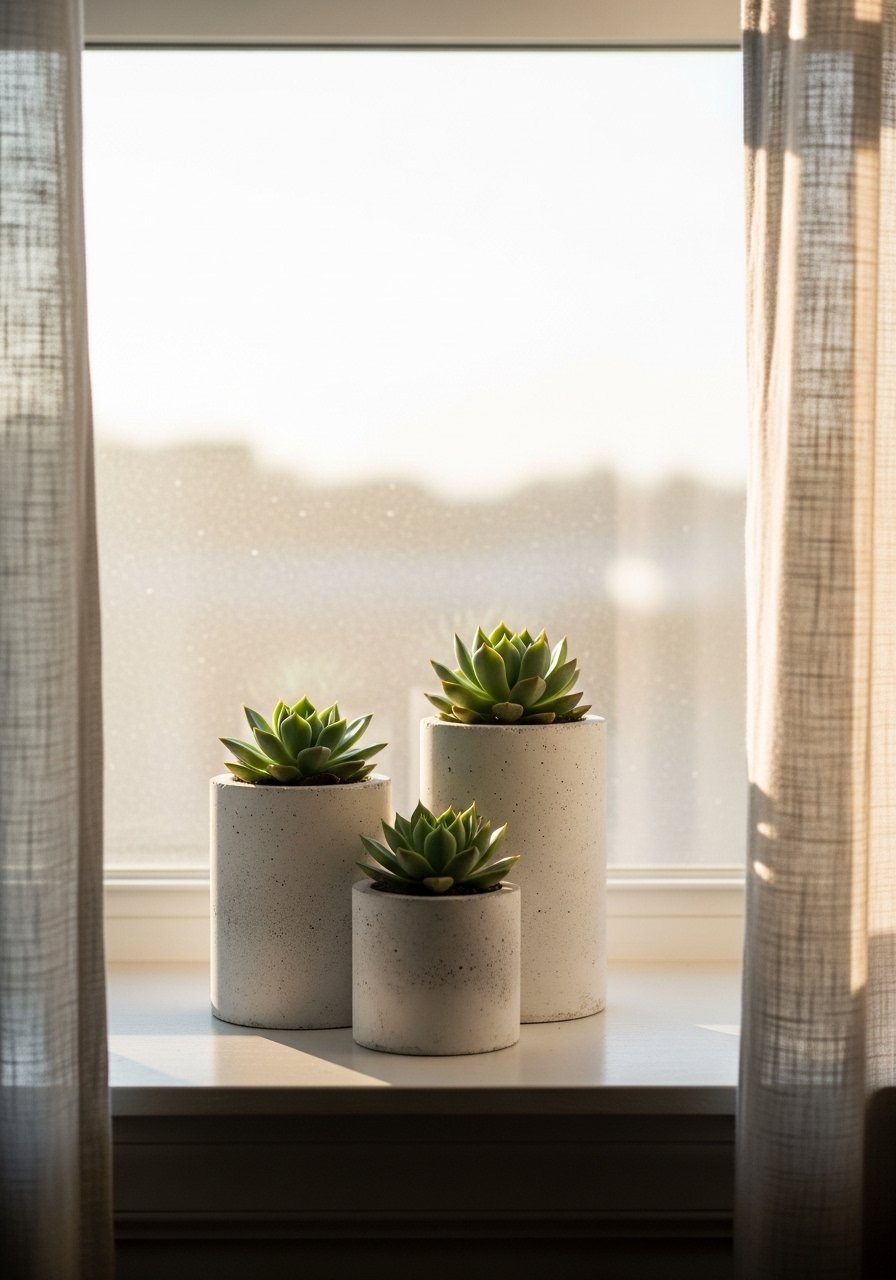
Short cylinders are the easiest to make and they feel fresh when whitewashed. I used cardboard tubes as molds, kept the walls about 1/2 inch for small pots, and whitewashed with watered-down acrylic paint. A lot of tutorials skip the cure stage, and the pot cracked on me the first time. Cure under plastic 7 days minimum to avoid that. These fit windowsills and pair nicely with wooden trays.
Rebar Reinforced Tower For Tall Corners, Industrial Strength
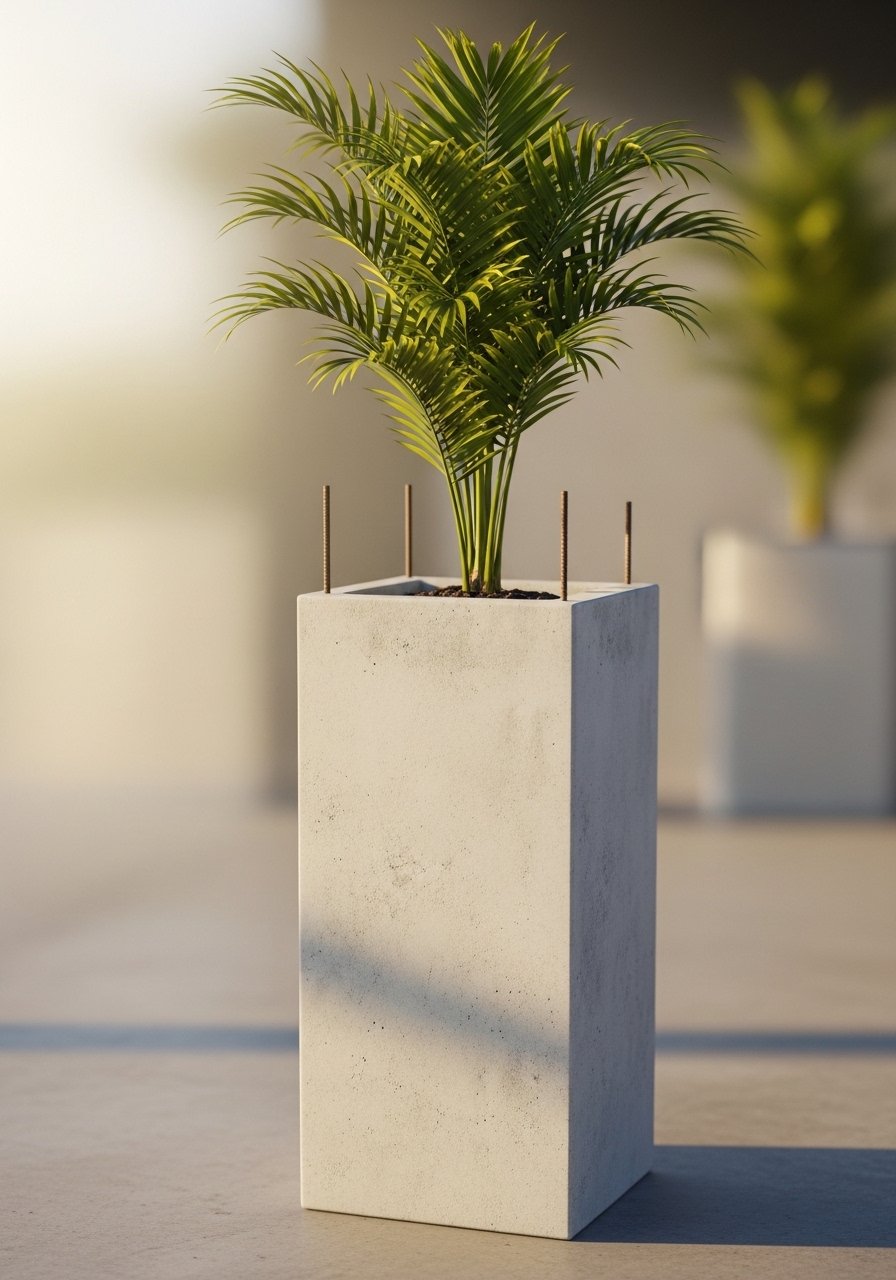
When you want a planter over 18 inches tall, build a rebar frame. I used 1/4-inch rebar and tied a simple cage to hold the concrete. The right mix here is high-strength and a 1:2 cement to sand ratio so it does not slump. Common mistake is skipping internal reinforcement and ending up with a split pot in summer heat. This one is heavier, so it is best for a permanent corner where you want real impact.
Perforated Teardrop For Herbs, Transitional Kitchen
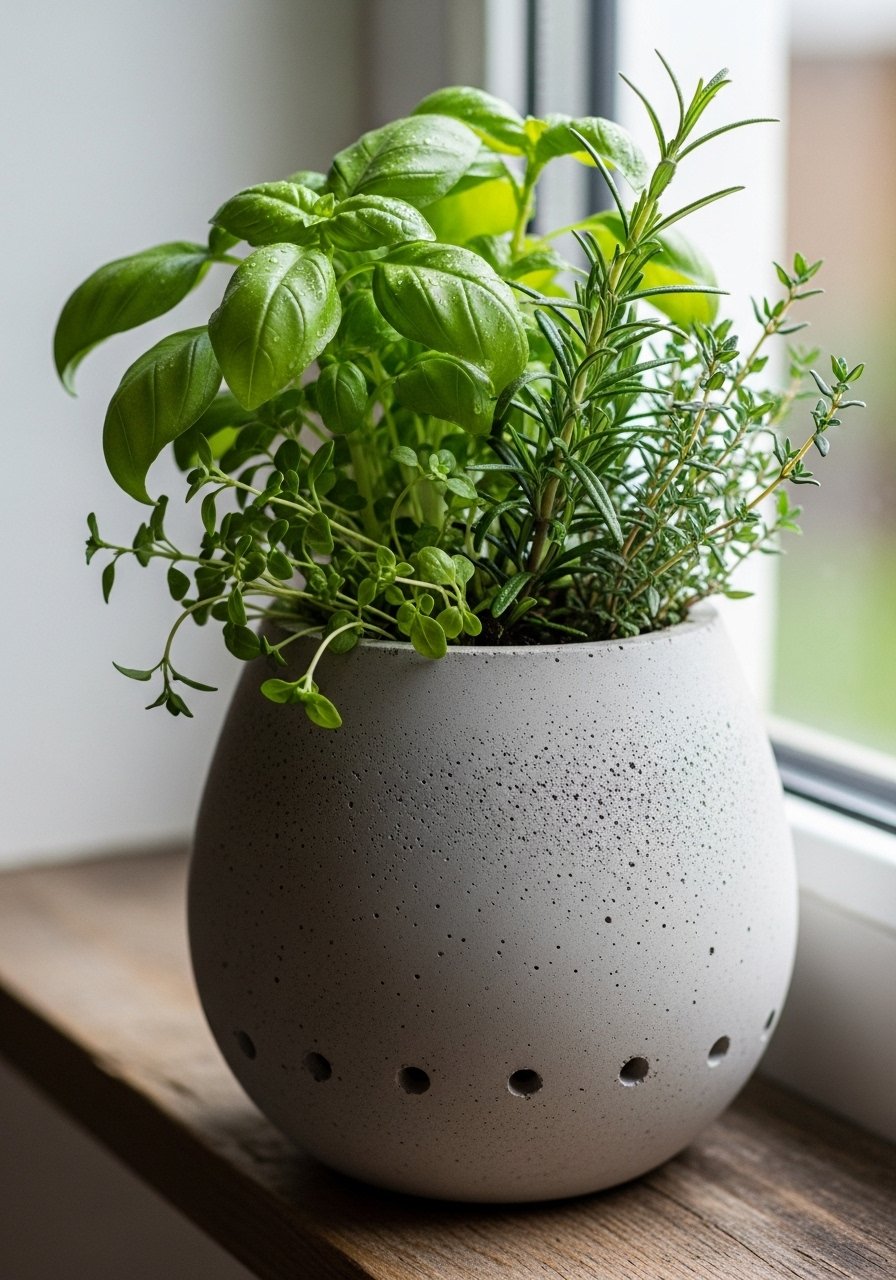
Herbs need drainage, and a teardrop shape makes a nice kitchen hanging or windowsill planter. I used a plastic bottle mold and poked holes before pouring. The trick is to make the holes slightly smaller than you want then ream them after partial cure for crisp edges. Rookie mistake is sealing over the holes. Seal the exterior, not the drainage, and add a coarse gravel layer to help water flow. This design keeps parsley and mint happy.
Mini Pod Set For Windowsill, Minimalist Cluster
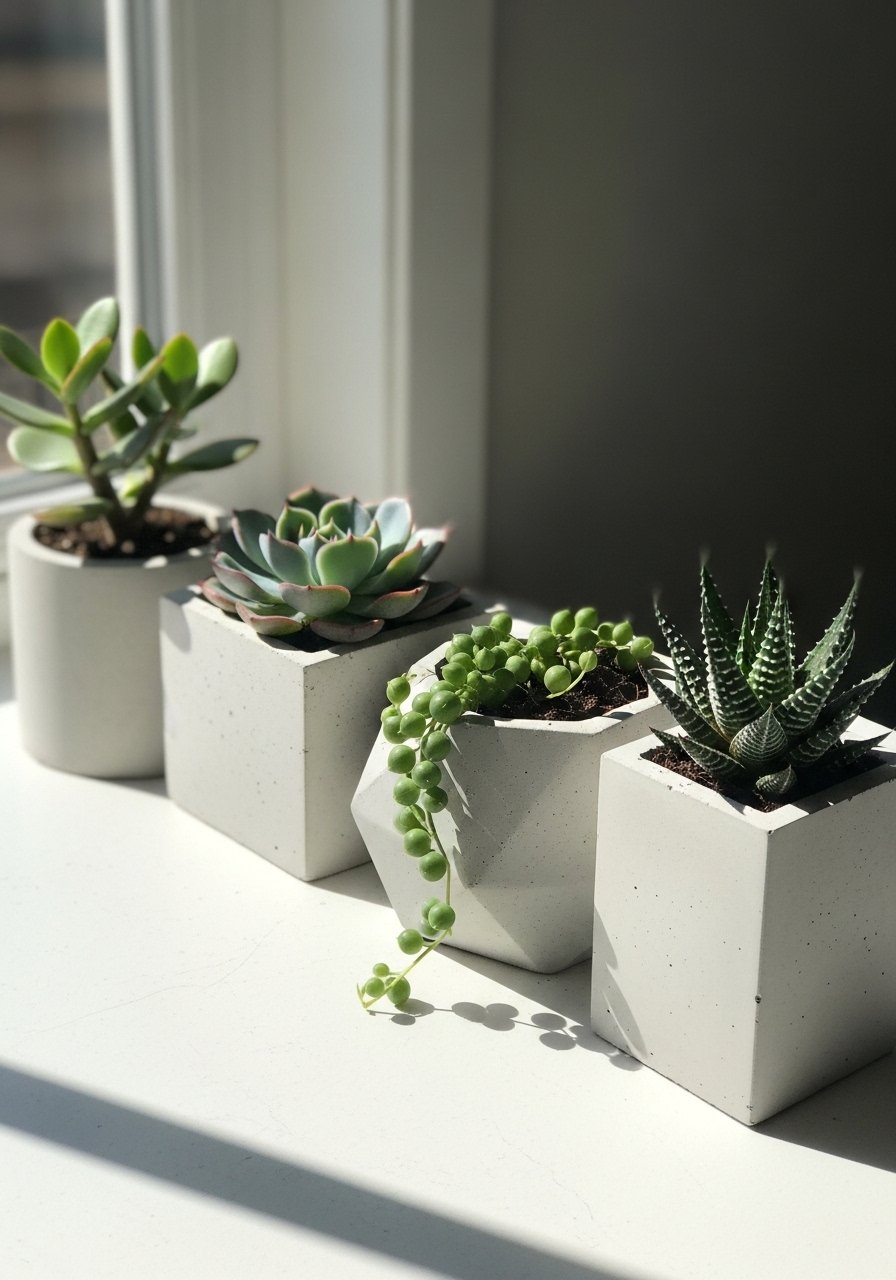
Tiny pods are the apartment life saver. I used an egg carton lined with foil for the mold and kept walls thin, about 1/4 inch, so the set stayed light. These are great for windowsills because they do not block light and you can cluster odd numbers for better balance. Most people make them too deep. For succulents keep depth at 3 to 4 inches. Pair three or five pods for a small but satisfying display.
Gold Leaf Accent Pot For Entry Table, Warm Classic
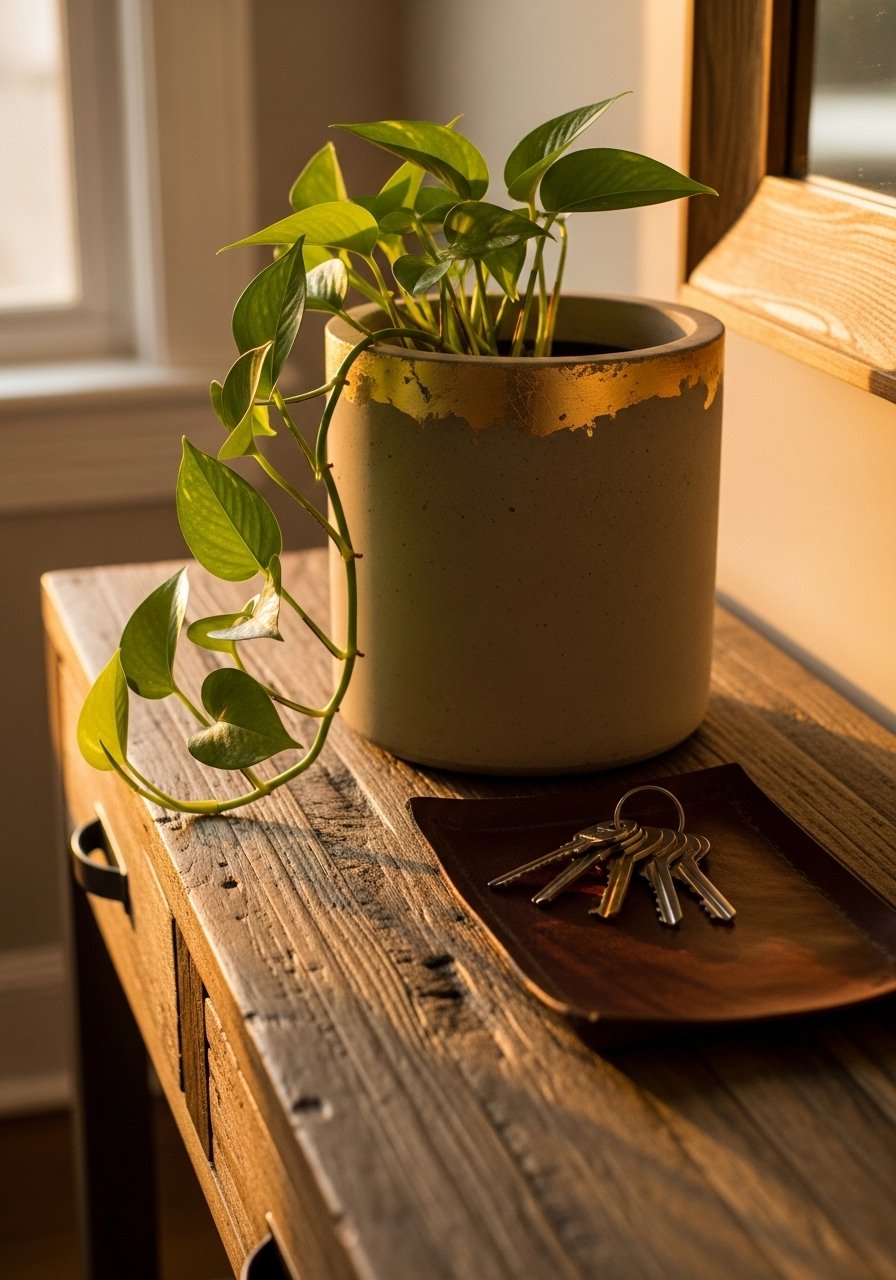
Gold leaf on concrete feels indulgent but actually reads intentional when used sparingly. I polished the rim smooth, applied adhesive, then gilded with a standard gold leaf kit and sealed it. The trick people miss is not sealing the gold properly and getting flaking after watering. Seal after a full cure and a 48-hour dry time. This is an easy way to add a dressy accent to a small entry or console table without going overboard.
Jumbo Oval For Sunroom, Coastal Statement
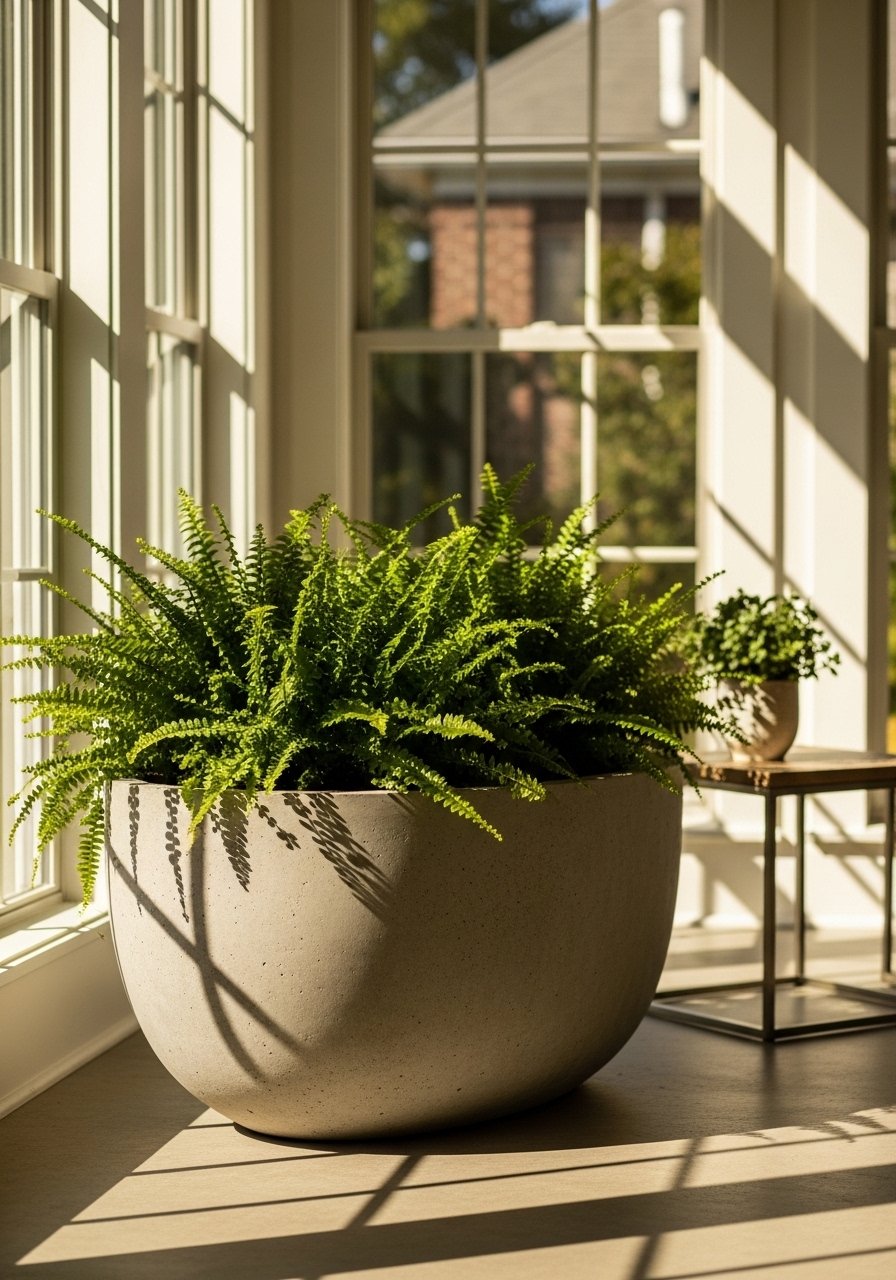
If you have a small sunroom, an oval planter can be the main act. Use a pool noodle halved as your inner mold to save weight and add mesh reinforcement for strength. This one takes more material and care, so budget $60 to $120. A mistake I made early on was not curing under plastic long enough and getting surface crazing. Cure under plastic for seven days and then seal. This is for a room that needs a single strong shape, not for shifting around often.
Succulent Footed Bowl For Coffee Tables, Modern Farmhouse
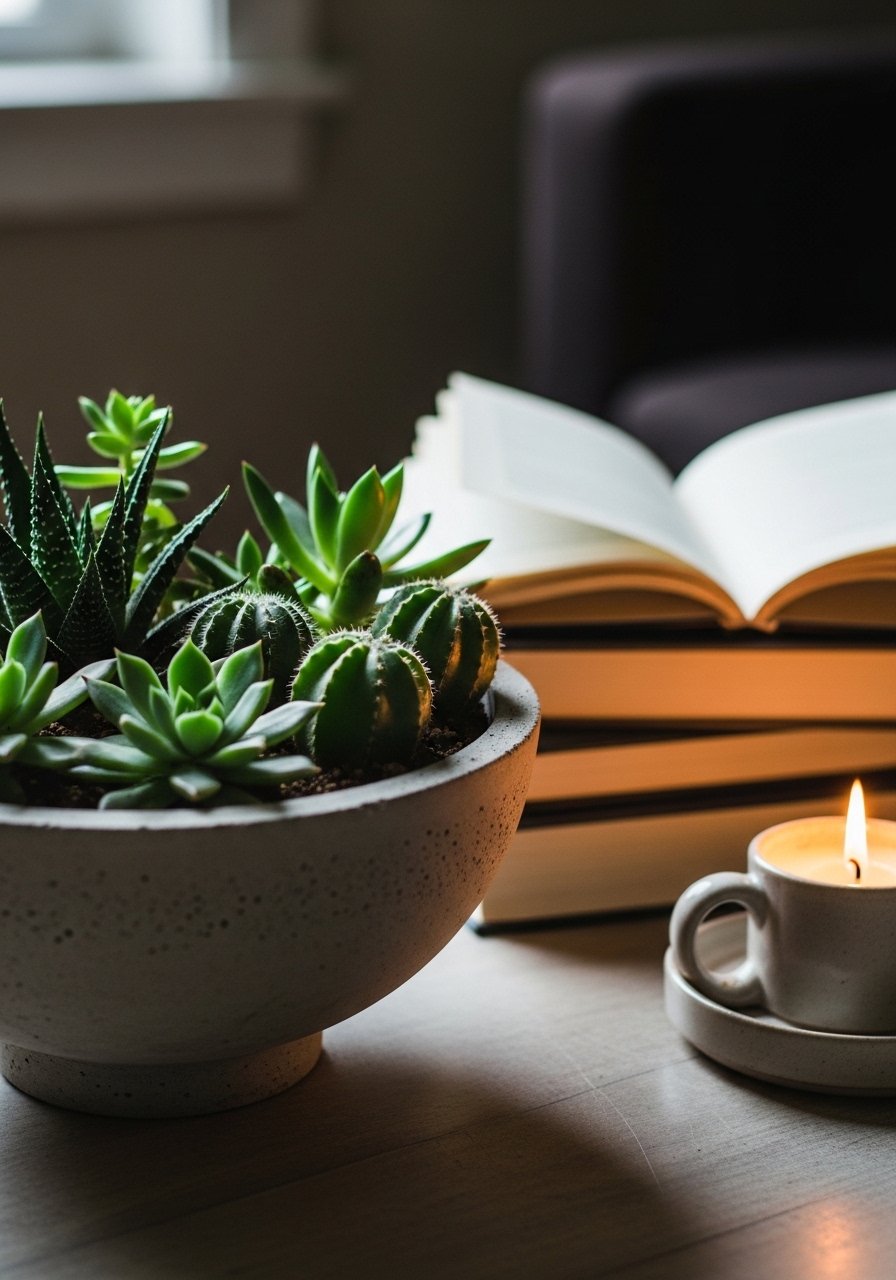
Low bowls are made using an inverted mixing bowl as the mold. I added three small feet made from spare clay bits for a subtle lift and used a 1:2 cement to sand mix for a smooth finish. These sit on coffee tables without blocking sight lines. One real-life detail most guides skip is sanding the rim with a 220 grit for a satiny touch. That small step makes it feel pro, not homemade.
Layered Two-Tone Stacked For Shelves, Transitional Layering
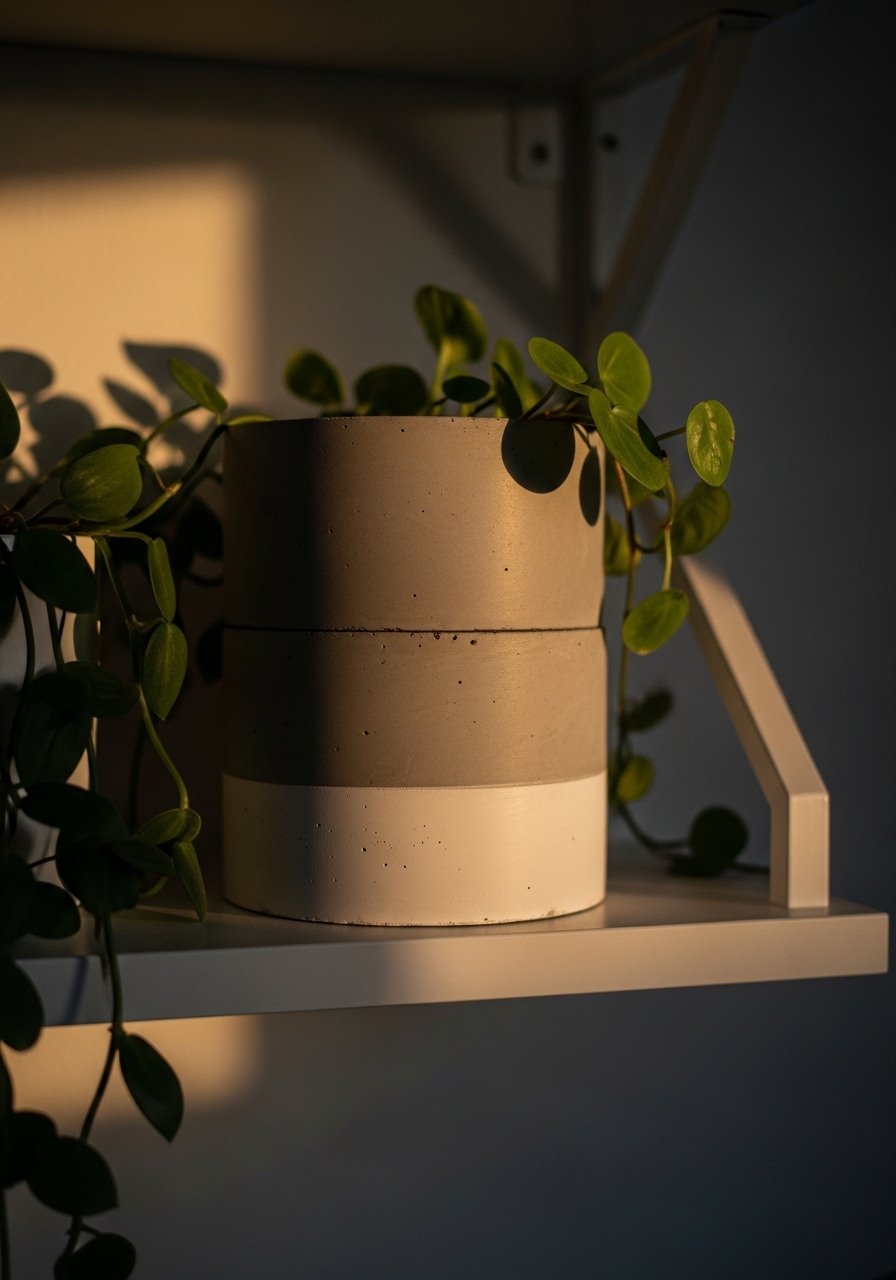
Two-tone stacks read like a designer bought them. I poured an outer gray shell and a white inner pot in a second pour. Keep the first pour cured to touch but not fully hardened so the layers bond. People mess up by pouring too wet and getting color bleed. Keep a test divider and aim for about 1/4 inch tolerance between the inner and outer shapes. This technique is great on shelves when you want subtle contrast.
Pebbled Texture Bowl For Bathroom, Natural Spa
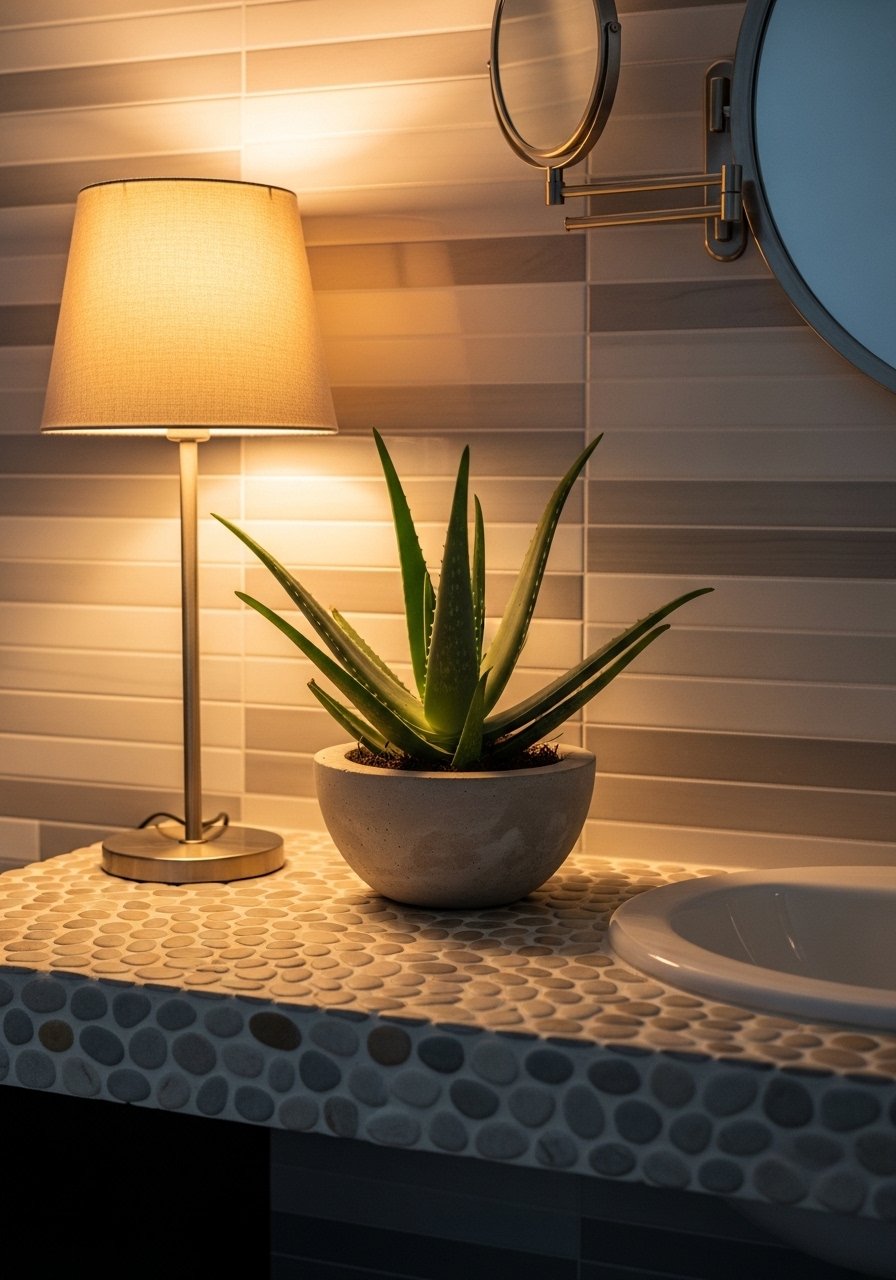
Textured pebbles make a small bathroom feel spa-like. Press smooth pebbles into the wet surface and remove after a partial cure to reveal negative texture. I sealed the exterior to prevent water marks. A common error is using large stones that create weak points. Use uniform 1/2-inch pebbles and keep wall thickness at least 3/8 inch. These bowls work great for cacti or small succulents and add a tactile detail bathrooms often lack.
Painted Ombre Mini Towers For Shelves, Playful Modern
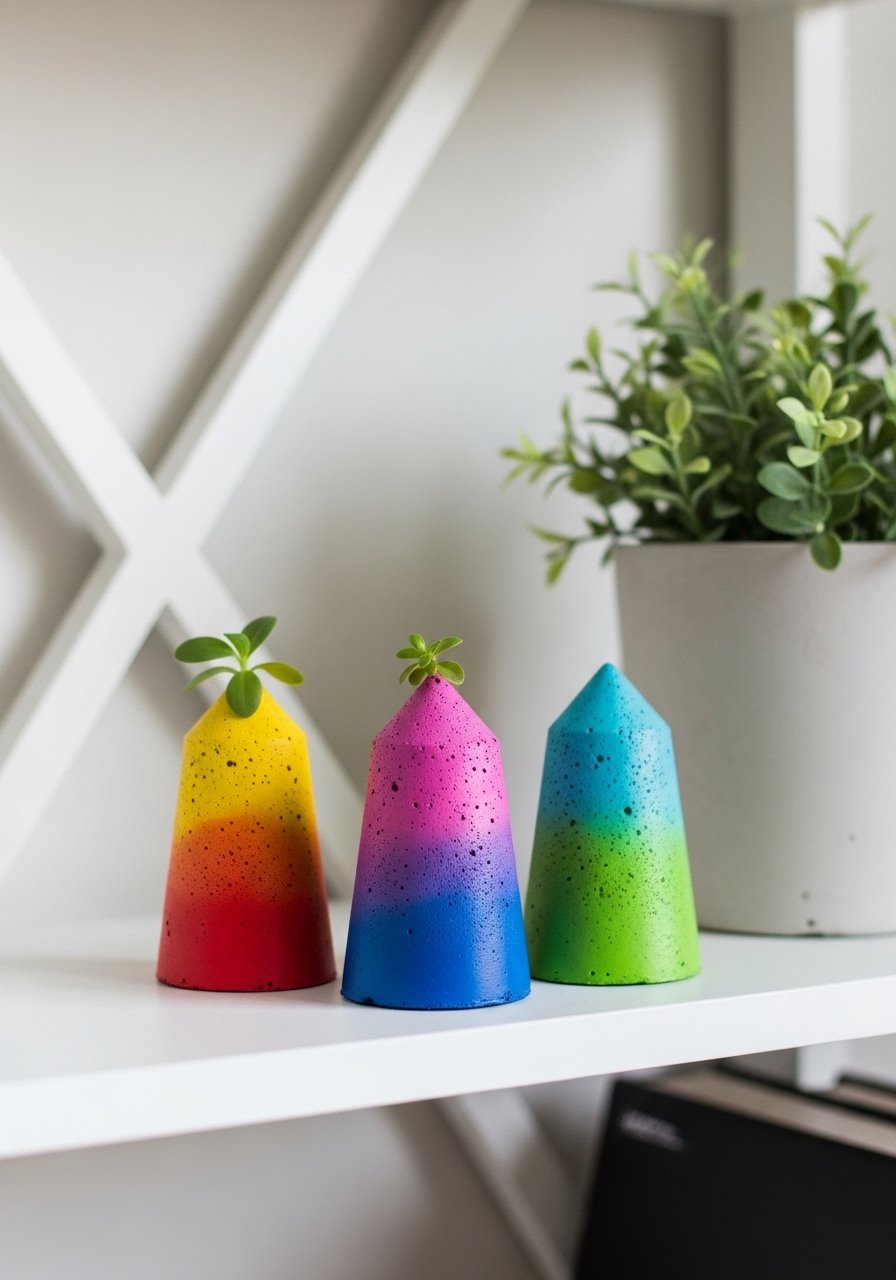
Ombre is an easy way to get color without clashing. After curing, I sanded and used watered-down paint washes to build the fade. The key real-life trick is to prime the concrete with a thin coat of acrylic primer so the ombre blends smoothly. People try the fade on raw concrete and it flakes. These towers are light and bright for shelves and look especially good with matte black hardware nearby.
Reclaimed Mold Stamped Planter For Eclectic Corners, Upcycled Style
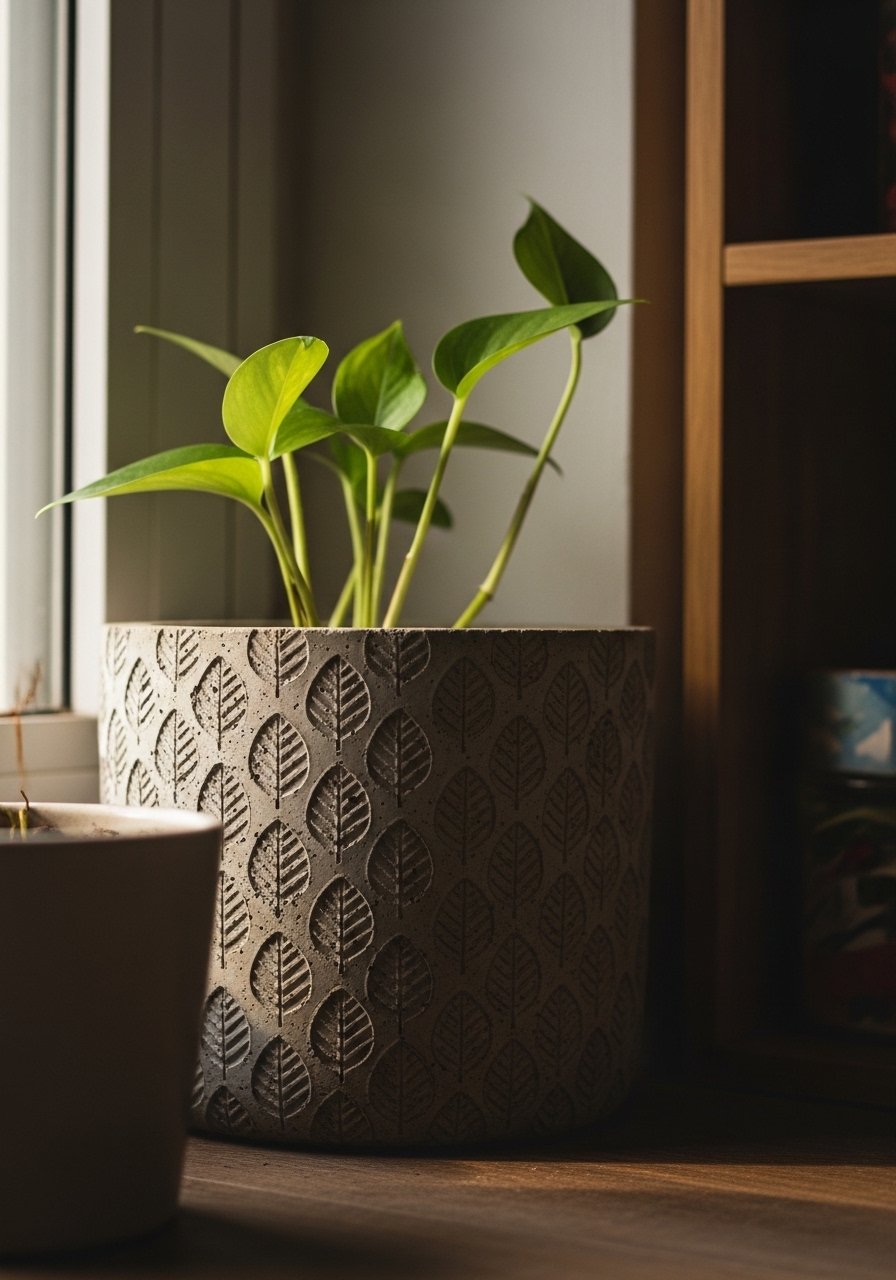
I love using found objects as molds. A rubber bath mat made a great stamp for texture when pressed into the wet concrete. Recycled molds are cheap and give unique patterns. The problem is sticking. Always use mold release spray or a thin coat of oil first. This is a perfect project for making something that feels personal and a little imperfect in a small reading nook.
Hanging Chain Planter For Renters, Flexible Boho
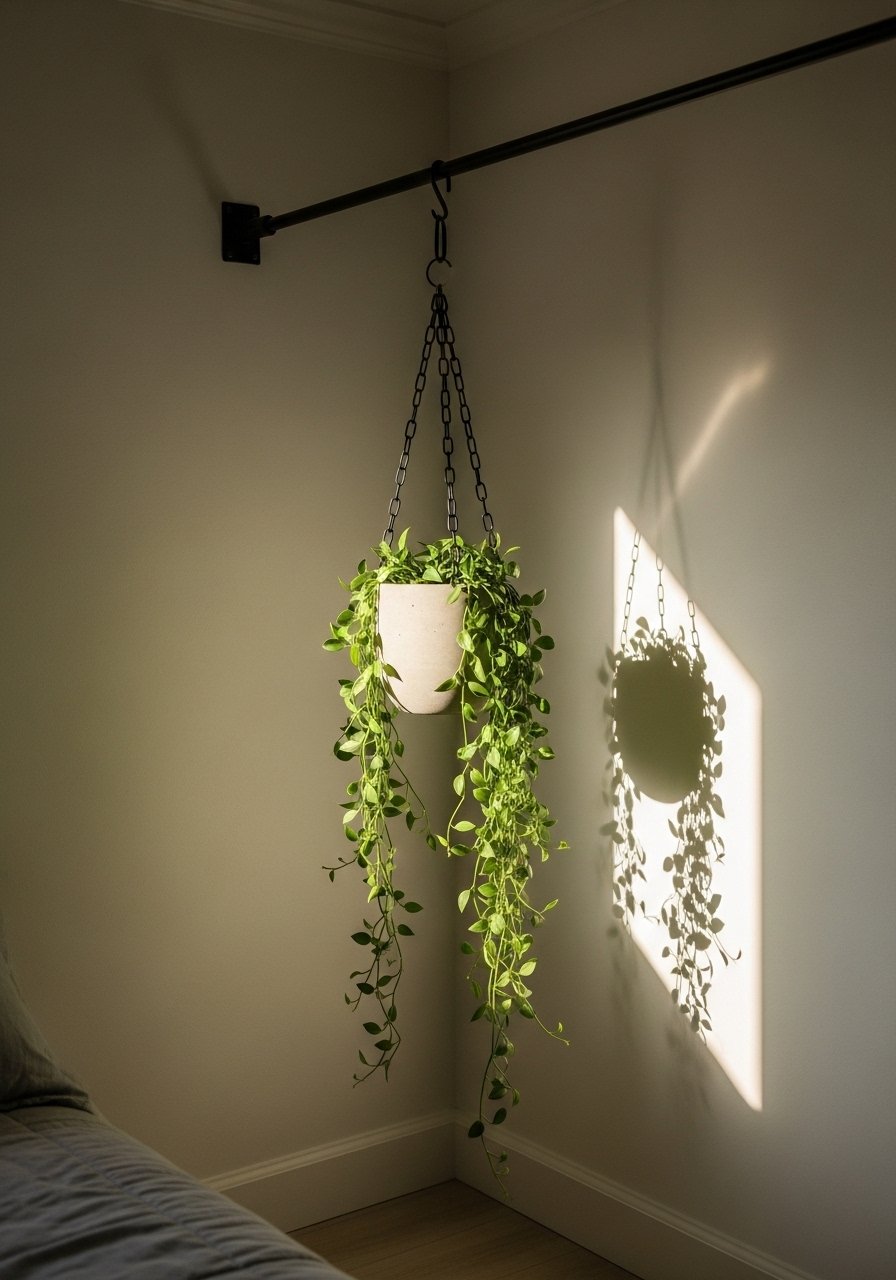
Hanging chain planters look fancy but can be renter friendly. I used a tension rod set across the window frame and hung a lightweight perlite mix sphere from S-hooks. One gap most guides miss is how to protect wood frames. Use rubber washers where the chain meets the tension rod. Remember, Most folks mess up their first batch. Do a small test orb first. This approach keeps the floor clear and creates a layered vertical garden.
Repair Patch Kit For Cracked Pots, Practical Fixes
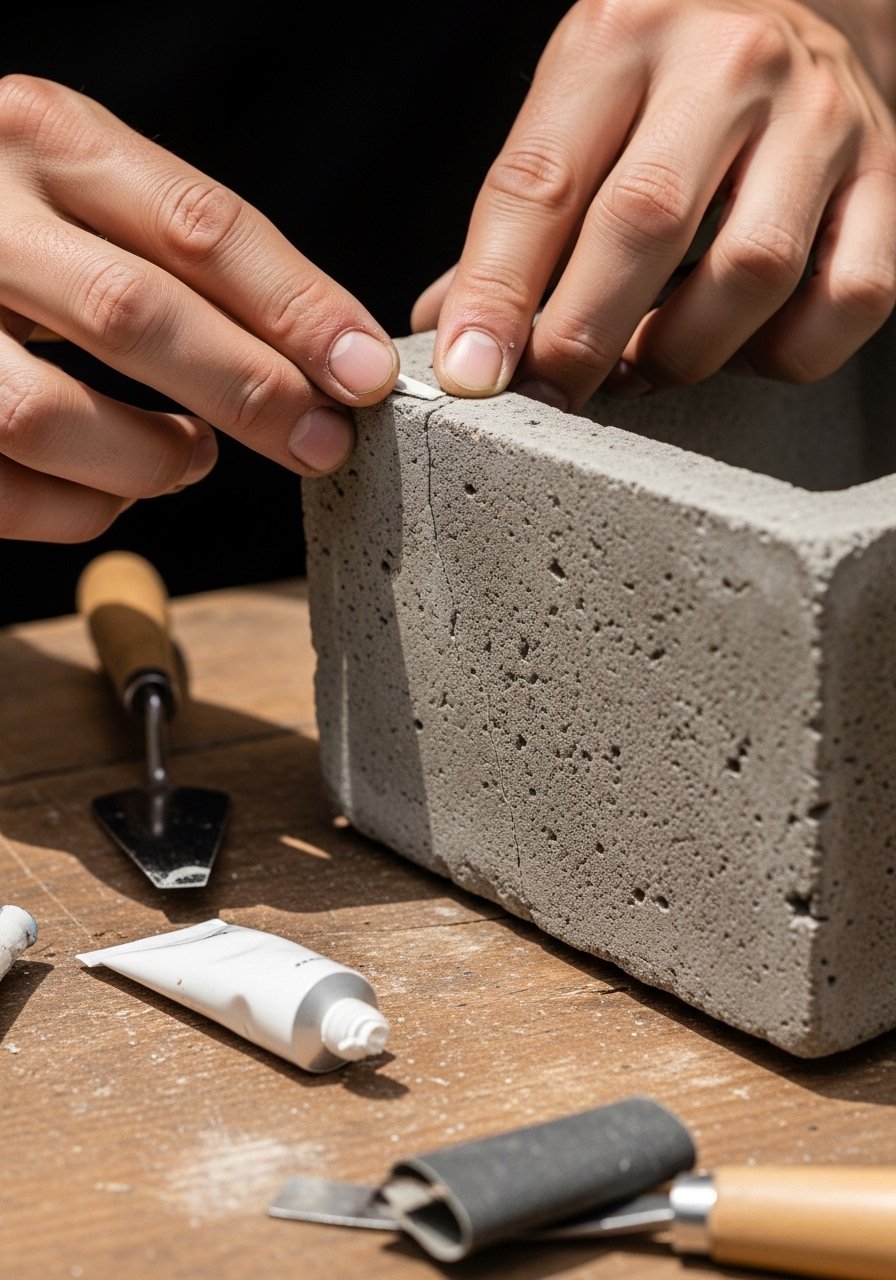
I include this because pots will crack. People throw them away but you can fix them. Use a thin cement slurry and a fiberglass mesh patch, then sand smooth after cure. After a winter frost I patched three pots and they looked fine all summer. Most folks mess up their first batch, so this repair trick saved me from buying replacements. Keep a small repair kit on hand and seal the outside after the patch cures.
Your Decor Shopping List
- Honest starter supplies, my go-tos: high-strength-concrete-mix (~$15-25 per 40 lb bag). I buy two bags when I plan a weekend of pours
- Mold release and ease of pops: mold-release-spray (~$8). Spray every mold before pouring
- Lightweight filler: horticultural-perlite (small bag). Use for hanging or shelf pots
- Finish coat: clear-concrete-sealant (~$12-20). Apply after 48 hours, seal again after a week
- Paint and finish: matte-black-spray-paint and metallic-gold-leaf-kit. Use sparingly
- Forms: flexible-pvc-pipe and balloons-for-molds. Cheap and reusable
- Reinforcement: rebar-1-4-inch for tall planters and wire-mesh-reinforcement
- Tools: rubber-gloves, mixing-bucket, and a small handheld sander for finishing
- Pet-safe topcoat option: pet-safe-concrete-sealer. Choose if pets sniff or chew
- Small molds and detail: egg-carton-silicone-mold and cake-board-honeycomb-cutters for hex shapes
Many of these items are similar at Target or HomeGoods if you prefer to see them in person.
Shopping Tips
White oak beats dark wood in 2026. Design feeds have shifted completely. white-oak-floating-shelves look current, not dated.
Grab velvet-pillow-covers for $12 each. Swap them every few months and the whole room feels different.
Curtains should puddle or kiss the floor, never hang halfway up. linen-curtains-96-inch are the right call for standard 9-foot ceilings.
Lead with a single taller plant rather than five tiny ones cluttering a shelf. A faux-fiddle-leaf-fig-6ft gives immediate height without the care.
If weight is a concern swap some sand for perlite. horticultural-perlite cuts the heft and makes hanging pieces manageable.
Frequently Asked Questions
Q: Can I make planters without a concrete mixer?
A: Yes. A 5-gallon mixing bucket and a heavy-duty paddle on a drill works fine for small batches. Mix to the spoon test where the mix holds shape. Most folks mess up their first batch, so practice with a small pot first.
Q: How do I stop my pots from cracking after rain?
A: Cure under plastic 7 days minimum and seal after 48 hours. Those two steps reduce surface crazing and water stains long term. Use a clear concrete sealant and avoid pouring in extreme heat.
Q: What size planter do my succulents need?
A: For small succulents aim for 3 to 4 inches depth and 3 inches wider than the root ball. Succulents like shallow soils. A long trough can hold a row of them without overpotting.
Q: Are perlite mixes strong enough for hanging planters?
A: Yes, if you keep wall thickness right and use an internal cage for bigger pieces. Two parts cement and one part perlite reduces weight while keeping reasonable strength.
Q: How do I remove a stuck mold without breaking the pot?
A: Use mold release spray or a light coat of oil before pouring. If it still sticks, gently flex the mold and tap the outside before prying. That usually prevents breakage.
Q: Can I use these planters in the shower or on a bathroom counter?
A: Yes if you use a pet-safe topcoat or regular concrete sealant and avoid sealing drainage holes. Pebbled texture bowls work especially well in humid bathrooms.
Q: My pot is heavy. Any renter-friendly options?
A: Swap some sand for perlite and make smaller modular pieces like the mini pods or an orb so you can hang instead of moving heavy pots. Also consider faux plants in a concrete-look pot.
Q: How do I patch a small crack after winter?
A: Clean the area, apply a thin cement slurry with fiberglass mesh backing, sand smooth after cure, then seal. I patched several pots this way and saved money over replacements.
