
My living room had nice furniture and decent lighting but it still felt like a waiting room. Took me embarrassingly long to figure out it was missing motion and play, literally a place kids wanted to avoid. Once I started leaving a little craft station on the console and a basket of finished paper projects on a low shelf, the room got personality and the kids actually wanted to hang out there.
These ideas lean playful and slightly modern, with a nod to crafty vintage schoolroom charm. Most projects cost under $10, a few use a $15 kit for a faster setup. They work for playrooms, kids bedrooms, living-room craft corners, and party tables.
Simple Paper Plate Animal Masks for Playroom Dress-Up
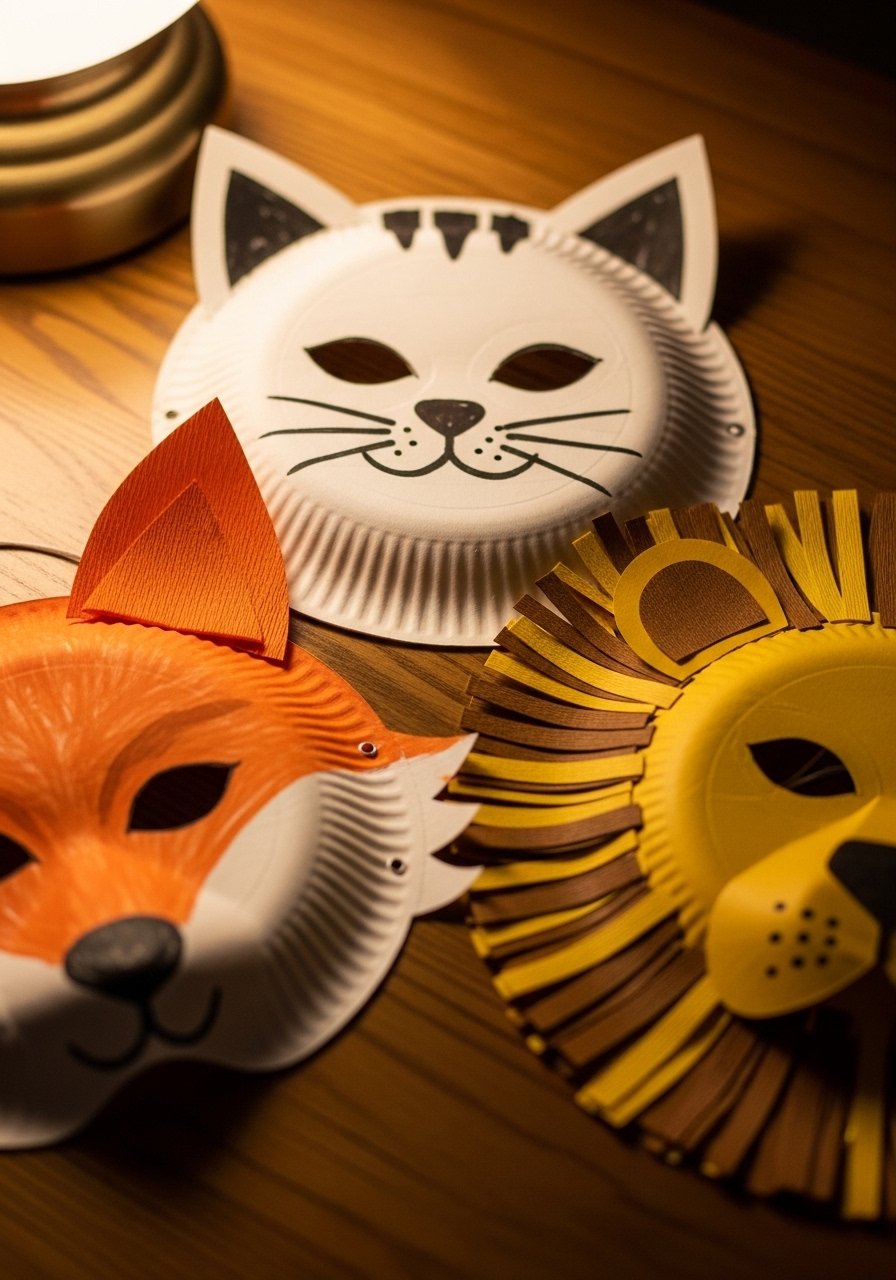
The first time I made paper plate masks with my niece, she wore hers to bed. They are visually big, silly, and instantly playable, which is the point when attention spans are short. Use plain 9-inch paper plates and cut eye holes with a pencil first, then reinforce the edges with duct tape so they last through rough play. Budget under $5 per mask if you use basic craft supplies. I like to add elastic with a 6-inch overlap for a snug fit. Try washable tempera paint set for bright color that cleans off clothes. Common mistake is making tiny details that fall off; keep elements chunky and taped well.
Origami Animal Zoo for Small Bedrooms
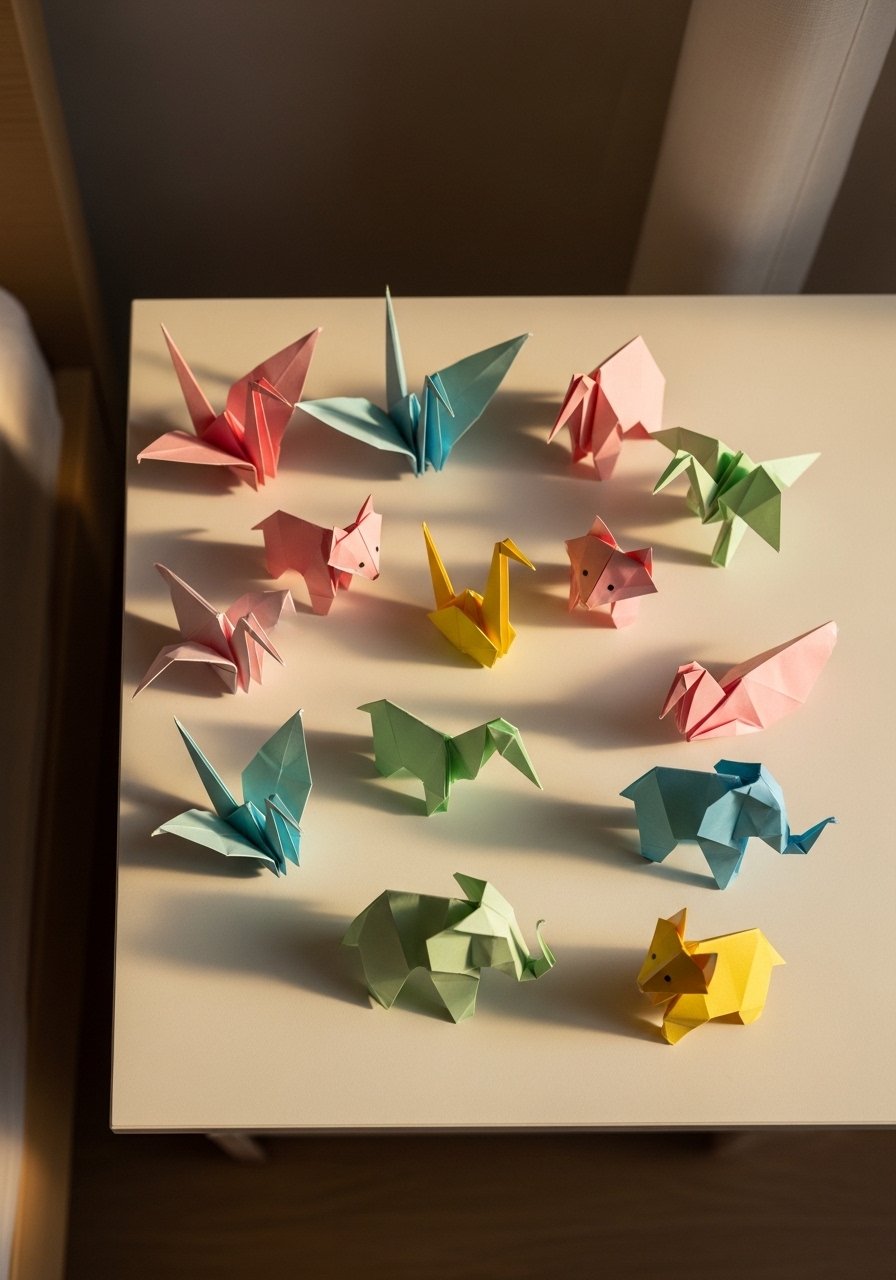
Origami feels fancy but starts simple and scales with skill. Use 6-inch origami paper and a 2-to-1 practice plan: two easy animals, one trickier one. It creates a shelf vignette kids point to with pride, and the finished pieces are perfect for a bookshelf in a small bedroom. You can keep a set of templates in a labeled envelope so younger kids can copy. I like origami paper pack, 6-inch for varied colors. A common frustration is tearing thin paper when kids rush. Solve that by doubling the paper for the first few folds.
Paper Plate Puppets for Storytime Nooks
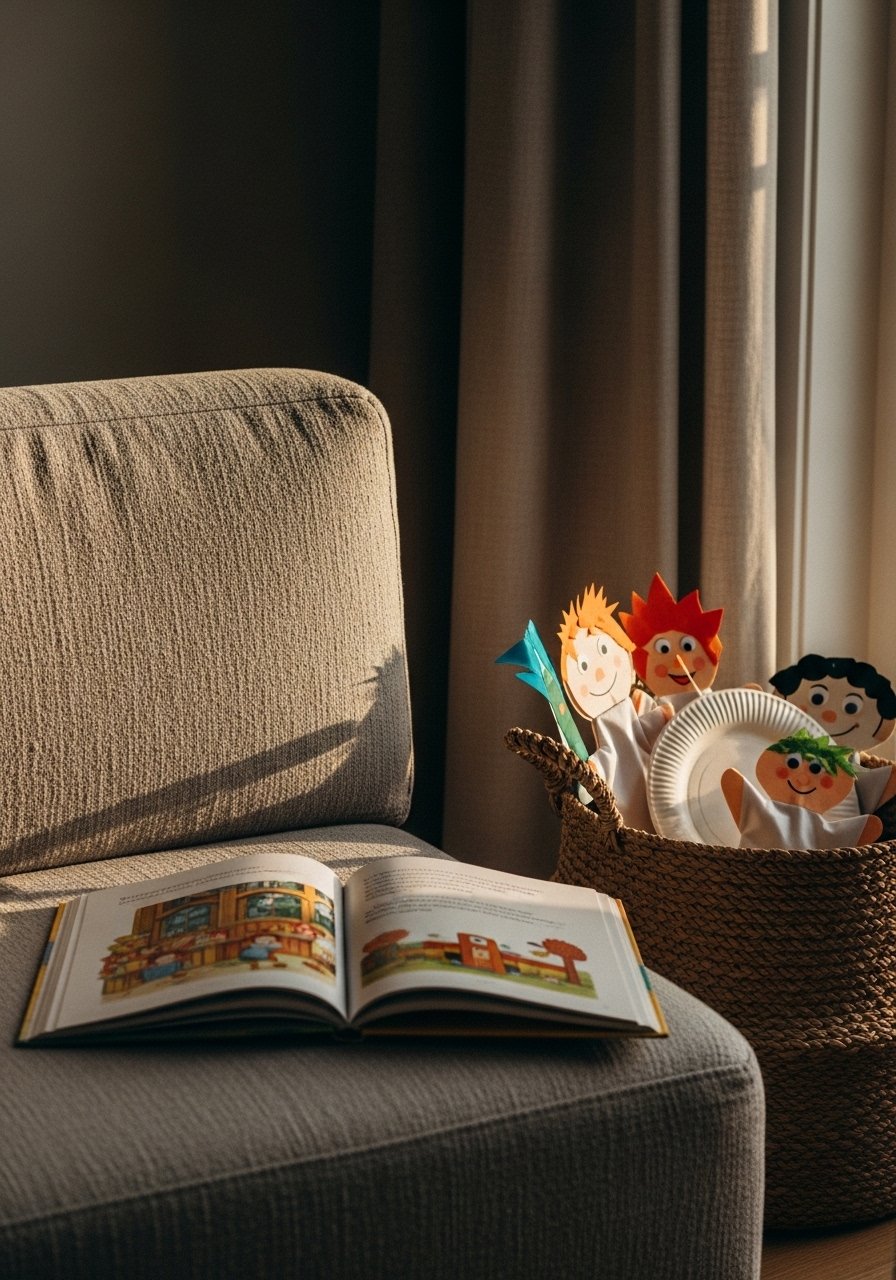
There is something about a reading nook with layered pillows that makes you want to cancel your plans. Paper plate puppets send kids into storytelling mode, which makes quiet time easier for everyone. Use popsicle sticks, markers, and felt scraps attached with glue dots. Budget is under $10 for enough supplies to make a dozen puppets. The visual payoff is big because puppets add height and movement to a shelf. Avoid the mistake of over-decorating faces, they read better with bold simple features. Pair these with the garland idea below to display favorite characters.
Colorful Paper Chain Garlands for Parties and Rooms
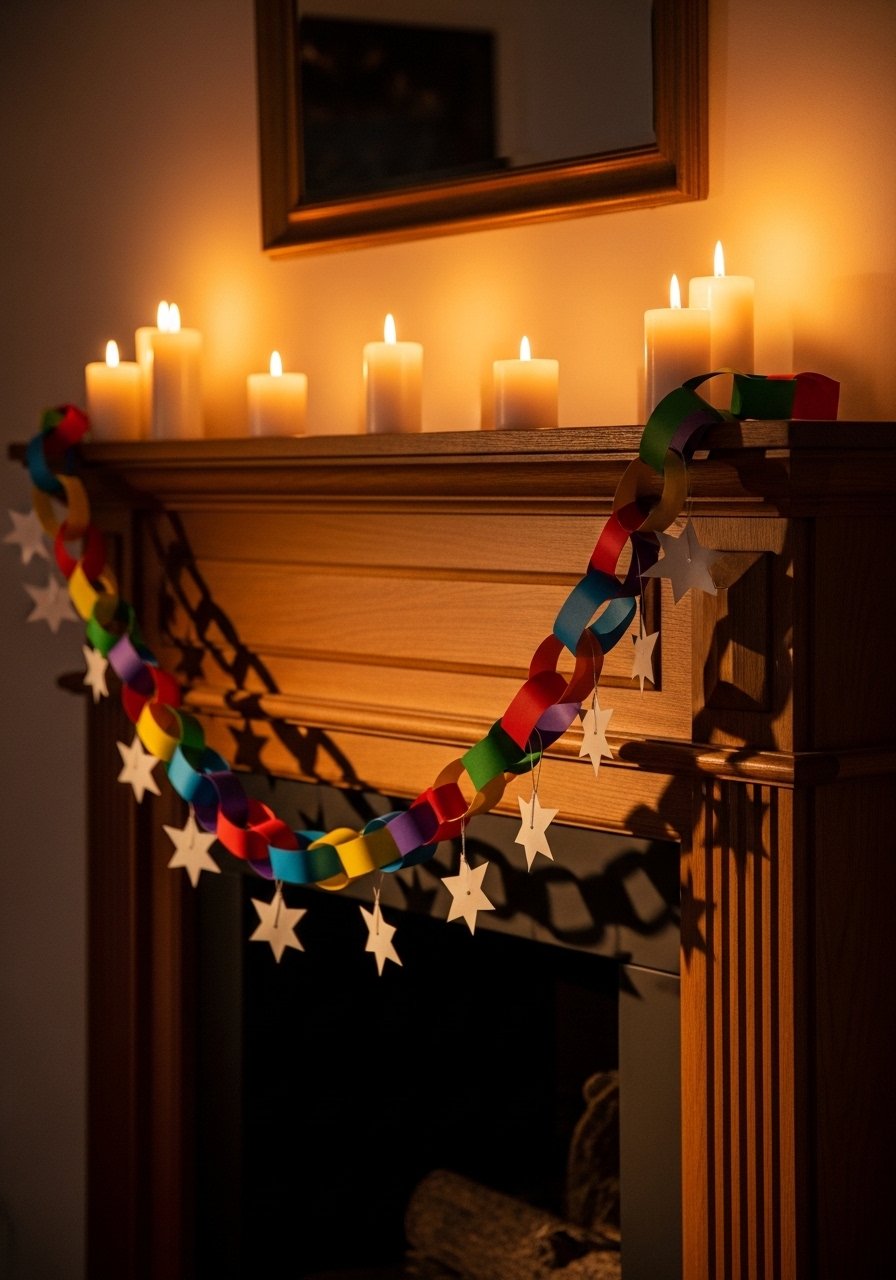
Paper chain garlands are fast to make and they instantly give a room a celebratory feeling without looking cluttered. Cut 1-inch by 6-inch strips and link them in groups of three for a chunkier, more modern look. The rule of three applies visually here; hang chains in odd numbers for balance. Use heavier 80 gsm paper so the chain holds up for weeks. I stash a small hole punch and double-sided tape with the craft box for quick repairs. Common mistake is using slippy thin paper that tears when kids pull. For parties, drape across a window and then reuse it as room decor.
Toilet Roll Pirates and Rockets for Small Hands
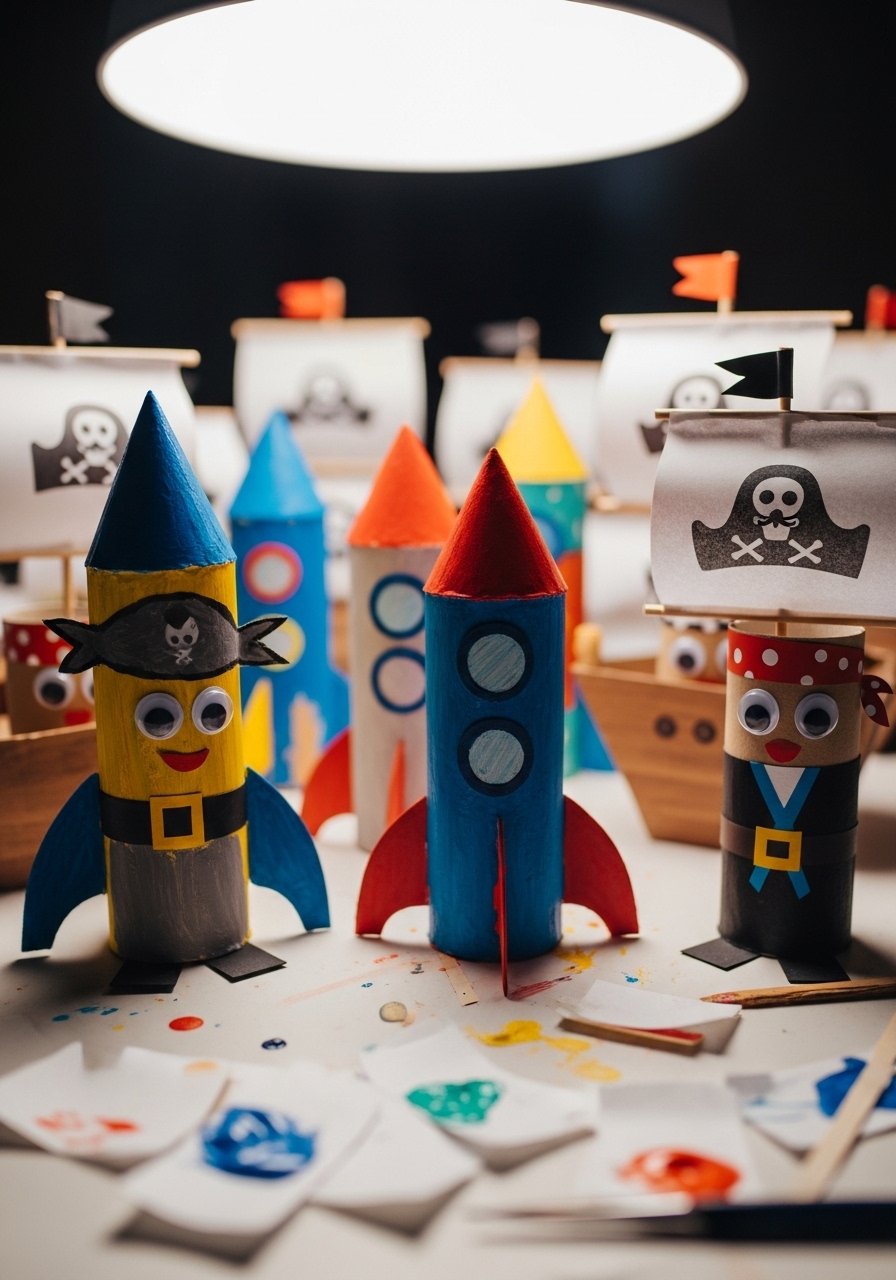
Empty toilet rolls are a free canvas that feel like a big win to kids. Paint two coats of craft paint, let dry, then add paper fins or pirate flags. Works for a rainy afternoon in the living room and keeps materials low-cost. For rockets, cut 2-inch cone tops and secure with tape. A real-life detail: two thin coats of paint keep the roll from getting soggy when kids handle them. I keep a small glue gun with low-temp sticks for adult assembly because hot glue dries fast and bonds paper better than craft glue for 5-dollar projects. Mistake to avoid is overloading the roll with heavy embellishments that topple the piece.
Pop-Up Cards for Gift Giving and Grandparents
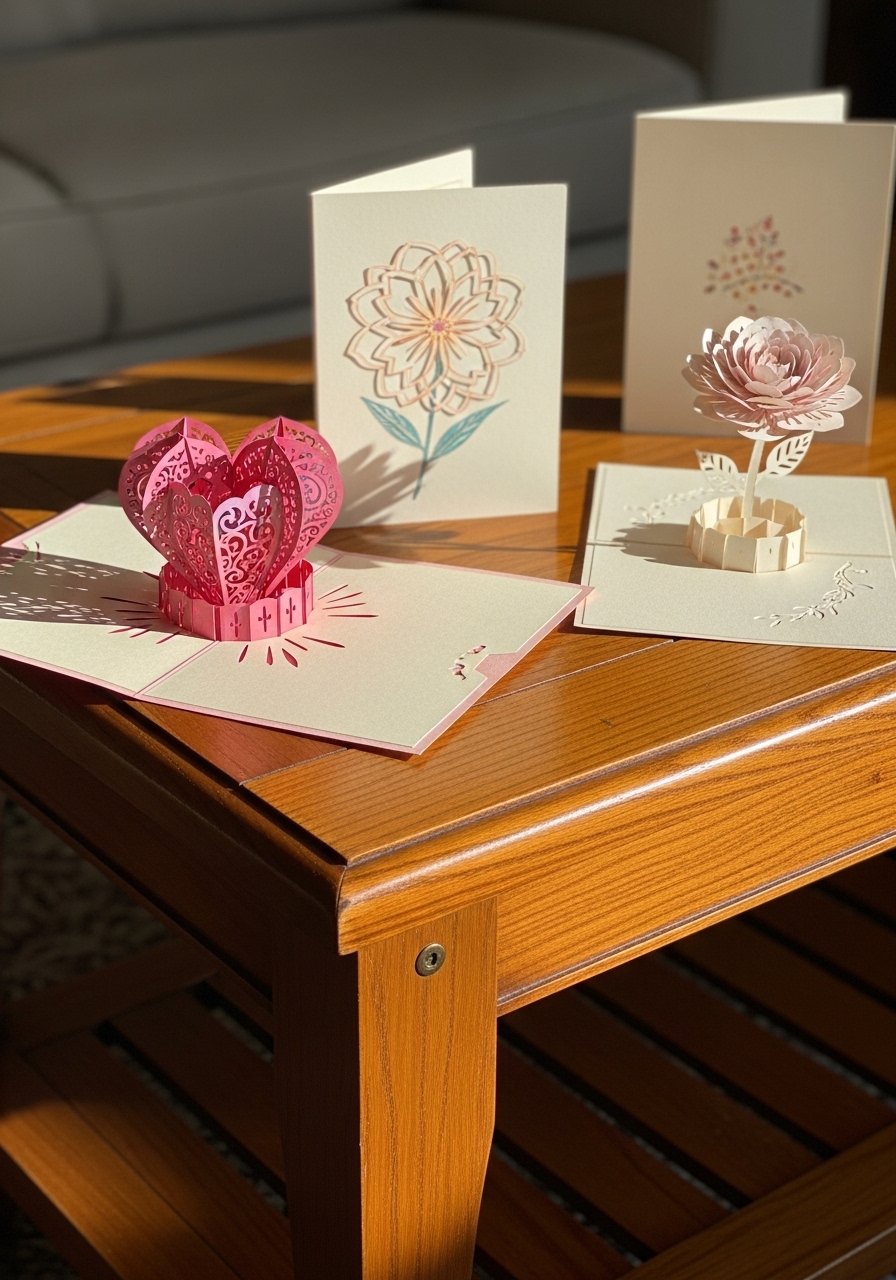
Pop-up cards teach kids planning and fold accuracy while making a gift that adults actually keep. Use 8.5×11 cardstock folded in half, and cut tabs about 1 inch deep for pop mechanisms. I teach a basic box fold first, then let kids decorate with markers and scrap paper. Budget is about $6 for enough cardstock and envelopes. A useful tip is to score folds with a butter knife for crisp edges, especially if your child has trouble folding straight. Pair a pop-up card with a paper bead necklace from later in this list to make a small gift set.
Paper Plate Weaving Coasters for Practical Crafts
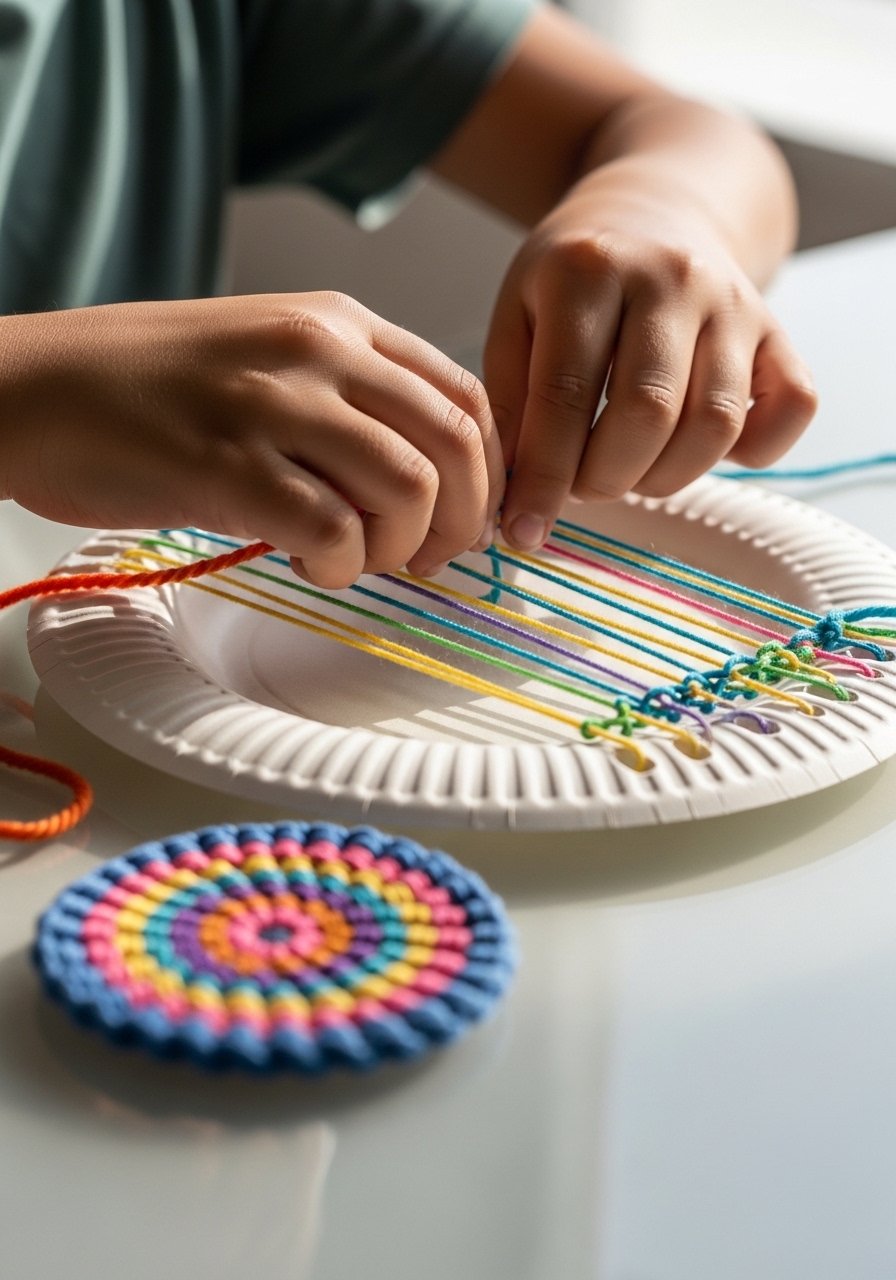
Weaving on a paper plate is a great intro to hand-eye coordination and gives you something useful at the end. Cut 1/2-inch slits evenly around a 9-inch plate and use thick yarn to create patterns. The visual result is a colorful coaster set that looks intentional on a coffee table. Keep the ratio of warp to weft at about 3:1 for sturdy texture. I add a dab of clear craft glue on the back for extra durability. Use thick acrylic yarn in bright colors. Common frustration solved here is projects that look messy; weaving creates tidy, repeatable patterns.
Tissue Paper Flowers for Bedroom Bunting
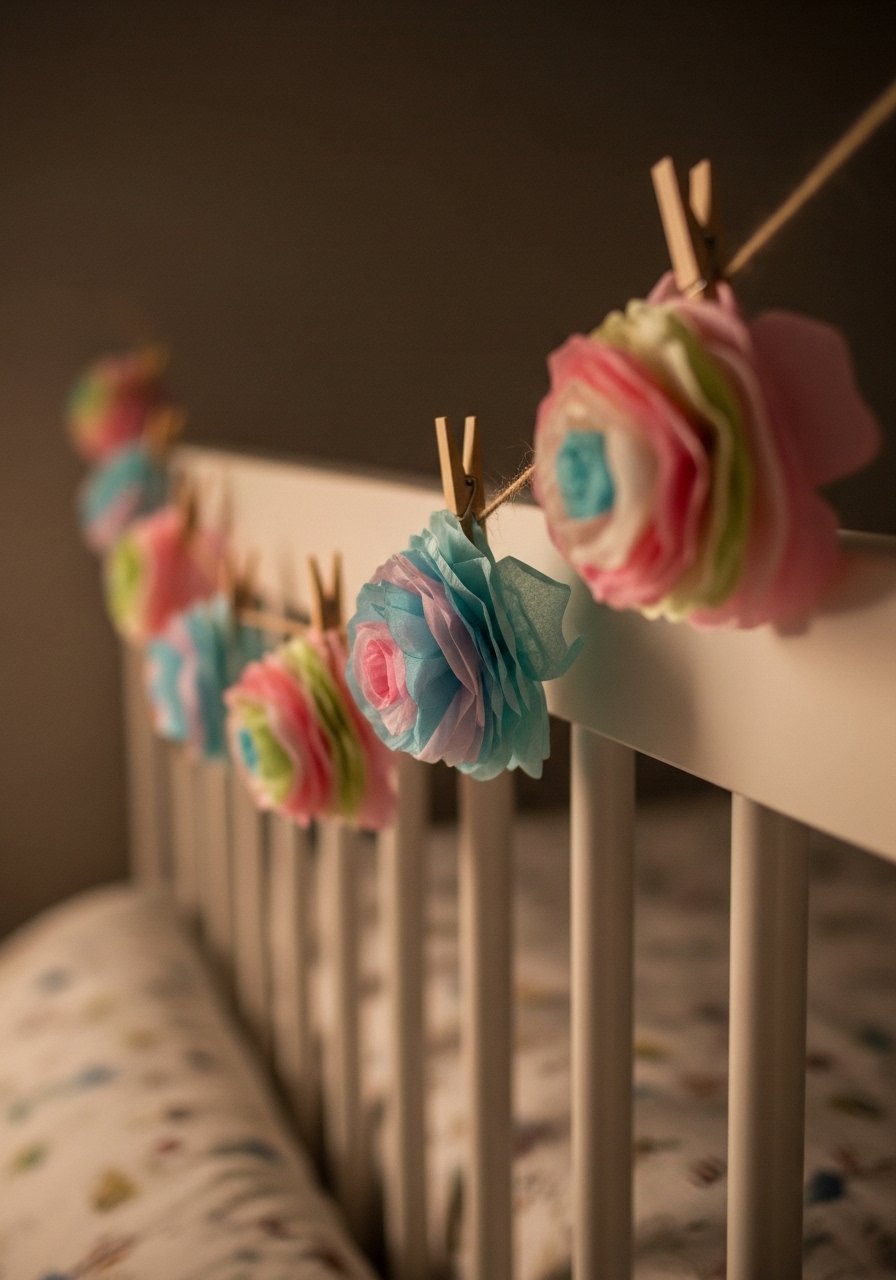
Tissue paper flowers look lush but cost almost nothing. Stack five tissue sheets, accordion fold them in 1-inch steps, tie the middle with floral wire, then gently separate layers. For a bed bunting use groups of three spaced 8 inches apart. The 80/20 color ratio works well here, pick one dominant color and one accent for balance. I keep a pack of assorted tissue paper on hand for quick projects. Avoid the tendency to over-layer different patterns; it reads chaotic at night. These also pair well with the garland idea for a birthday display.
Paper Bead Necklace for Fine Motor Practice
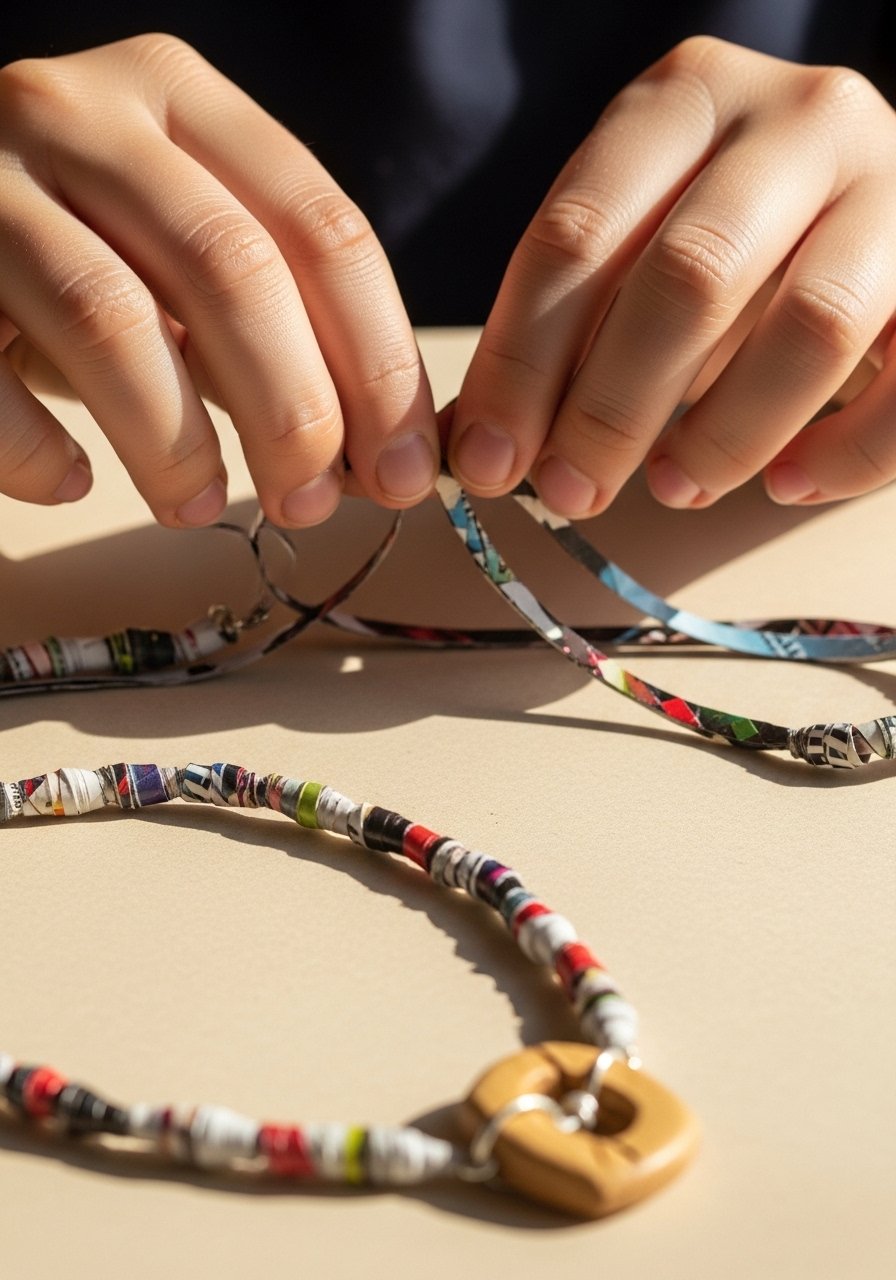
Rolling paper beads keeps small hands focused and produces wearable results kids are proud to show off. Cut 1-inch by 5-inch tapered strips from magazines or scrapbooking paper and seal with clear nail polish or diluted glue for shine. Use a toothpick as a mandrel. A useful size detail: aim for beads about 1/2 inch at the widest point to thread easily. Thread onto nylon cord and finish with a simple wooden clasp. I recommend nylon beading cord for durability. Common mistake is using paper that is too thick, which resists rolling.
Accordion Paper Fans for Quick Room Props
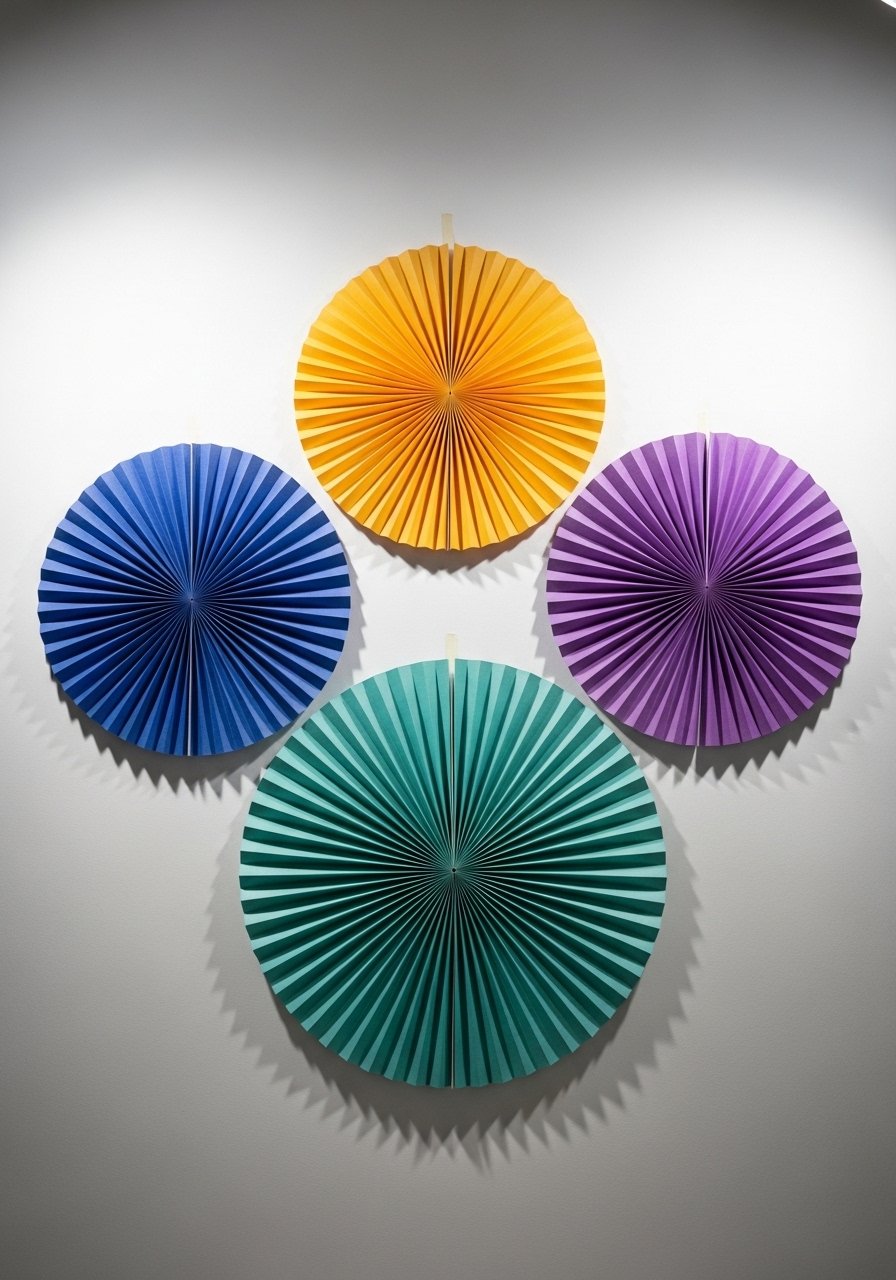
Accordion fans are a five-minute craft that adds big visual movement to a playroom or party corner. Fold 1-inch pleats across a 12×12 sheet and glue or staple the ends together. For a layered look, make one large fan and two smaller ones in a 3:2 scale. Hang with removable hooks so renters can change the display. I use 12×12 cardstock packs for variety. Mistake to avoid is folding unevenly; score first for crisp pleats when kids are helping. These are great paired with the paper chain garland for a birthday backdrop.
Stamped Wrapping Paper with Foam Shapes for Gifts
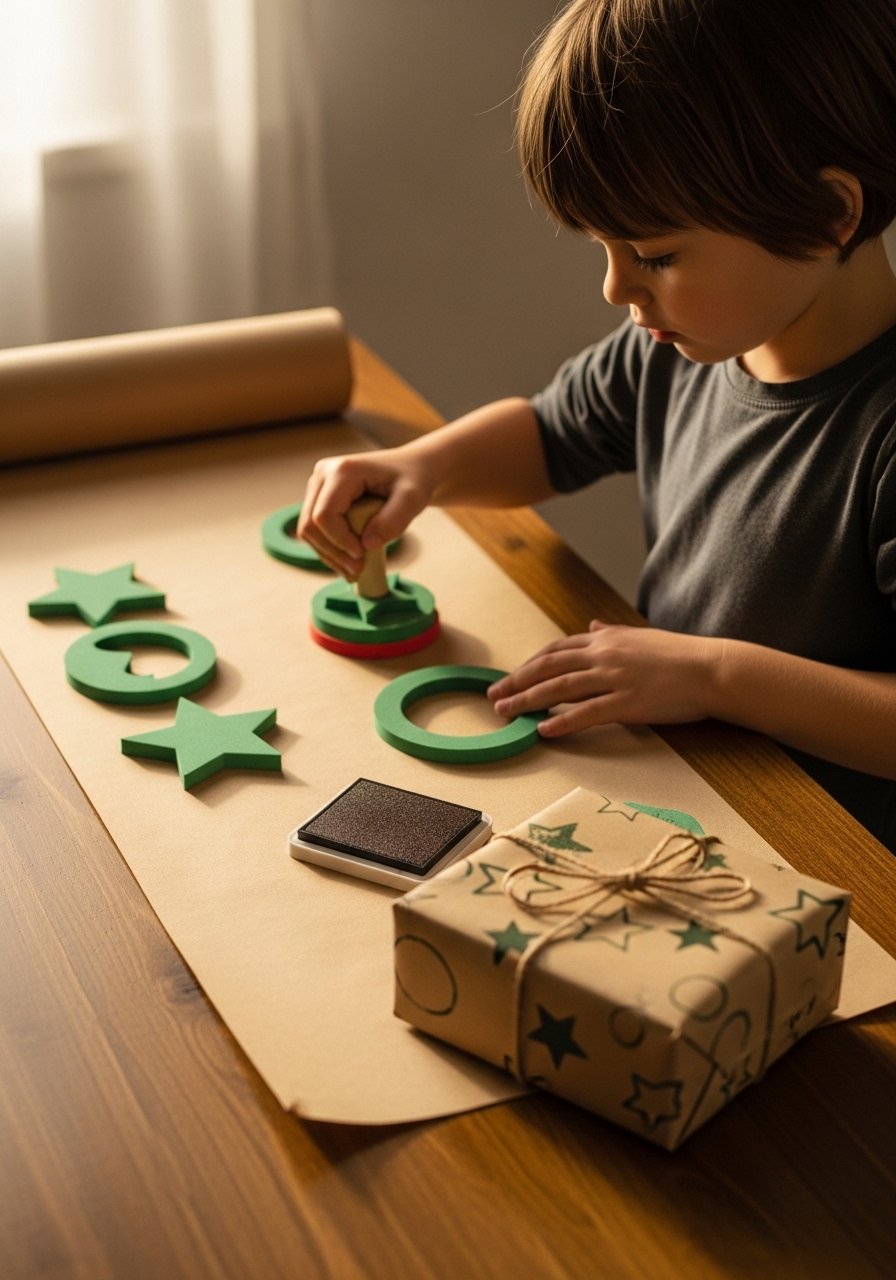
Making your own wrapping paper is satisfying and teaches pattern play. Use foam shapes, acrylic paint, and kraft paper rolls. Keep stamps large, around 2 to 3 inches, so patterns read well from a distance. I use a 2:1 spacing rule for even coverage and avoid tiny repetitive stamps that look busy. This is an inexpensive way to decorate for holidays and small party favors. Foam stamp set with handles keeps cleanup simple. A common frustration is smudgy prints, solve that by layering paper on a clipboard for stability.
Paper Mosaic Art for Gallery Wall in Playroom
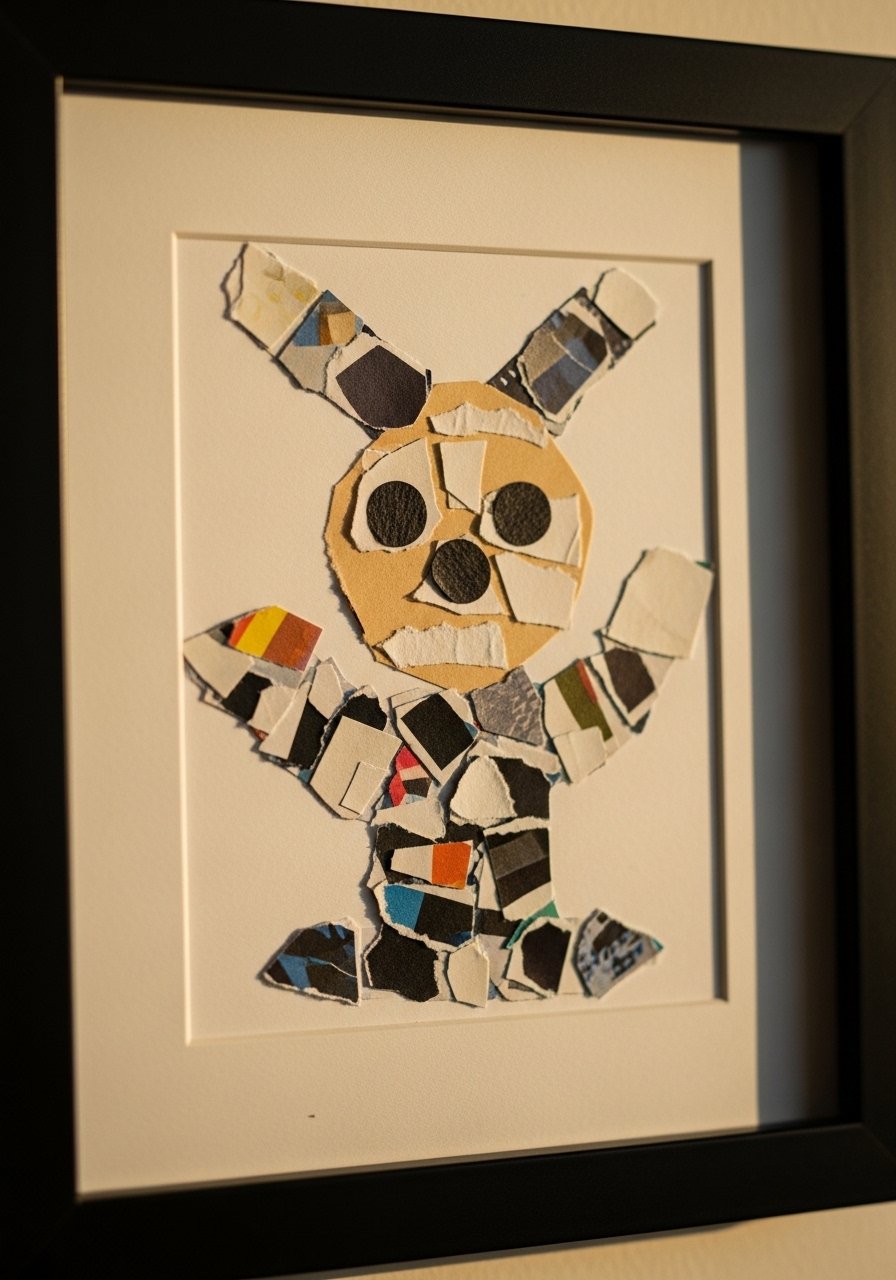
Mosaic art uses tiny paper scraps to create surprisingly sophisticated pieces for a playroom gallery wall. Cut paper into 1/2-inch squares and glue them into sketch outlines. I recommend a 4×6 practice board first, then scale up to 8×10 for framing. This project teaches patience and gives you frame-ready art you can hang in a cluster using the rule of three. Use a mix of matte and glossy paper for depth. I like acid-free glue sticks for archival results. Mistake to avoid is using identical colors; contrast is what makes the mosaic read as an image.
DIY Paper Crowns for Dress-Up and Photo Ops

Paper crowns feel celebratory and are fast party favors. Use 9×12 cardstock, measure a child's head circumference and add a 1-inch overlap for adjustment. Cut jagged or rounded points about 2.5 inches high for a kid-friendly scale. Use metallic pens or foil for accents. I keep a roll of self-adhesive gold foil sheets to make simple luxe-looking crowns on a $3 budget. Mistake is cutting crowns too tall; they flop and become toys rather than wearable props. These pair well with the puppet idea for dress-up storytelling.
Paper Lanterns for Low-Cost Mood Lighting
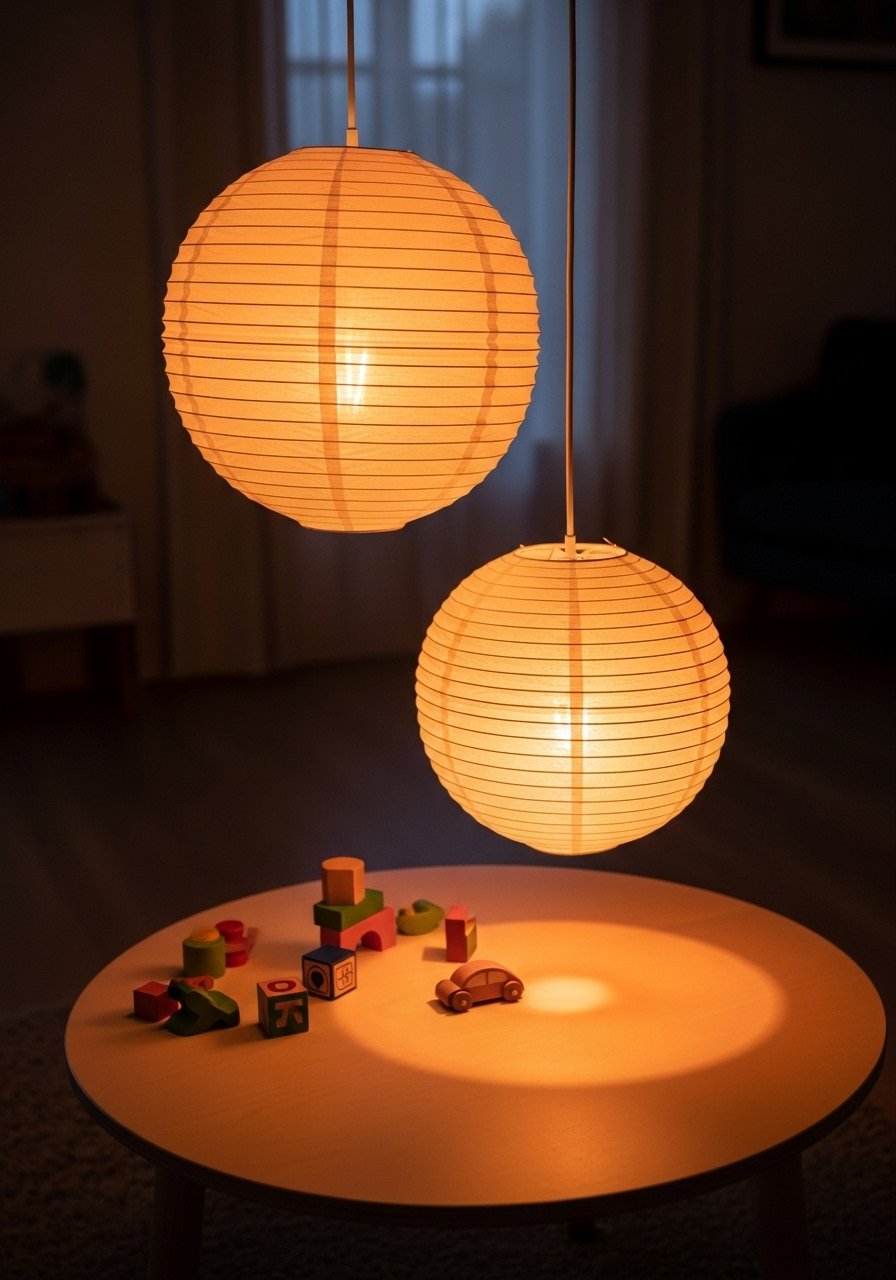
Paper lanterns give warm mood light without expensive fixtures. Use cordless battery-operated LED bulbs so setups are safe around kids. Fold lantern panels with a 1:2 height-to-width ratio for balanced shapes. I use a pair of small lanterns to flank a reading corner, which helps create a calm zone. Grab battery-operated LED string lights for inside lanterns. A major mistake is using hot bulbs or real candles, which are unsafe. When hung at varying heights they add cozy scale to the room.
Storybook Paper Scenes on Clipboard Walls for Rotating Displays
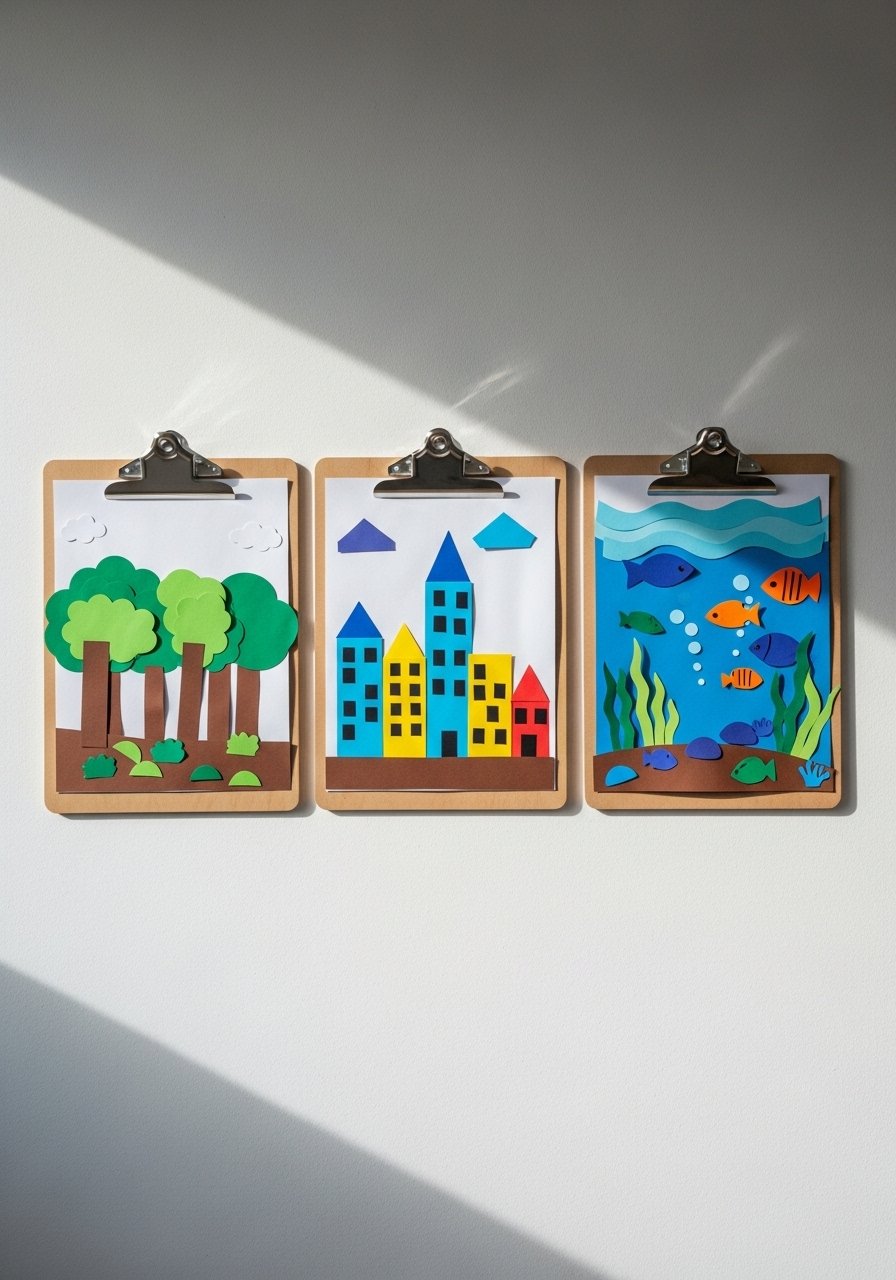
A clipboard wall makes art display easy to rotate without nails. Have kids create paper scenes on 8.5×11 card stock, then clip and swap weekly. It solves the frustration of cluttered artwork stacks and gives each piece a moment. Use a simple 60/40 display rhythm, three clipboards across, two rows if you have space. I keep extra paper and a set of kid-safe scissors nearby in a labeled basket. For a quick supply restock I use safe children’s scissors bulk pack. Mistake to avoid is clustering too many colors; keep each scene focused on one dominant hue.
Your Decor Shopping List
Textiles
- Assorted tissue paper 100-pack (~$8). Great for flowers and lantern accents.
- 12×12 cardstock pack, assorted colors (~$18). For fans, crowns, and larger origami.
- 3-pack cotton yarn skeins (~$12). Thick yarn works for weaving coasters.
Tools and Adhesives
- Low-temp glue gun with sticks (~$15). Speeds assembly for adults.
- Double-sided craft tape roll (~$7). Clean seams on garlands and masks.
- Acid-free glue sticks, pack of 12 (~$10). Best for mosaics and classroom keepsakes.
Finishing and Extras
- Washable tempera paint set (~$12). For toilet-roll rockets and masks.
- Origami paper pack, 6-inch (~$7). For the animal zoo project.
- Battery-operated LED string lights (~$14). Safe inside paper lanterns.
Similar at Target or HomeGoods for yarn and simple tool finds, but I keep the specialty paper and glue on Amazon for color ranges.
Shopping Tips
Keep a small craft kit ready. Grab an all-in-one kids craft kit so you can spin up an activity in five minutes. Having scissors, glue, and a marker set ready makes projects happen.
Grab origami paper pack, 6-inch for under $10. Swap sheets and patterns to keep the same idea fresh every week.
Curtains should puddle or kiss the floor, never hang halfway up. These 96-inch linen panels are right for standard 9-foot ceilings and help defined craft corners feel like real rooms.
White oak beats dark wood in 2026. Design feeds have shifted completely. These white oak floating shelves look current, not dated. Use one small shelf low in a playroom to display favorite paper projects.
Swap plastic trinkets for paper-made keepsakes. Acid-free glue sticks and good paper make crafts last, so art sticks around on walls instead of ending up in the trash.
Frequently Asked Questions
Q: What supplies should I keep on hand for quick paper crafts?
A: Keep a basic kit with scissors, glue sticks, a small glue gun, a pack of cardstock, origami paper, and a box of markers. That handles masks, garlands, origami, and pop-up cards without a trip to the store.
Q: Can these crafts work in a small apartment with limited storage?
A: Yes. Pick projects that store flat like pop-up cards, accordion fans, and mosaics. Use a shallow portfolio or an under-bench bin to hold finished pieces so surfaces stay tidy.
Q: How do I prevent scissors and glue from becoming a mess zone?
A: Create a fixed craft station with a washable mat and a small caddy for tools. I put scissors and glue in a drawer and only take them out during craft time. It reduces the "craft mess on every surface" problem.
Q: Are any of these projects good for mixed-age groups at parties?
A: Absolutely. Paper chain garlands and tissue flowers scale well because older kids can handle cutting and younger kids can loop and staple. Assign a simple task to each age so everyone contributes.
Q: What’s an easy way to display finished paper projects without damaging walls?
A: Use clipboards, removable hooks, or a low floating shelf. Clipboards let you swap art weekly and the clipboard wall idea above is specifically designed for rotating displays without nails.
