
Spent $400 on a new coffee table. Room still looked off. Spent $35 on a throw and three candles. Suddenly everything clicked. That moment is why I started flipping thrift clothes the same way I tweak rooms. Small swaps make big visual differences. Below are 20 thrift flip clothes DIY ideas that will make worn items read like brand new, with real tips I use when I alter things for myself and friends.
These projects trend toward casual modern and slow-fashion vintage. Most are under $30 in materials, with a few splurges around $50 for better fabric or hardware. They work for bedroom wardrobes, apartment closets, travel packing, and even quick staging for a weekend market.
Cozy Cropped Sweatshirt For Lounging
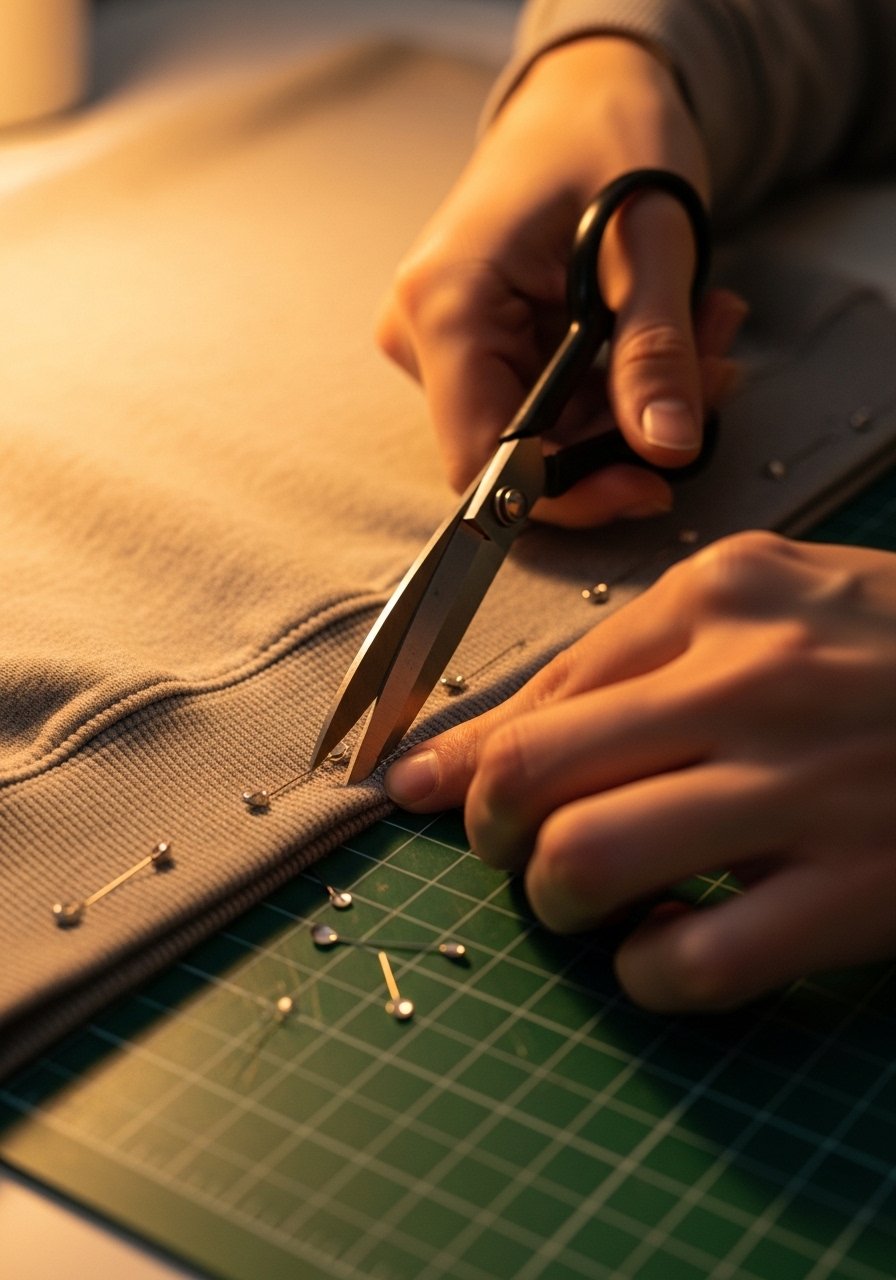
The moment I cut an oversized sweatshirt into a cropped piece, it became wearable again. Crop it 6 to 8 inches from the hem for a boxy cropped look that sits right at the high waist. Reinforce the raw edge with a 1/4-inch topstitch or add a 1-inch ribbing band for polish. I use a basic sewing kit to keep everything tidy. Common mistake is cutting too short at once. Start longer and trim more after trying it on. Works for weekend errands and layers well with the slip-skirt idea later.
Soft Sweater To Pullover Wrap For Date Night
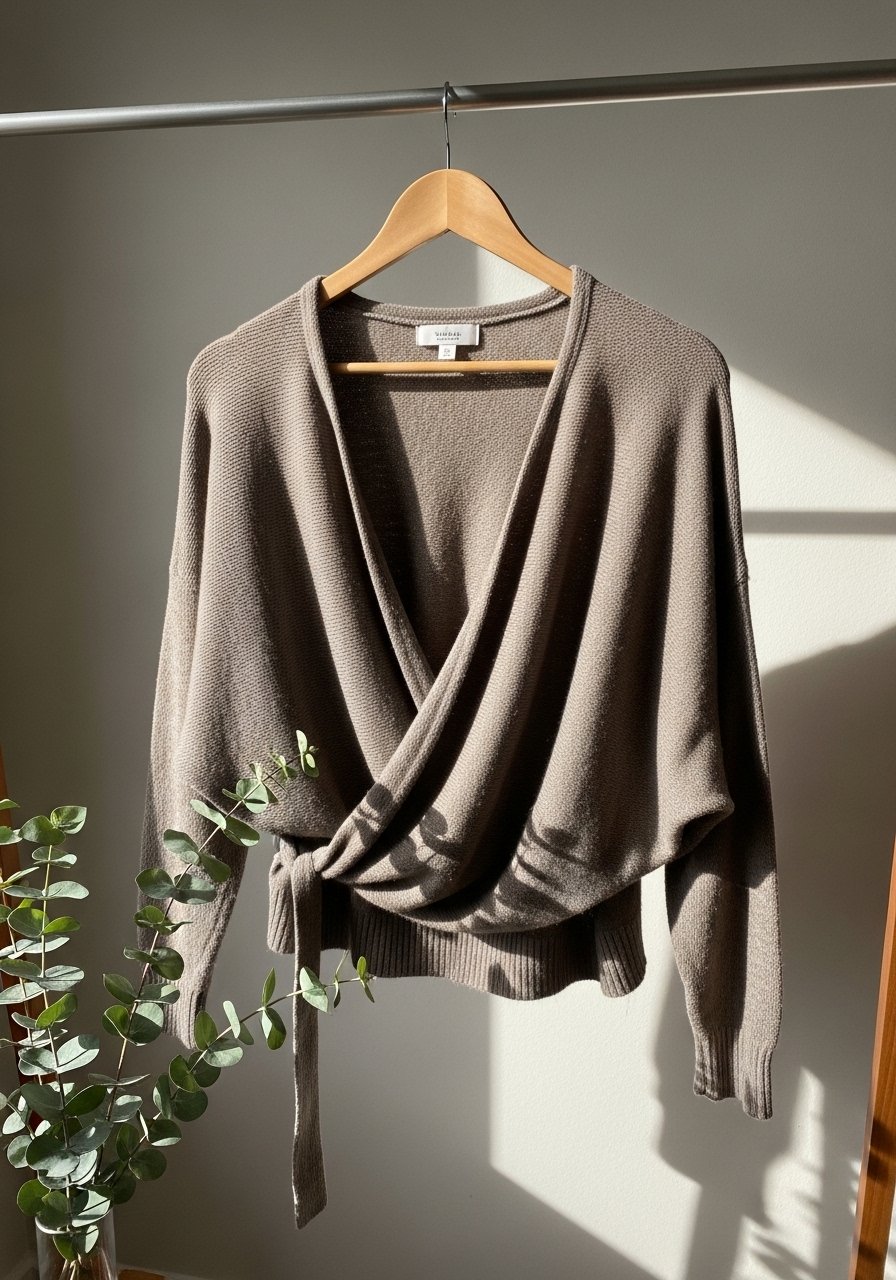
Turn a heavy knit into a chic wrap by adding two hidden buttons and a 6-inch side seam tuck. This creates a faux-wrap effect without gaps. Use a set of small shank buttons in toned brass to dress it up. Budget friendly at under $15 for supplies. People often try to stretch the knit instead of sewing a proper tuck, which leaves it saggy. The rule of three works here, pair the wrap with one bold accessory and two neutrals for balance.
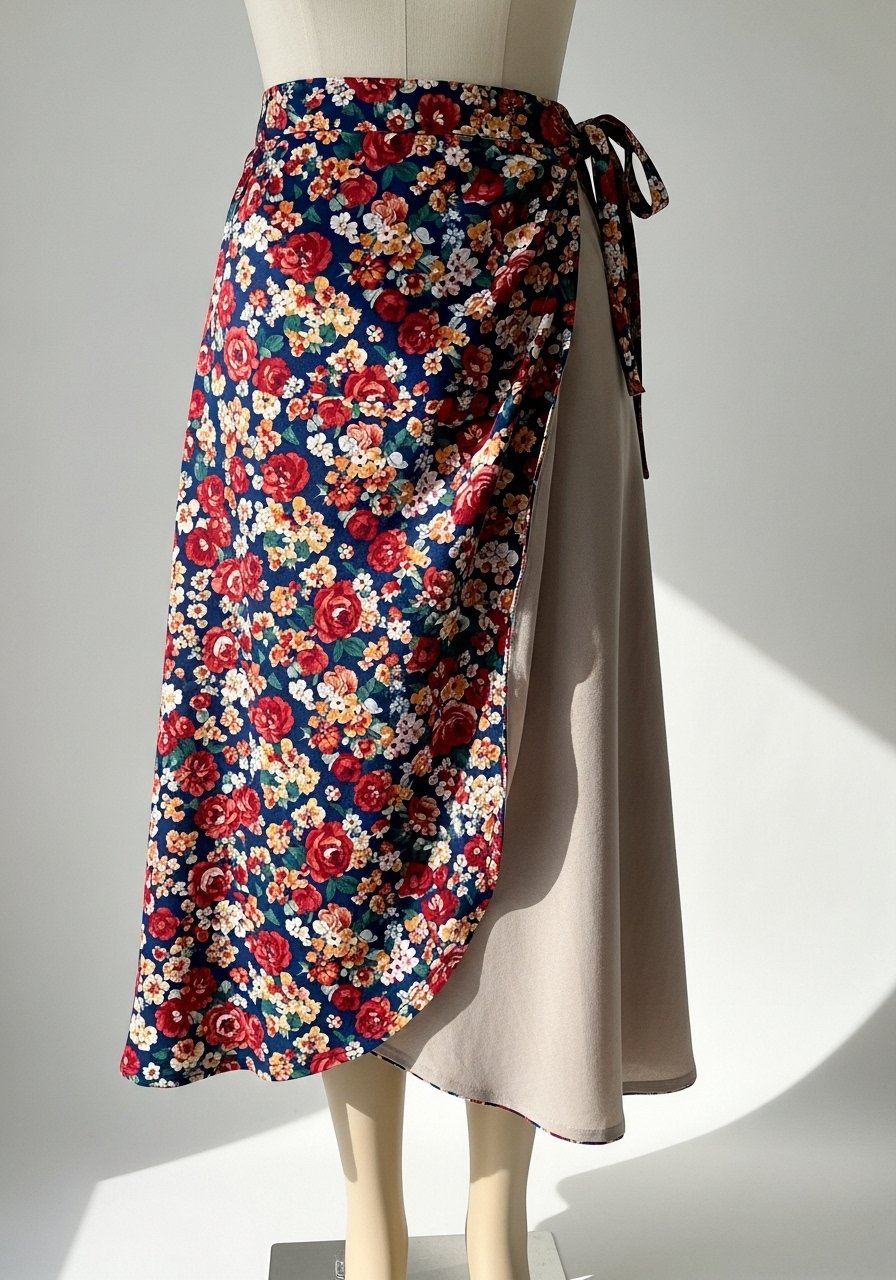
Vintage Dress To High Waist Skirt For Brunch
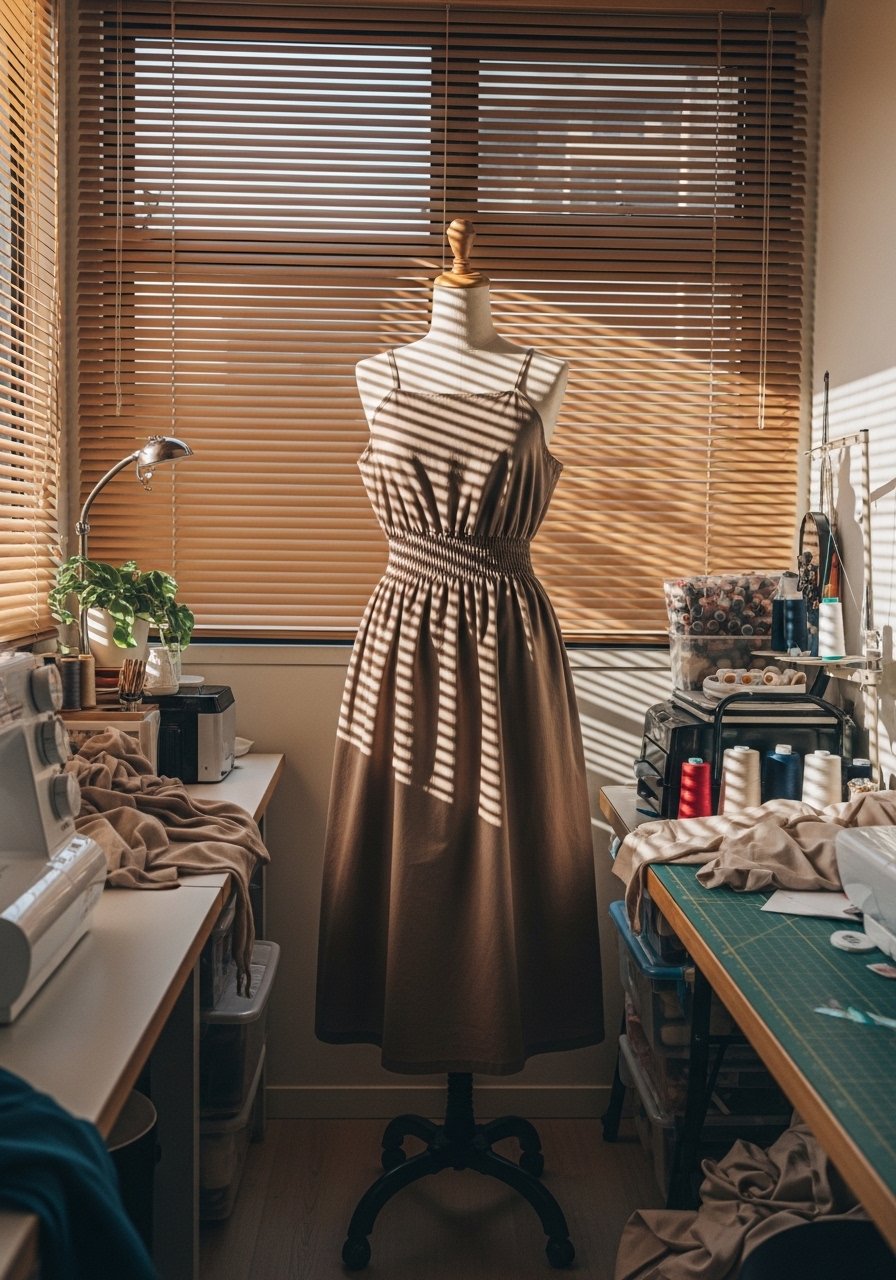
A floral thrift dress with a damaged bodice is gold for this flip. Cut off at the waist, add a 2-inch wide elastic casing, and topstitch at 1/8 inch for neatness. Use a 7/8-inch elastic roll in black or nude depending on the skirt. People forget to stabilize the waist seam and end up with a wavy finish. For real-life wear, shorten by 2 inches so it hits just below the knee for most heights. Pairs nicely with the cropped sweatshirt idea above.
Tee To Layered Ruffle Tank For Summer
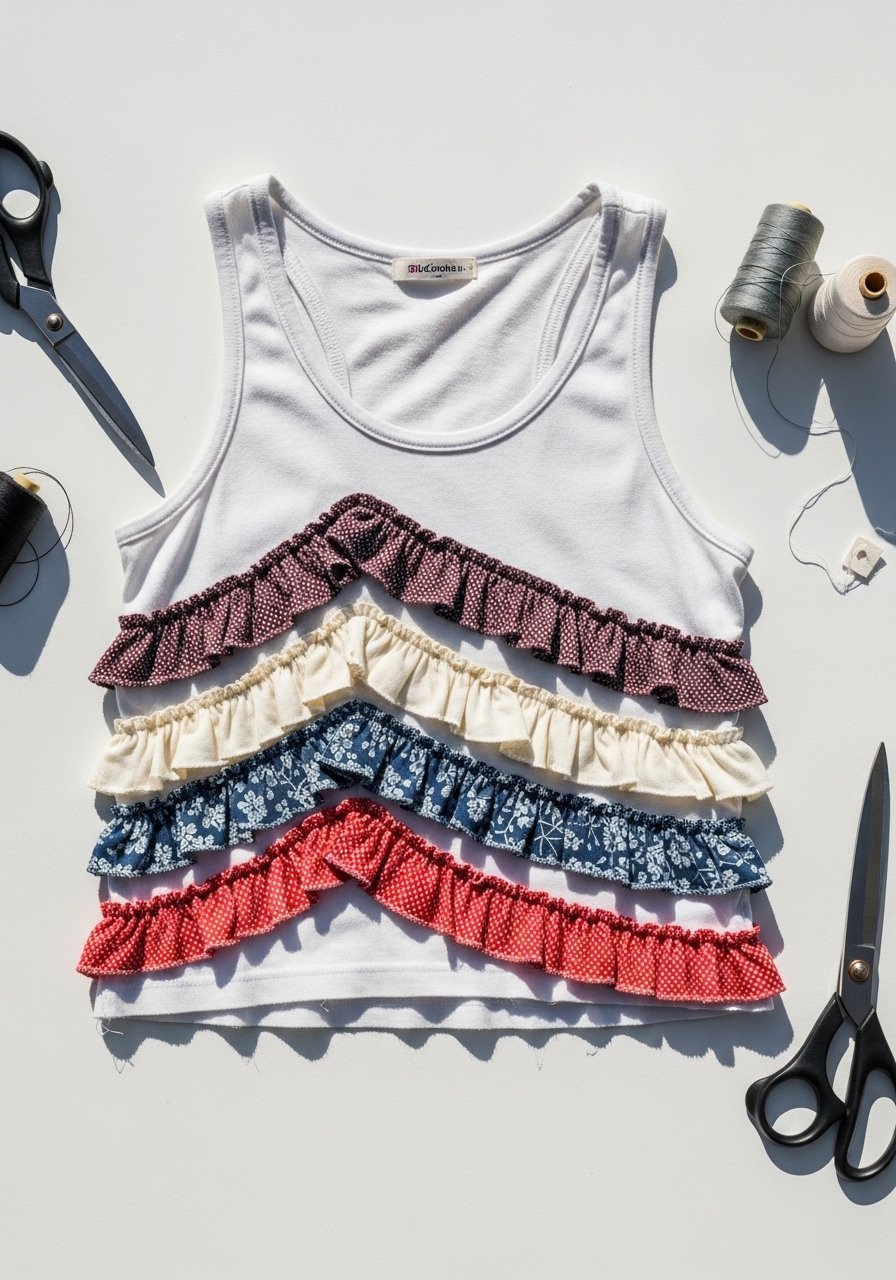
I love turning plain tees into tanks with a little ruffle trim. Cut the sleeves off, add 1.5-inch ruffle strips from leftover fabric, and use a 2:1 gather ratio so the ruffles sit full without overpowering. A small fabric shears set is a tiny splurge that saves time. Common mistake is using too much ruffle, which reads dated. Keep colors to an 80/20 ratio, 80 percent neutral tee, 20 percent accent ruffle for a modern summer vibe.
Denim Repair And Invisible Patch For Everyday Wear
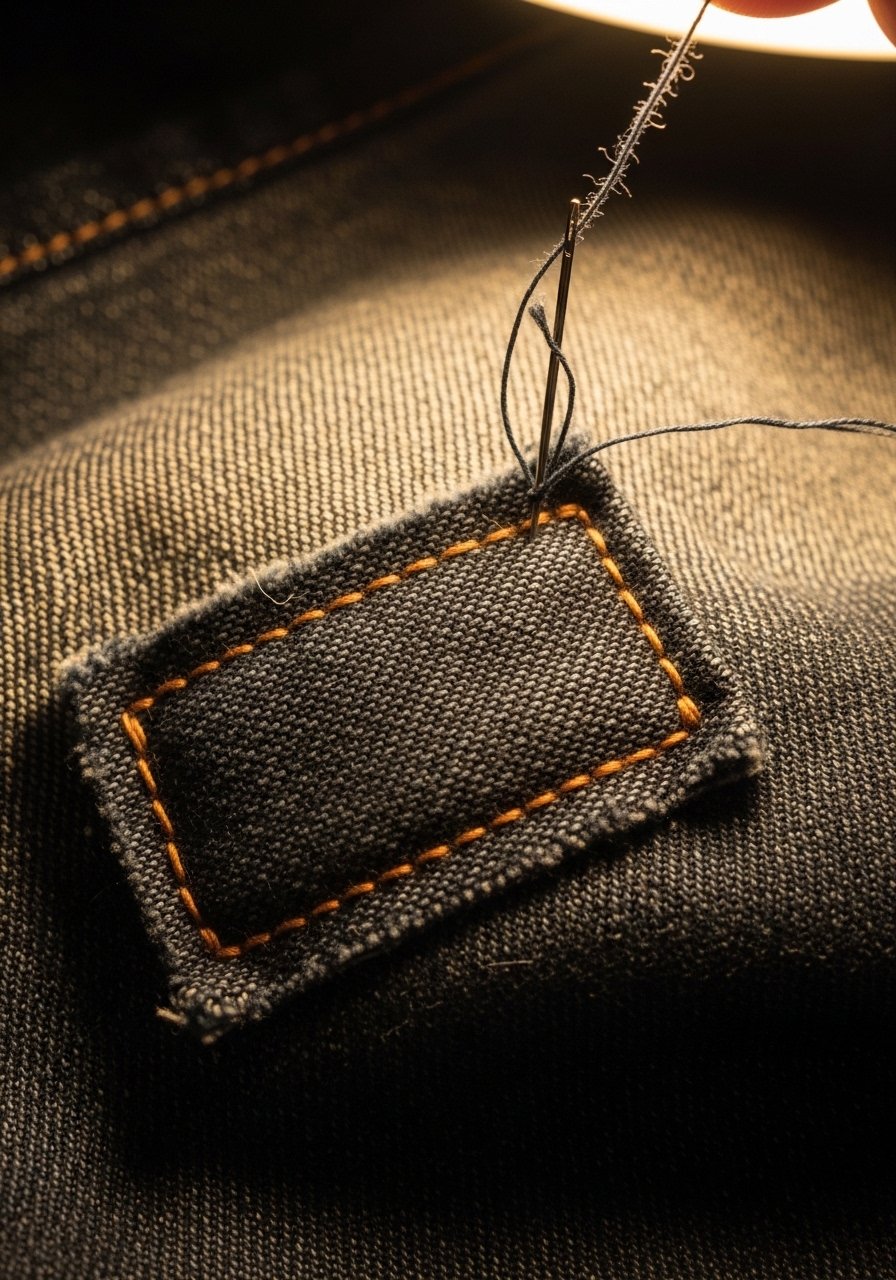
When jeans get a small tear at the pocket or knee, I stitch a denim patch inside instead of covering it. Use a torn edge of old denim as the patch and stitch around 1/8 inch from the edge to hide bulk. I use a heavy-duty denim needle pack for machine stitching. The common mistake is placing the patch on top which looks amateur. For a vintage look, intentionally use a contrasting thread at a 3 mm topstitch width.
Blazer Tailoring For Office Ready Fit
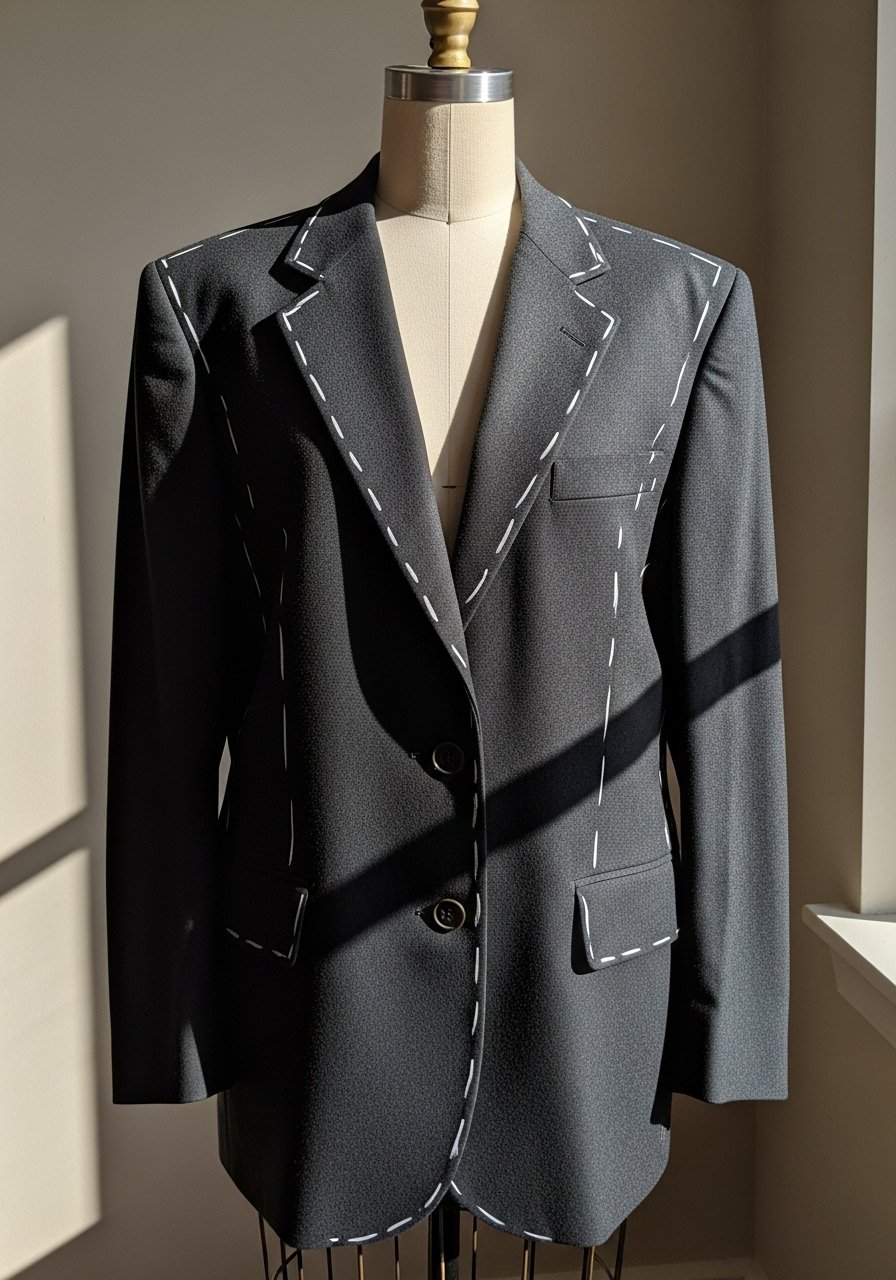
An oversized blazer becomes expensive looking when you cinch the waist and slim the sleeves. Pin the side seams 1.5 to 2 inches in, taper sleeves by 1 inch at the elbow, and move the shoulder pads slightly inward for modern proportions. I swear by a tailor’s chalk and seam ripper set. People often skip pressing after alterations which makes the work unreadable. Press every seam with steam for a crisp finish.
Add Lace Hem To Old Skirts For Feminine Flair
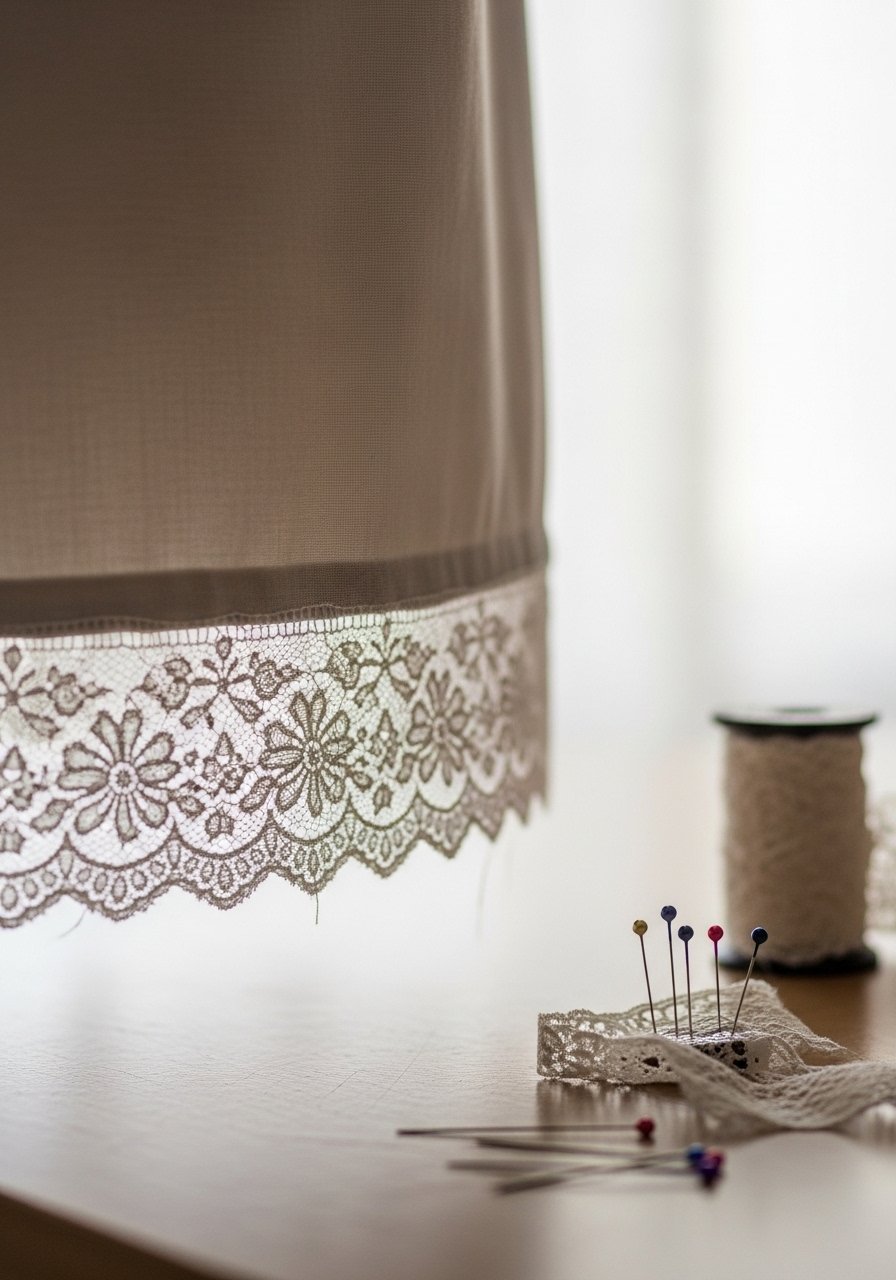
A 2-inch lace insertion can update a faded skirt instantly. Match the lace color to the dominant hue and stitch with a 1/8-inch seam allowance. I found cotton lace trim that reads high end but is affordable. The mistake people make is adding a lace that is too wide and overwhelms the silhouette. For balance, keep the lace at one focal point and use the rule of three in accessories.
Confident Button Swap For Instant Polish
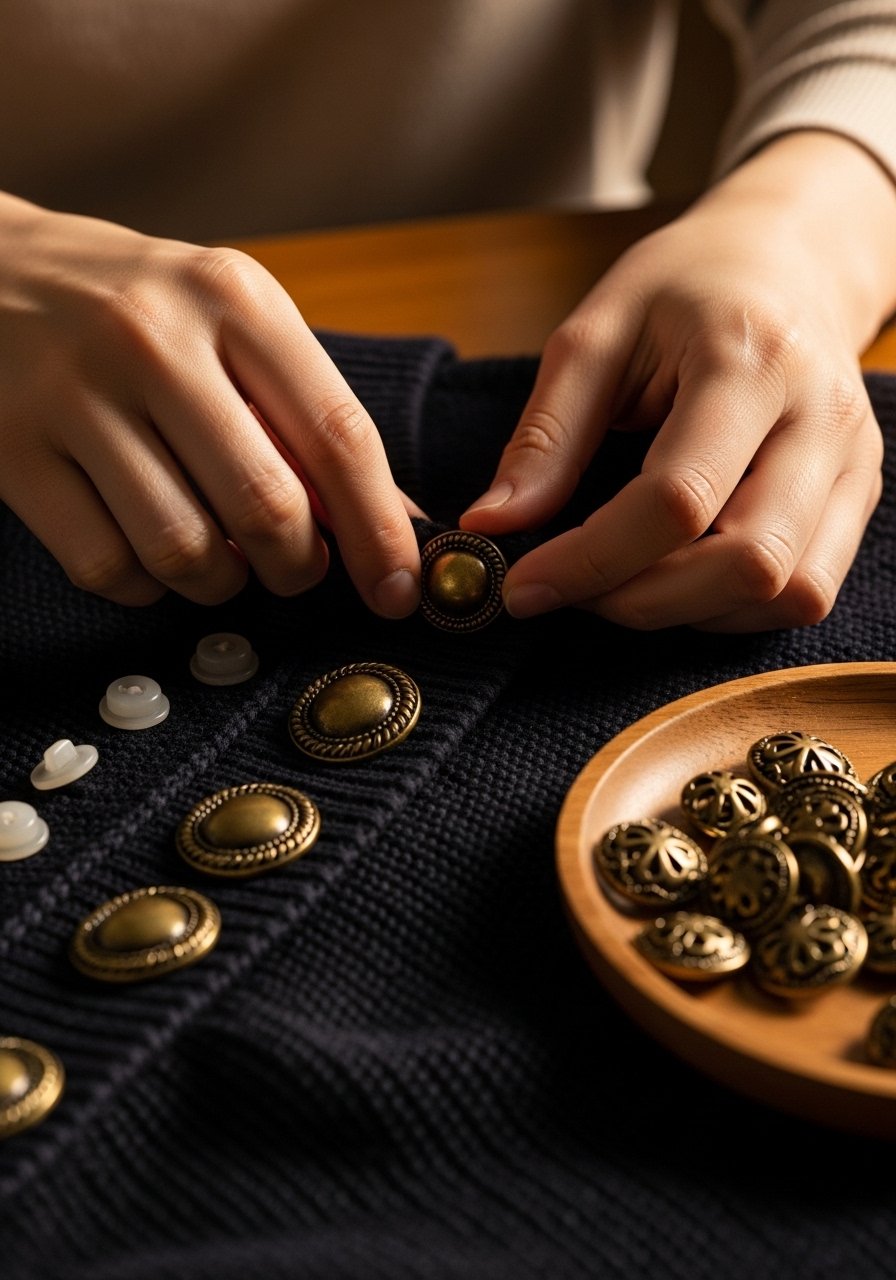
Replacing dated plastic buttons with a matched set of metal or wood buttons is the easiest flip. Measure the original button diameter and choose replacements the same size to avoid redoing buttonholes. These brass shank buttons add weight and polish. A common mistake is mixing button sizes on a single garment. Keep consistency for that tailored look. This pairs well with the blazer tailoring idea for a coordinated wardrobe.
Sleeve Rework To Puff Sleeve For Romantic Tops
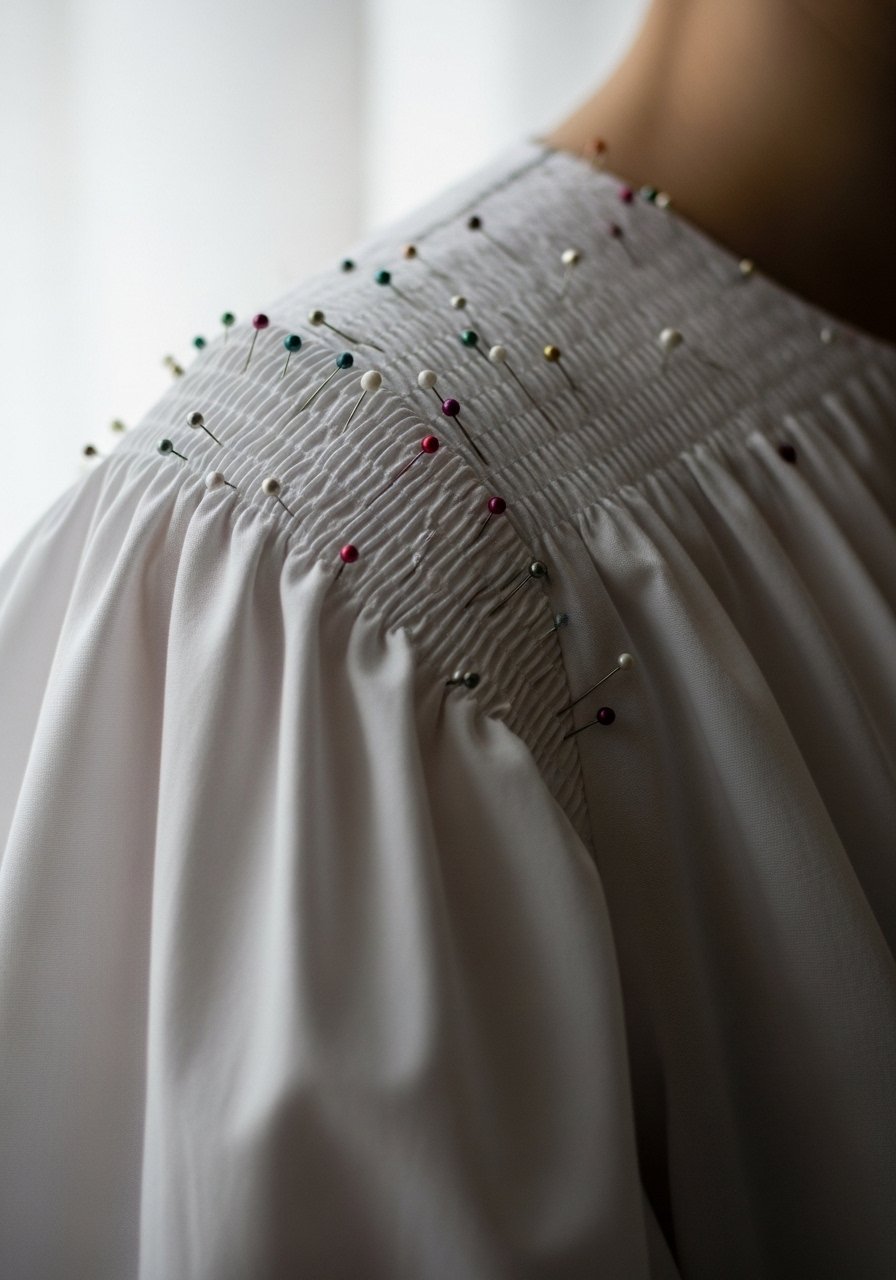
Give a plain blouse a trendy puff sleeve by adding 1.5-inch gathers at the shoulder cap and tapering to a 1-inch cuff. For proportion, puff height should be about one quarter of the shoulder width. Use a gathering foot or long basting stitch for even gathers. People often overdo volume which reads costume. Keep it subtle and proportionate to your shoulders for everyday wear.
Faux-Suede Patch For Shoulder Wear On Jackets
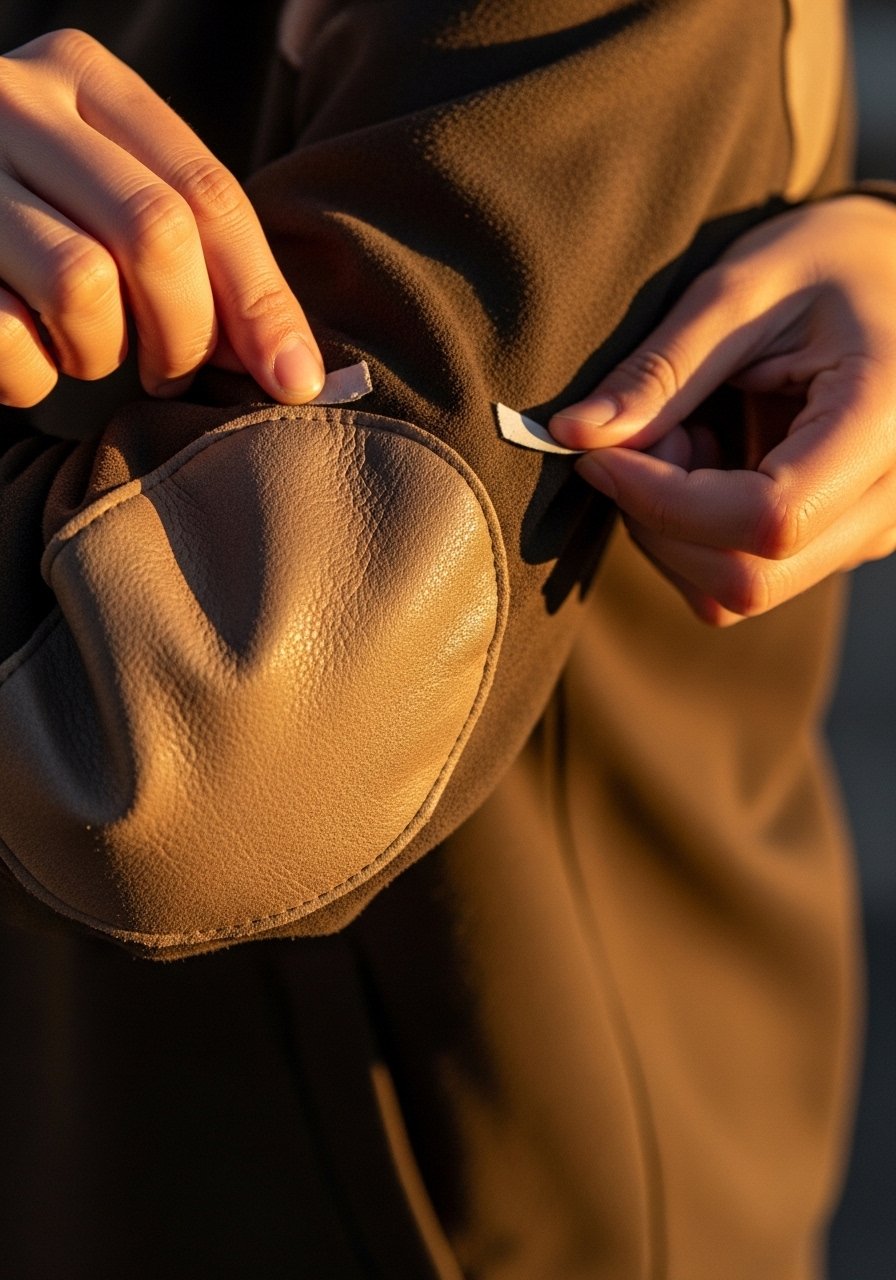
Patch worn shoulders with faux-suede panels cut on the bias to match drape. Cut patches 3 to 4 inches square at the shoulder point and stitch with a 1/8-inch topstitch for durability. I grab a faux-suede fabric swatch pack when thrifting for color matches. A mistake is gluing patches which peels after washing. Stitch them and reinforce with a tiny zigzag stitch on the underside.
Simple Dye Ombre For Tired Shirts
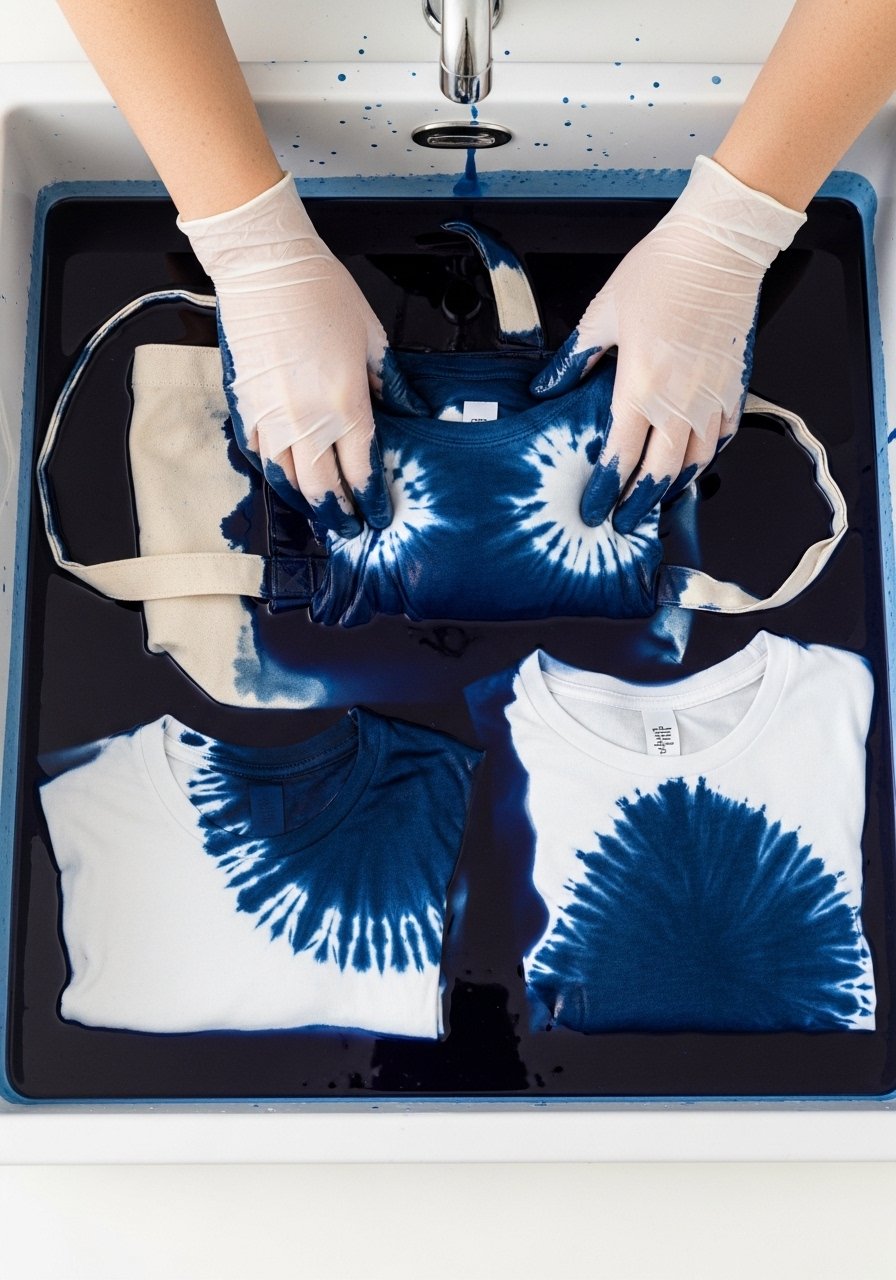
Dip-dye turns dingy shirts into intentional pieces. Wet the shirt, clamp at the hem, and dip for two to three minutes for a subtle gradient. I recommend a 2:1 immersion time ratio between deepest and mid tones. Use a fabric dye kit and set color with salt per instructions. The common mistake is dyeing over stains which still show. Pre-treat or embrace the imperfection with a distressed finish.
Collar Replace For Crisp Button Downs
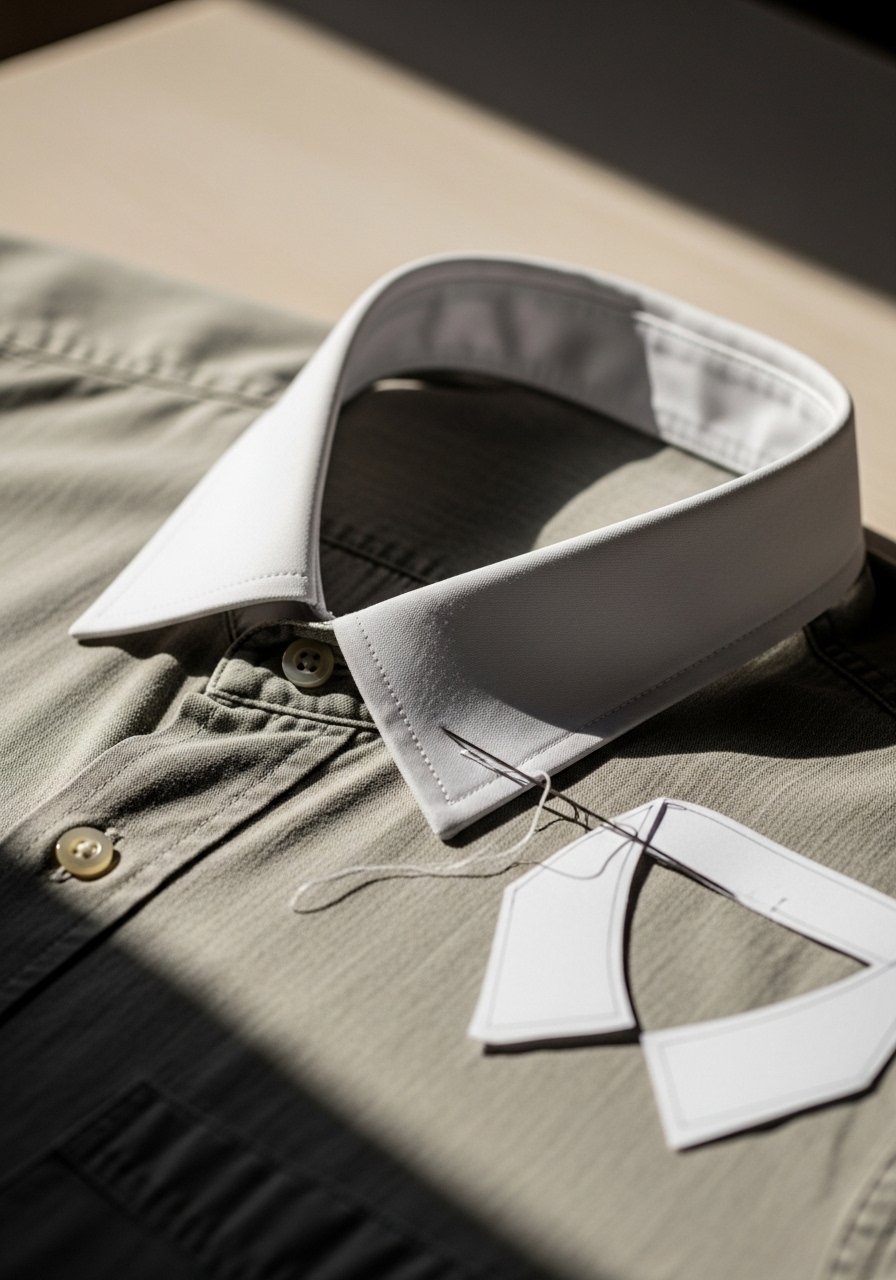
If a shirt body is fine but the collar is floppy, replace just the collar for a like-new feel. Trace the collar pattern, cut interfaced cotton, and stitch with a 1/4-inch allowance. A collar stay pack helps maintain crispness after washing. People often throw out the whole shirt instead of replacing just the collar. This is fast and under $10 in materials for a clean office-ready look.
Bandana Into Silk Neck Scarf For Styling
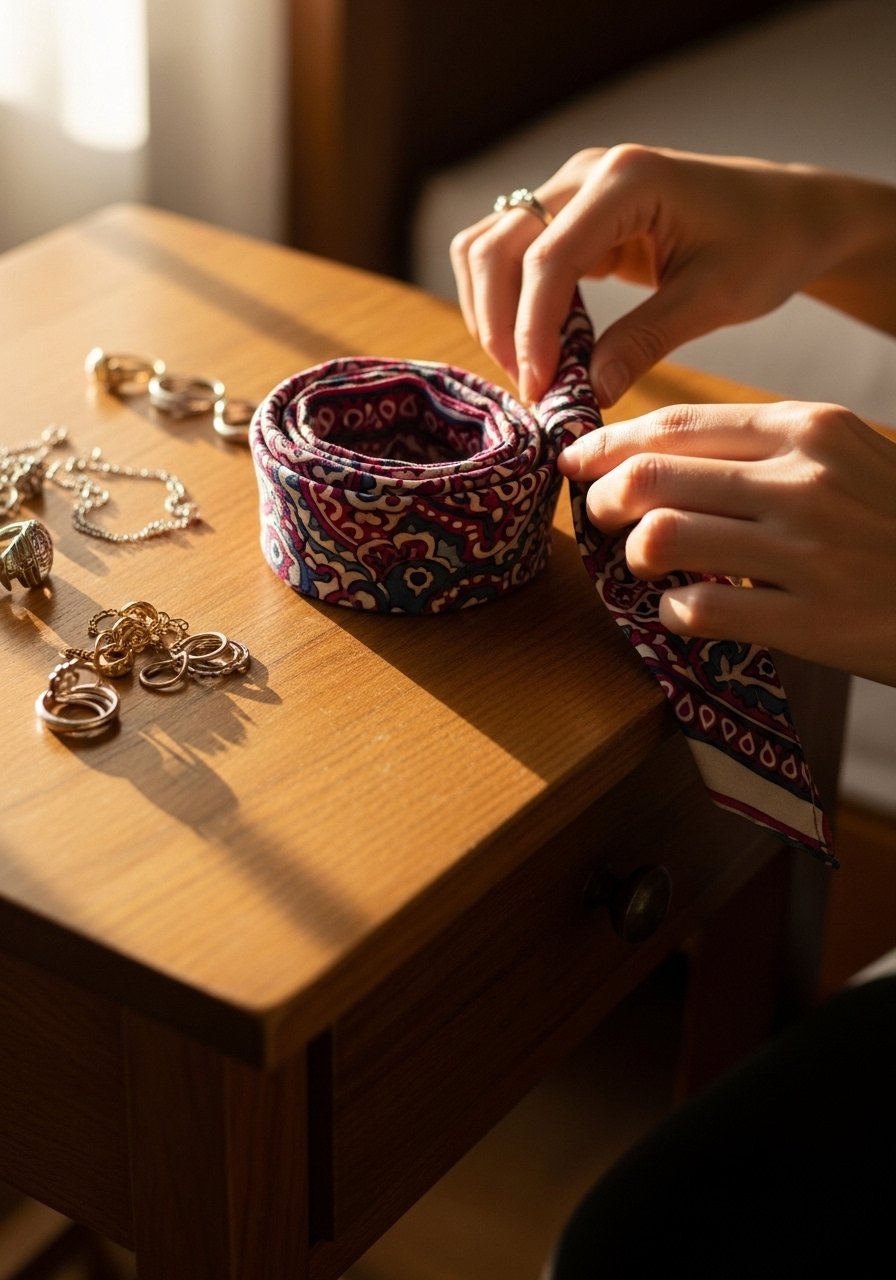
Turn a bandana into a silk-look neck scarf by cutting on the bias and finishing the edges with a narrow hem. Bias cut gives drape without bulk and makes a tiny rectangle that ties neatly. Use a silk-like satin scarf if you want instant luxury without silk care. The common error is using straight cut edges which do not drape well. Bias is your friend for scarves.
Jeans To Paperbag Waist Shorts For Warm Weather

Cut jeans to desired short length, add a 2-inch casing, and insert 1-inch elastic with a 3-to-2 gather ratio for the paperbag effect. Topstitch the casing at 1/8 inch for neatness. I use a heavy-duty zipper patch kit if pockets need reinforcement. Mistake people make is using too wide an elastic which flattens the waist. Keep elastic snug and let fabric billow above it.
Graphic Tee To Patchwork Statement Top
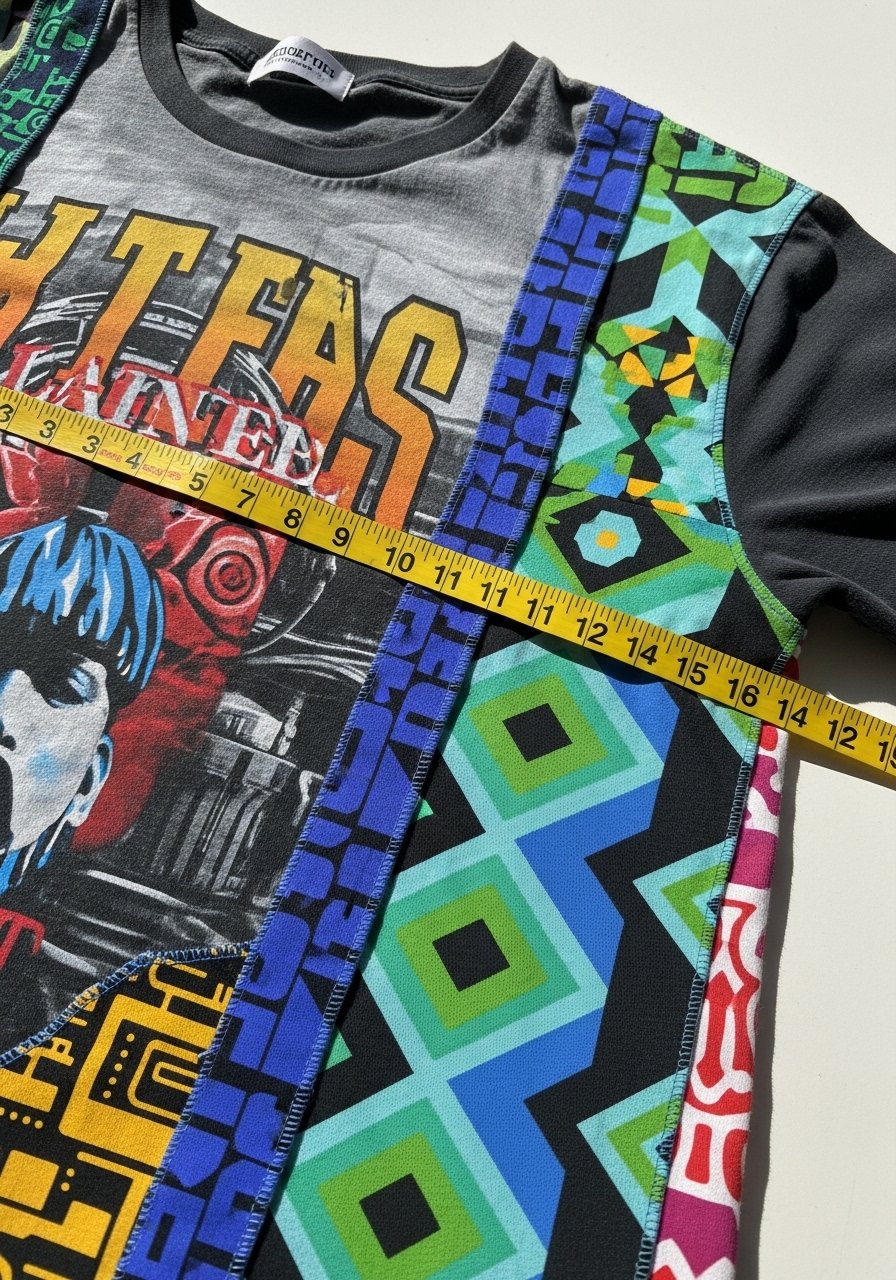
Add side panels from colorful thrift finds to refresh a dated graphic tee. Keep the panels no wider than 3 inches each to maintain the tee silhouette. I stitch panels with a 1/8-inch topstitch and finish raw edges with a narrow zigzag. Grab an assorted fabric scrap bundle for a playful mix. A common mistake is adding panels that clash in scale. Match one dominant color to tie it together.
T-Shirt Into Easy Slip Dress For Layering
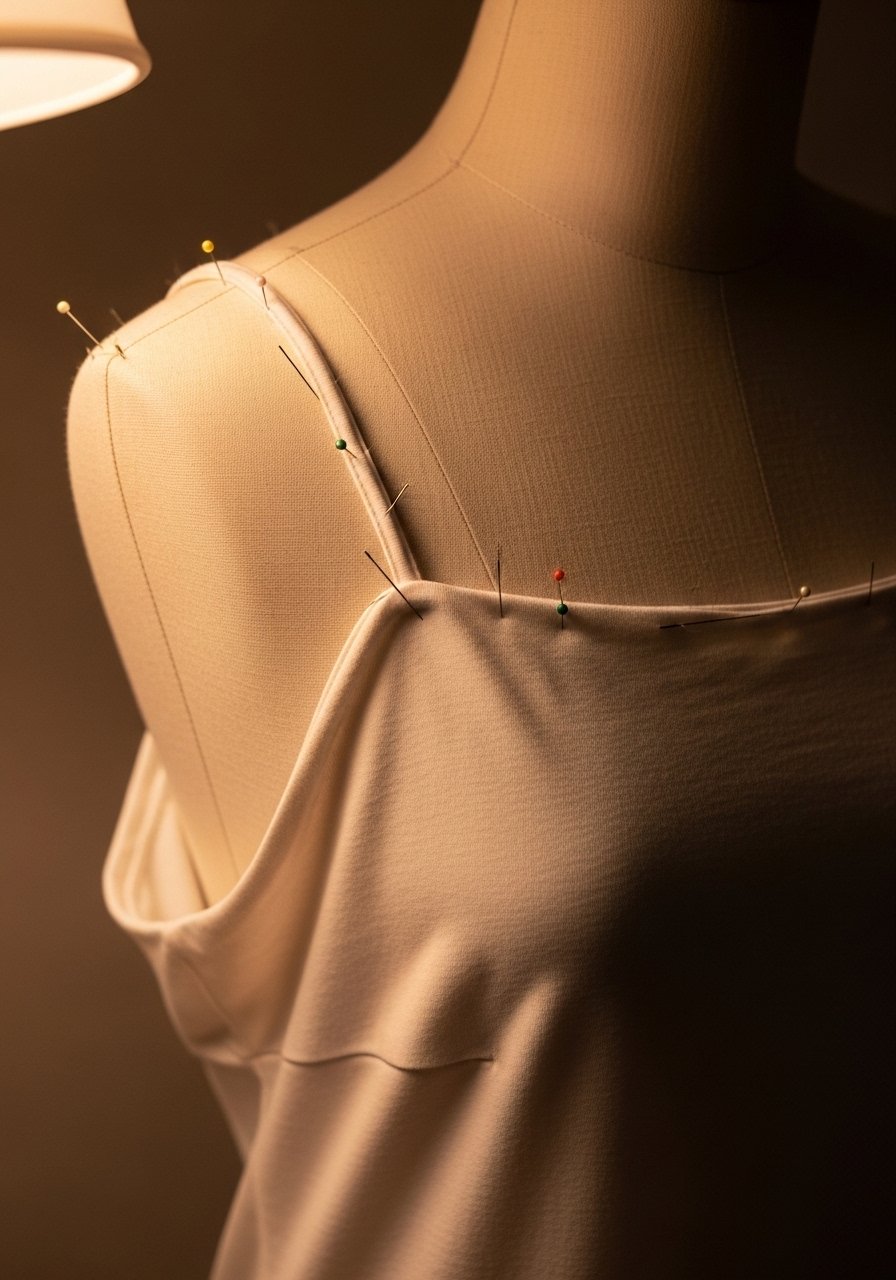
Make a slip dress by adding 1-inch bias straps and tapering the sides 2 inches for a skimming fit. Bias straps are comfortable and lie flat. I use a bias tape maker set which saves time. People often forget to reinforce strap attachment points and they tear. Stitch an X-box on the back and front for strength.
Knit Top To Bra-Friendly Crop For Exercise
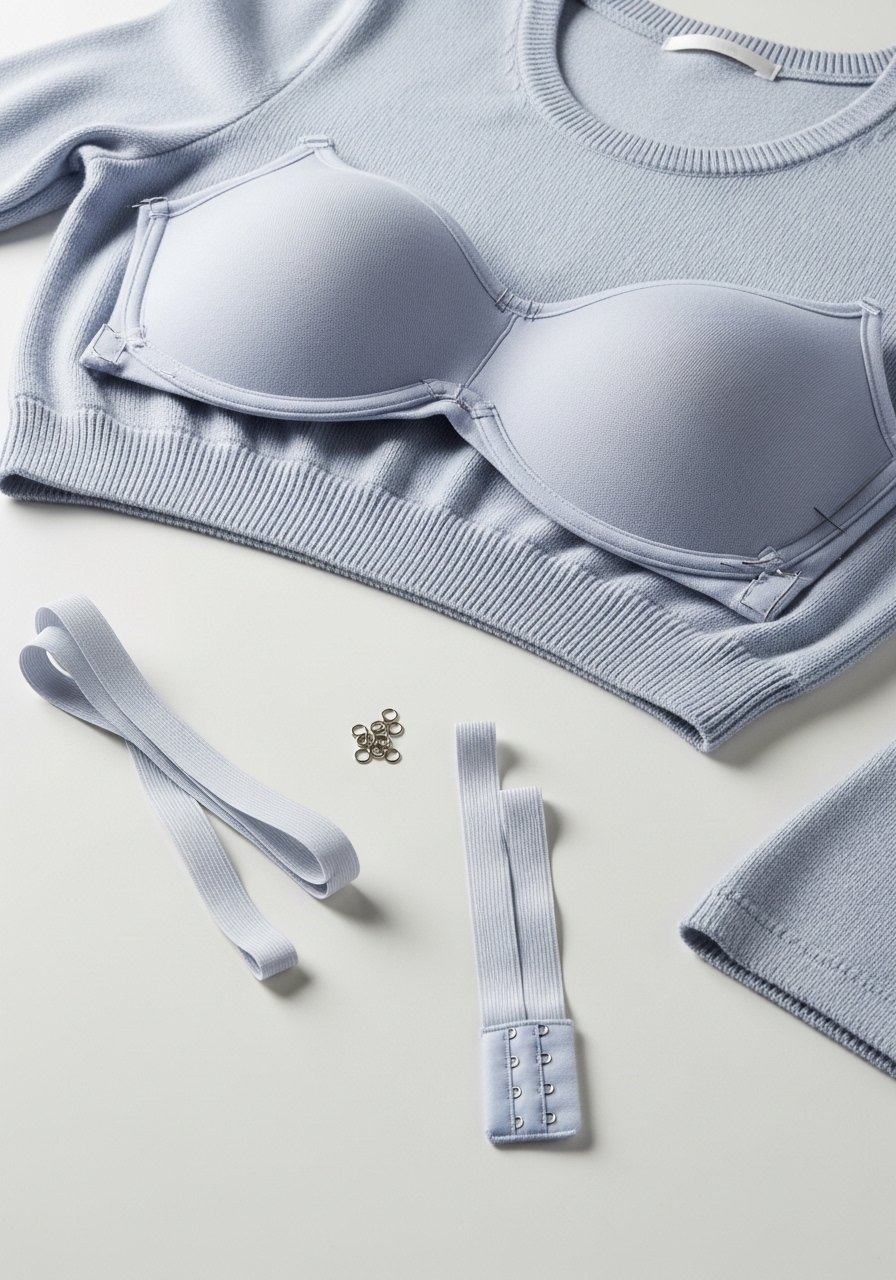
Insert a shelf-bra by cutting a 6-inch wide underband from a stretch knit, sewing it to the inside and adding a 1-inch elastic for support. Use a stretch knit fabric pack for matching. Many people skip lining and end up with a see-through flop. Add a lining panel for opacity and confidence for workouts or errands.
Shirt To Oversized Beach Cover-Up Tunic
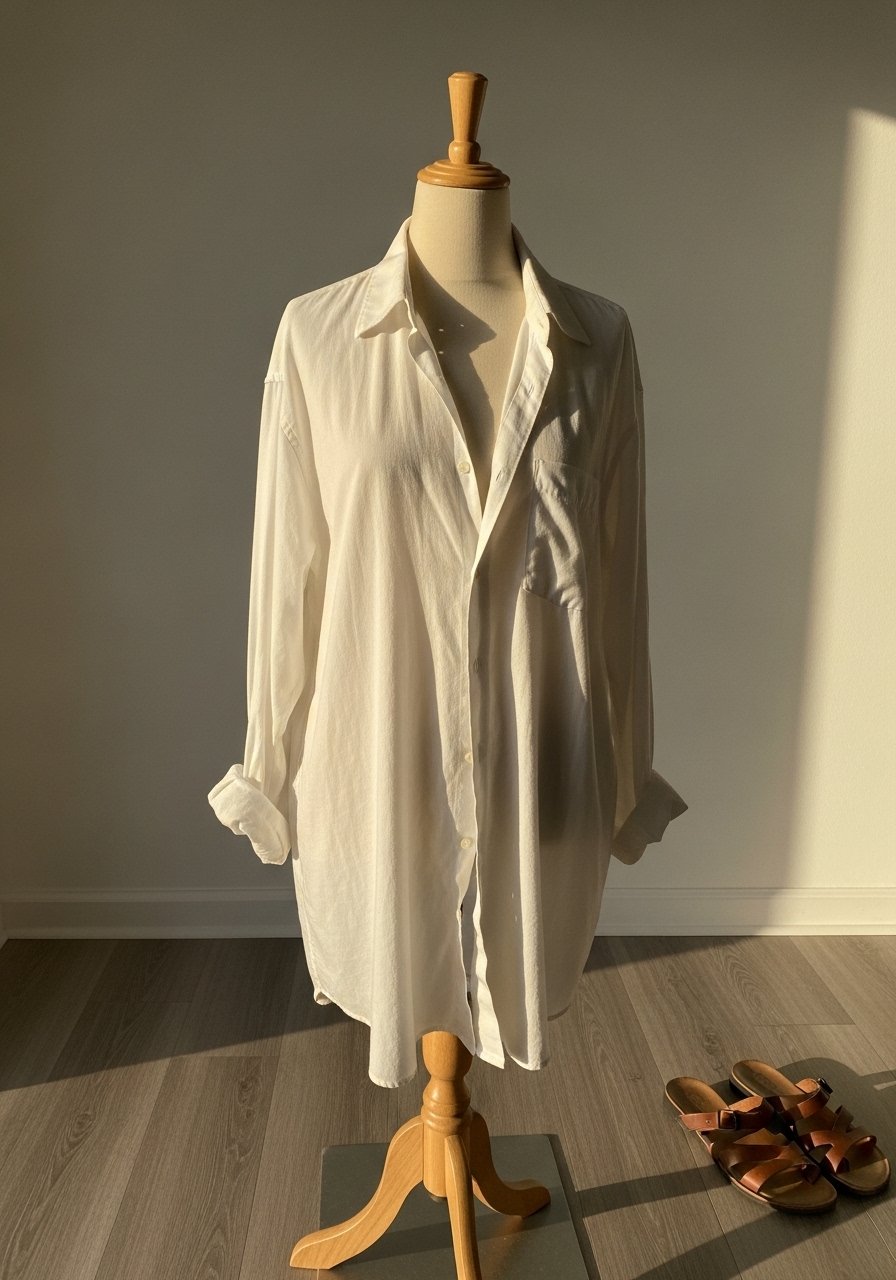
Make a beach tunic by shortening the sleeves 4 inches, hemming 1.25 inches, and adding side slits 6 inches high. Use a lightweight linen blend shirt for breathable coverage. A mistake is leaving the hem uneven which flattens the look. Press and measure both sides to keep symmetry. This works for pool days and casual weekends.
Denim Jacket To Cropped Boxy Jacket For Layering
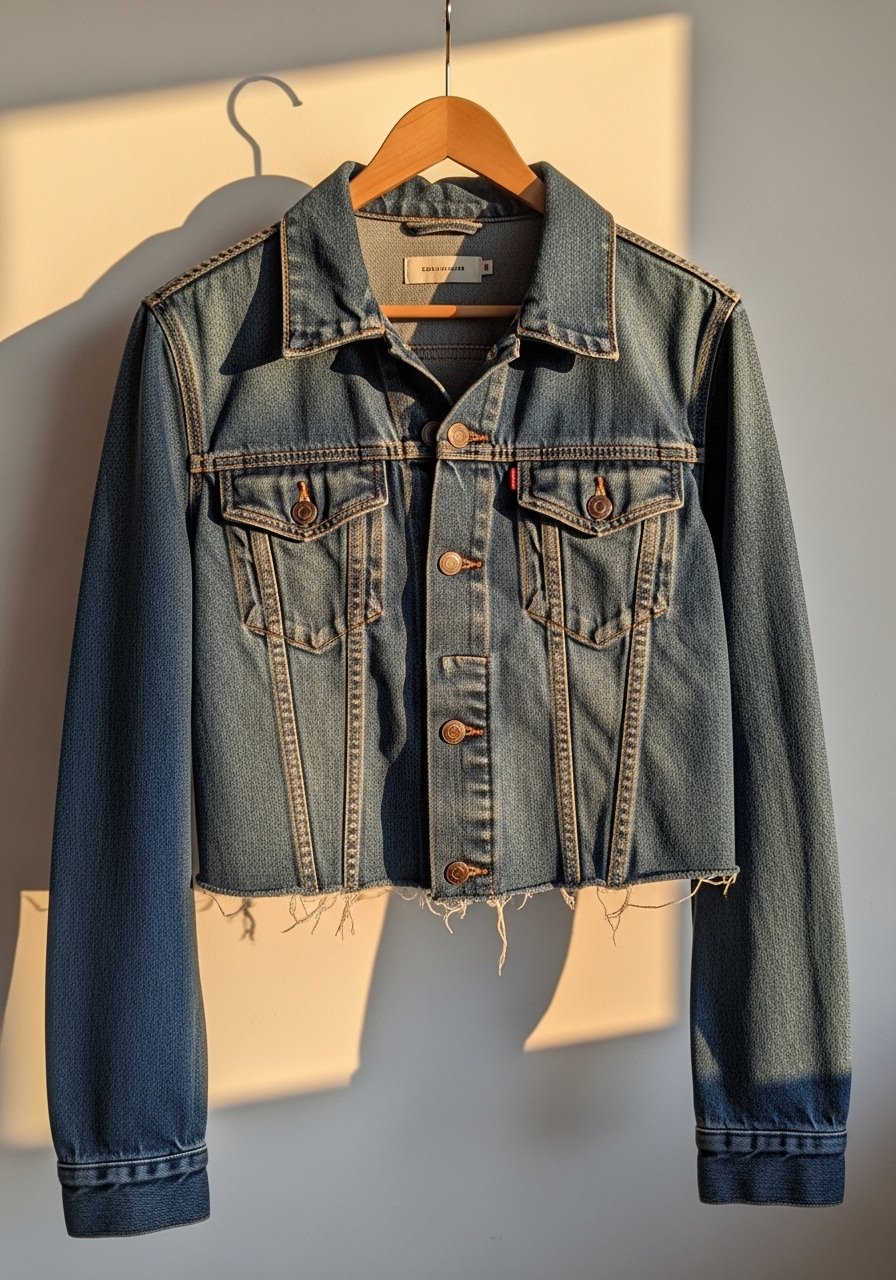
Crop a denim jacket at the waist and add a 1.5-inch band with topstitching to keep structure. Match thread color to original topstitch for a factory look. I use a denim topstitch thread set for durability. The common mistake is cutting without checking button placement which can ruin closure. Mark and test before cutting.
Bold Patch Embroidery For Small Flaws
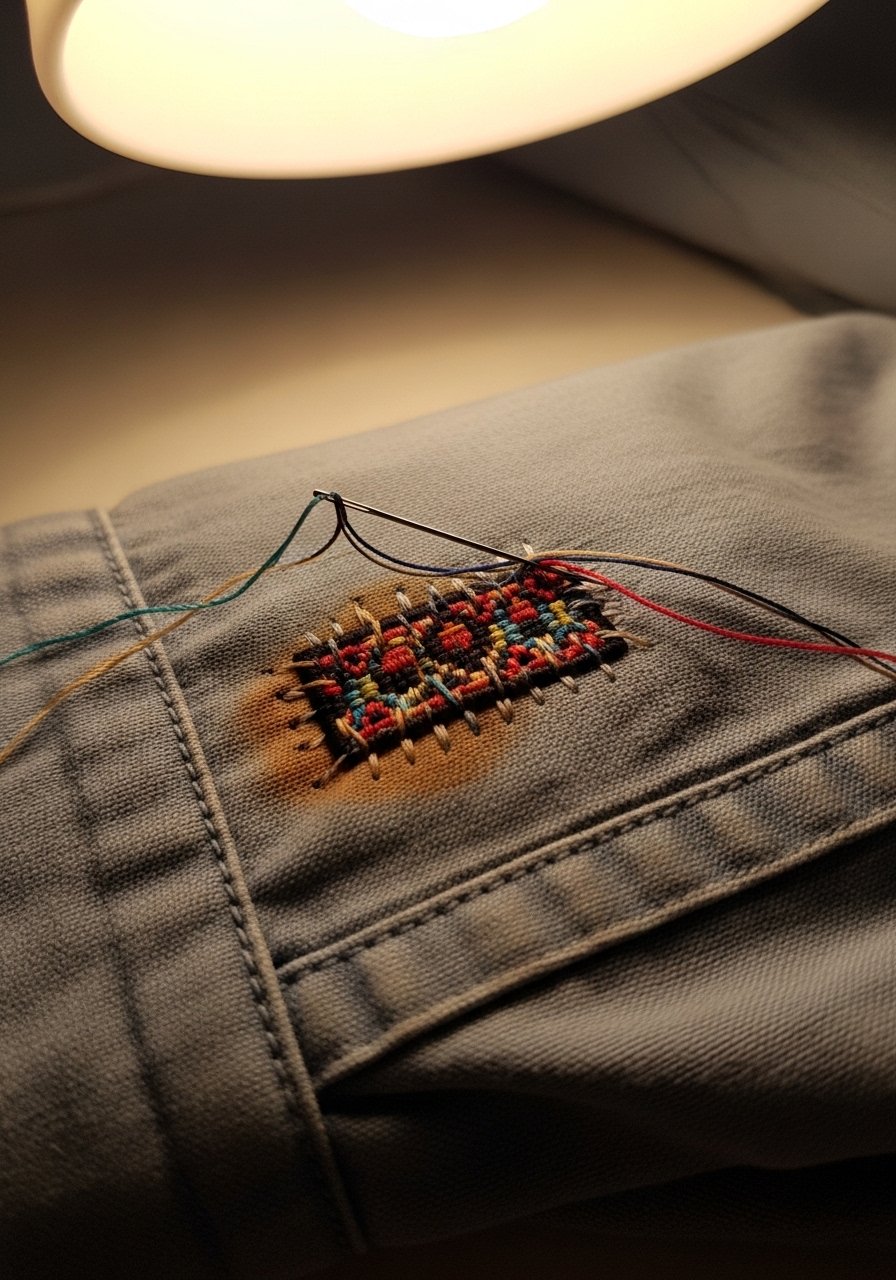
Embroidered patches hide stains and add personality. Keep patches 2 to 3 inches wide so they read intentional, not like a bandage. I keep a small embroidery starter kit in my project basket. People place patches in awkward spots which throws proportion off. Mirror placement on the opposite side for balance if needed. Pair this with a button swap for a cohesive look.
Scarf To Belt Or Bag Tie For Polished Outfits
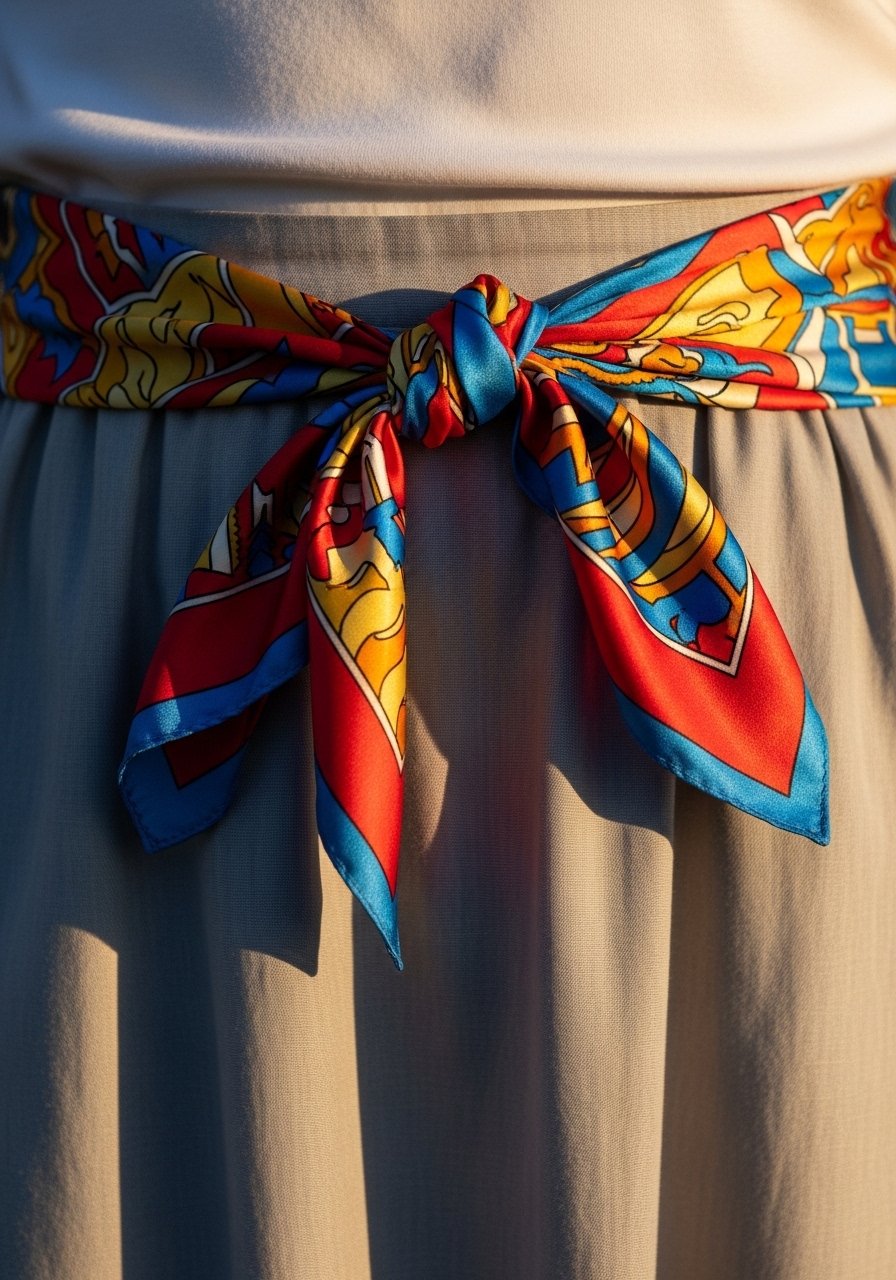
A small silk or satin scarf becomes a belt by folding on the bias to 1.25 inches and knotting at the side. Use a 21×21 satin scarf for the right scale. The mistake is folding too wide which adds bulk at the waist. Keep the fold narrow and the knot low for a long visual line.
Reversible Wrap Skirt From Two Finds For Travel
Sew two lightweight skirts together at the waistband, add a 2-inch wide reversible tie and finish with a 1/4-inch topstitch. Reversible pieces halve wardrobe space for travel. I finish edges with a serger thread pack for durability. A mistake is mismatched lengths which makes the wrap lopsided. Trim to the shorter skirt before joining.
Your Decor Shopping List
Textiles
- Honestly the best $40 I have spent. Chunky knit throw in cream 50×60 inches for layered outfits and styling shots
- 21×21 satin scarf in jewel tones for belts and bag ties
- 7/8-inch elastic roll for skirts, 10 yards
Sewing Essentials
- Basic sewing kit with snips, needles, and measuring tape
- Heavy-duty denim needles for jeans and jackets
- Brass shank buttons set matched pack
Tools & Extras
- Fabric dye kit indigo for ombre tees
- Bias tape maker for straps and trims
- Embroidery starter kit for patches and badges
Budget Finds Note
- Similar trims and notions are often at Target or HomeGoods for immediate pickup
Shopping Tips
White oak beats dark wood in 2026. Design feeds have shifted completely. Noisy but useful sewing desk organizers keep notions sorted while you work.
Grab a basic sewing kit for $15. Keep it by your couch and you will fix one thing a week without thinking about it.
For hems and crops measure twice, cut once. A quality fabric shears set makes straight clean cuts.
Everyone buys five small succulents. One single 6-foot fiddle leaf fig has ten times the visual impact. Use a tall plant in your wardrobe corner for styling photos.
Buy dye and test on a hidden seam first. Try a small dye sampler before committing to a full dip.
Frequently Asked Questions
Q: Can I mix embroidered patches with tailored edits without it looking messy?
A: Yes. Keep patches small, 2 to 3 inches, and balance them with tailored changes like a clean cuff or swapped buttons. The contrast looks intentional when you use the rule of three in accessories.
Q: How do I choose which thrift clothes to attempt altering?
A: Pick sturdy fabrics and garments with only surface damage or seams intact. Avoid heavy staining near the center or pieces with missing lining unless you want a major project.
Q: What size hem is best when cropping a sweatshirt?
A: Start by shortening 4 inches and try it on. Most people end up between 6 and 8 inches cropped. You can always trim more after testing.
Q: Can I wash dyed garments safely at home?
A: Yes, if you set dye with the recommended salts and wash once separately on cool. Pre-treat any stains or they may resist the dye.
Q: My thrift blazer is too boxy. How much can I take in?
A: Take in up to 2 inches at each side seam for a noticeable shape change without rebuilding the jacket. Resize sleeves by 1 inch at the elbow to avoid tightness.
Q: What tools are worth splurging on for these projects?
A: Quality fabric shears, a good denim needle pack, and a basic sewing kit are worth the cost because they save time and give cleaner finishes. I keep them on my counter for quick fixes.
Q: Is it worth adding lining when making a slip dress from a tee?
A: If the tee fabric is thin, yes. Adding a simple lining panel prevents cling and keeps the dress feeling elevated. Use a lightweight lining and sew it to the neckline and hem for a smooth inside finish.
