
My living room had nice furniture and decent lighting but it still felt like a waiting room. Took me embarrassingly long to figure out it was missing texture. Every surface was the same height, every color was flat, and nothing invited you to actually sit down. Once I started painting thrifted pieces with chalk paint and adding small accents, the whole place stopped feeling staged and started feeling lived in.
These ideas lean modern farmhouse with some Scandinavian clean lines. Most projects sit under $50, with a couple up to $150 if you go pro. They work for bedrooms, entryways, living rooms, and small kitchens where a single painted piece can change the whole vibe.
Cozy Distressed Chair in Pink Quartz
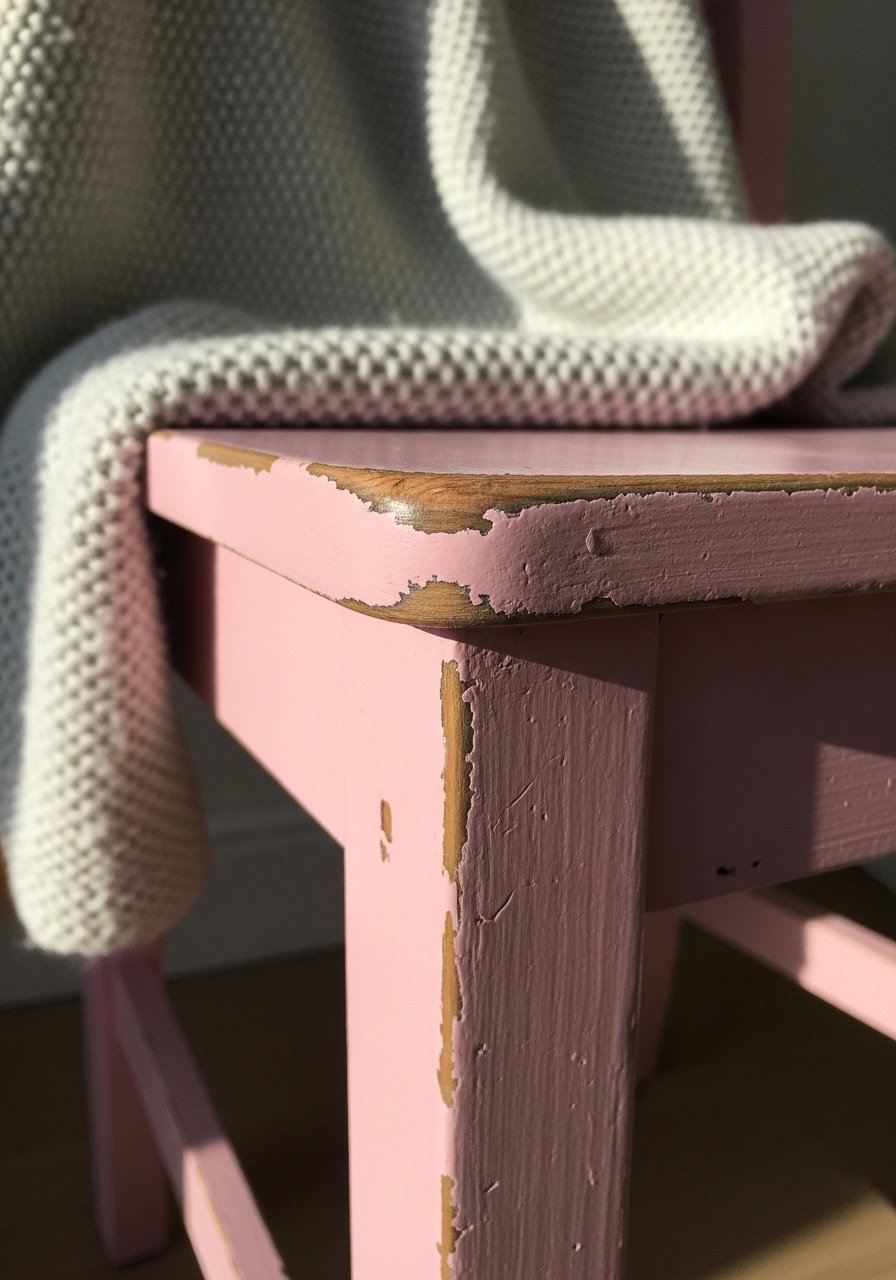
I painted a curbside find in a Pink Quartz shade and it hid the worst nicks while making the room friendlier. What makes this work is the tiny edge distressing done with 220 grit by hand so you keep carved details intact. Chairs take 2 hours tops if you move quick. I used a pint of ready-mix chalk paint, wiped the seat with Krud Kutter first, then two thin coats thirty minutes apart to avoid drips. Finish with clear wax and buff while it looks wet so it does not stay sticky. A small tube of Rub N Buff gold rubbed on the carved arms gives a little lift without going overboard. Common mistake is sanding too aggressively and losing the chair’s character.
Sage Green Farmhouse Table Refresh
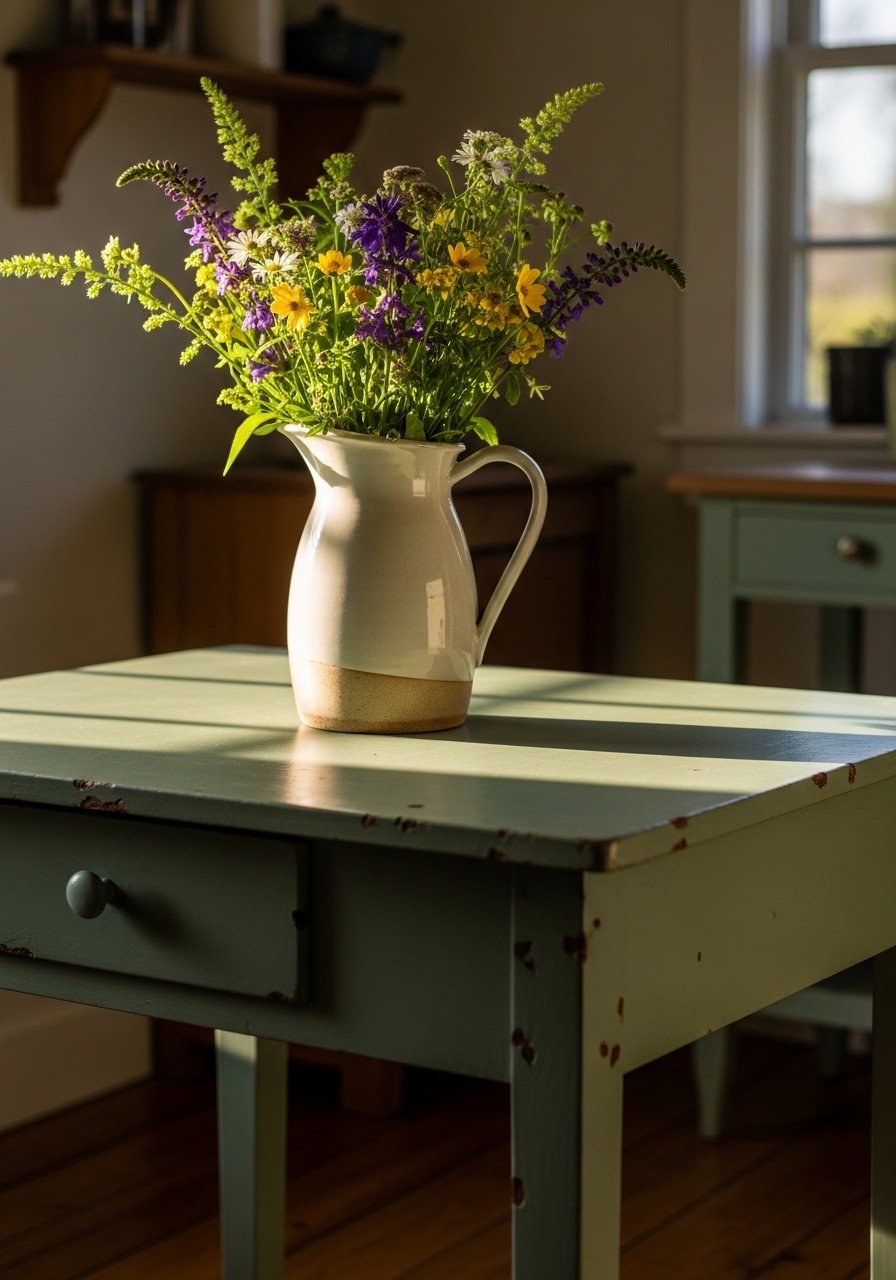
This is my go-to for an outdated laminate table because Dixie Belle sticks to almost everything and you skip complicated prep. You get a full dresser from one $25 pint easy. For tables, brush into crevices first, then roll the flats with a foam cabinet roller to avoid brush marks. I do two thin coats, thirty minutes drying between, and a light hand-sand with 220 grit where I want soft distressing. Use a lint-free rag and clear wax applied sparingly on edges only. If you live in a humid climate, wax can soften, so test one leg for 48 hours before full use. Try Dixie Belle Sage paint for an almost no-prep flip.
Smooth Cabinet Doors Makeover For Small Kitchens
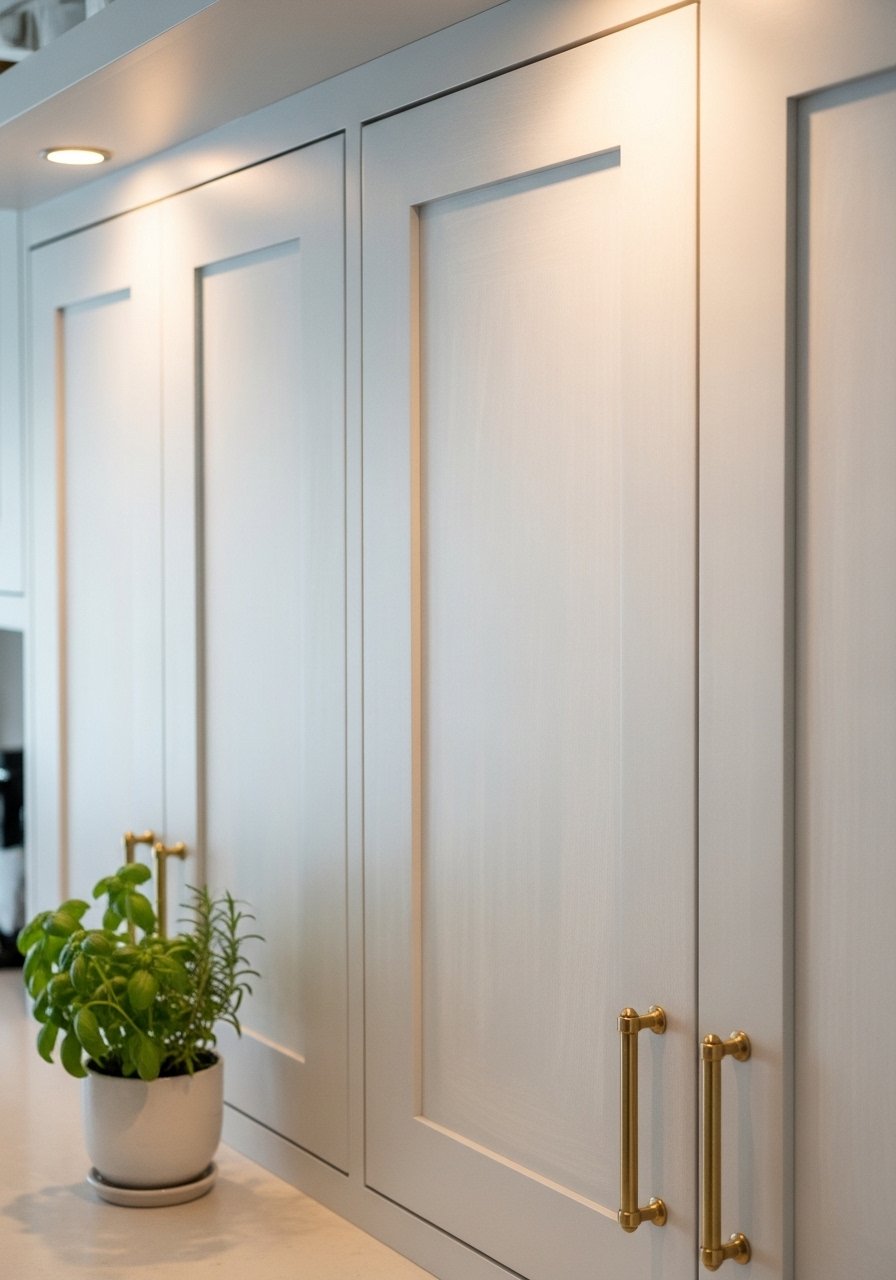
Flat cabinet doors are the best place to use the roller-over-brush trick. Brush the grooves first, then a foam roller over the flat faces and you get an even finish that hides brush marks. Clean with Krud Kutter before you start, sand 120 grit only where old gloss is stubborn, then a 220 finish by hand. Two thin coats, thirty minutes apart, is the rule. For stubborn laminate, use a no-prep chalk paint that bonds to slick surfaces. If you try a sprayer, thin carefully and test on a cabinet back first so you avoid drips and puddles. I paired this with new brass cabinet pulls to modernize the whole kitchen.
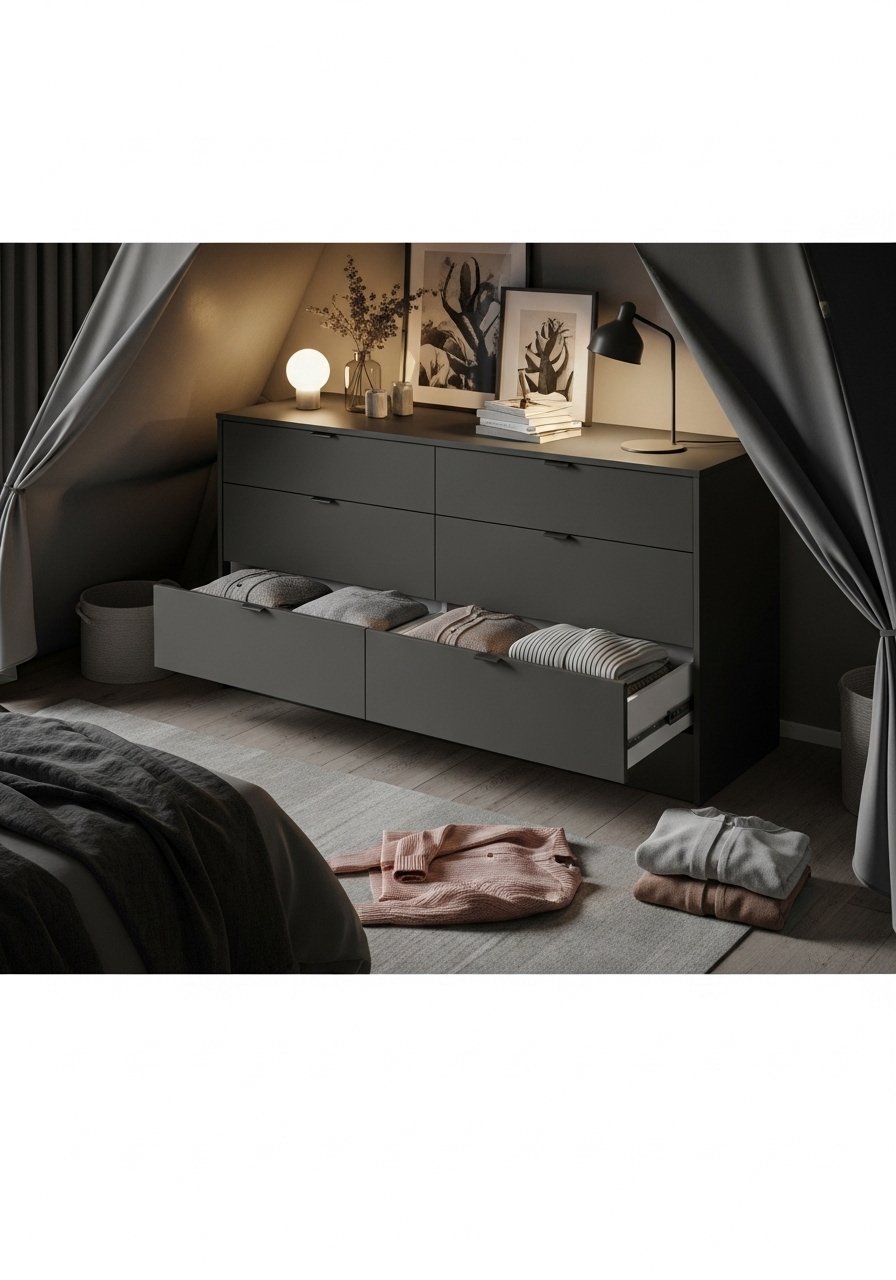
Minimal Sand Vintage Dresser For a Scandinavian Vibe

I wanted a clean Scandinavian dresser without over-sanding the carved face. Light sanding, palm sander with 120 then 220 grit on flats, and hand-sand details keeps the lines crisp. Pick a pale neutral paint and do two thin coats. Pick from 70 colors, no mixing mess. For protection, clear wax in thin layers, buff hard after it dries wet. A fresh Zinsser water-based primer on raw wood helps adhesion if you stripped old paint. Budget is low if you use a pint and DIY wax, about $25 to $60. A mistake I see is heavy distressing across the whole drawer front. Keep distressing to corners only for that quiet Scandinavian effect.
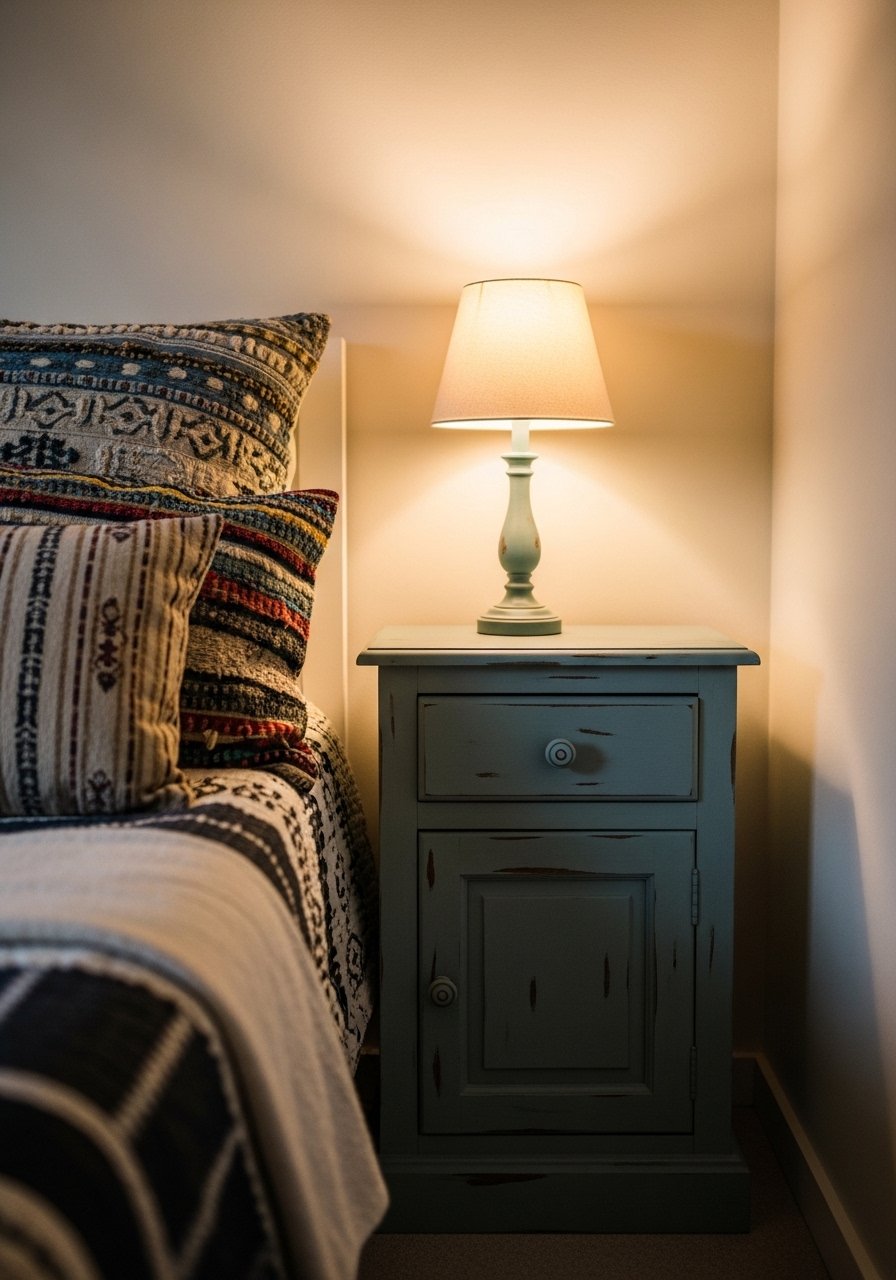
Waxed Nightstand With Metallic Edge Accents
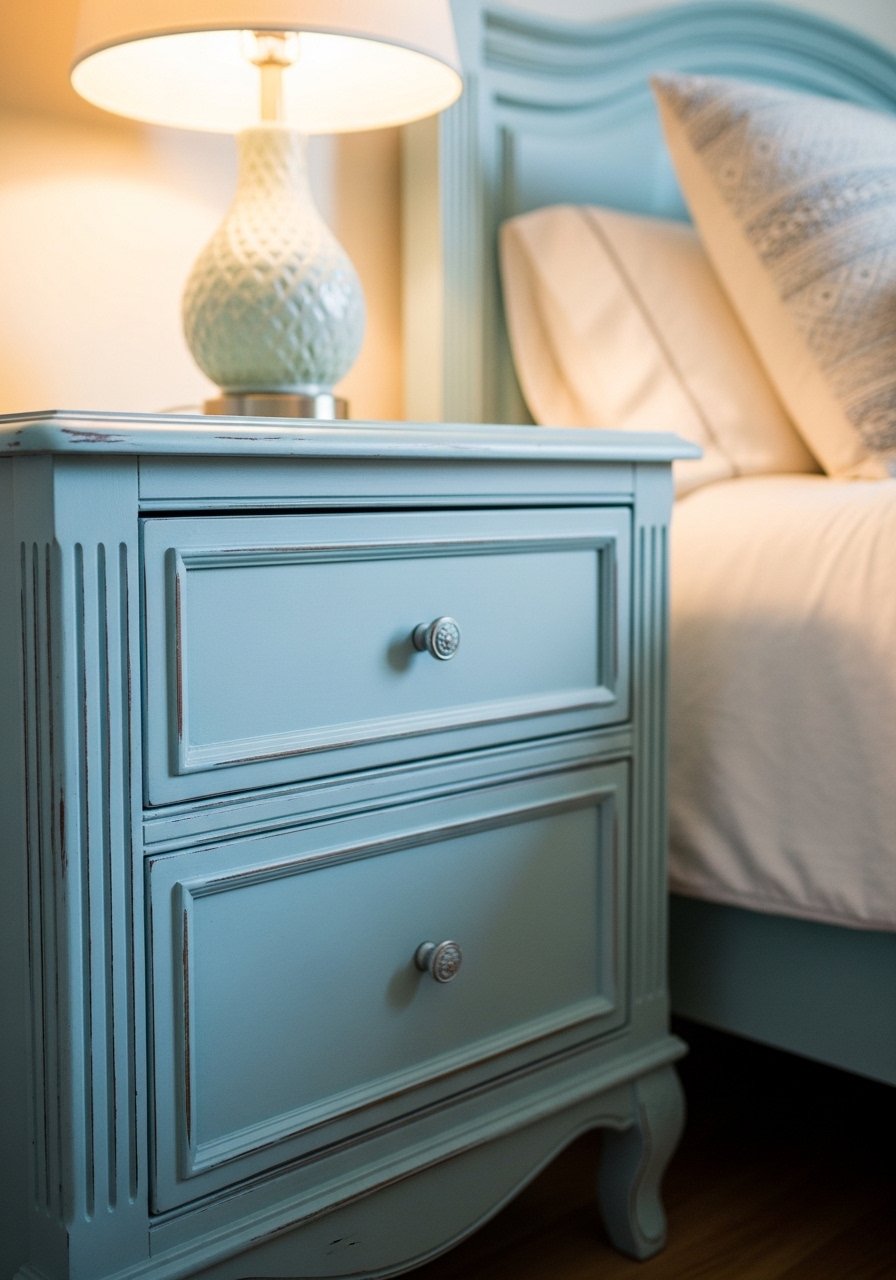
My nightstand survived nightly book drops after I sealed it with clear wax and buffed while it looked wet. Clear wax keeps chalk paint from peeling, and dark wax should only be used after clear wax and in tiny amounts to accent edges. Use a small artist brush for crevice wax where dust settles. Rub N Buff on knobs or trim gives a little metallic pop without needing full hardware swaps. One detail I add is to wax the underside of the top edge too, those are the spots that chip first. I used clear furniture wax and a Rub N Buff gold tube for highlights.
Two-Coat Laminate Shelf Flip For Rented Rooms
If you rent, practice on a cheap laminate shelf first so you know how the paint bonds. Two thin coats are all you need on laminate with a no-prep formula. Trim paint off edges with a craft knife if it lifts in humid rooms, humidity can make wet wax soft. Lint-free rags for the wax and a foam roller for the flats give the neatest finish. A real-life tip I use is to paint the underside of shelves the same color so they look intentional in photos. For cheap supplies try a foam cabinet roller and a pack of lint-free rags.
Sprayed Large Dresser For A Flawless Flat Finish
When I want a pro finish on a big flat dresser I thin chalk paint for a paint sprayer and use a tent setup. Spraying gives an even finish but you must thin to the sprayer’s recommendations and test on scrap wood. If you want the smoothest result, sand 120 then 220 grit, use two thin passing coats, then a light clear wax coat buffed hard. Spraying adds time and cost, between $80 and $150 if you rent equipment. A frequent mistake is skipping a primer on raw wood; a light Zinsser primer reduces bleed and adhesion problems. If you prefer renting try a Wagner paint sprayer tent kit.
Chalk Paint Coffee Table For High Use Zones
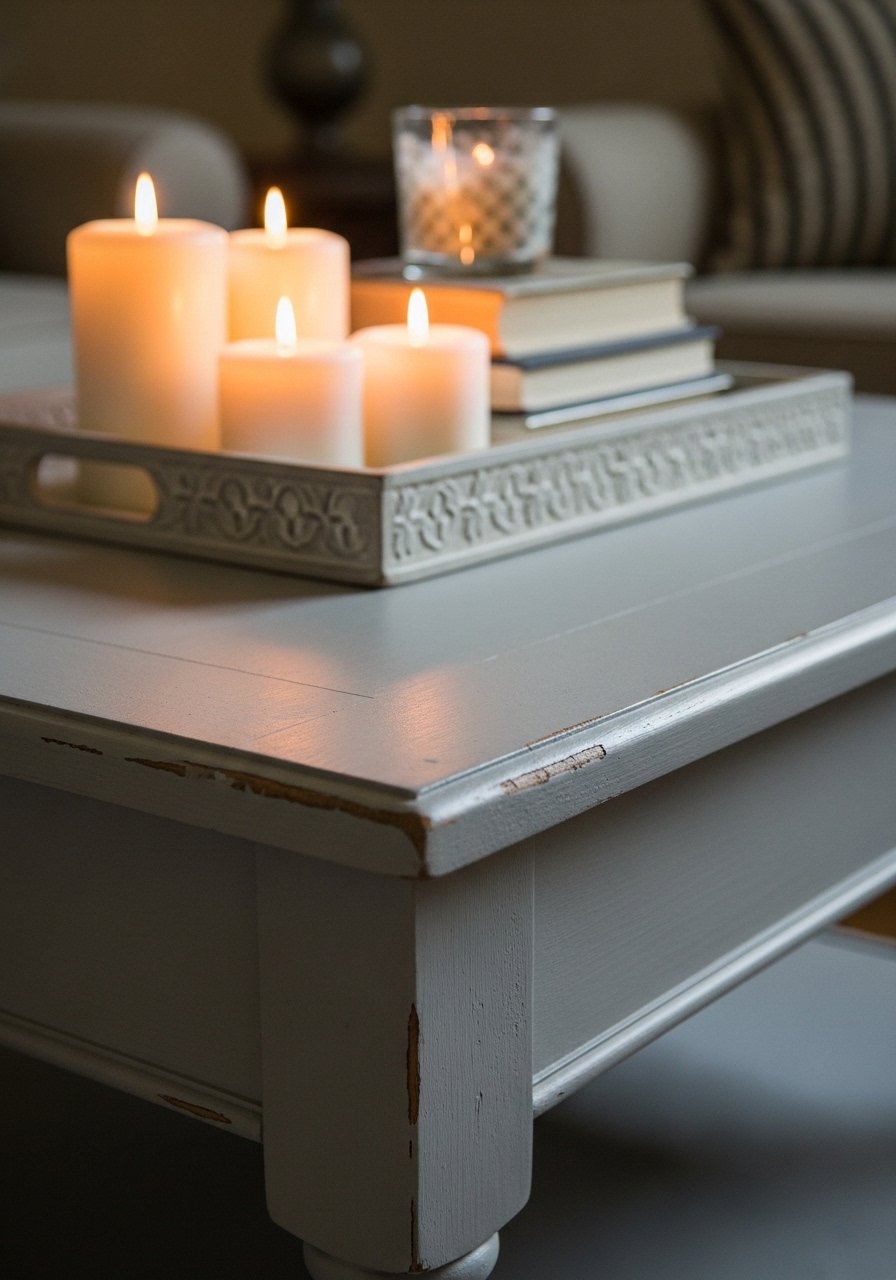
Coffee tables take the most abuse so seal everything. After cleaning with Krud Kutter and sanding to 220 on the top, I do two thin coats and let the paint cure 24 hours before moving to wax. Clear wax first, then test a foot traffic area by placing a coaster and sliding it back and forth to check for scuffing. Pet owners, expect weekly touch-ups if your cat likes to jump. One detail that helps is a thin clear poly coat over wax on the top surface only for extra protection. I keep a small tub of clear furniture wax on hand for touch-ups.
Painted Entry Console For Small Corridors
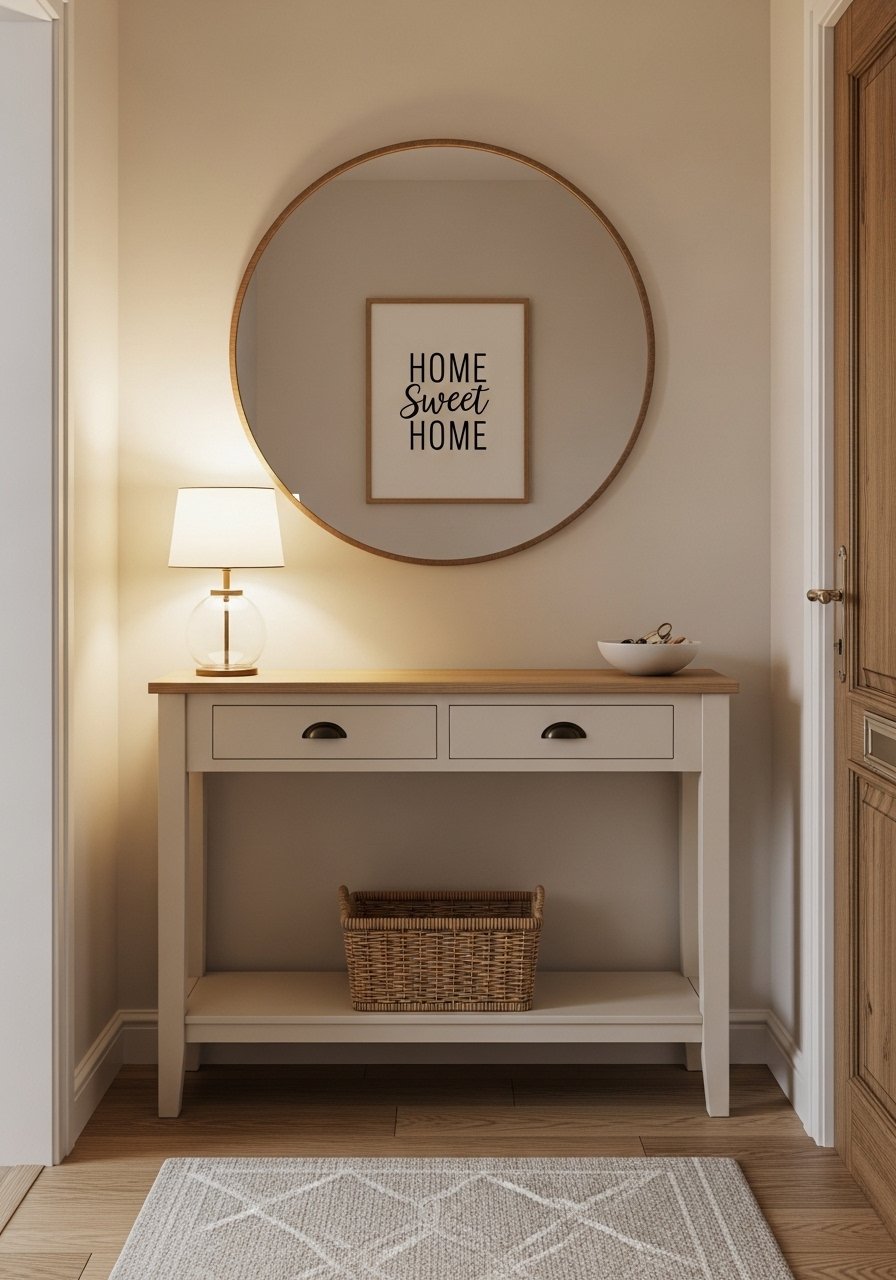
My entry used to be a dumping ground until I painted a thrifted console and added a round mirror. The paint brightens the corridor and hides scuffs, especially when you do two thin coats and wax the top edge. Chairs take 2 hours tops if you move quick. For skinny consoles I like to keep the top unvarnished and only wax the edges so shoes and keys don’t catch a glossy finish. Pair this with hooks above and a woven basket underneath to hide shoes. I keep an extra set of 22-inch linen pillow covers for a nearby bench, they match the painted tone nicely. Pick up 96-inch linen panels if your entry has tall ceilings.
Subtle Distress Nightstand For Boho Bedrooms
There is something about a nightstand with tiny edge distressing that makes a bedroom feel collected. I use dark wax sparingly after clear wax to pull shadows into carved details only. Keep the dark wax application less than a pea-sized amount per crevice and wipe the excess immediately. If you overdo it the whole piece can look muddy. For fast jobs I use a pint of a ready brand, it saves time and covers well. My go-to brush combo is an angled artist brush for crevices and a foam roller for flats. A common error is waxing before the paint has cured for 24 hours, which causes tacky spots. For accents I use 22-inch down-filled linen pillow covers to tie the room together.
Your Decor Shopping List
Textiles
- Honestly the best $40 I have spent. Chunky knit throw in cream 50×60 inches, perfect over a painted chair
- 22-inch down-filled linen pillow covers pack of 2, natural and slate for layering
Painting Supplies
- Dixie Belle chalk paint pint pick a sage or soft gray, covers a dresser in two coats usually
- Zinsser water-based primer quart for raw wood or stained pieces
Tools
- Foam cabinet roller set for flats and smooth finishes
- Palm sander 120-220 grit combo pack for fast sanding progression
Finishes
- Clear furniture wax tin, buff after it looks wet
- Rub N Buff gold small tube for edges and hardware highlights
Most of these items have similar options at Target and HomeGoods if you prefer to buy in person.
Shopping Tips
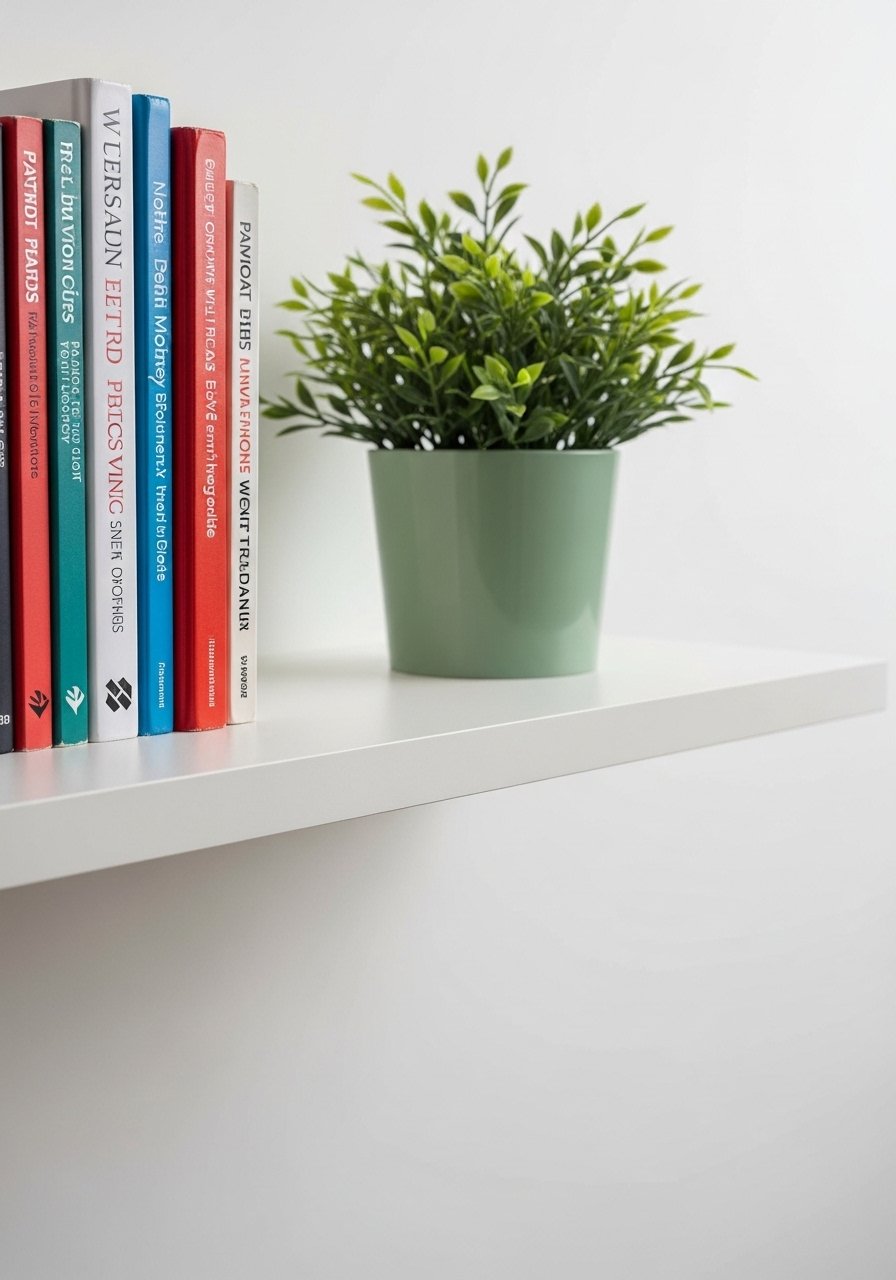
White oak beats dark wood in 2026. Design feeds have shifted completely. These white oak floating shelves look current, not dated.
Grab foam cabinet rollers for $10. Use a roller over brush marks on flats and you will see immediately smoother results.
For curtains, they should puddle or kiss the floor, never hang halfway up. 96-inch linen panels are right for standard 9-foot ceilings.
Lead with the largest piece. One single 6-foot fiddle leaf fig has ten times the visual impact compared to five small succulents.
When trying a new paint brand, test on a hidden drawer first. Dixie Belle chalk paint pint usually covers a dresser in two coats but every surface behaves differently.
Frequently Asked Questions
Q: Can I use chalk paint on laminate and plastic
A: Yes, but choose a no-prep formula designed for slick surfaces and do a test. Clean with Krud Kutter, then apply two thin coats. If the surface still resists, lightly scuff with 120 grit and prime.
Q: How long should I wait before waxing painted furniture
A: Wait 24 hours for paint to cure for most brands before wax. If you buff the wax too soon it can stay tacky and attract dust.
Q: What grit sandpaper should I use for old painted wood
A: Start with 120 grit to knock off flaky paint, then move to 220 grit for a smooth finish. Sand by hand in details so you do not remove carved edges.
Q: My paint peeled after a week, what did I do wrong
A: Most likely you did not degrease or you used a thick single coat. Clean with Krud Kutter first, then two thin coats thirty minutes apart. Seal with clear wax and test one spot for a few days.
Q: Can I mix dark wax with clear wax to save time
A: No, apply clear wax first and buff. Use dark wax only in tiny amounts over the clear wax to accent edges. Too much dark wax will make the piece look muddy.
Q: How do I choose between sanding everything and no-prep paint
A: If the piece is sturdy but glossy, light scuffing with 120 grit and a coat of primer helps. If time is tight and the surface is laminate or metal, a no-prep chalk paint like Dixie Belle lets you skip heavy sanding.
