
My living room had nice furniture and decent lighting but it still felt like a waiting room. Took me embarrassingly long to figure out it was missing personality on the walls. Once I started making frames instead of buying them, the whole place felt like mine. These frame projects are the ones I actually used, the fixes I sent friends photos of, and the small wins that changed rooms without a huge budget.
These ideas lean modern farmhouse with a few clean modern and coastal options mixed in. Most projects run $5 to $60, with a couple closer to $100 if you buy nicer glass or moulding. They work in living rooms, entryways, kids rooms, bathrooms, and small corners that need a focal point.
Rustic Gallery Wall For Entryway
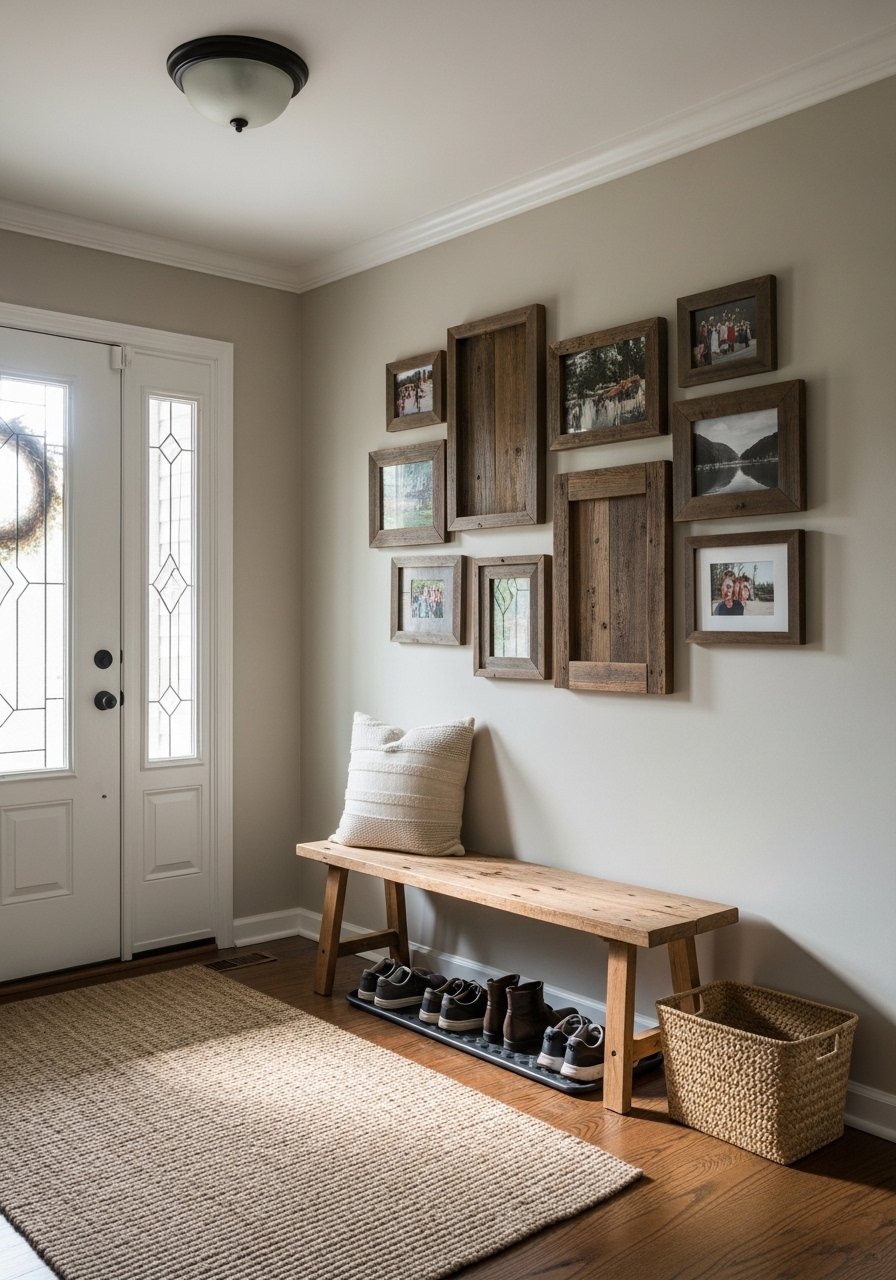
I built a gallery of mismatched reclaimed wood frames for my entry and it made a tiny foyer feel intentional. The trick is keeping the frames within a two-inch depth range so the light hits them similarly. For an entry, aim for a vertical span of about 60 inches and hang the center at eye level. Most people space pieces too far apart. I used a set of 8×10 reclaimed-style mats and swapped in thrifted prints. If you want ready pieces, try reclaimed wood frame sets for under $40. Common mistake is mixing too many stains; stick to two tones so it reads cohesive.
Minimalist Floating Frames For Home Office
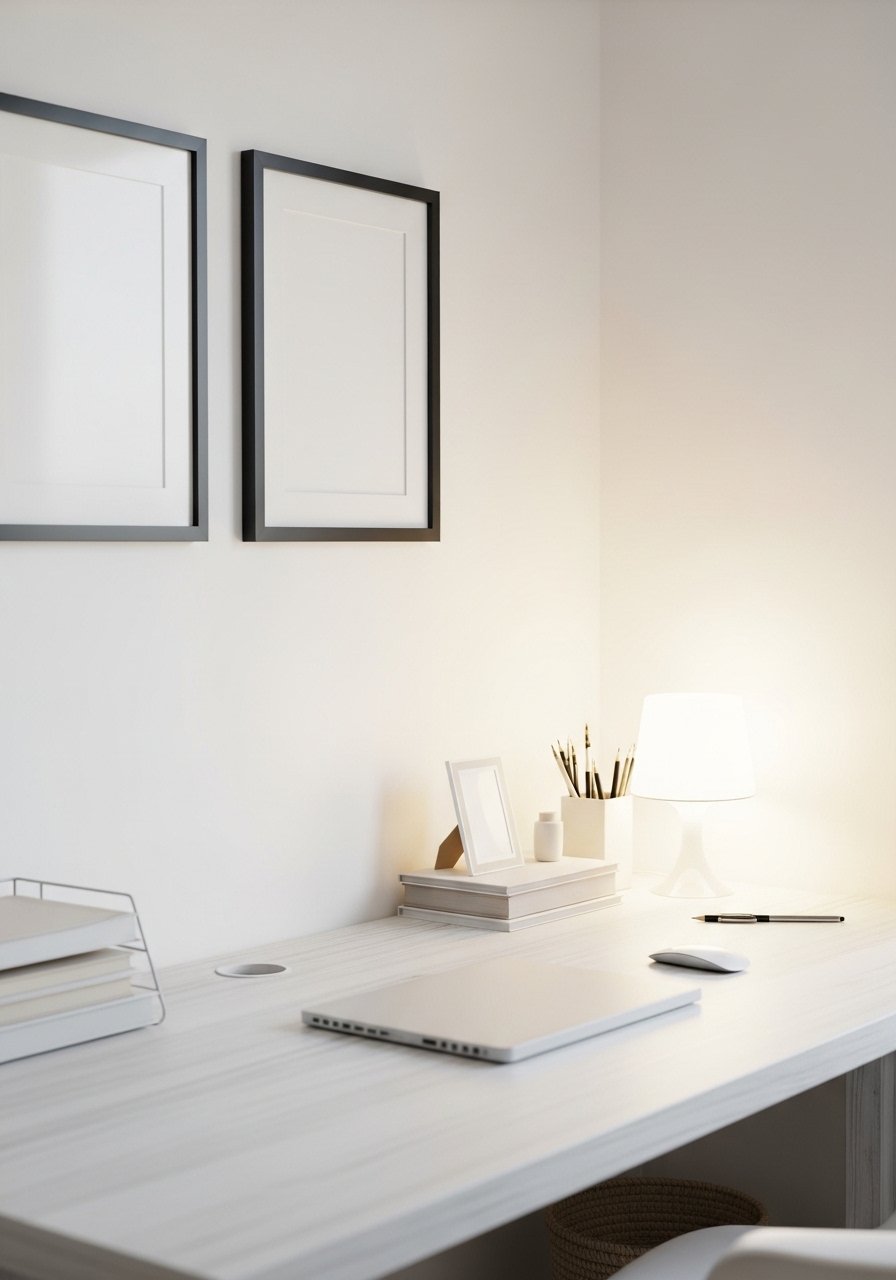
I needed my office to stop feeling cluttered but still have personality. Floating frames give that tidy, modern vibe without bulky trim. Use 1/4-inch acrylic instead of glass for glare control if your workspace gets a lot of south light. The look works on a neutral painted wall and costs about $20 to $50 per frame if you buy clear acrylic and thin moulding. I picked up black floating frames and swapped art weekly. A frequent error is using frames that are too ornate. Minimal frames keep the eye on the art and not the frame.
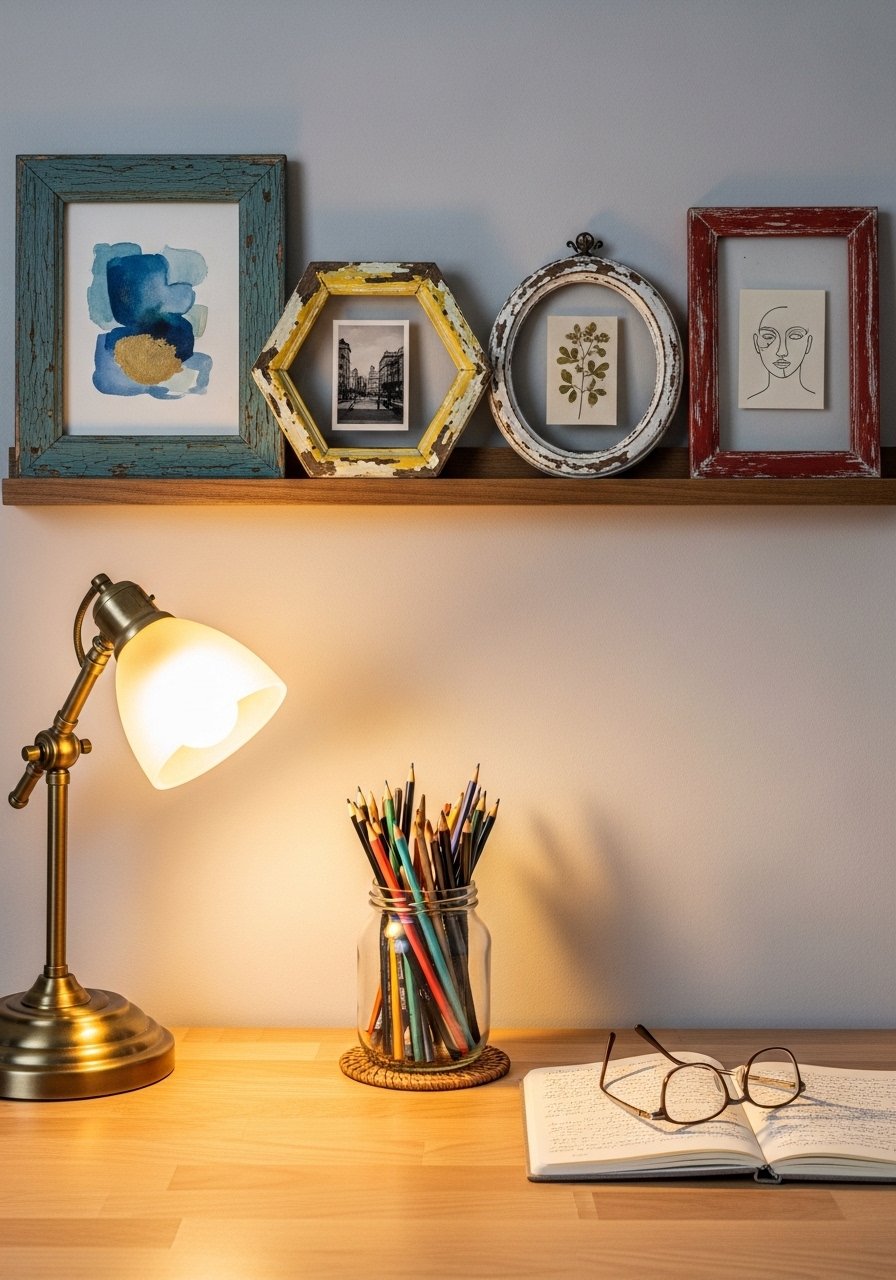
Painted Pop Color Frames For Kids Room
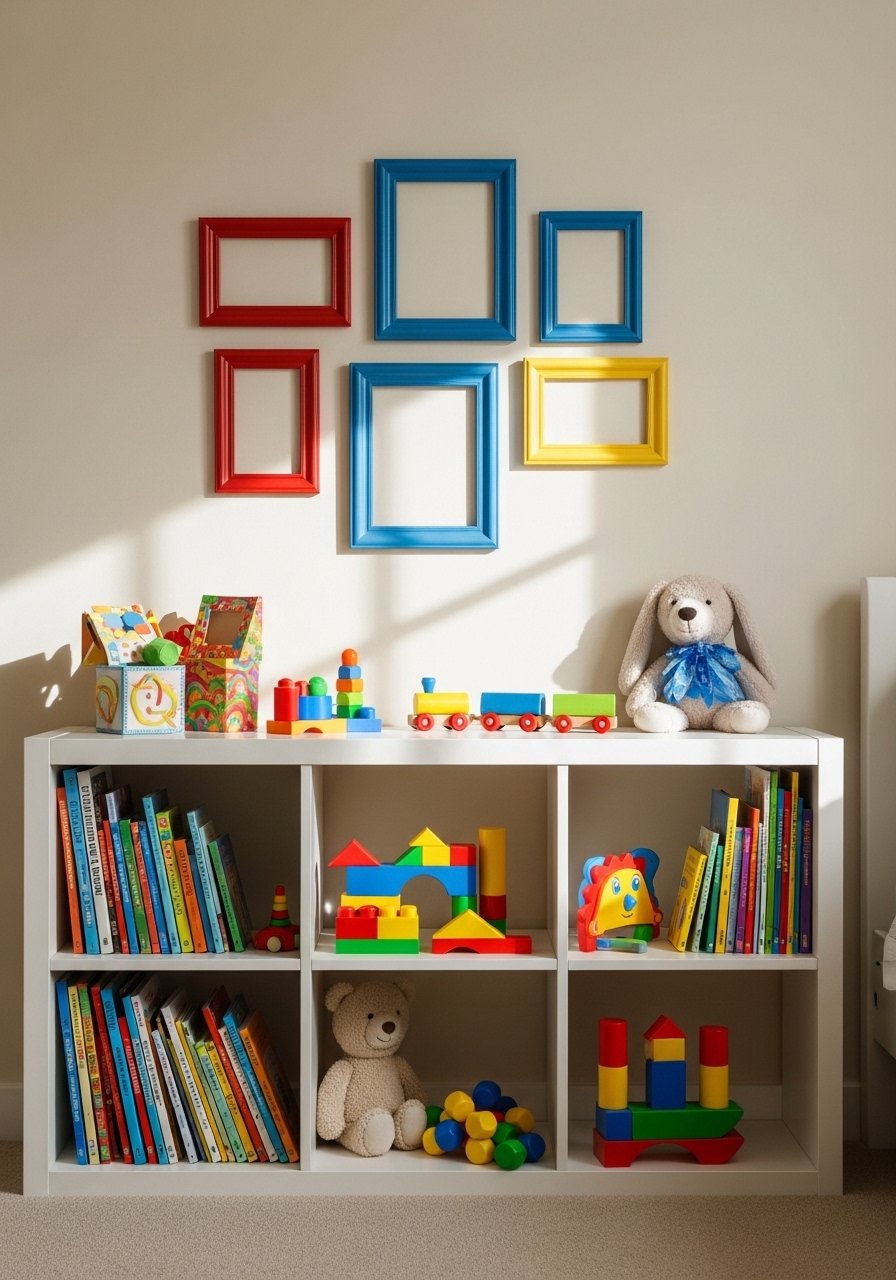
When my niece moved into a new room, we painted cheap thrift frames in pop colors and it felt like a custom studio. Use acrylic craft paint and two coats with a matte sealer. For a playful balance, keep two neutrals for every colorful frame to avoid overload. Budget is tiny: $3 to $12 per frame plus paint. I grabbed a pack of small thrift-friendly frames and redid them. Mistake to avoid: painting over the glazing without removing it. Take the glass or acrylic out first or the paint looks clumpy.
Driftwood Frames For Coastal Bathroom
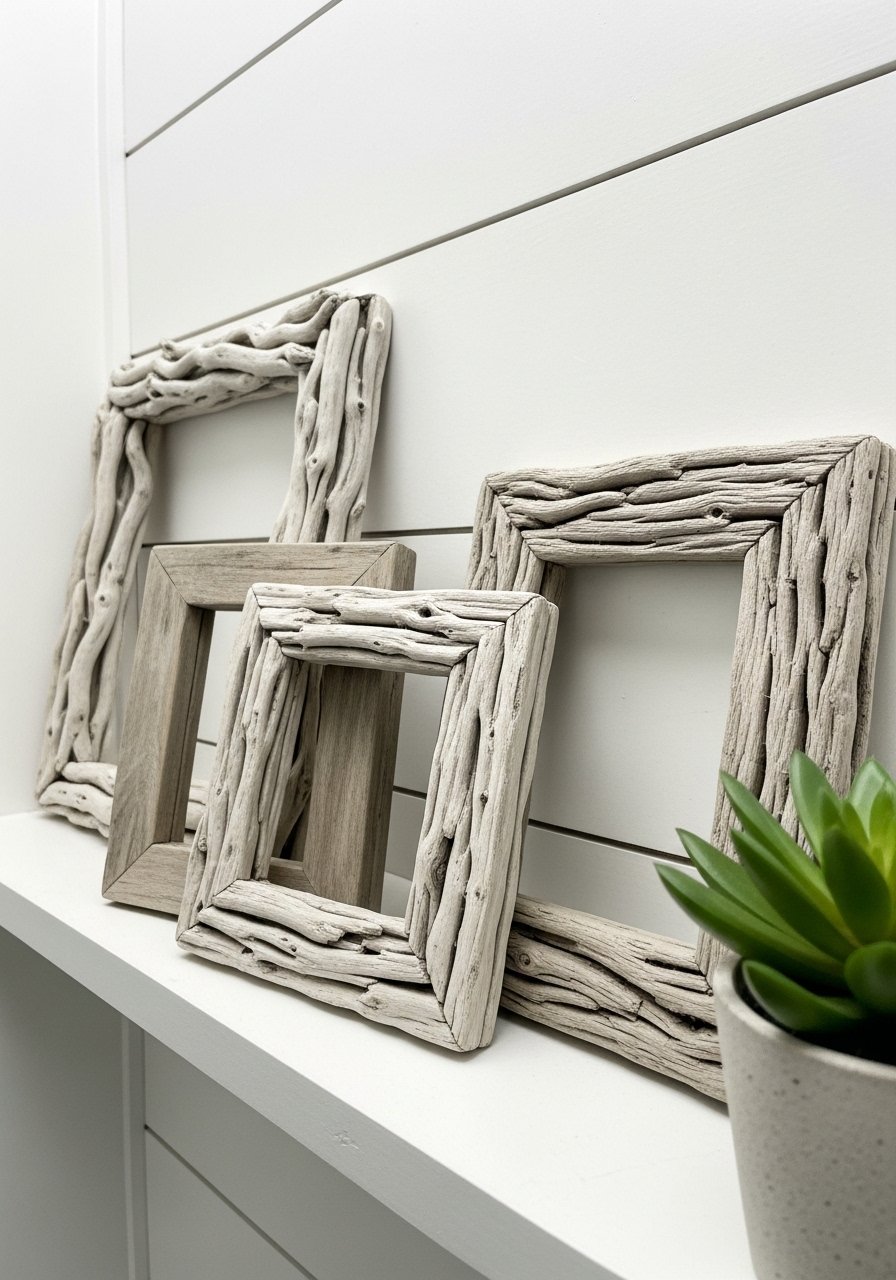
I wrapped thin kiln-dried driftwood around inexpensive frames for a light coastal feel in a windowless bathroom. The look is forgiving of humidity if you seal the wood. Use hot glue for short runs and tiny nails for longer corners. Keep the frame width between 1.5 and 2.5 inches so it reads beachy but not bulky. Try driftwood frame kits if you do not have saw access. The common error is using real wet driftwood that warps. Dry it out first and sand rough edges.
Chalkboard Mat Frames For Kitchen Notes
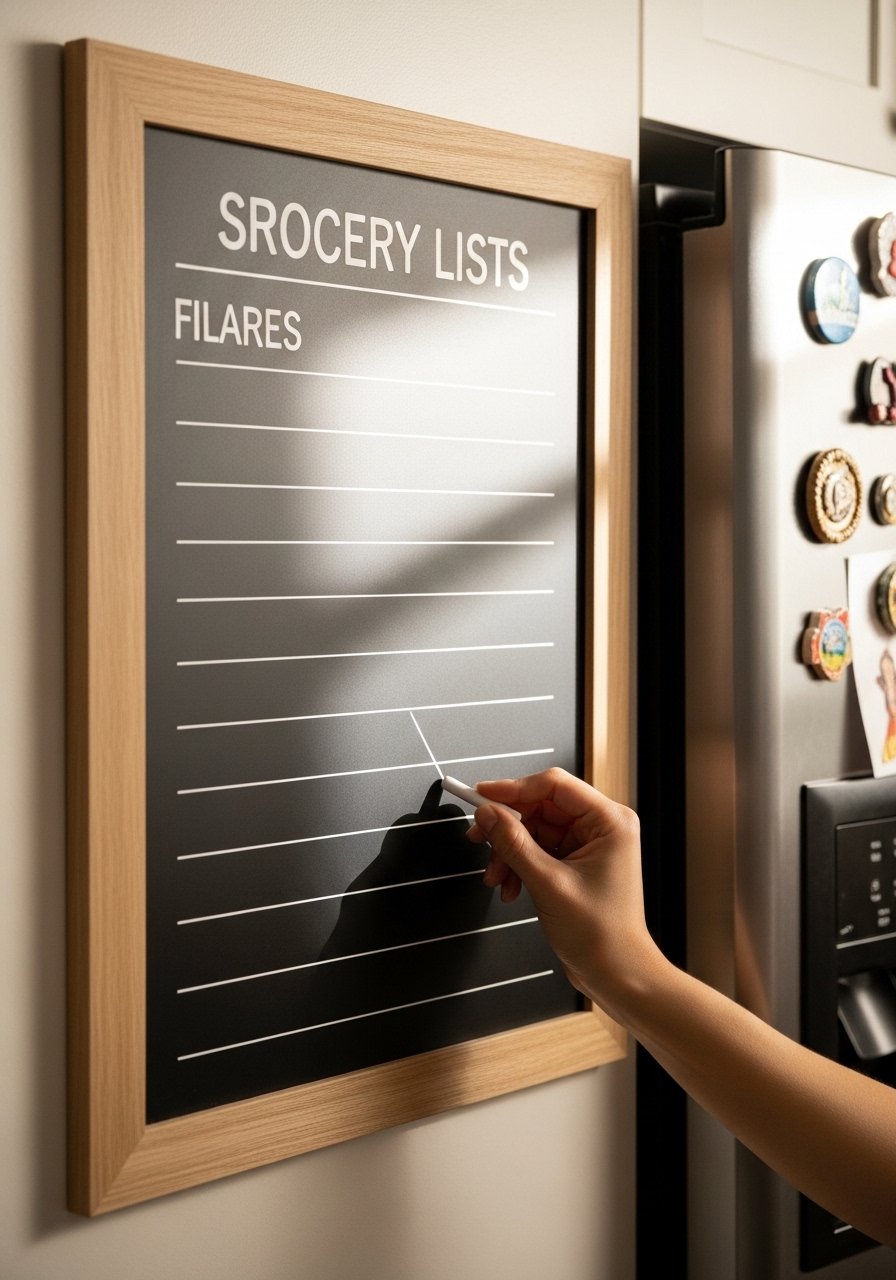
I made picture frames with chalkboard mats to keep grocery lists and inspirational quotes in view. Cut a mat board, paint the inner rectangle with chalkboard paint, then frame it. It costs under $20 per piece and instantly makes your kitchen functional. Hang one next to a command station and keep chalk and a small eraser in a bowl underneath. I used chalkboard paint that dries quickly. People forget to prime the matboard and the paint flakes. Two light coats and a sanding pass fix that.
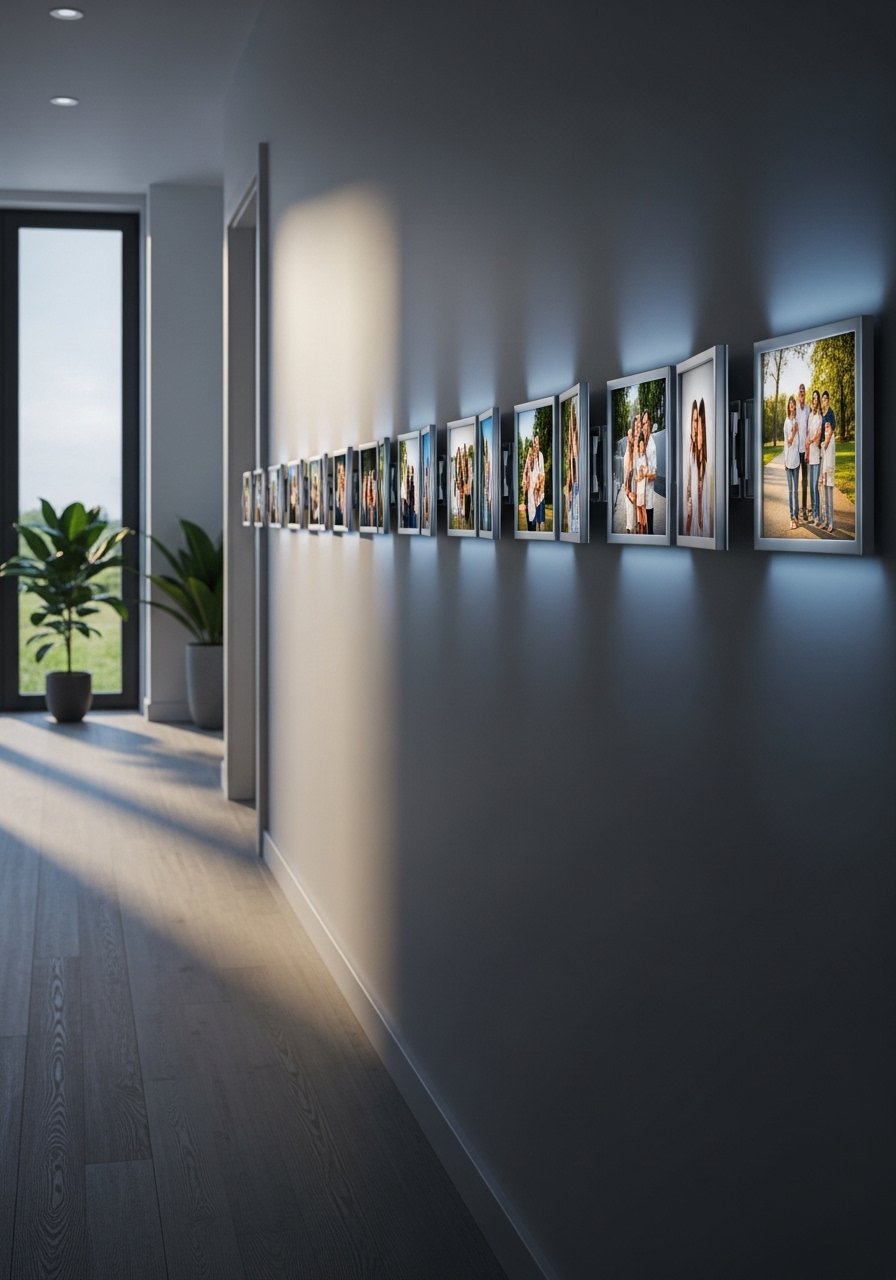
Layered Ledge Display For Living Room
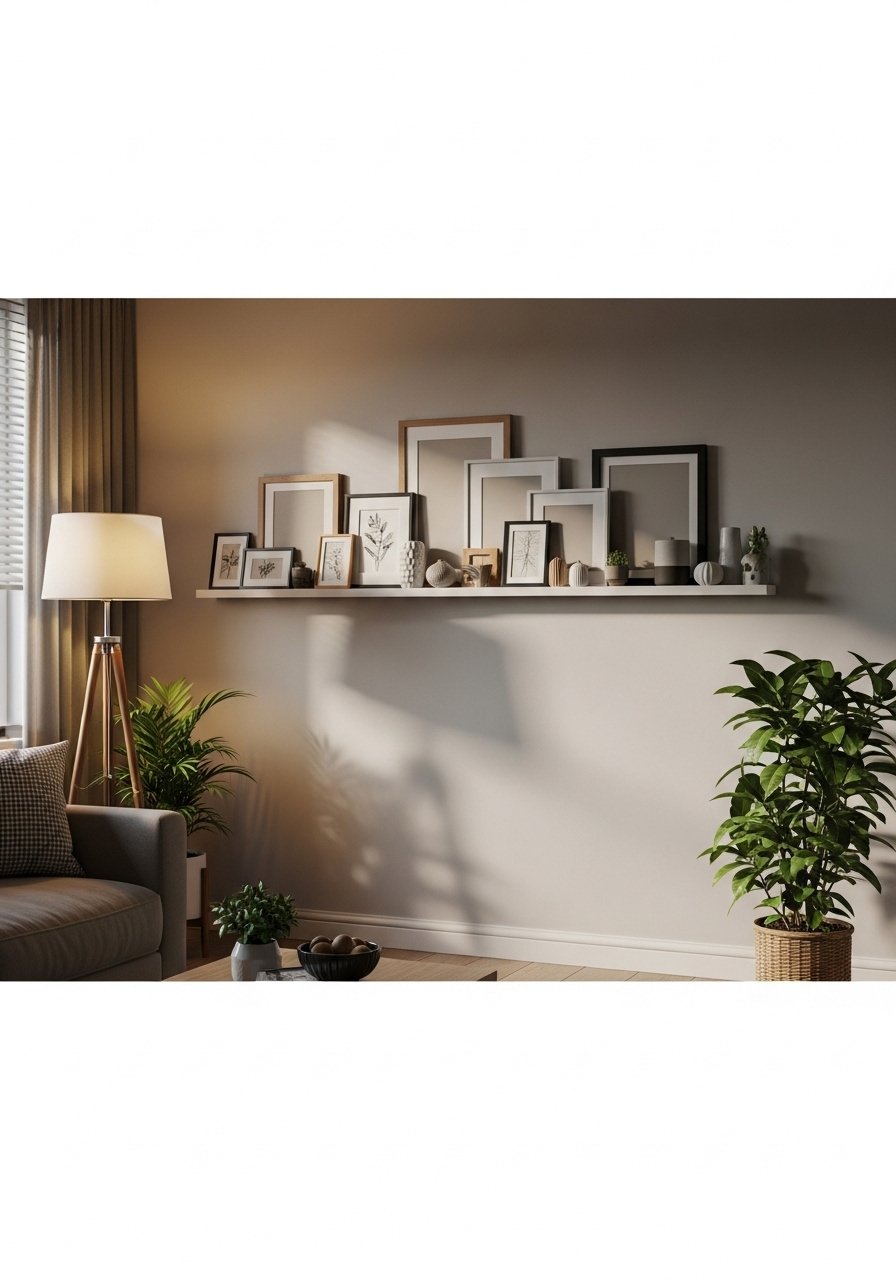
I installed a shallow ledge and started swapping frames like albums. Picture ledges solve commitment anxiety because you can change art without new holes. For scale, choose a ledge depth of 2.5 to 3.5 inches for standard frames. I used a 6-foot ledge above my sofa and balanced three small frames with one oversized print to follow the rule of three. These brass picture ledges are affordable and easy to mount brass picture ledges. A frequent mistake is overloading the ledge. Keep one heavier piece and two lighter ones for rhythm.
Vintage Brass Frames For Dining Room
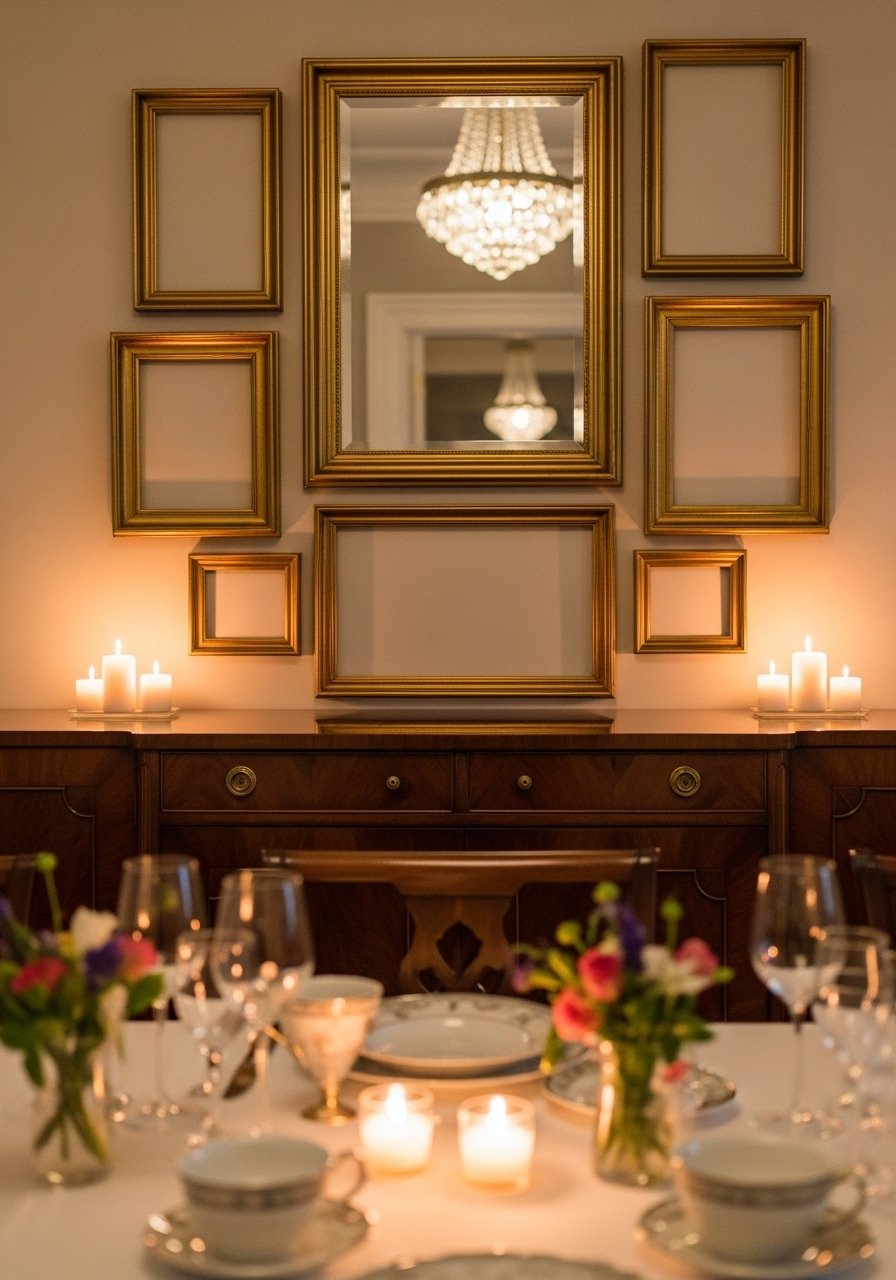
I hunted brass frames at flea markets and then replicated the look by brushing hardware store frames with metallic paint. The warm metal pulls the eye and pairs well with walnut furniture. If you want a cheaper option, try mixed-metal sets online. I bought vintage brass-look frames while waiting for market finds. Budget is $25 to $80 depending on size. People often mix scale poorly. Keep the largest frame no larger than two thirds of the sideboard height to avoid overpowering the room.
Fabric Wrapped Frames For Cozy Bedroom
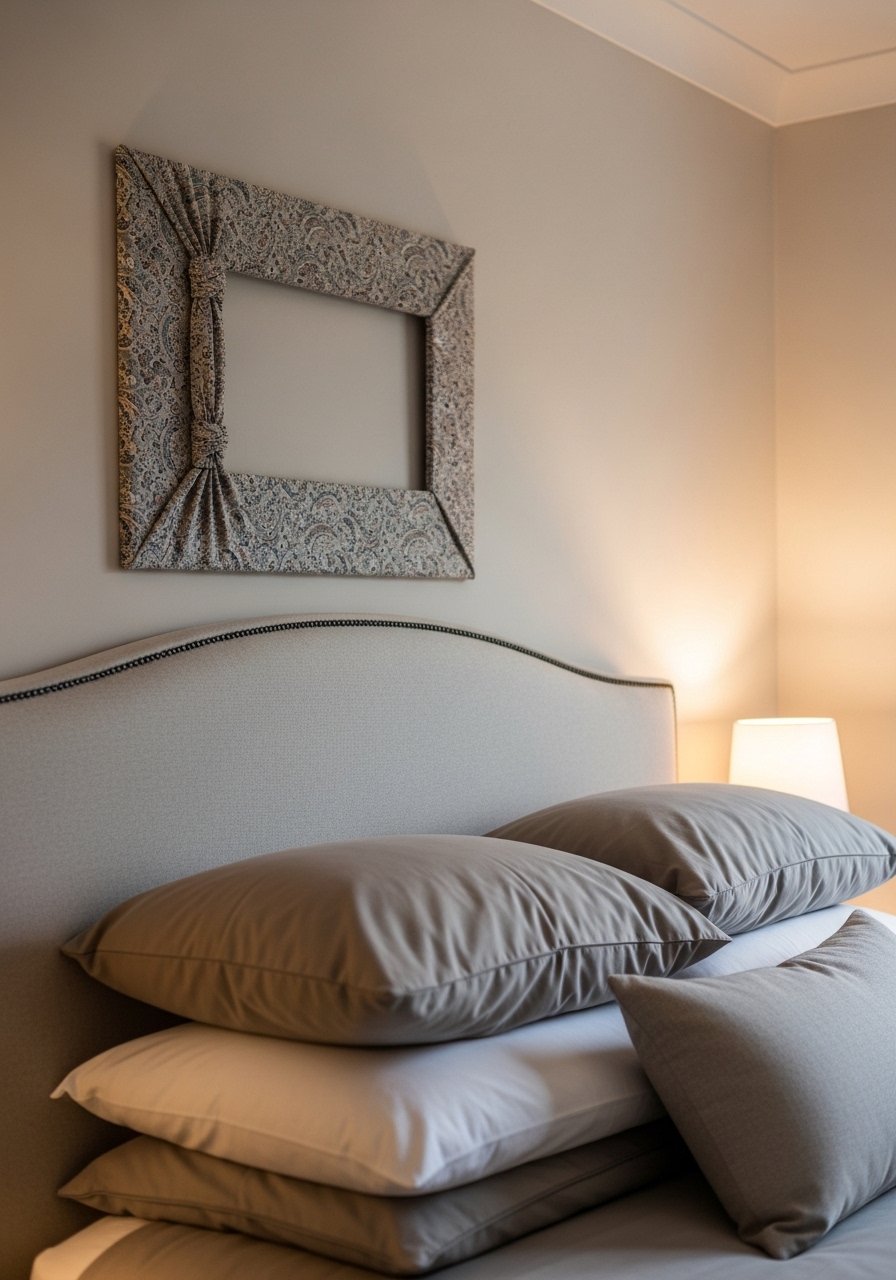
Wrapping frames in upholstery scrap is my shortcut to match pillows without buying new art. Cut a 1-inch border of fabric around the frame and staple it on the back for a clean edge. Use a thicker linen or velvet for texture. For a headboard vignette, choose frames 2 to 4 inches narrower than the headboard width and hang them symmetrically. I used linen fabric by the yard to coordinate with pillow covers. Mistake to avoid is choosing slippery fabric that shifts. Use interfacing for stability.
Magnetic Changeable Frames For Hallway
In our busy house we needed frames that open like a book. Magnetic front-loading frames are great because kids can help change photos and art. They are usually thin, so aim for a 1.5-inch reveal around the image for a modern look. I bought a set of flexible magnetic frames for about $30. You can also DIY with super thin magnets and a backing board. Try magnetic front-loading frames. Beginners sometimes mount them too high. Line them so the middle row sits around 57 inches from the floor.
Reclaimed Wood Oversized Frame For Living Room
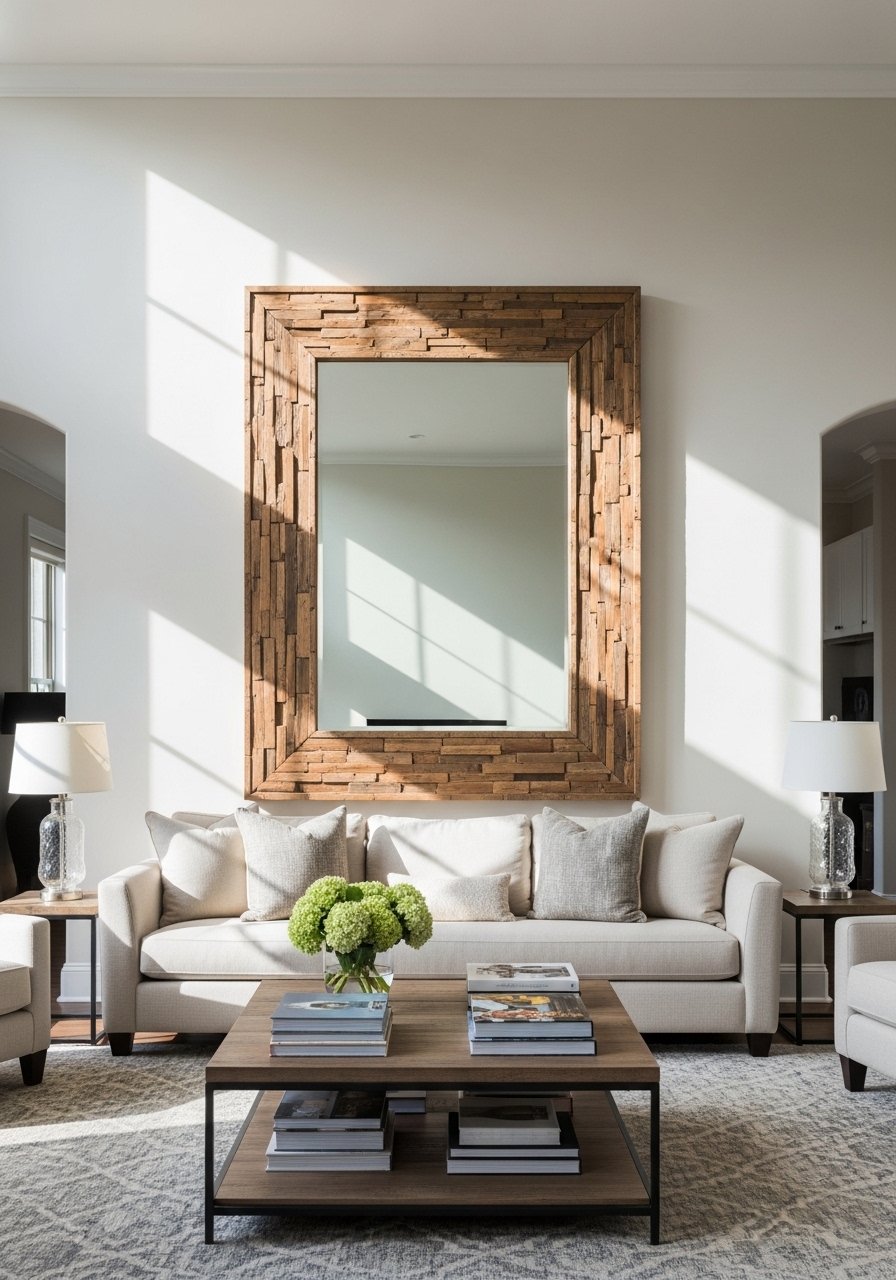
I built a bold oversized frame to make a mirror feel custom above the fireplace. Use 4 to 6 inch wide planks and miter the corners. Oversized frames read like architecture and anchor a room. For proportion, keep the frame width about one sixth to one eighth of the mirror size. If you do not have tools, pick up a large ready-made frame and distress it. I grabbed a large rustic frame as a backup. The usual mistake is making the frame too thin for a large mirror. It ends up looking like trim rather than a feature.
Rope Wrapped Nautical Frames For Porch
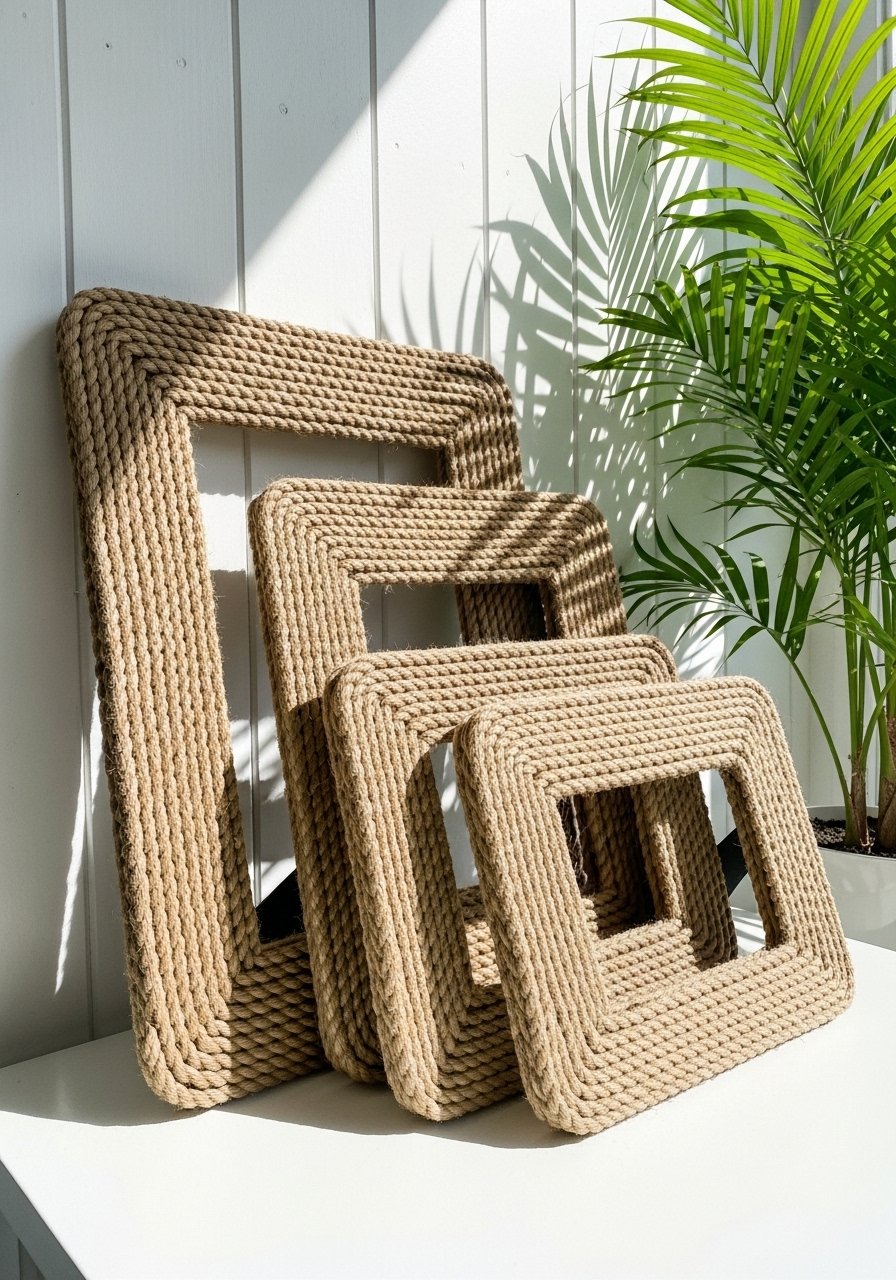
I wrapped jute rope around thrift frames to get a nautical porch look without kits. Start at one corner and hot glue in short sections, keeping tension consistent. For an outdoor porch, pick synthetic rope that resists mildew. Choose rope up to three quarters of an inch thick so it reads properly from a distance. I used natural jute rope. A common error is wrapping too loosely. Tight wraps look polished and last longer.
Geometric Weathered Frames For Home Workspace
I cut simple plywood frames and routed shallow geometric grooves, then stained them for a weathered finish. The geometric lines add interest without loud color. Keep grooves no deeper than 1/8 inch so the frame still holds a light photo mat. This project costs about $25 per frame for materials if you already have a small saw. I used a compact router bit set to make the grooves clean. The mistake is making the pattern too busy. One or two geometric frames among plainer pieces reads intentional.
Gold Leaf Accent Frames For Gallery Nook
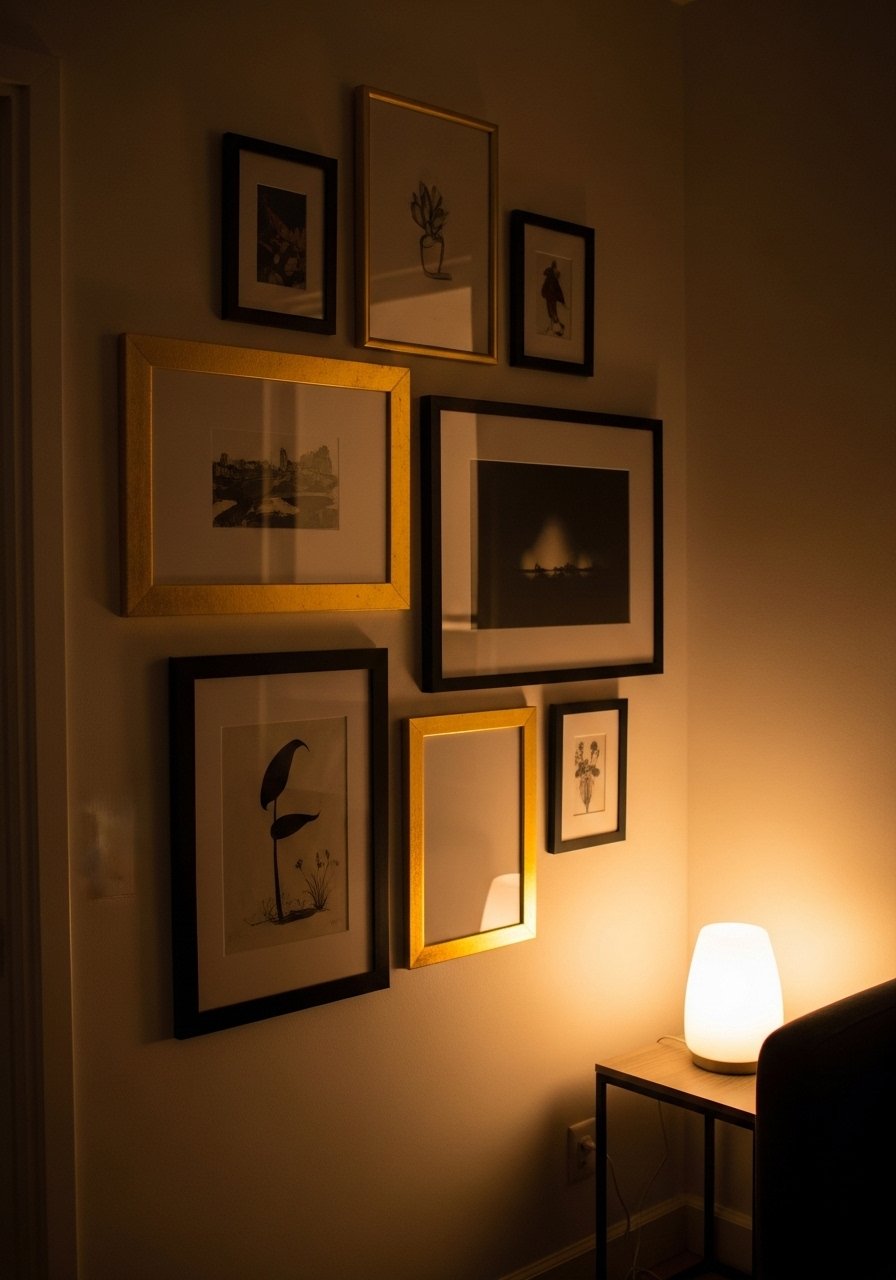
Gold leaf adds shimmer without feeling over the top when used sparingly. I leafed the inner bevel of a matte black frame for contrast. Use size 22 leaf and a soft sealer if the frame will be handled. For a cluster, limit gold to one third of the frames to avoid gaudiness. A little gold goes a long way, budget $15 to $40 for supplies. You can pick up a gold leaf starter kit to try it. People overdo the polish step. Light brushing after sealing keeps the texture visible.
Pressed-Leaf Shadowbox Frames For Sunroom
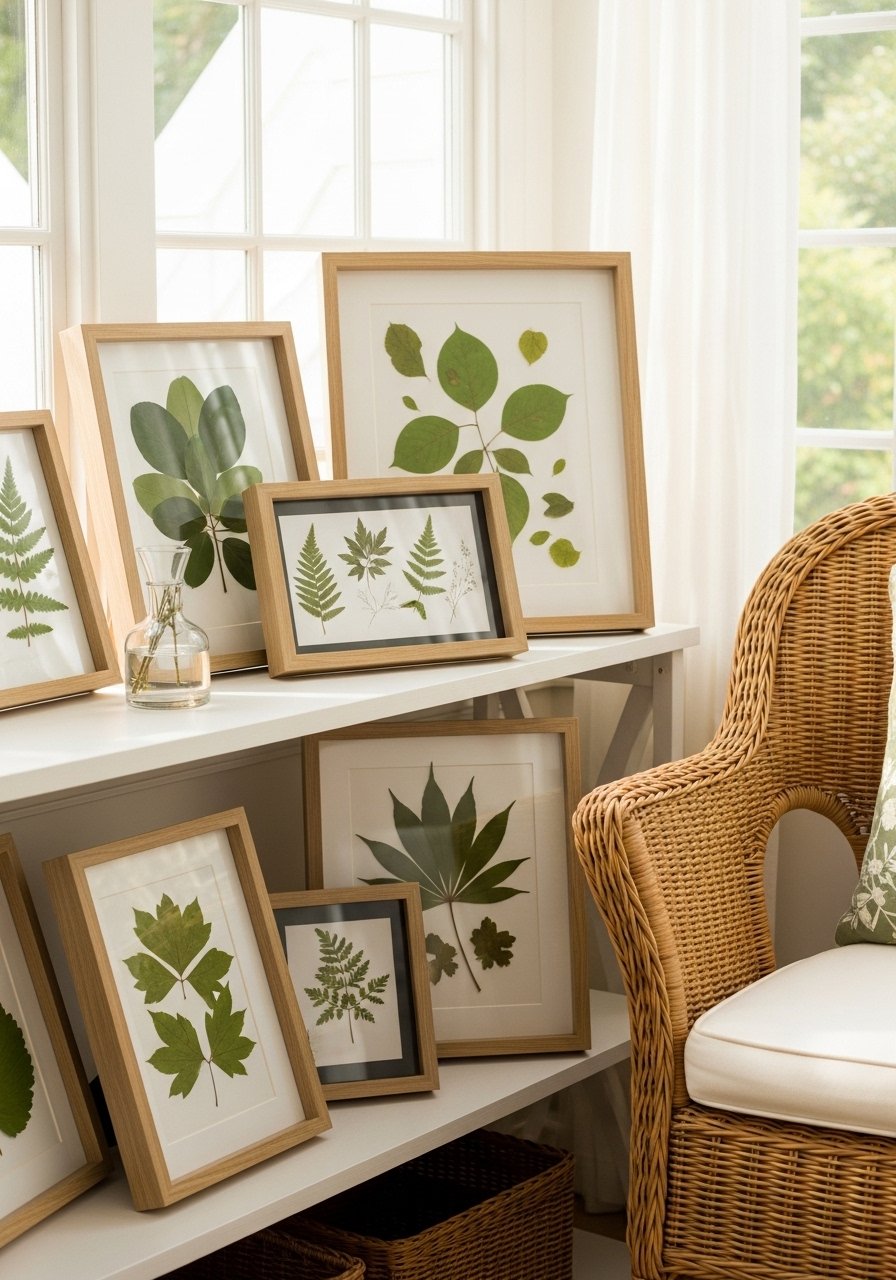
I pressed leaves from our backyard and mounted them in shadowbox frames for a seasonal, calm corner. Use acid-free mounting paper and a 1.25-inch shadow depth so the leaves do not touch the glazing. This is a low-cost project that reads a little curated and a little cottage. Buy a set of shadowbox frames if you want uniformity shadowbox frames set. A common slip is not drying the leaves long enough. Press for at least two weeks to prevent discoloration.
Tile Mosaic Frame Border For Entry Table
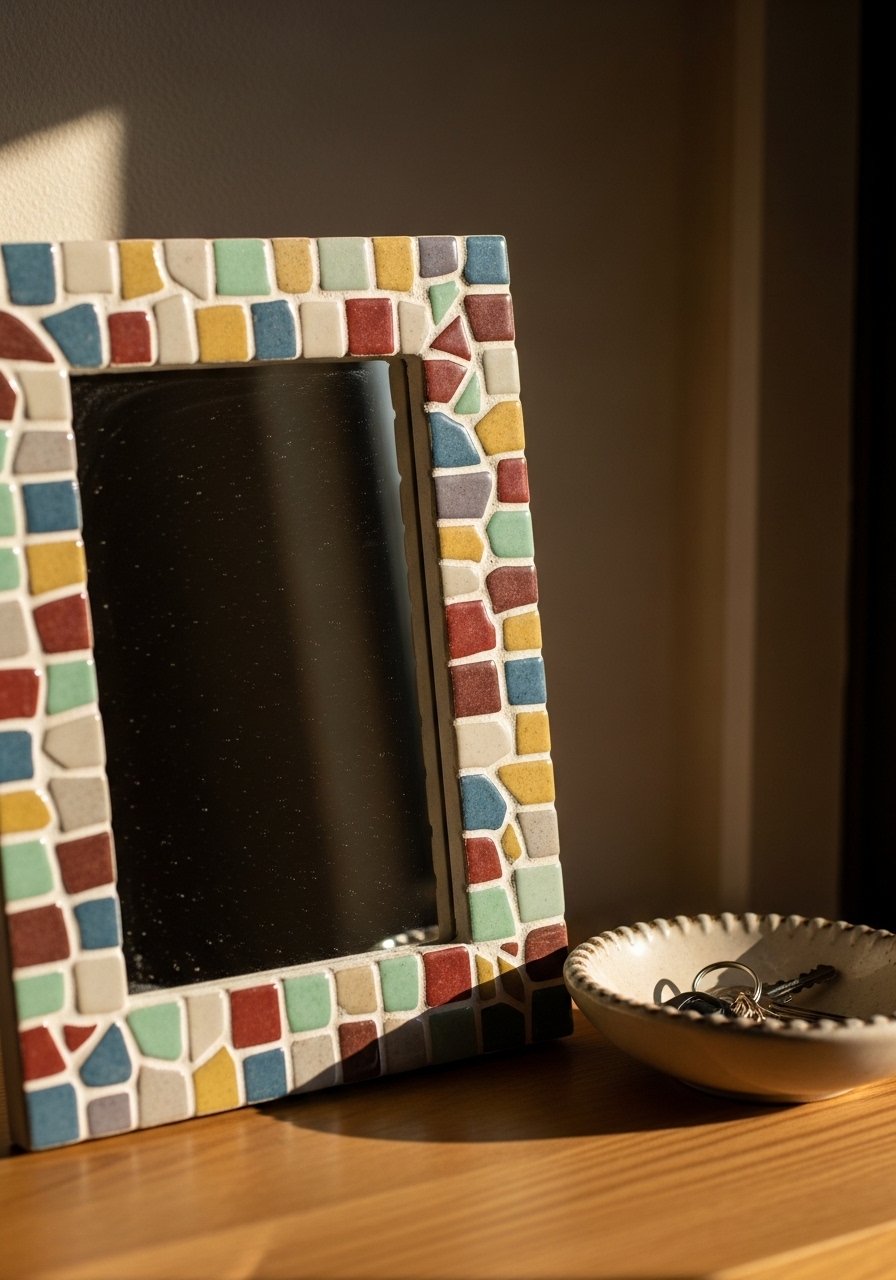
I glued broken ceramic tiles to a simple frame to make a small mirror pop on the console. Use thin-set adhesive and grout sparingly so it does not fill the frame details. For small mirrors, tile pieces about 1 inch square read best. This budget can be as low as $20 if you use thrifted plates. I used a mini mosaic tile set for color options. Mistake to avoid is choosing tiles too large for the frame. The border should be proportionate so it feels like a frame and not a tabletop.
Your Decor Shopping List
Textiles
- Honestly the best $35 I have spent. Chunky knit throw in cream (~$35). Drape over the sofa arm for instant warmth
- 22-inch down-filled linen pillow covers in two neutral shades. Layer these for depth
Wall Decor
- For the ledge idea, you need length. 96-inch floating picture ledge in white for a seamless shelf
- Shadowbox frames set for pressed botanicals and keepsakes
Lighting
- Found this while browsing. Soft warm table lamp with linen shade (~$45) makes any frame vignette feel finished
Budget Finds
- Brass picture ledges (~$18-25) let you swap art without new nail holes
- Magnetic front-loading frames (~$30) for high-traffic hallways
Tools & Supplies
- Gold leaf starter kit for accents
- Natural jute rope 3-4 inch roll for nautical wraps
Most of these have similar options at Target or HomeGoods if you prefer to see them in person.
Shopping Tips
White oak beats dark wood in 2026. Design feeds have shifted completely. White oak floating shelves look current, not dated.
Grab these velvet pillow covers for $12 each. Swap them seasonally and the whole room feels different.
Curtains should puddle or kiss the floor, never hang halfway up. These 96-inch linen panels are right for standard 9-foot ceilings.
Lead with color. Buy one bold frame like a bright painted frame and two neutrals to ground it.
Everyone buys five small succulents. One single 6-foot artificial fiddle leaf fig has ten times the visual impact.
Frequently Asked Questions
Q: What size frames work best for a gallery wall?
A: Mix sizes but keep a visual center. A common layout is one large anchor piece about 24×36 inches, two medium 11x14s, and three small 8x10s. Keep spacing 2 to 3 inches between frames so the wall reads cohesive. If you need ready options try mixed frame sets.
Q: Can I mix DIY frames with thrifted antiques without it looking messy?
A: Yes. Stick to two dominant finishes and one accent finish. For example, pair painted frames with one brass accent and one wood tone. This helps the eye find rhythm across different styles.
Q: How do I protect DIY frames in humid rooms like bathrooms?
A: Seal wood with a water-based polyurethane and use moisture-resistant backing. For bathrooms with no ventilation, pick acrylic glazing rather than glass and choose sealed teak or treated wood.
Q: What tools are actually worth buying for making frames?
A: A small miter saw or a handsaw with a miter box, a brad nailer or pin nails, and a compact router if you plan decorative grooves. If you do not want tools, precut frame moulding kits work fine.
Q: How do I avoid frames looking like too much clutter above a sofa?
A: Keep the overall composition one half to two thirds the sofa width and center the cluster. A long ledge with three frames gives a cleaner look than many tiny pieces. Try 6-foot picture ledge for proportion guidance.
Q: Are faux plants acceptable near framed art?
A: Absolutely. Fake plants can provide height without light requirements. Place a faux plant to balance one side of a frame cluster, and pick realistic options like faux fiddle leaf fig for scale.
